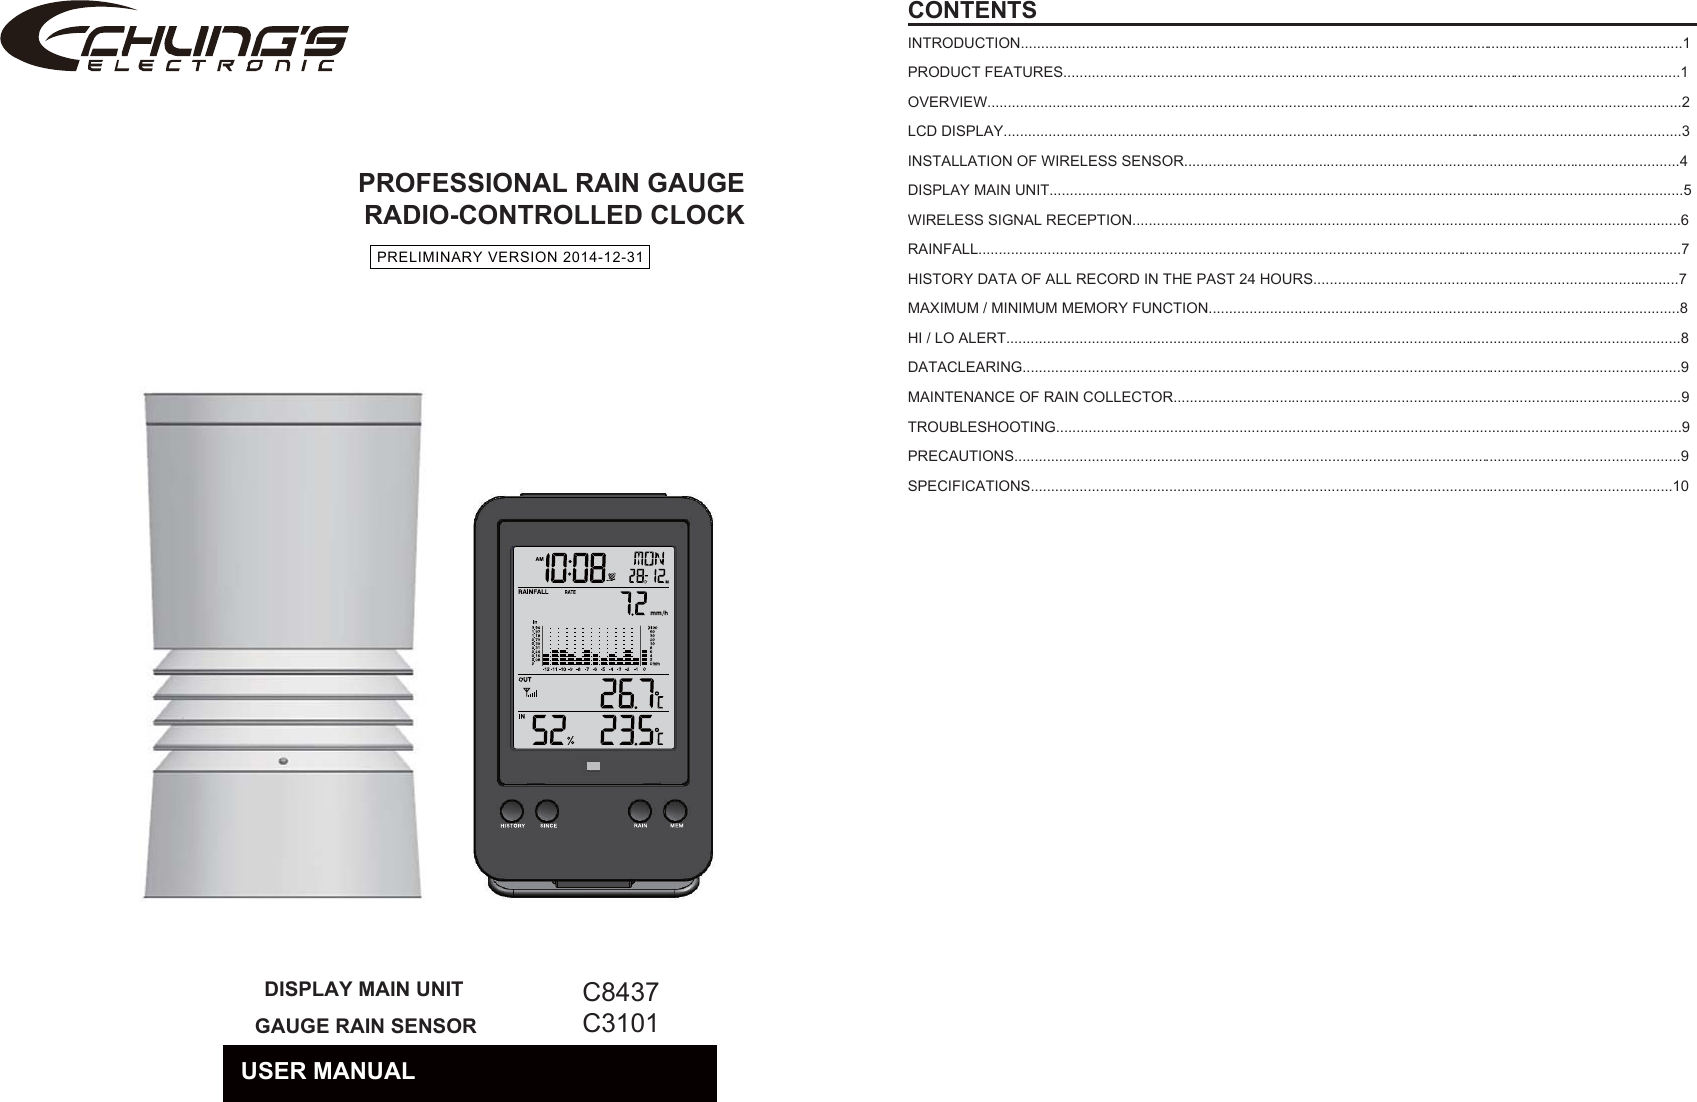
Chung s Electronic 000000-15-001 Wireless Rain Gauge User Manual C8437 PD15514M Digitech ai
Chung's Electronic Co. Ltd. Wireless Rain Gauge C8437 PD15514M Digitech ai
UserManual.wiki
>
Chung s Electronic
>
000000 15 001 User Manual
User Manual
Navigation menu
Upload a User Manual
Namespaces
Wiki Guide
HTML
PDF
Info
Views
User Manual
Discussion / Help
Navigation
![OVERVIEWDisplay Main Unit1. LCD display with backlight2. Alert LED indicator3. [ HISTORY ] button4. [ SINCE ] button5. [ RAIN ] button6. [ MEM ] button7. [ CLOCK ] button8. [ ALARM ] button9. [ ALERT ] button10. Wall mounting hole11. [ DOWN ] button12. [ UP ] button13. Battery compartment14. [ °C/°F ] slide switch 15. [ MM/IN ] slide switch16. [ RCC ] button17. [ SCAN ] button18. [ RESET ] button19. [ SNOOZE/LIGHT ] button20.Table standWireless Rain Gauge Sensor1. Radiation shield (Temperature sensor casing built inside)2. Red LED indicator3. Mounting base4. Mounting claim5. Latch6. Rain collector7. Drain holes8. Tipping bucket9. Rain sensor10. [ RESET ] button11. Battery doorINTRODUCTIONThank you for selecting the Professional Rain Gauge Sensor.The device contains a wireless self-emptying rain collector for measuring rainfall and temperature, and a Display Main Unit. The wireless rain collector sensor is fully assembled and calibrated for your easy installation. It transmits data by a low power radio frequency to the Display Main Unit up to 150m away (line of sight).The Display Main Unit displays the rainfall and temperature data received from the sensor outside. It remembers the data over a time range for you to monitor and analyze the weather status for past 24 hours. It has advance features such as the HI/LO Alert alarm which will alert the user when the set high or low weather criteria are met. Day and data stamps are also provided to the corresponding maximum and minimum records for each weather details.The system also analyze the records for your convenient viewing, such as the display of rainfall in terms of rain rate, hourly, daily, weekly, monthly and yearly records.With Radio-controlled / Atomic clock feature built-in, the system is truly a remarkable personal Professional Rain Gauge for your own backyard.NOTE:This instruction manual contains useful information on the proper use of this product. Please read this manual through to fully understand and enjoy its features.PRODUCT FEATURES● Large backlit LCD display unit● Hourly rain rate display● Total Hourly, Daily, Weekly, Monthly and Yearly rainfall display ● Data logger stores and gathered data to display rainfall according to your selected time-scale (current status, past 24 hours, past 31 days, past 52 weeks, past 12 months or past 5 years)● Graphical histogram display to show variation of rainfall pattern in your selected time-scale (current status, past 12 hours, past 12 days, past 12 weeks, or past 12 months at a time)● SINCE function to display TOTAL rainfall from a customized commencing date● Measures outdoor temperature at the same time with indoor temperature and humidity● Real time clock display with Atomic Radio Controlled function● 150 m (500 ft) sensor transmission range● Data retention storage even during batteries changes● High / Low Alert function ● Maximum / minimum memory function with time stamp● Alarm function with ice-alert function](https://usermanual.wiki/Chung-s-Electronic/000000-15-001/User-Guide-2818698-Page-2.png)
![Mounted horizontally and 1.5m off the groundLCD DISPLAYNormal Time and Calendar1. SINCE icon2. HISTORY icon3. Time4. DST icon5. Ice pre-alert on6. Day of the week7. Alarm mode8. Alarm icon9. Date10. MonthRainfall Window1. Rainfall indicator2. Past time3. Histogram4. Time range record indicator5. Rainfall reading6. MAX indicator7. HI Alert and Alarm8. Rainfall unit (in/h / mm/h)Outdoor Weather Window1. OUT indicator2. MAX/MIN indicator3. Outdoor temperature4. Low battery indicator for sensor5. Outdoor signal strength indicator6. HI / LO Alert and AlarmIndoor Weather Window1. IN indicator2. Indoor humidity3. MAX/MIN indicator4. Indoor temperature 5. Low battery indicator for main unit6. HI / LO Alert and Alarm for humidity7. HI / LO Alert and Alarm for temperatureINSTALLATION OF WIRELESS RAIN GUAGE SENSORYour wireless rain gauge sensor measures rainfall and temperature for you. It’s fully assembled and calibrated for your easy installation.Battery and InstallationUnscrew the battery door at bottom of the unit and insert the batteries according to the “+/-” polarity indicated. Screw thebattery door compartment on tightly. Press [ RESET ] buttonafter each battery change.NOTE: 1. Ensure the water tight O-ring is properly aligned in place to ensure water resistant.2. The red LED will begin flashing every 12 seconds.Mounting Guidelines1. Install the Rain Collector in an open location with no obstructions above and around the sensor for accurate rain and temperature measurement.2. Ensure the rain gauge is installed as level as possible to achieve accurate rain measurement.](https://usermanual.wiki/Chung-s-Electronic/000000-15-001/User-Guide-2818698-Page-3.png)
![RC on RC offAlarm off Alarm on Alarm with ice-alertEuropean version Within 1500 km (932 miles) of Frankfurt, GermanyWithin 1500 km (932 miles) of Anthorn, EnglandWithin 3200 km (2000 miles) of Fort, Collins, ColoradoDCF77(German)MSF(UK)WWVB(US)North AmericanVersion Time signal Signal broadcastDISPLAY MAIN UNITStand and Batteries InstallationThe unit is designed for desktop or wall mount for easy viewing.1. Remove the battery door of the main unit.2. Insert 2 new AA size batteries according to the “+/-” polarity mark on the battery compartment.3. Replace the battery door.4. Press the [ SCAN ] button.5. Once the batteries are inserted, all the segments of the LCD will be shown briefly.6. The clock will start scanning for the wireless signal reception 868 / 915 / 917 MHz in 8 seconds.7. After 1minute signal test for wireless reception, the clock turns to radio-controlled time signal searching automatically. NOTE: 1. If no display appears on the LCD after inserting the batteries, press the [ RESET ] button by using a pointed object.2. In some cases, you may not receive the RC signal immediately due to the atmospheric disturbance.Pairing of Wireless Sensor with Display Main UnitAfter insertion of batteries, the Display Main Unit will automatically search and connect the wireless sensor (antenna blinking).Once the connection is successful, antenna mark and readings for outdoor temperature and rainfall will appear on the display.Changing Batteries and Manual Pairing of SensorWhenever you changed the batteries of the wireless sensor, pairing must be done manually.1. Change the batteries to new ones.2. Press the [ RESET ] button on the sensor.3. Press the [ SCAN ] button on the Display Main Unit.NOTE:1. Pressing [ RESET ] button at bottom of the wireless sensor will generate a new code for pairing purpose.2. Always dispose old batteries in an environment safe manner.Radio-controlled / Atomic Clock FunctionThis main unit is programmed to synchronize with Radio-controlled time signal.When the unit receives RC signal, a sync-time symbol “ ” will appear on the LCD, and synchronize daily.NOTE:1. The strength of radio-controlled time signal from the transmitter tower may be affected by geographical location or building around.2. Always place the unit away from interfering sources such as TV set, computer, etc.3. Avoid placing the unit next to metal plates.4. Closed areas such as airport, basement, tower block or factory are not recommended.Time SettingThe unit automatically set itself according to the Radio Controlled Clock signal it received. To set the clock/calendar manually, first disable the reception by holding the [ RCC ] button for 8 seconds.To Manually Set the Clock / Time Zone Selection1. Press and hold [ CLOCK ] button for 2 seconds until “12 or 24 Hr” flashes.2. Use [ UP ] / [ DOWN ] button to adjust, and press [ CLOCK ] button to proceed to the next setting.3. Repeat 2 above for setting of TIME ZONE, HOUR, MINUTE, YEAR, MONTH&DATE or DATE&MONTH, MONTH, DATE, HOUR OFFSET, LANGUAGE and DST.NOTE:1. The unit will automatically exit setting if no key was pressed in 60 seconds.2. Time zone setting is only for North American version where the unit receives WWVB signal. User can select PST, MST, CST, EST, AST or NST.3. The hour offset is for DCF(German), MSF(UK) version and Australian version. Its range is between -23 and +23 hours.4. The language options are English (EN), French (FR), German (DE), Spanish (ES), Italian (IT), Dutch (NL) and Russian (RU).5. DST (Daylight Saving Time) feature is set to Auto (factory set). The clock has been programmed to automatically switch when the daylight saving time is in effect. User can set the DST to OFF to disable the feature.Disable / Enable RCC Signal Reception1. Press and hold [ RCC ] button 8 seconds to disable the reception.2. Press and hold [ RCC ] button 8 seconds to enable automatic RCC reception.To Turn on/off Alarm Clock (With Ice-alert Function)1. Press the [ ALARM ] button any tine to show the alarm time.2. Press [ ALARM ] button to activate the alarm.3. Press again to activate alarm with ice-alert function.4. To disable the alarm, press until the alarm icon disappears.To Set the Alarm Time1. Press and hold [ ALARM ] button for 2 seconds to enter alarm setting mode. HOUR will begin flashing.2. Use [ UP ]/[ DOWN ] button to adjust HOUR, and press [ ALARM ] button to proceed to set MINUTE. 3. Repeat 2 above to set MINUTE, then press [ ALARM ] button to exit.NOTE:1. Once set the alarm time , alarm function activate automatically.2. Pressing the [ ALARM ] button twice when alarm time is being displayed will activate the temperature-adjusted pre-alarm. The alarm will sound 30 minutes earlier if it detects outside temperature is below -3°C.RAINFALLThe device displays how many mm / inches of rainfall are accumulated in one hour time period, based on current rainfall rate that is updated every minute.To Select the Rainfall Display ModePress [ RAIN ] button to toggle between:● RATE Current rainfall rate in past an hour (e.g., 07:40~08:40) ● HOUR The HOUR display indicates the total rainfall in past an hour● DAY The DAY display indicates the total rainfall within a day ● WEEK The WEEK display indicates the total rainfall within a week](https://usermanual.wiki/Chung-s-Electronic/000000-15-001/User-Guide-2818698-Page-4.png)
![Weak signalStrong signalSignal searching Signal lostNo sensorIndoor temperature HI and LO alertIndoor humidity HI and LO alertOutdoor temperatureHour RainfallDay RainfallHI alert HI alert HI and LO alertArea Type of Alert availableHour rainfall Day rainfall Week rainfall Month rainfall Year rainfallHour rainfallRate rainfall Day rainfall Week rainfall Month rainfall Year rainfallOutdoor Temperature Indoor Temperature Indoor Humidity Hour/Day/Week/Month/Year rainfallMax. Min. Max. Min. Max. Max.Min.AreaType of memory● MONTH The MONTH display indicates the total rainfall within a month● YEAR The YEAR display indicates the total rainfall within a yearNOTE:User can select the measurement unit for rainfall by sliding the [ MM/IN ] switch.Graphical Histogram DisplayHistogram presents an easy view of rainfall change pattern over a period of time in a graphical manner. The time scale of the graph automatically changes according to the rainfall display modes: Rate >> Hour >> Day >> Week >> Month >> Year1. By default, the graph is presented in Hourly scale when rainfall is in Rain Rate.2. There is no graphical display when Yearly Rainfall is selected.Total Rainfall SINCE functionPress [ SINCE ] button to display the total rainfall record. The connecting data and year will be shown.To clear the existing commentary date and reset it to re-start again, press and hold [ SINCE ]. The total rainfall will now be equal to TODAY rainfall and the unit will start again to collect the rainfall data.To Select the Measurement Unit for the Rainfall1. Slide the [ MM/IN ] switch to <MM> position to select millimeter unit.2. Slide the [ MM/IN ] switch to <IN> position to select inch unit.HISTORY DATA OF ALL RECORDData logger stores and gathered data to display rainfall according to your selected time-scale (current status, past 24hours, past 31 days, past 52 weeks, past 12 months or past 5 years)To check history data:1. Press [ RAIN ] button to select rainfall display modes.2. Press the [ HISTORY ] button to read the data.The LCD will display the past indoor temperature & humidity, outdoor temperature, value of rainfall and their time and date.NOTE:The main unit can check the records according to the time and calendar of the clock, i.e. it can check the records of the past, but can notcheck the records in the future.E.g. The main unit recorded data from Jan. 1st, 2012 to Feb. 31st, 2014. Then time is set to be Jan. 1st, 2013. It can only check the data of 2012.TEMPERATURE DISPLAYUser may select temperature unit by sliding the [ °C / °F ] switch. MAXIMUM / MINIMUM MEMORY FUNCTIONTo Check the MemoryPress [ MEM ] button repeatedly to check the maximum/minimum records. NOTE: When maximum or minimum reading is displayed, the corresponding timestamp will be shown.To Clear Individual RecordsWhile displaying the maximum/minimum records, press and hold [ MEM ] button for 2 seconds to clear the individual record. HI / LO ALERTHI/LO are used to alert you of certain weather conditions. Once activated, the alarm will turn on and red LED starts flashing when a certain criterion is met. The following are areas and type of alert provided.NOTE:* Daily rainfall since midnight.To Set the HI / LO Alert1. Press the [ ALERT ] button until the desired area is selected.2. Use [ UP ] / [ DOWN ] buttons to adjust the setting.3. Press [ ALERT ] button to confirm and continue to next setting.To Enable / Disable the HI / LO Alert1. Press [ ALERT ] button until the desired area is selected.2. Press [ ALARM ] button to turn the alert on or off.3. Press [ ALERT ] button to continue to next setting.NOTE:1. The unit will automatically exit setting mode in 5 seconds if no key is pressed.2. When ALERT alarm is on, the alert LED indicator, the area and type of alarm that triggered the alarm will be flashing and the alarm will sound for 2 minutes.3. To silence the Alert alarm beeping, press the [ SNOOZE/LIGHT ] button, or let the beeping alarm automatically turn off after 2 minutes.WIRELESS SIGNAL RECEPTIONThe wireless sensor is capable of transmitting data wirelessly over an approximate operating of 150m range (line of sight).Occasionally, due to intermittent physical obstruction or other environment interference, the signal may be weaken or lost.In the case that the sensor signal is lost completely, you will need to relocate the display main unit or the wireless sensor.](https://usermanual.wiki/Chung-s-Electronic/000000-15-001/User-Guide-2818698-Page-5.png)
![Strange or no measurement of Thermo Sensor Strange or no measurement of Rain Sensor Problem / Symptom Solution1. Check the radiation shield.2. Check the sensor casing.1. Check the drain hole in the rain collector.2. Check the balance of the rain gauge. 1. Change new batteries to the rain gauge.2. Relocate the main unit and sensor closer to each other.3. Make sure the main unit is placed away from other electronic appliances that may interfere with the wireless communication (TVs, computers, microwaves). 4. If problem continues, reset both main unit and the sensor. (Signal lost for 15 minutes) and(Signal lost for 1 hour)anddisplays on the outdoor weather windowDimensions 95 x 155 x 23 mm (W x H x D) Weight 212g without batteriesBattery 2 x AA size 1.5V batteries (Alkaline recommended)Support channels Wireless sensor (Rain gauge, thermo sensor)MAIN UNITDisplayed range 20% to 90% RH (< 20%: LO; > 90%: HI) (Temperature between 0°C to 60°C) Operating range 20% to 90%RHResolution 1%Accuracy +/-5% typical @ 25°C (77°F) Display modesCurrent, Min and Max, Historical data for past 24 hours Memory modes Max & Min from last memory reset (with time stamp)INDOOR HUMIDITYAlarm Hi / Lo Humidity Alert Synchronization Auto or disabledClock display HH:MM:SS / WeekdayHour format 12hr AM/PM or 24hrCalendar DD/MM/YR or MM/DD/YRWeekday Time signal Time zoneHour offset -23 to +23 hours (DCF / MSF / Australian versions)DST7 languages: EN, FR, DE, ES, IT, NL, RUDCF, MSF, WWVB (Factory set)PST, MST, CST, EST, AST, NST (WWVB version only)AUTO / OFFTemp. unit °C or °F Displayed range -40°C to 70°C (-40°F to 158°F) (< -40°C: LO; > 70°C: HI)-10°C to 50°C (14°F to 122°F)Operating rangeAccuracy +/- 1°C or 2°F typical @ 25°C (77°F) Resolution 0.1°C or 0.1°F Display modes Current, Min and Max, Historical data for past 24 hours Memory modes Max & Min from last memory reset (with time stamp)Alarm Hi / Lo Temperature Alert INDOOR TEMPERATURERADIO-CONTROLLED / ATOMIC CLOCKDATA CLEARINGDuring installation of the wireless sensor, the sensors were likely to be triggered, resulting in erroneous rainfall and wind measurements. After the installation, user may clear out all the erroneous data from the Display Main Unit, without needing to reset the clock and re-establish pairing. 1. Press and hold [HISTORY] button for 3 seconds.2. Press [ UP ] or [ DOWN ] button to choose “YES” or “NO”.3. Press [HISTORY] button to confirm . This will clear out any data recorded before.MAINTENANCE OF RAIN GAUGE1. Rotate the rain collector in anticlockwise direction. 2. Gently remove the rain collector. 3. Clean and remove any debris or insects.TROUBLESHOOTINGPRECAUTIONS• Read and keep these instructions.• Heed all warnings.• Follow all instructions.• Do not subject the unit to excessive force, shock, dust, temperature or humidity.• Do not cover the ventilation holes with any items such as newspapers, curtains etc.• Do not immerse the unit in water. If you spill liquid over it, dry it immediately with a soft, lint-free cloth.• Do not clean the unit with abrasive or corrosive materials. • Do not tamper with the unit’s internal components. This invalidates the warranty.• Only use fresh batteries. Do not mix new and old batteries.• Only use attachments / accessories specified by the manufacturer.• Images shown in this manual may differ from the actual display.• When disposing of this product, ensure it is collected separately for special treatment.• Placement of this product on certain types of wood may result in damage to its finishing for which manufacture will not be responsible. Consult the furniture manufacturer’s care instructions for information.• The contents of this manual may not be reproduced without the permission of the manufacturer.• When replacement parts are required, be sure the service technician uses replacement parts specified by the manufacturer that have the same characteristics as the original parts. Unauthorized substitutions may result in fire, electric shock, or other hazards. • Do not dispose old batteries as unsorted municipal waste. Collection of such waste separately for special treatment is necessary.• Please note that some units are equipped with a battery safety strip. Remove the strip from the battery compartment before first use.• The technical specifications for this product and the contents of the user manual are subject to change without notice.SPECIFICATIONS](https://usermanual.wiki/Chung-s-Electronic/000000-15-001/User-Guide-2818698-Page-6.png)