Computational Systems orporated 8000RF Laser Alignment Fixture User Manual Chap 4 pp 11 to 40
Computational Systems Incorporated Laser Alignment Fixture Chap 4 pp 11 to 40
UserManual.wiki
>
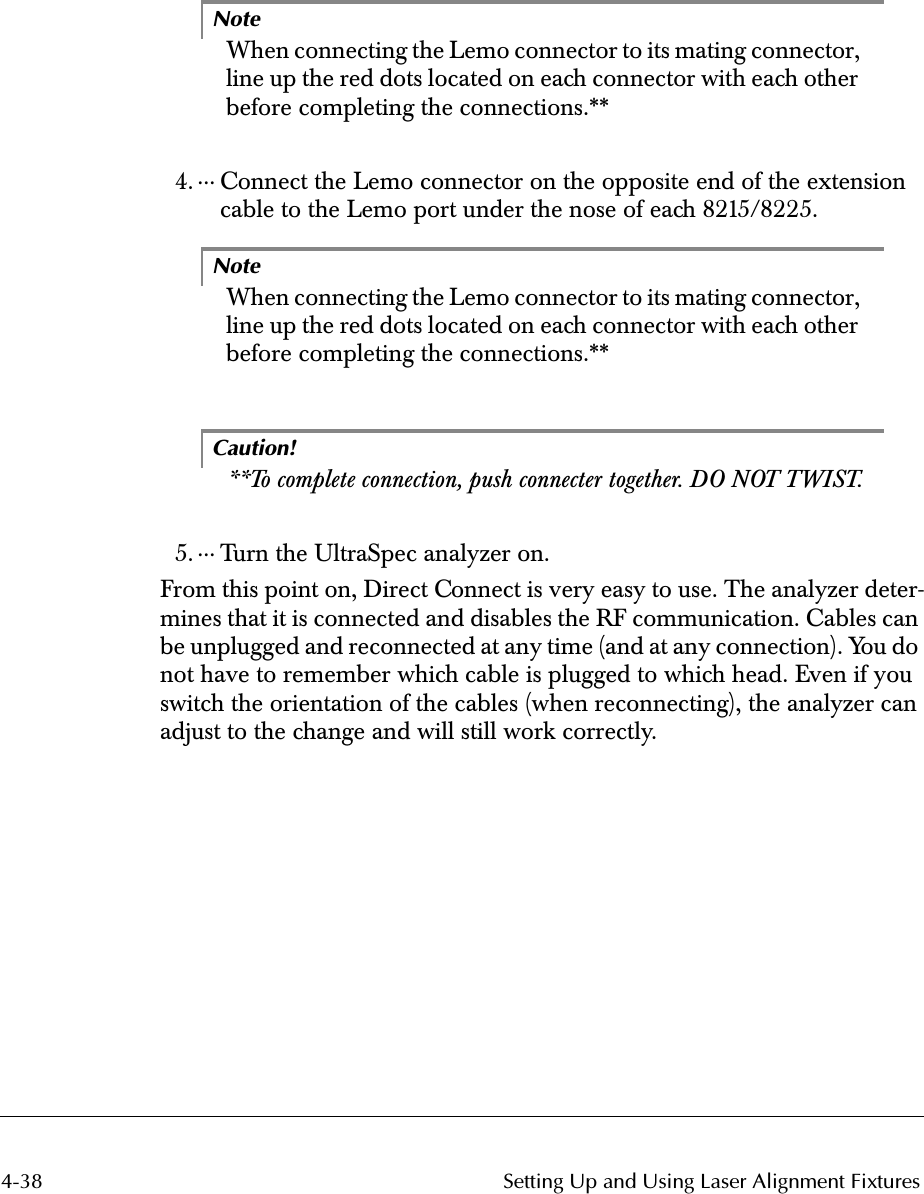
Computational Systems orporated
>
8000RF User Manual
>
Chap 4 pp 11 to 40
Contents
1.
Appendix
2.
Chapt 1 2 3
3.
Chapt 5 6 7 8 9
4.
Chap 4 pp 1 to 10
5.
Chap 4 pp 11 to 40
6.
Chap 4 pp 41 to 52
7.
Manual Intro and TOC
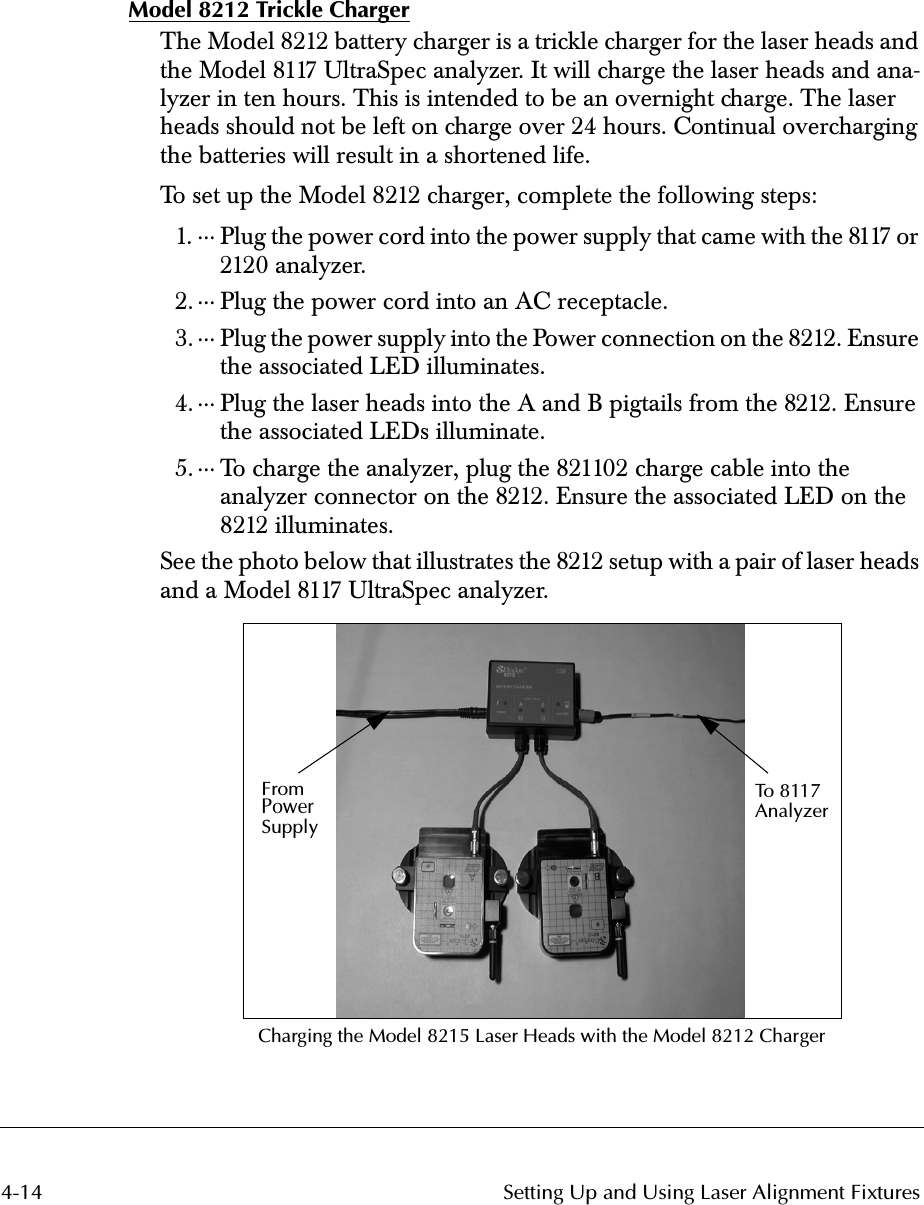
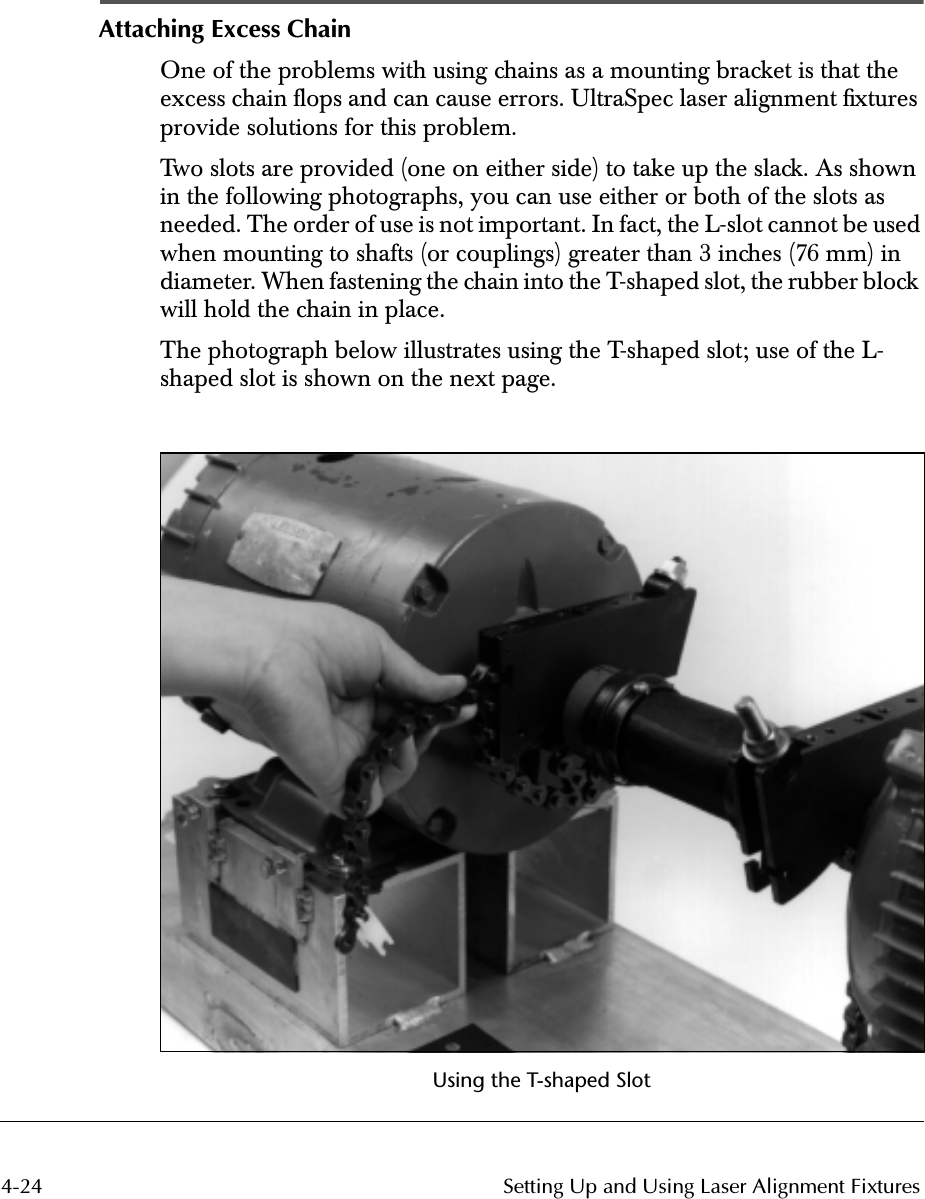
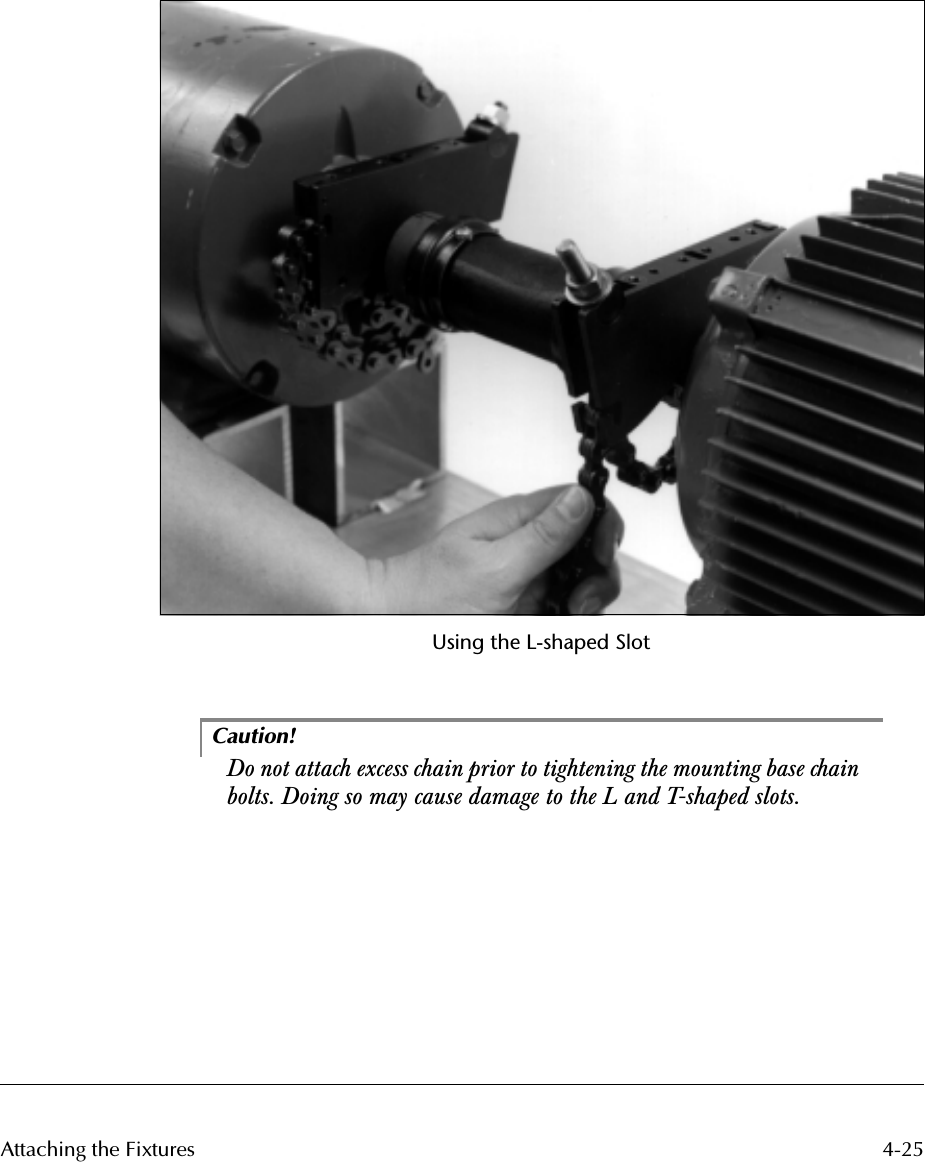
Chap 4 pp 11 to 40
Navigation menu
Upload a User Manual
Namespaces
Wiki Guide
HTML
PDF
Info
Views
User Manual
Discussion / Help
Navigation