Digital Camp MASTO2200 Portable Storage Controller User Manual users manual
Digital Camp Co., Ltd. Portable Storage Controller users manual
UserManual.wiki
>
Digital Camp
>
MASTO2200 User Manual
users manual
Navigation menu
Upload a User Manual
Namespaces
Wiki Guide
HTML
PDF
Info
Views
User Manual
Discussion / Help
Navigation

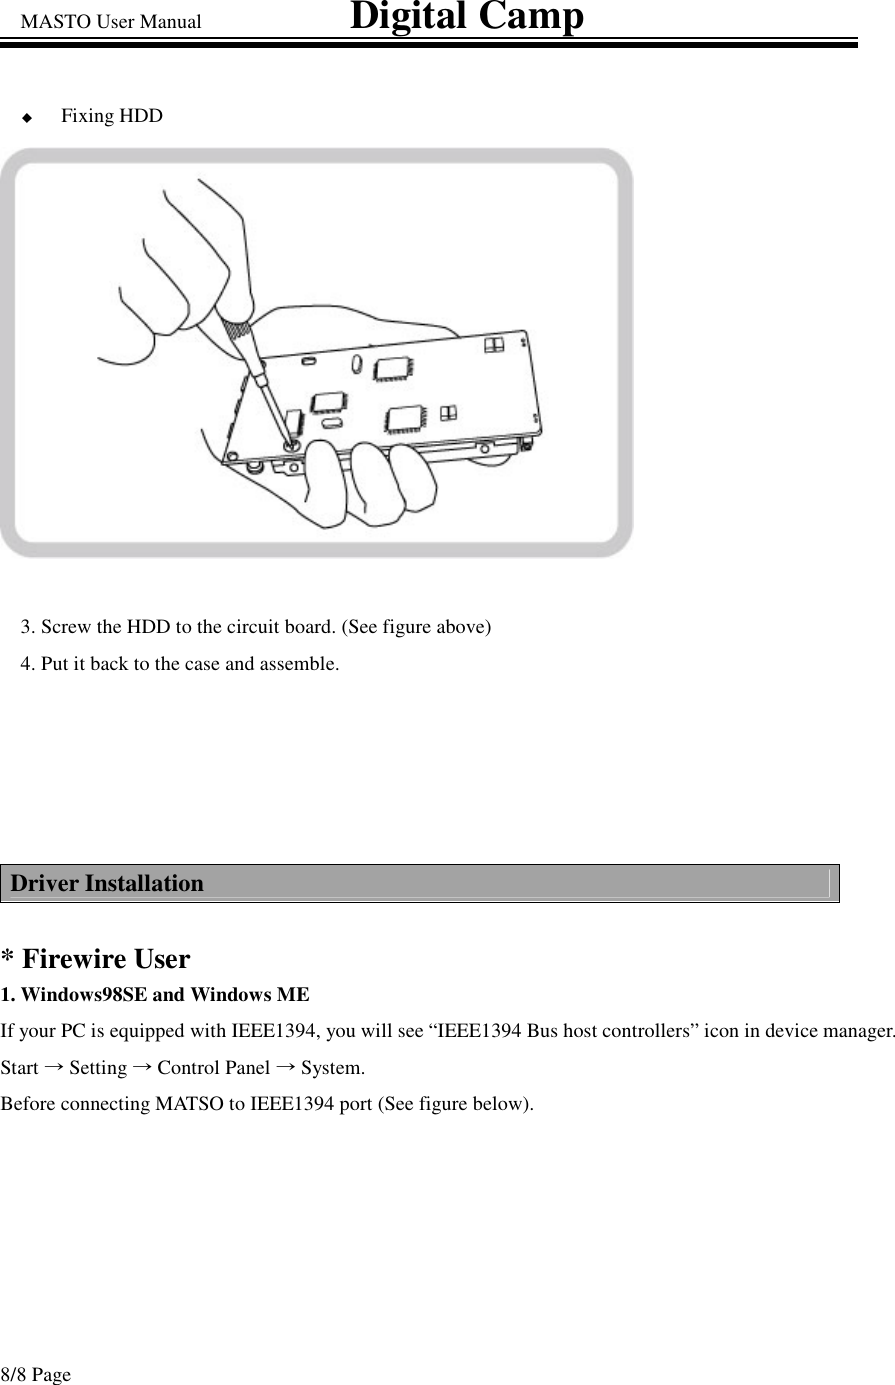
![MASTO User Manual Digital Camp 10/10 Page When you install a brand new drive, you have to create a partition and format the drive. Please follow the steps below for partition and format. How to create partition and format disk under windows 98/ME 1. Start →Program→MS DOS prompt ,Type “fdisk” 2. Enter [Y] on large disk support. 3. Enter [5] to select the drive you installed. 4. Enter the fixed drive number (usually [2]) 5. Enter [1] to create DOS partition (Extended partition) and assign logical drive letter. 6. Close MS-DOS prompt program and restart your computer. 7. After rebooting the system. Go to My computer and open. 8. Select the new drive icon (i.e: E:). 9. Highlight the drive icon and format.](https://usermanual.wiki/Digital-Camp/MASTO2200/User-Guide-291285-Page-10.png)

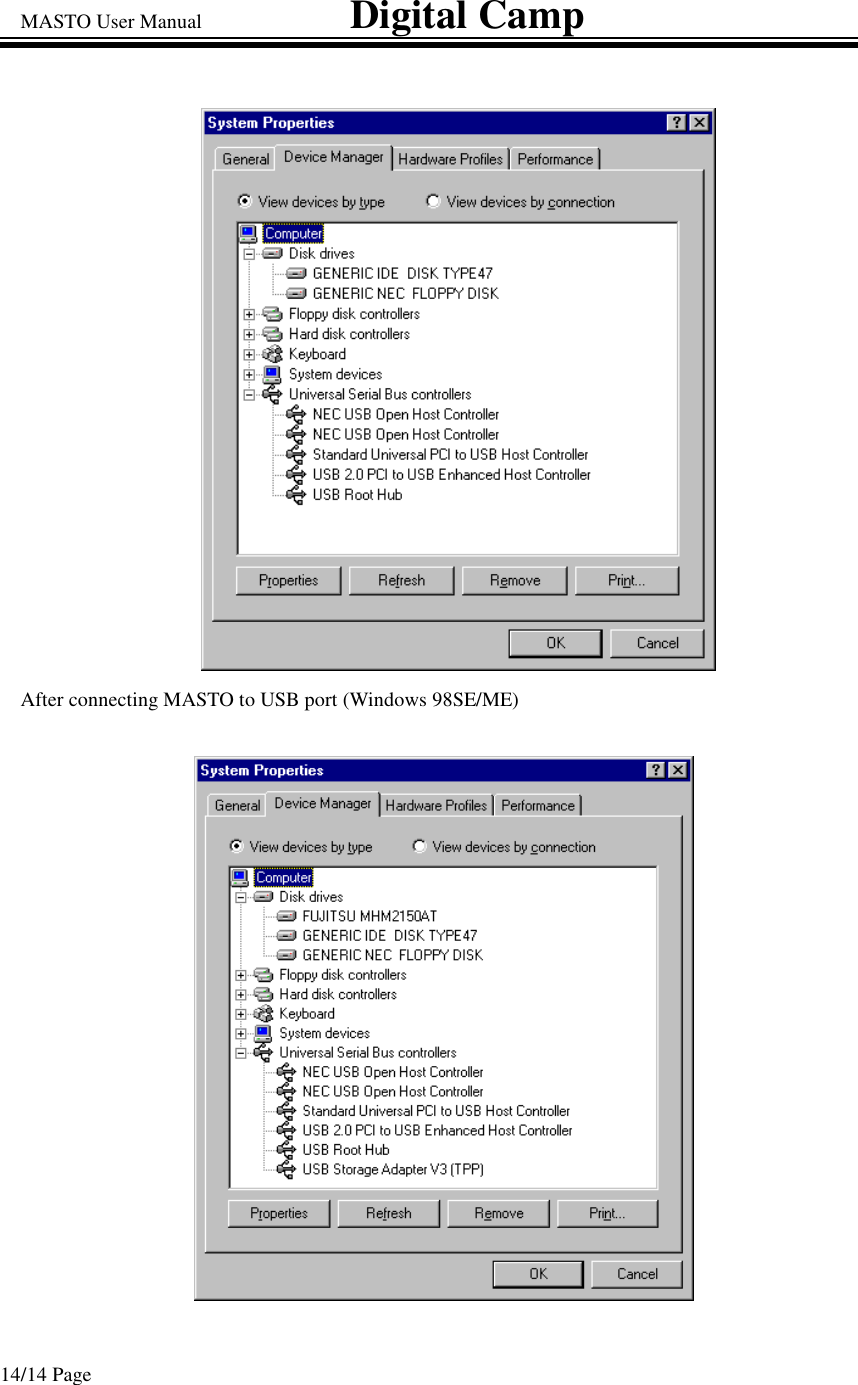
![MASTO User Manual Digital Camp 15/15 Page Select the drive icon you installed under “Disk drives” icon, and check the property of the drive. You can verify name and model number of the drive (i.e.: Fujitsu MHM2150AT) When you install a brand new drive, you have to create a partition and format the drive. Please refer following steps create partitions and formats disk. 1. Start →Program→MS DOS prompt ,Type “fdisk” 2. Enter [Y] on large disk support. 3. Enter [5] to select the drive you installed. 4. Enter the fixed drive number (usually [2]) 5. Enter [1] to create DOS partition (Extended partition) and assign logical drive letter. 6. Close MS-DOS prompt program and restart your computer. 7. After rebooting the system. Go to My computer and open. 8. Select the new drive icon. 9. Highlight the new drive and format.](https://usermanual.wiki/Digital-Camp/MASTO2200/User-Guide-291285-Page-15.png)