GE Healthcare VSCANEXTEND VSCAN EXTEND User Manual VSE UM 5721203 D 00
GE Healthcare VSCAN EXTEND VSE UM 5721203 D 00
UserManual.wiki
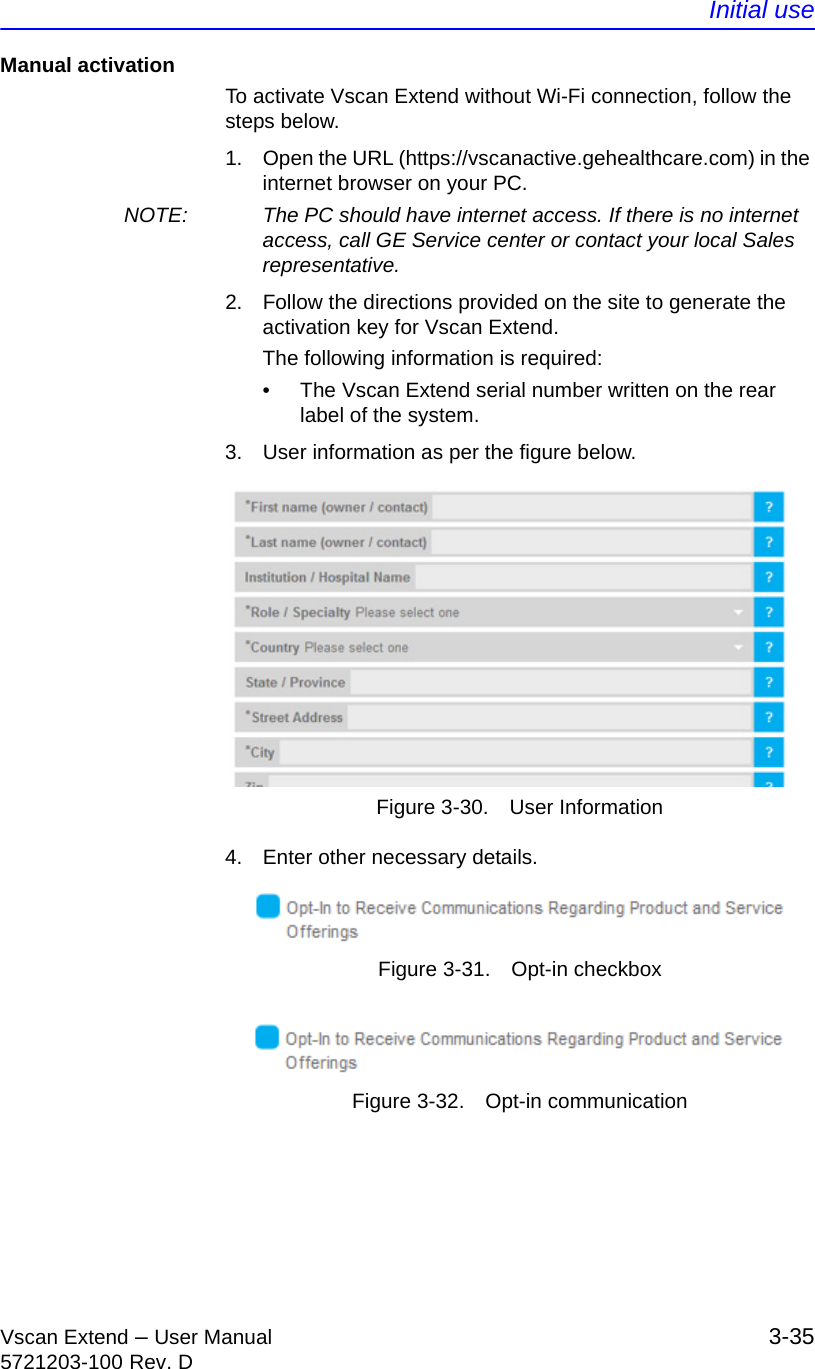
>
GE Healthcare
>
VSCANEXTEND User Manual
>
Manual
Contents
1.
Manual
2.
.Manual
Manual
.Manual
<noframes>VSCAN EXTEND User Manual <br />Directly view this document at <a href="https://usermanual.wiki/GE-Healthcare/VSCANEXTEND.Manual-4532113.pdf">https://usermanual.wiki/GE-Healthcare/VSCANEXTEND.Manual-4532113.pdf</a> </noframes>
Navigation menu
Upload a User Manual
Namespaces
Wiki Guide
Info
Views
User Manual
Discussion / Help
Navigation

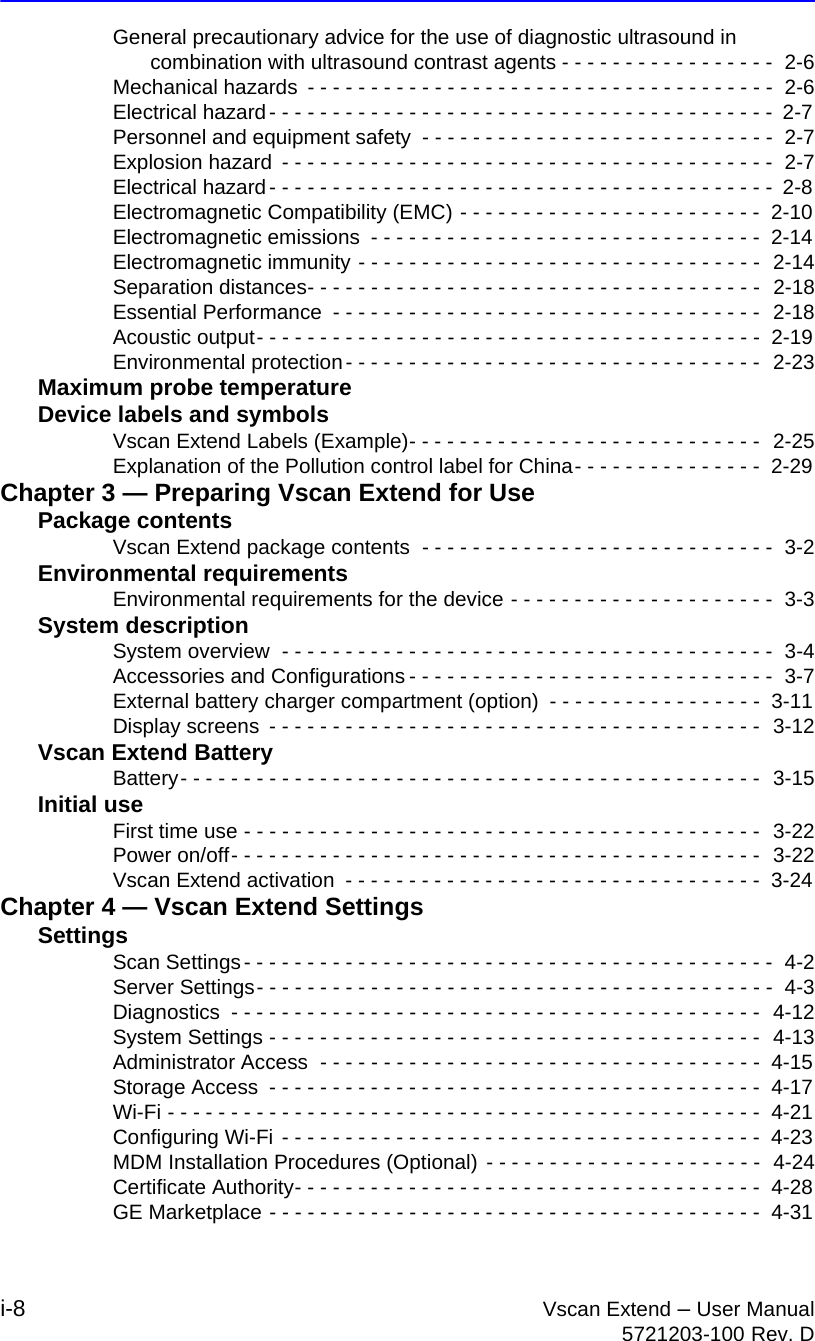
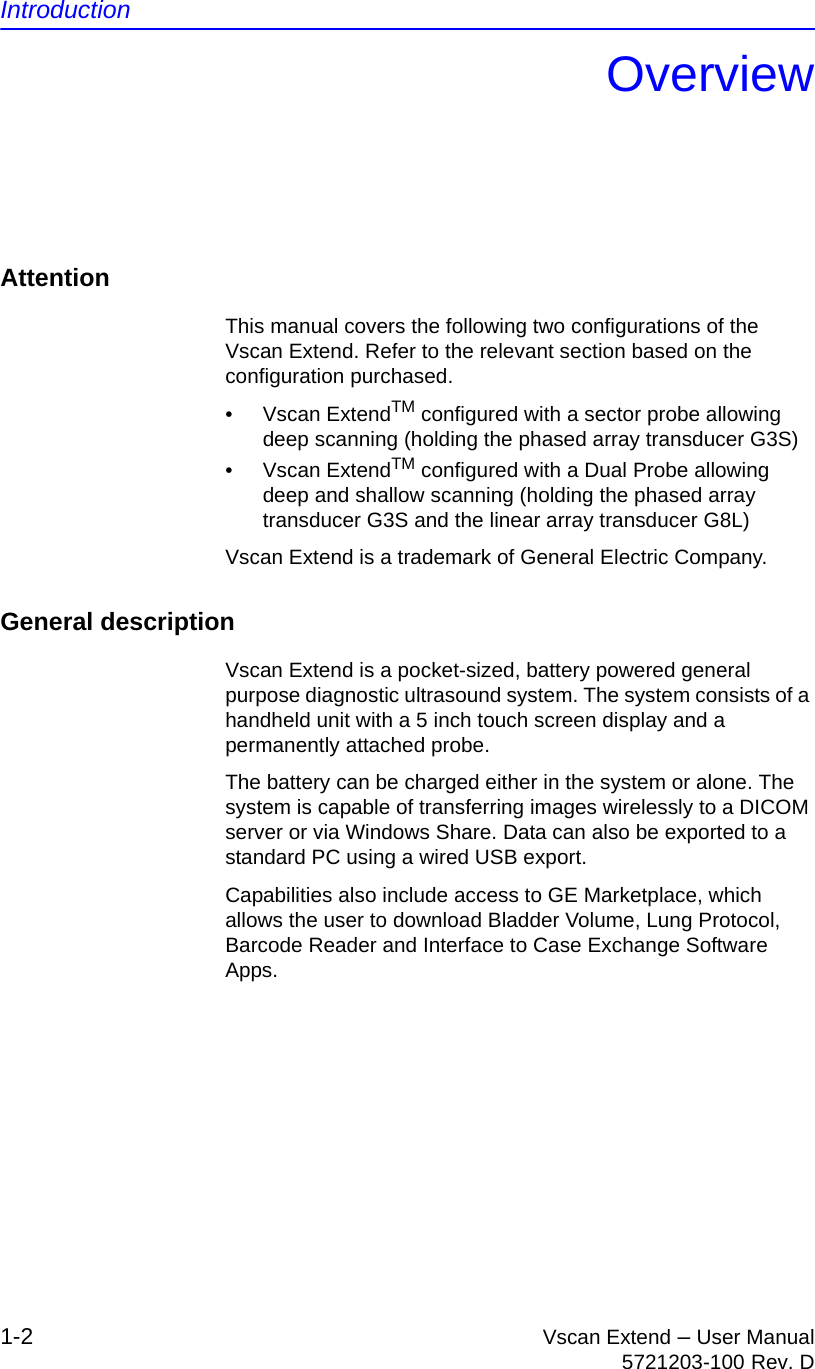
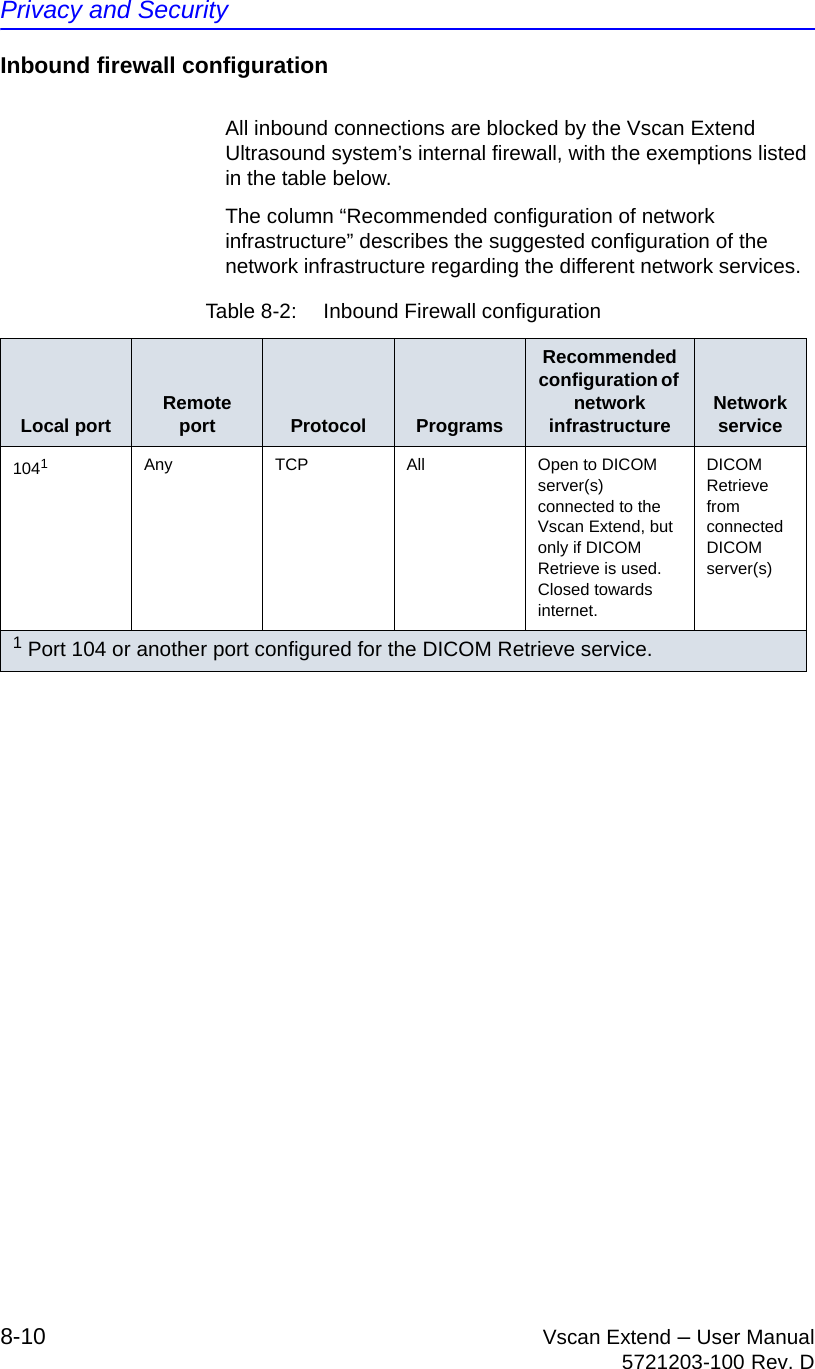
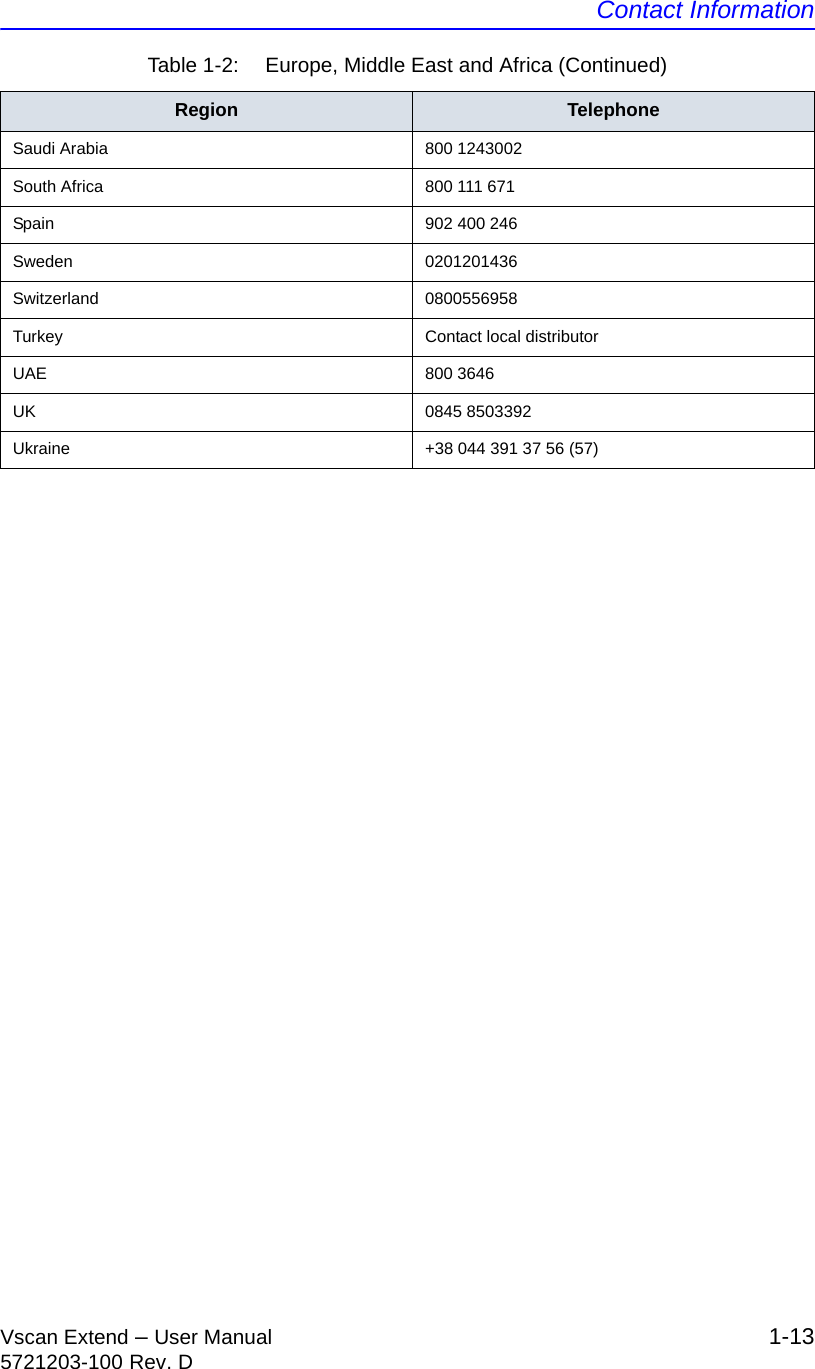
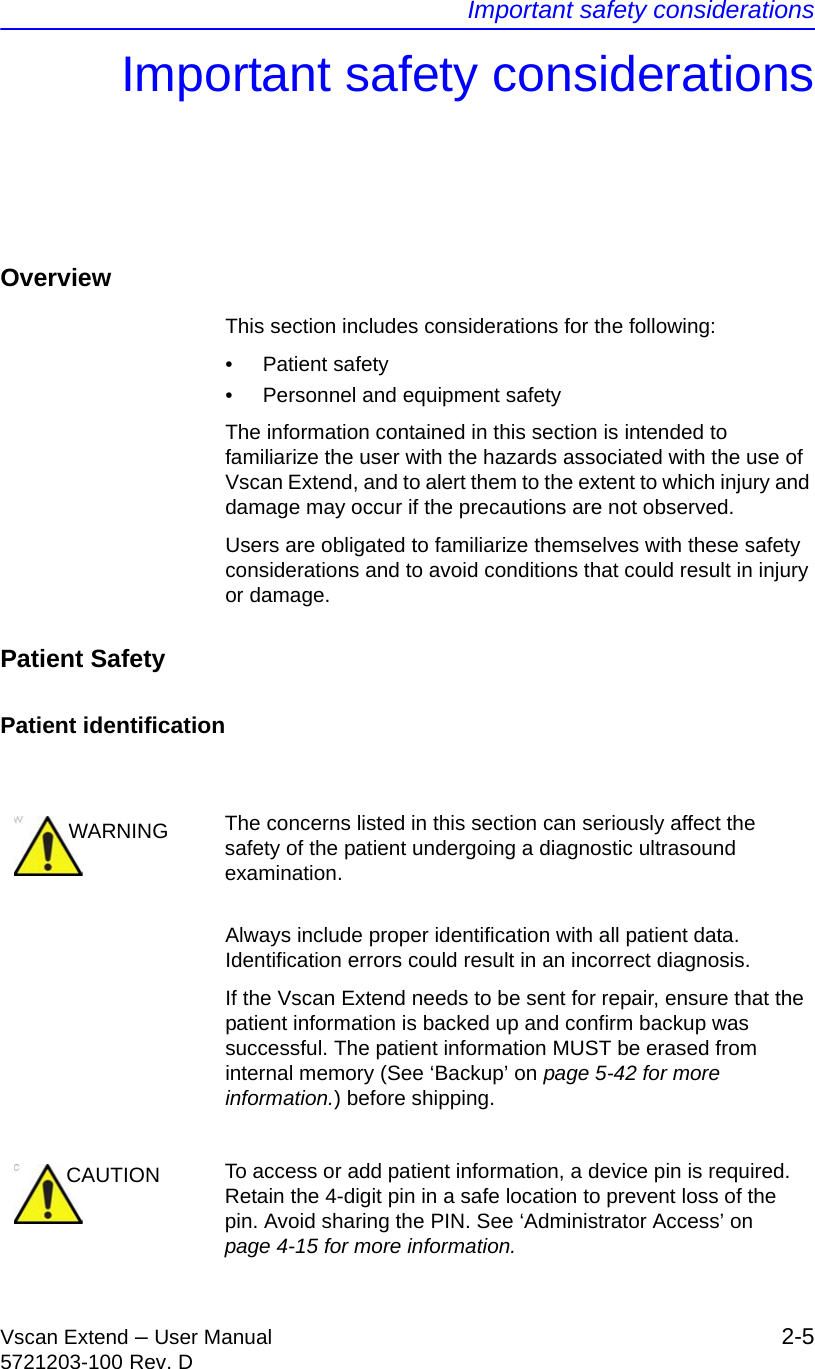
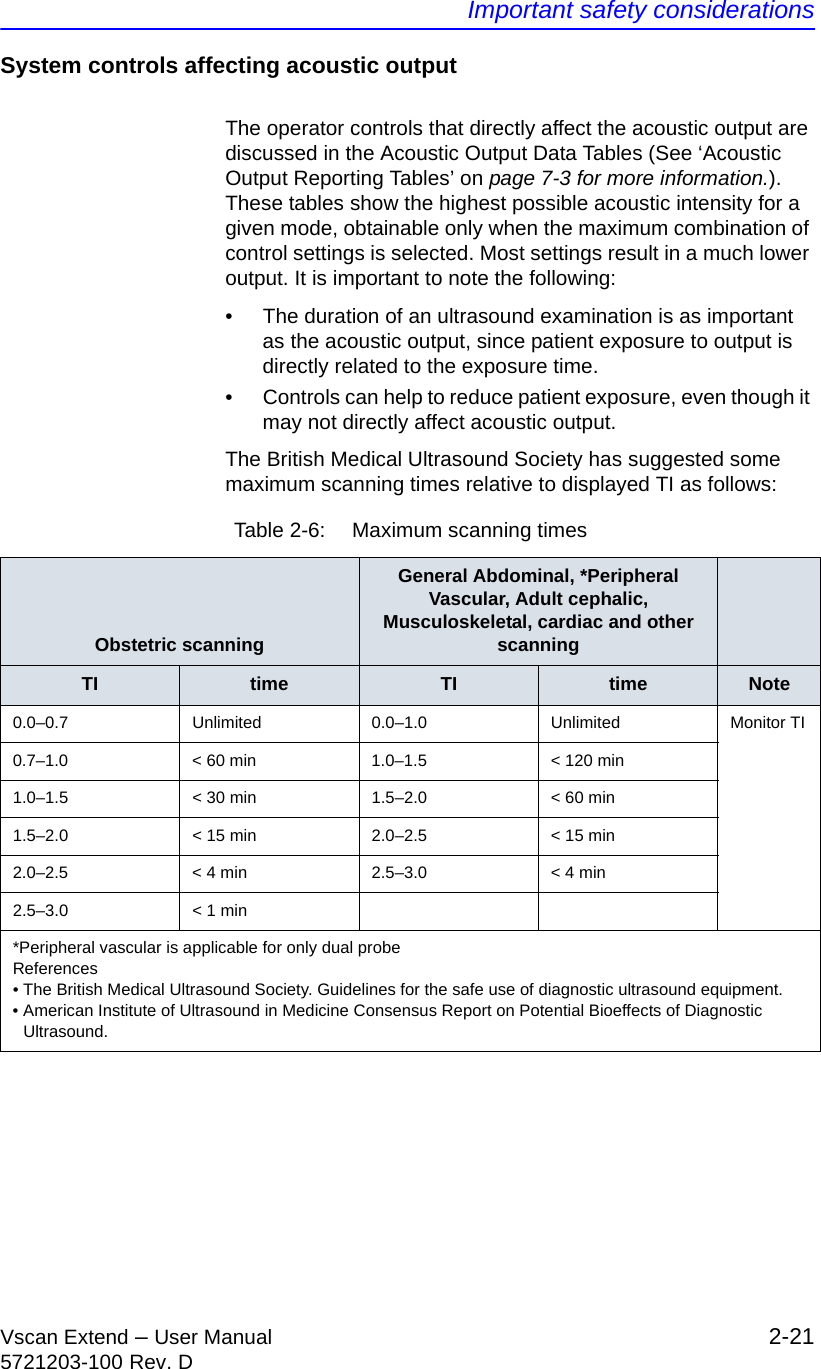
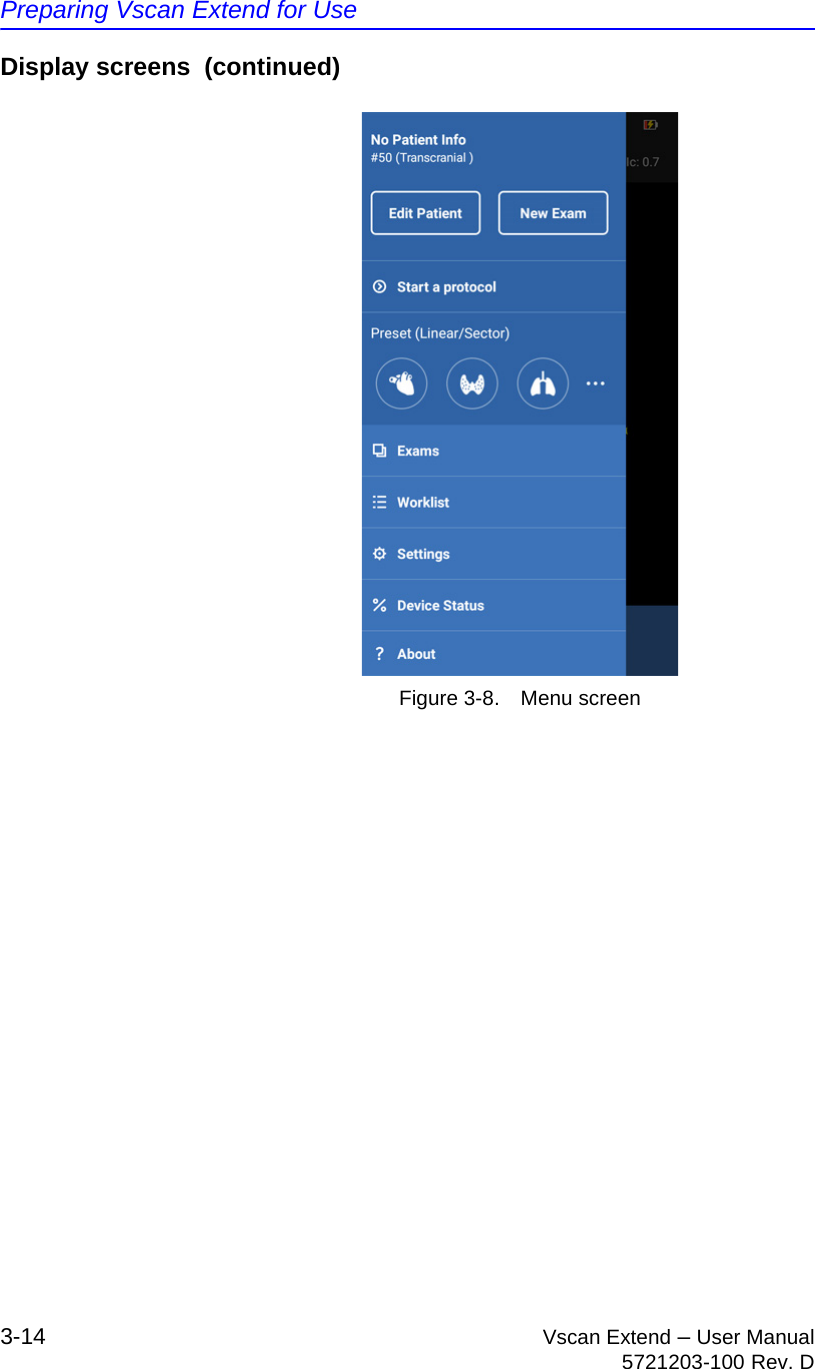
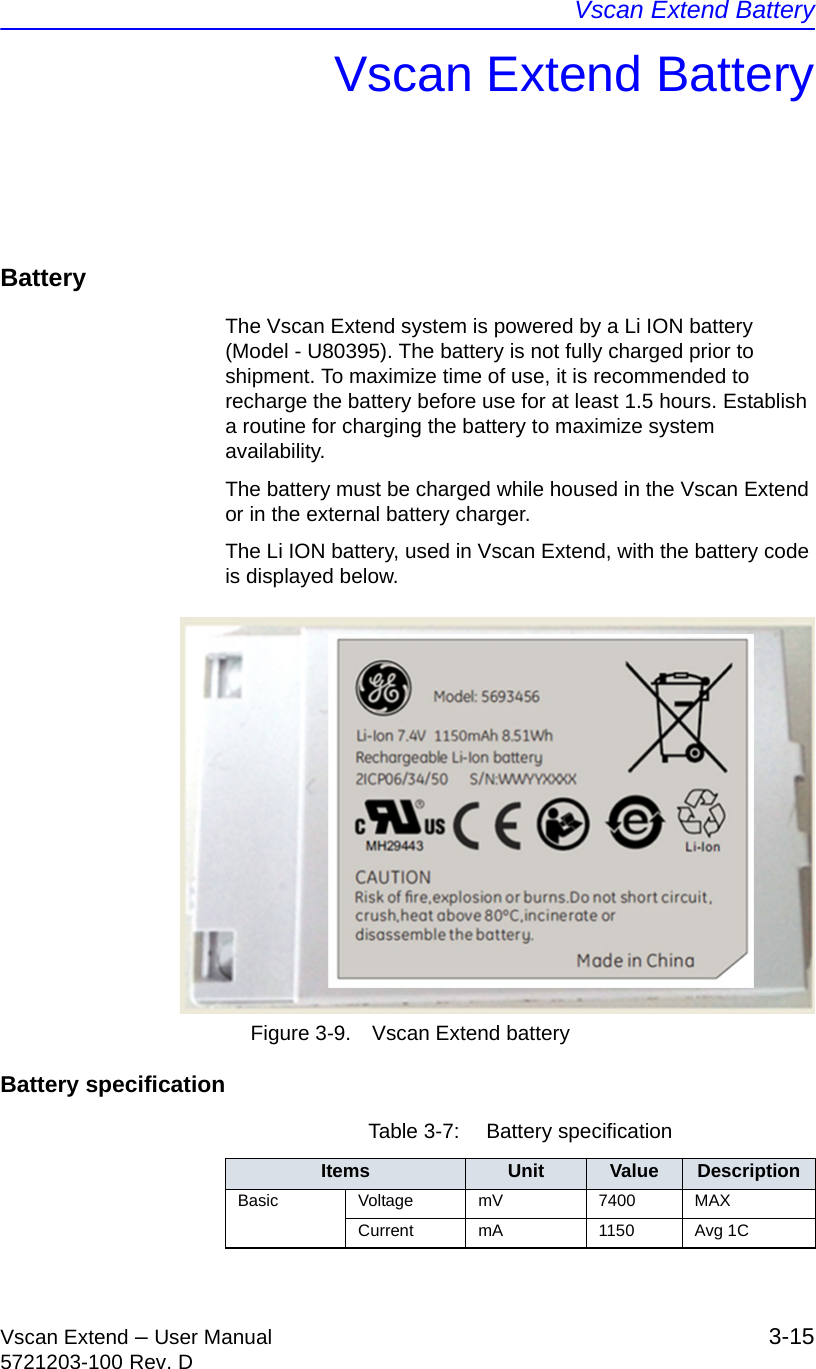
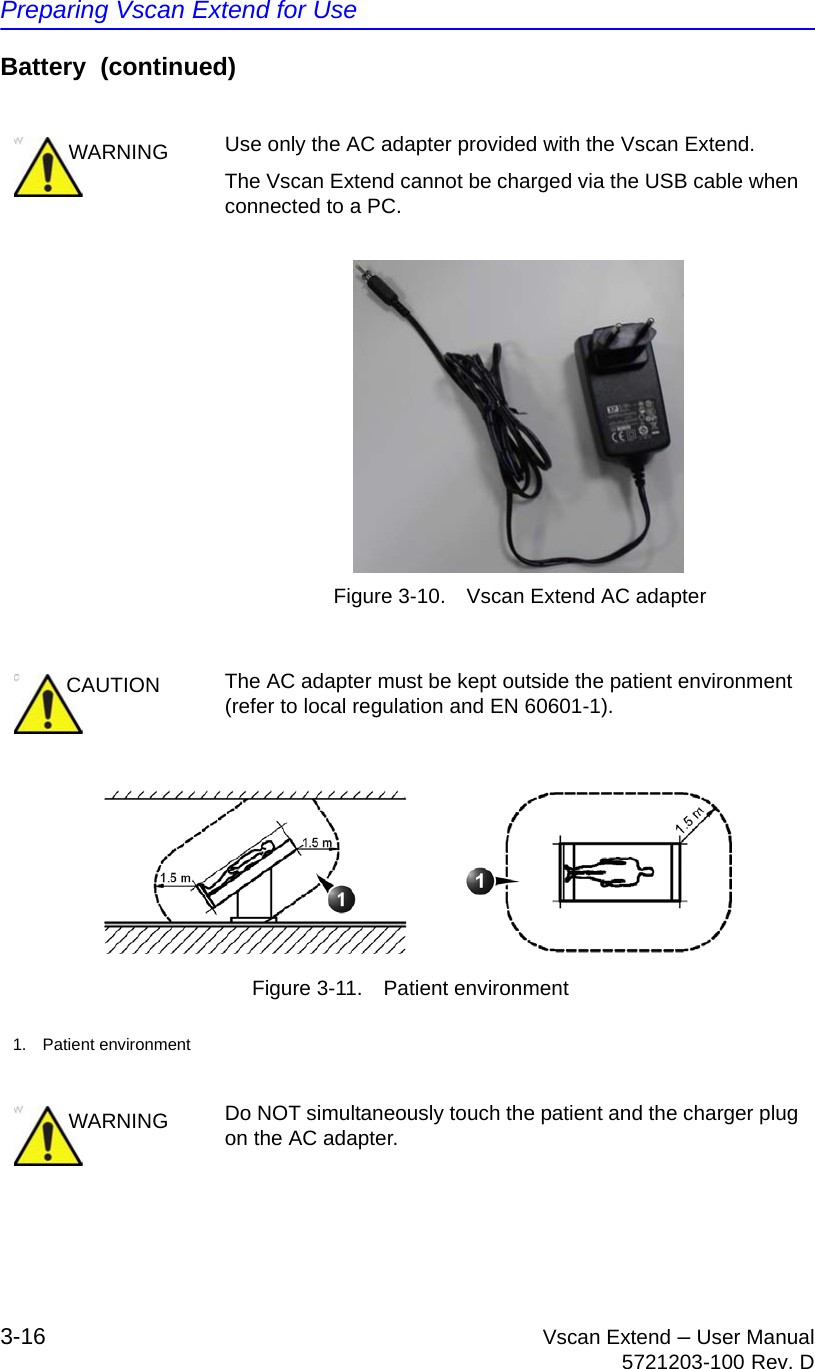
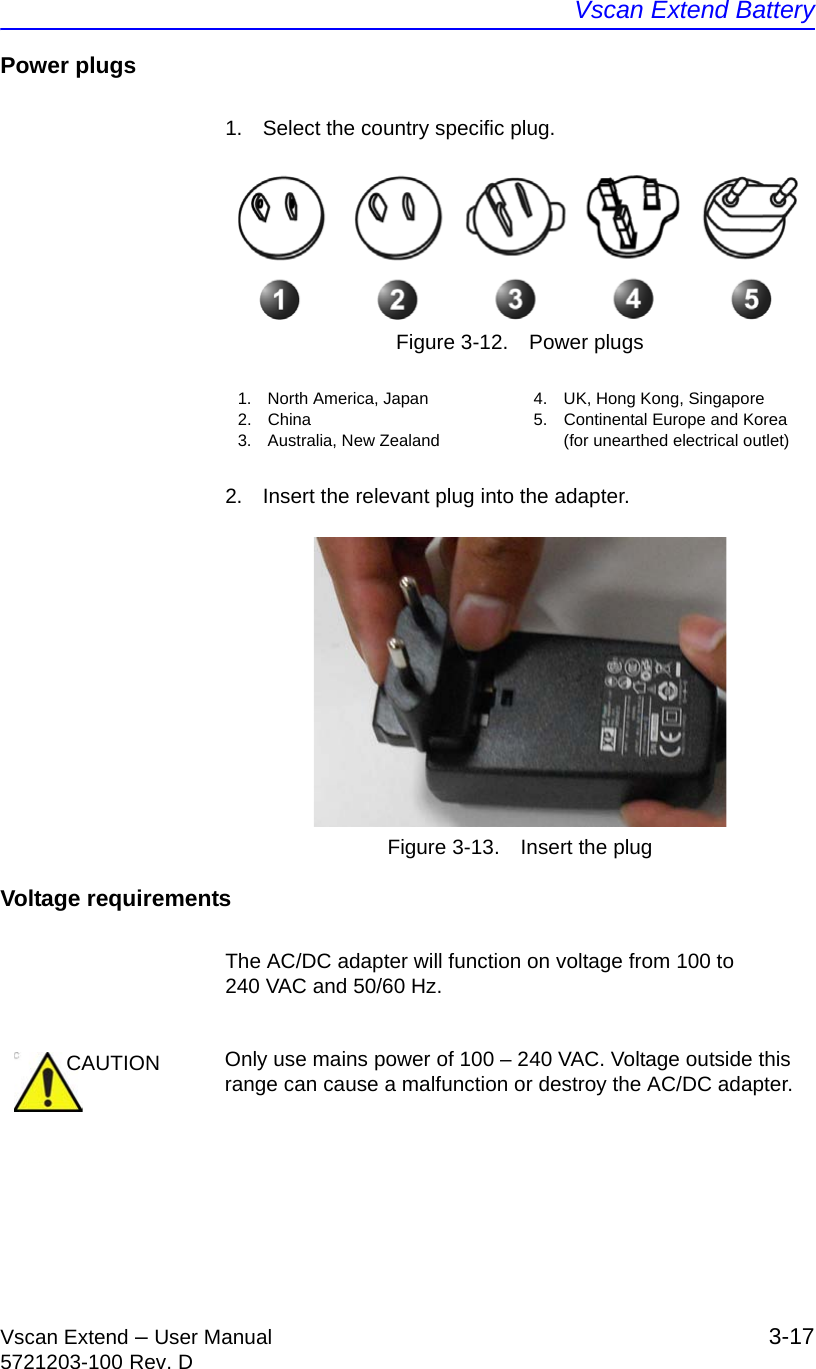
![Introduction1-12 Vscan Extend – User Manual5721203-100 Rev. DEurope, Middle East and AfricaTable 1-2: Europe, Middle East and AfricaRegion TelephoneAlgeria +21321484612Andorra 902 400 246Austria 0800244260Belgium Dutch +32 262 638 38Belgium French +32 262 638 39Bulgarian +35929712040Denmark 80404944Egypt +202 19434 [hot line]Finland 0981710182France 0800139140G. D. Luxembourg 080022973Germany 08004373784Greece 302109690660Holy See 800 827168Hungary +36-23-410-510Ireland 1800992557Israel Contact local distributorItaly Central 800 827168Italy North-East 800 827166Italy North-West 800 827164Italy South 800 827170Liechtenstein 0041 44 809 9293Monaco 0800139140Netherlands 8000994442Northern Ireland 08000720248Norway 80062043Portugal 800 834 004Russia +7 495 739 69 75San Marino 800 827168](https://usermanual.wiki/GE-Healthcare/VSCANEXTEND.Manual/User-Guide-3213606-Page-24.png)
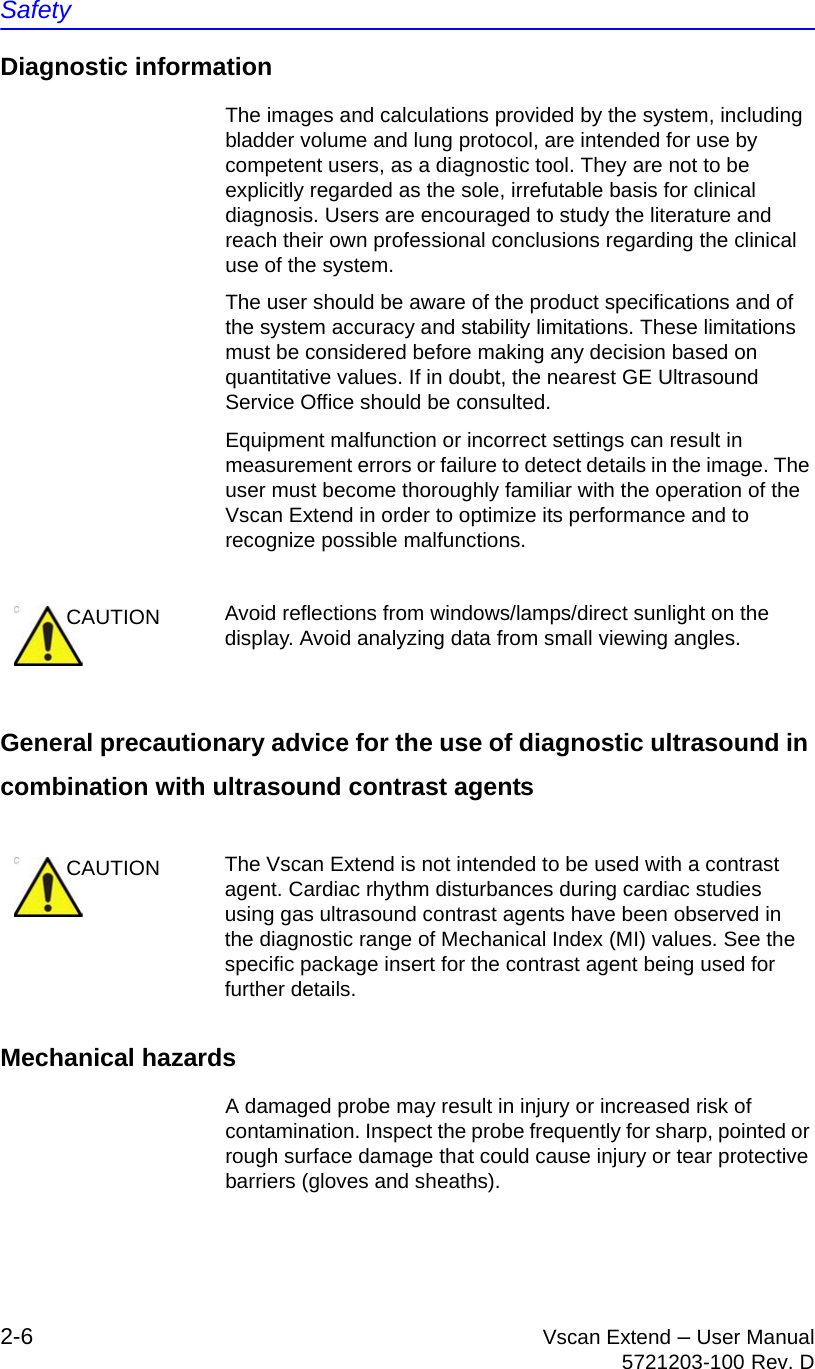
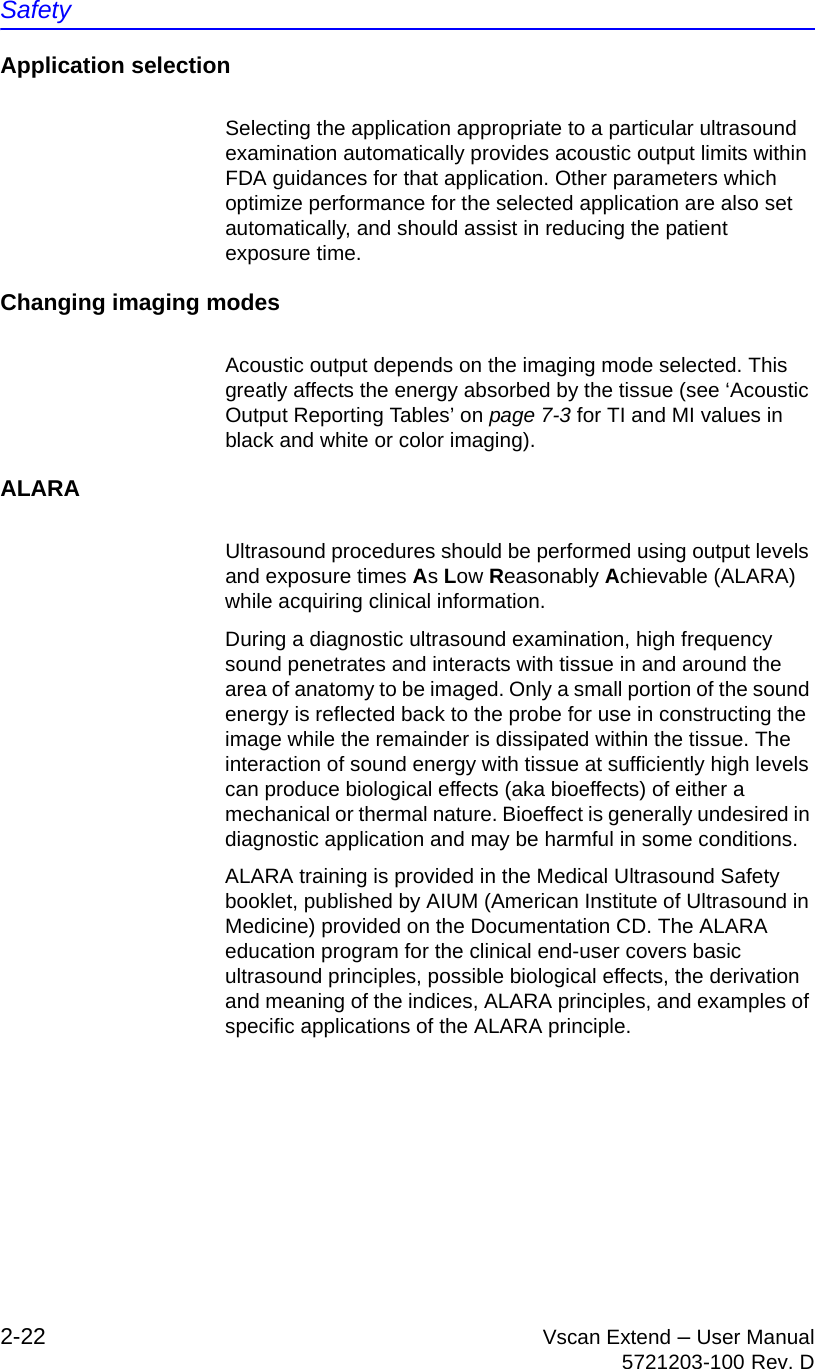


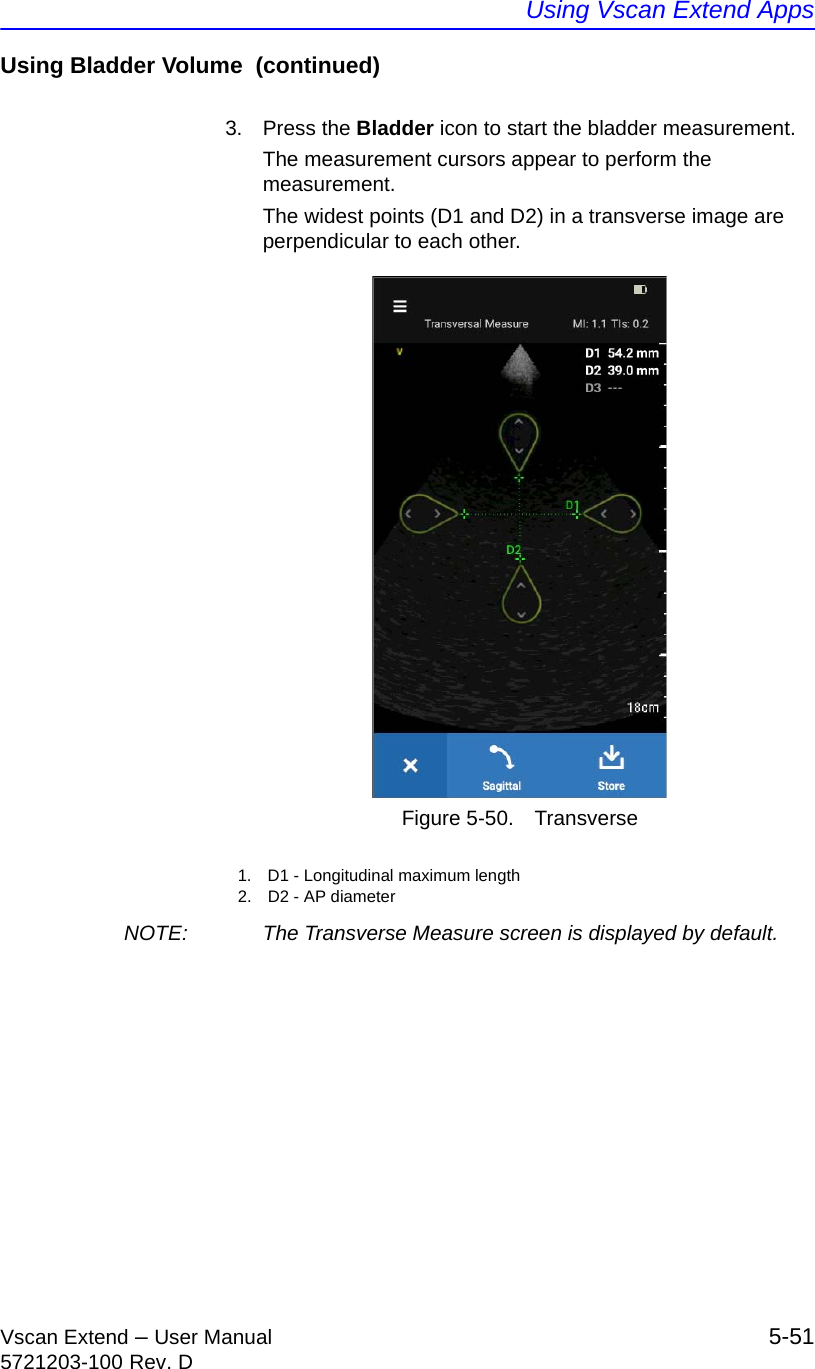
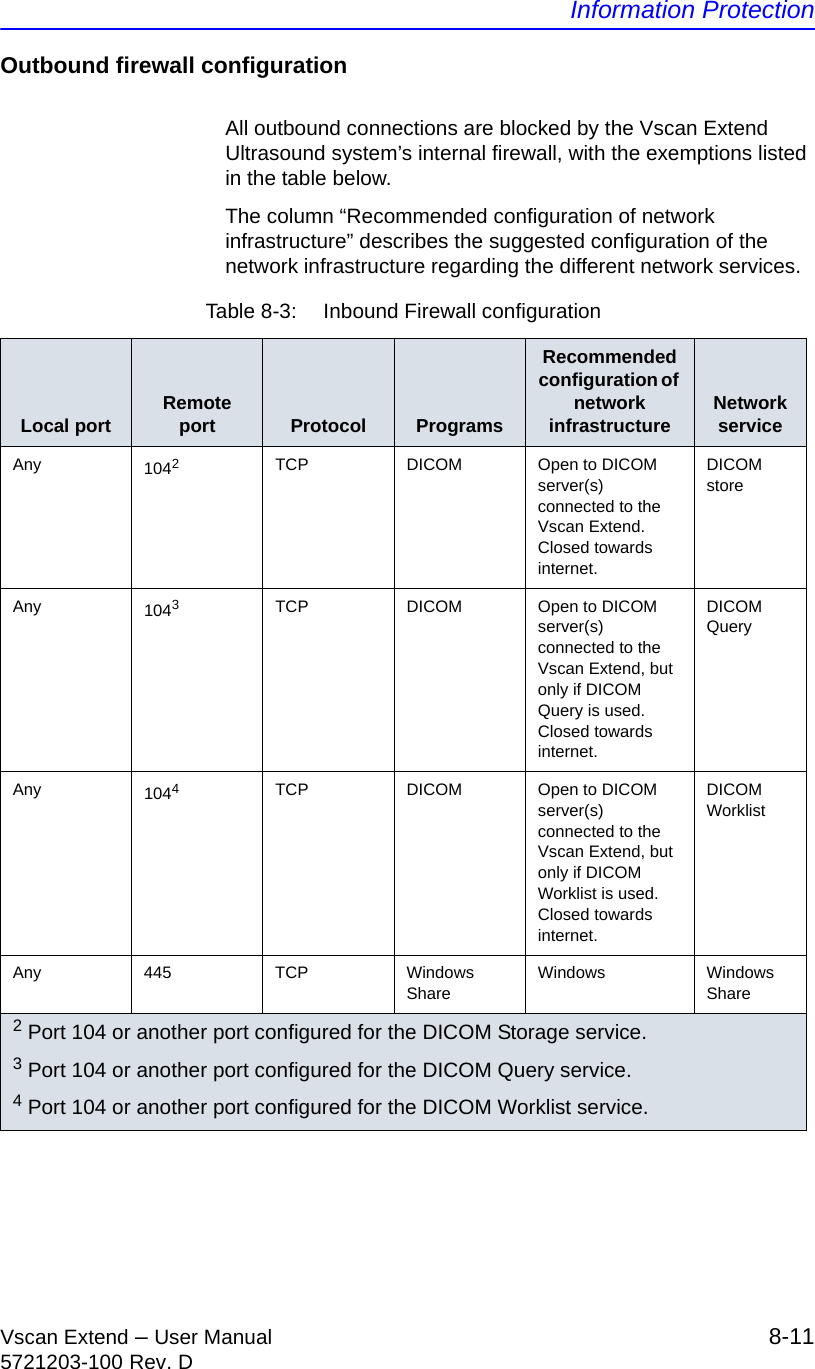
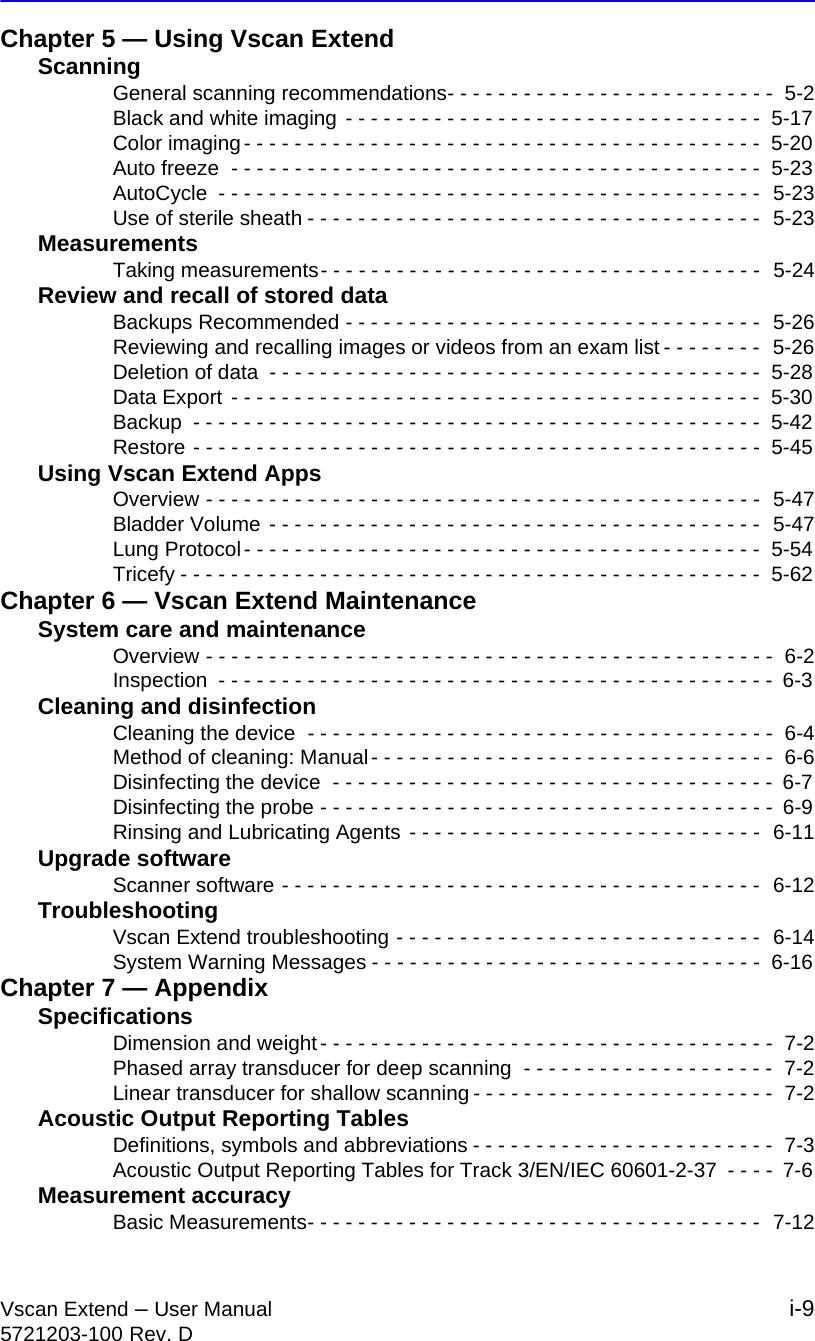
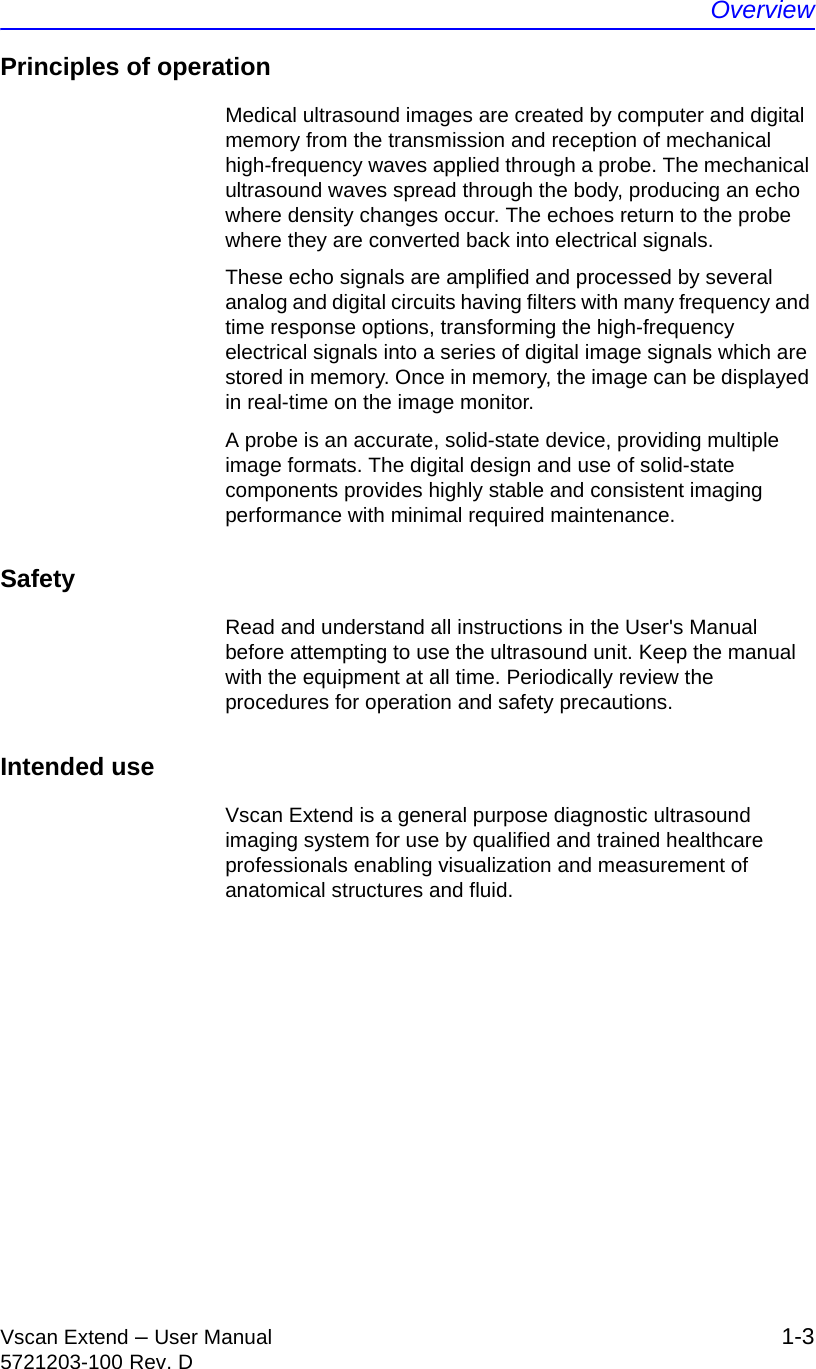
![Using Vscan Extend AppsVscan Extend – User Manual 5-495721203-100 Rev. DBladder Volume settings1. Press App Settings from the Settings menu. A pop-up displays.Figure 5-47. Bladder Volume app settings2. Press on the desired formula.Figure 5-48. Bladder volume formula• [0.7 x (D1 x D2 x D3)]• [0.52 x (D1 x D2 x D3)]](https://usermanual.wiki/GE-Healthcare/VSCANEXTEND.Manual/User-Guide-3213606-Page-179.png)