Hi Target Surveying Instrument ZHDV30PRO GNSS RTK User Manual
Hi-Target Surveying Instrument Co., Ltd GNSS RTK
UserManual.wiki
>
Hi Target Surveying Instrument
>
ZHDV30PRO User Manual
Users Manual
Navigation menu
Upload a User Manual
Namespaces
Wiki Guide
HTML
PDF
Info
Views
User Manual
Discussion / Help
Navigation

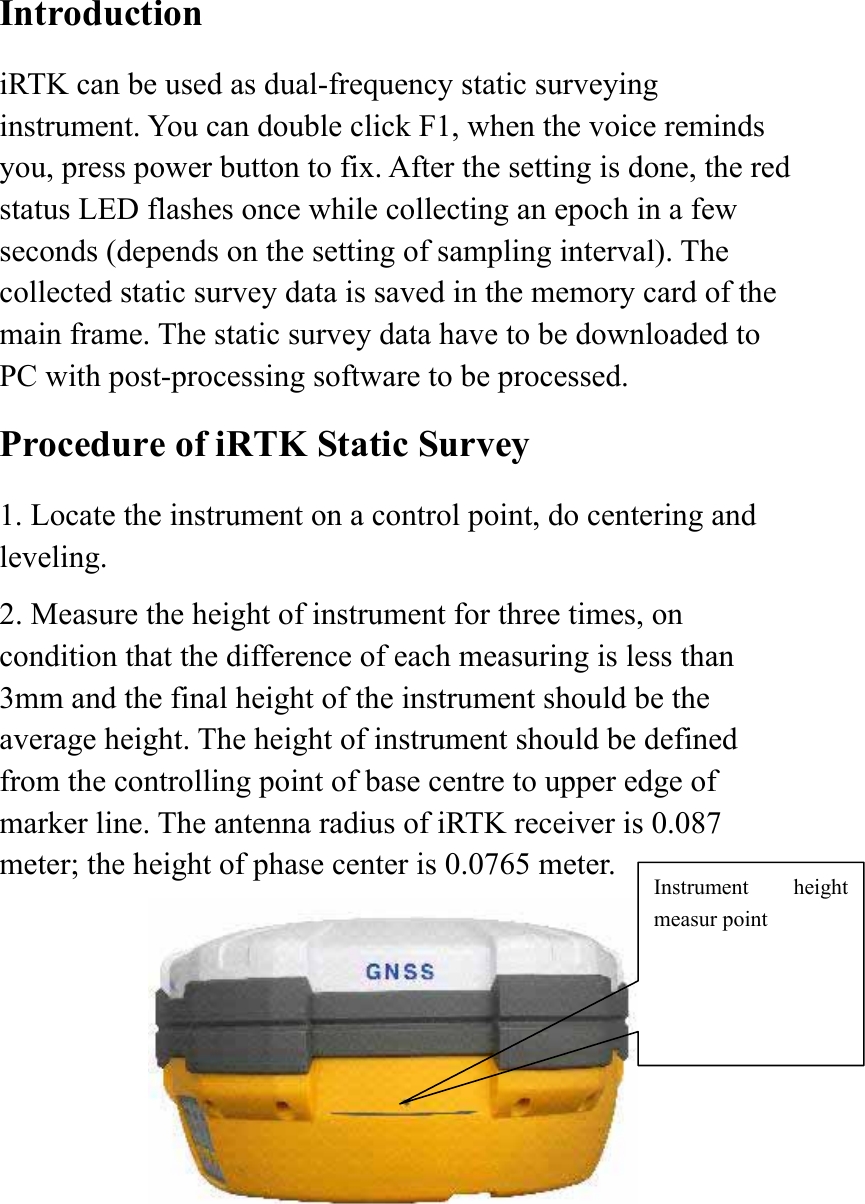
![files directly. Fig 5-2 Download static files to modify the naming and antenna height steps: 1. Choose *.GNS static file and double click mouse; 2. Choose [GNS Modify program], pop-up “File edit”, we can edit point name and antenna height, for sure click [OK]. Fig 5-4 Note: The series port can’t be downloaded in U disc download, but to delete static data of iRTK receiver.](https://usermanual.wiki/Hi-Target-Surveying-Instrument/ZHDV30PRO/User-Guide-1910480-Page-35.png)

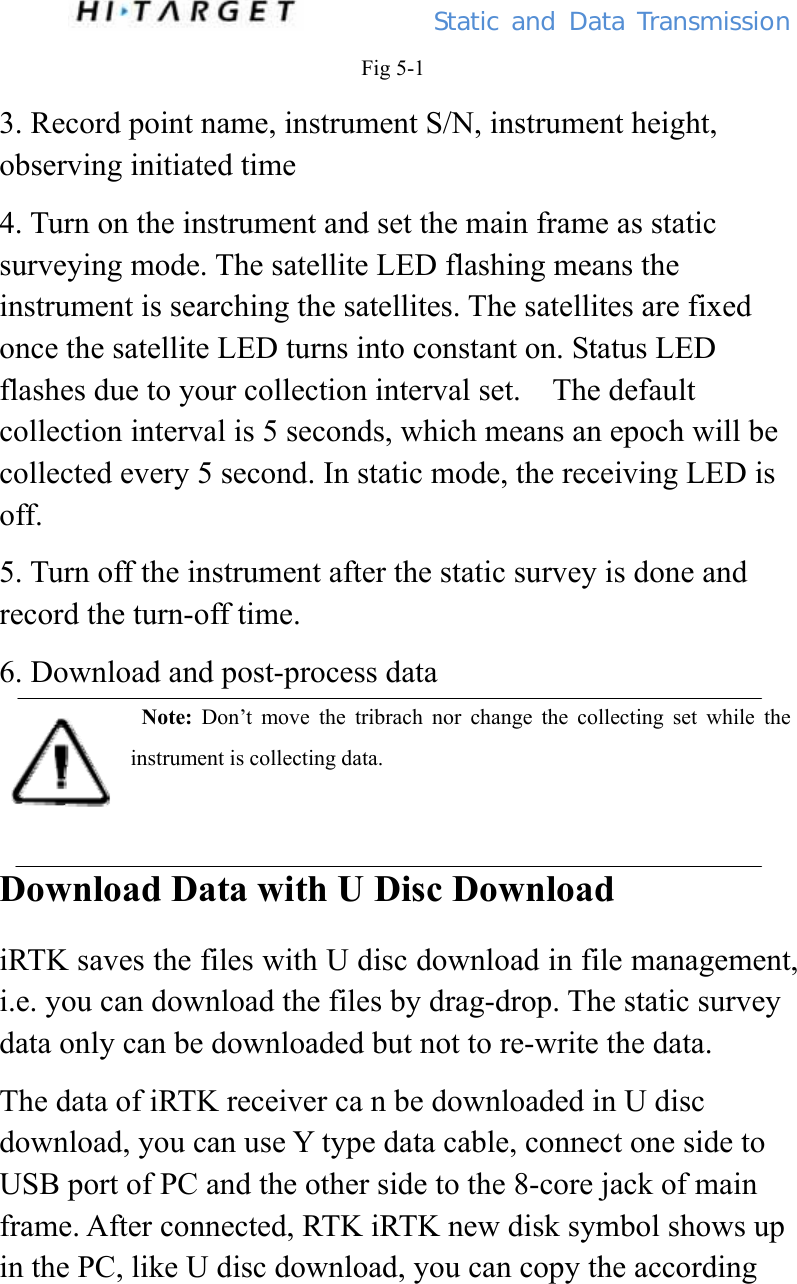
![the instrument No.: 7,980,012; The instrument of which serial number is 8 digits, then directly input the digits. For example, the receiver Serial No. 19000010, and then fill in the instrument No.: 19000010. Fig 5-6 3. Choose [Data download], you can do static files download, delete and other operations. Fig 5-7 Attention: 1. Receiver serial number (S / N) in the receiver bottom of the label, the purchase of equipment will be given the corresponding version of the registration code. 2. Delete static data from network is only remove static data files stored in the LBS server and does not delete the static files in the receiver.](https://usermanual.wiki/Hi-Target-Surveying-Instrument/ZHDV30PRO/User-Guide-1910480-Page-37.png)