Medamonitor LVL10 DEV1 User Manual
Medamonitor LLC DEV1
UserManual.wiki
>
Medamonitor
>
LVL10 User Manual
User Manual
Navigation menu
Upload a User Manual
Namespaces
Wiki Guide
HTML
PDF
Info
Views
User Manual
Discussion / Help
Navigation
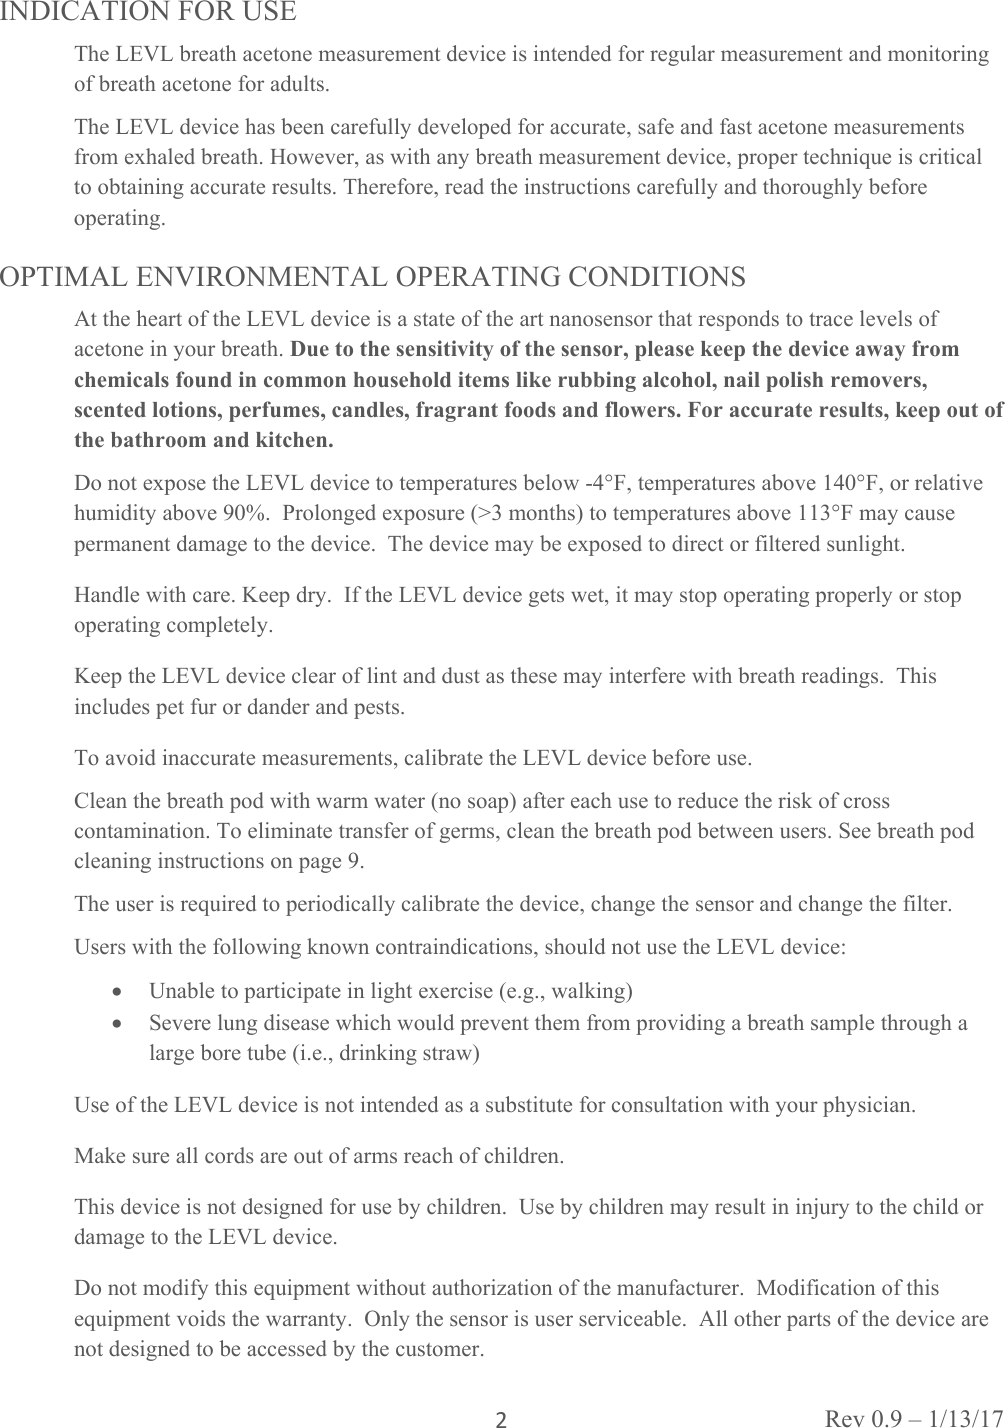
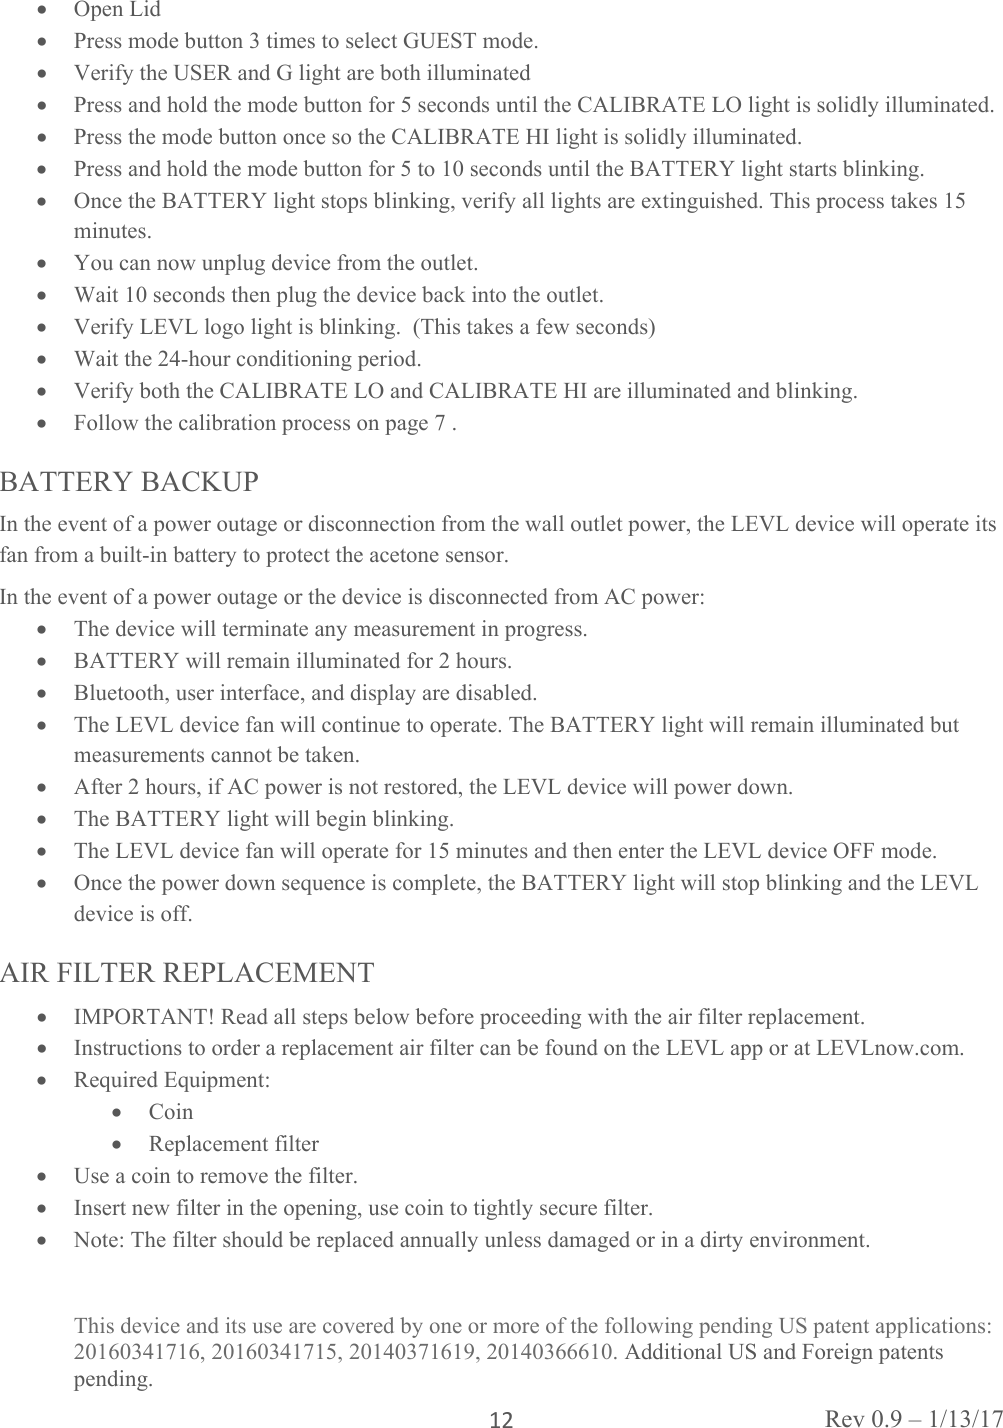
![Rev 0.9 – 1/13/17 6 IPHONE/IPAD SETUP (OPTIONAL) Download the LEVL app from the App Store. Create an account in the app. Follow the instructions in the iPhone/iPad app to complete the pairing process. SETUP FOR FIRST MEASUREMENT UNPACKING Remove outer package sleeve. Open packaging box. Remove the LEVL device and place on flat surface away from chemicals found in common household items like rubbing alcohol, nail polish removers, scented lotions, perfumes, candles, fragrant foods and flowers. The LEVL Device should be set up in an area that has access to a standard household outlet and allows the device to be easily connected/disconnected from AC power. For best results, keep out of bathroom and kitchen. Remove other LEVL device accessories from the package and confirm quantities. POWER UP SEQUENCE [24 HOURS] Plug the AC power cord into the LEVL device and connect the AC power cord to a standard household outlet to start the LEVL device power-up sequence. The POWER-UP sequence takes 24 hours. The LEVL logo is solidly illuminated when the backup battery is charging. Once the back battery is charged, the LEVL logo will blink to indicate the power-up sequence is in progress the sensor is being prepared for use. Mode Description Stand-by with illuminated logo LEVL is powered on and ready to receive a breath sample for analysis Stand-by with blinking logo LEVL is powered on and preparing for a reading. Battery Powered (Sensor Protect) LEVL is disconnected from wall power and unable to accept a breath sample for analysis. The device battery will maintain sensor performance for at least 2 hours. Please plug the unit into wall power to ensure continuous sensor performance. If LEVL is without power for over 2 hours, please complete a 24-hour sensor conditioning procedure. Off LEVL is unpowered. The next connection to wall power will require a 24-hour sensor conditioning procedure before breath reading.](https://usermanual.wiki/Medamonitor/LVL10/User-Guide-3290695-Page-6.png)

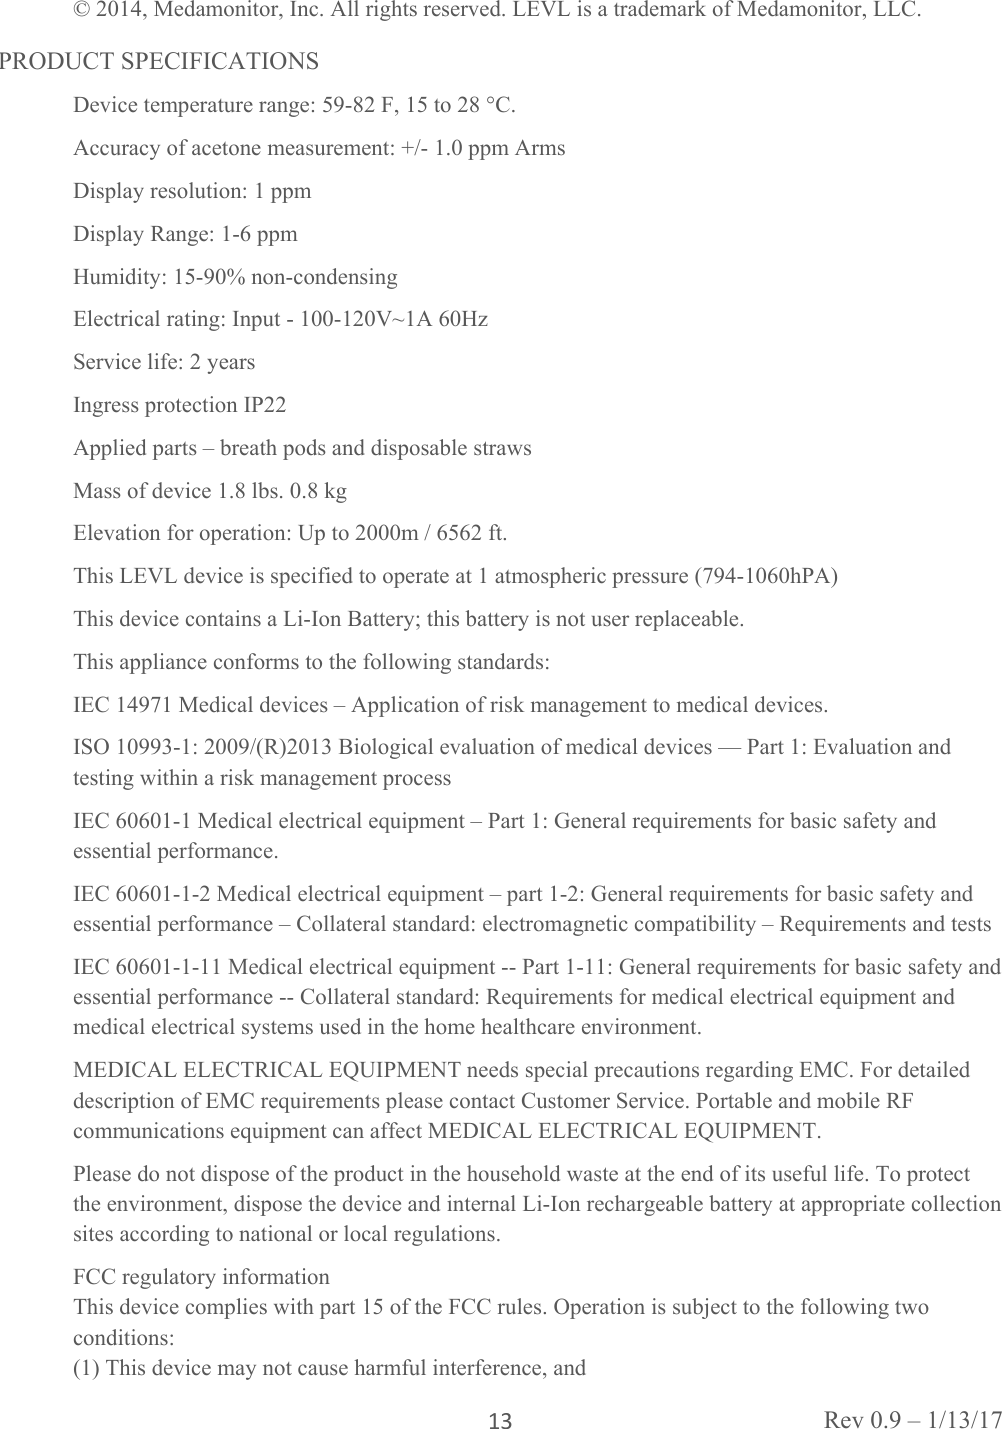
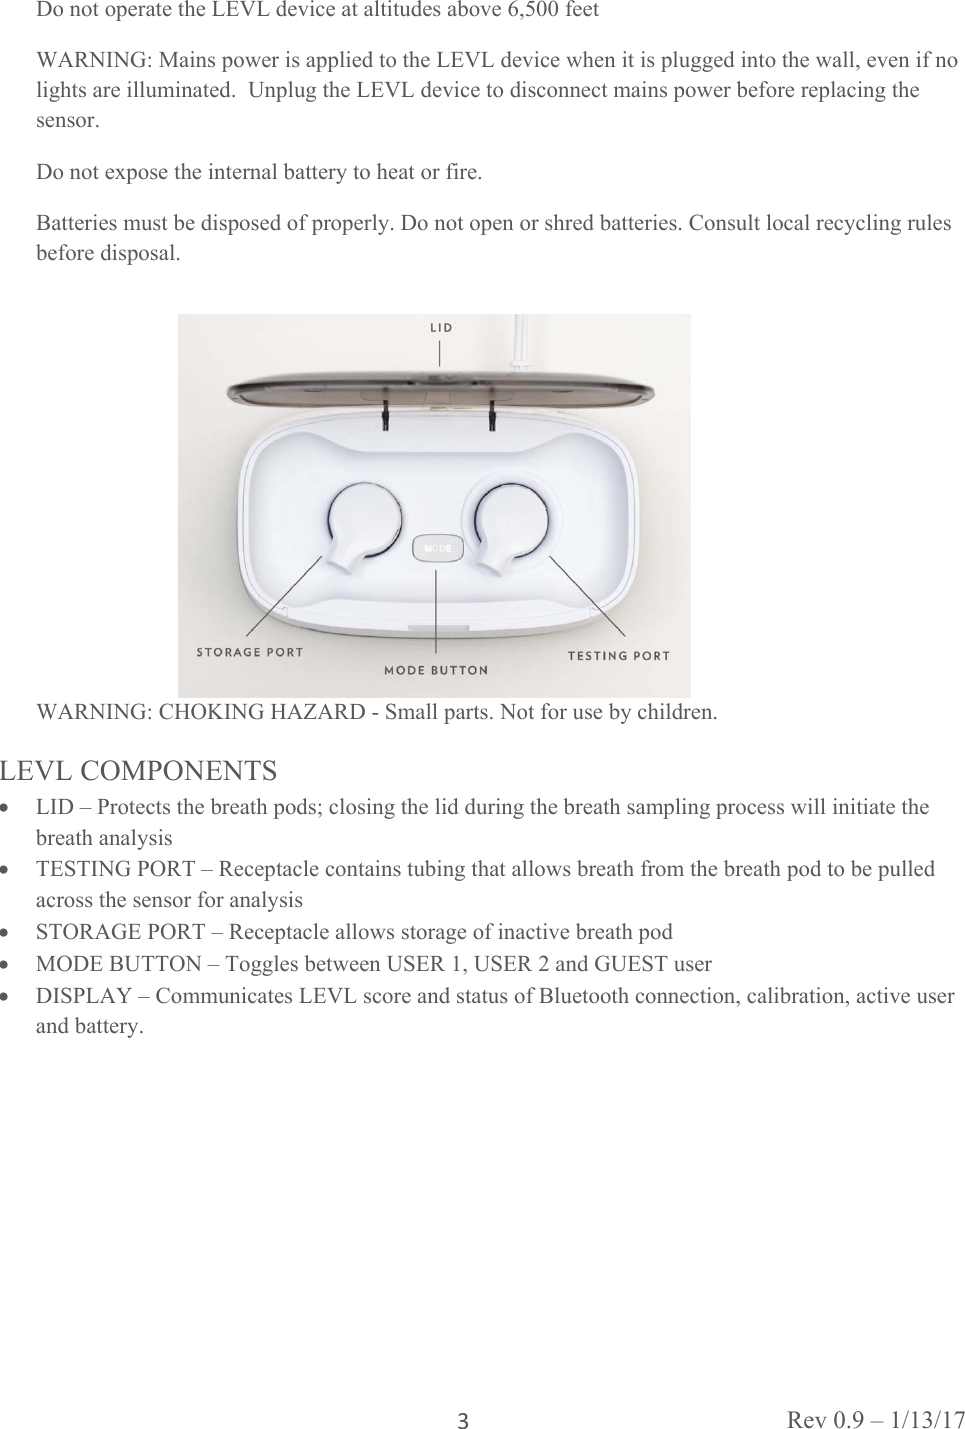
![Rev 0.9 – 1/13/17 8DEVICE CALIBRATION Calibration lights will blink 14 days after last calibration indicating a calibration is required. The calibration process takes approximately 10 minutes. Open Lid on LEVL device. Place the following items next to your LEVL device: Breath pod LO calibration cylinder HI calibration cylinder CALIBRATE LO IMPORTANT! Please read all steps below before proceeding with LO calibration. Open the lid. Press mode button 3 times to select GUEST (USER G is illuminated). Press and hold the mode button until CALIBRATE LO is illuminated (approximately 7 seconds). Locate the large opening on the base of the breath pod. Place the base of the breath pod over the nozzle on the CALIBRATE LO cylinder. The following three steps should be performed quickly to avoid the dilution of calibration gas: Press the breath pod down on the cylinder nozzle for 3 seconds to fill the breath pod with LO calibration gas. Once the breath pod is filled with gas, place your thumb over the breath pod mouthpiece and immediately place the breath pod into the testing port (on the right side with the raised ring) of the LEVL device. Close Lid to start LO calibration. LEVL light ring is illuminated in a rotating pattern to indicate calibration is in progress. [15 seconds] The rotating pattern will stop and disappear when calibration LO has finished. If ERROR blinks, see Error and Troubleshooting Table on Page 14 Calibrate LO light will turn off. Wait until the LEVL logo stops blinking (this takes approximately 5 minutes) to move to the next step. CALIBRATE HI IMPORTANT! Please read all steps below before proceeding with HI calibration. Open the lid. Press mode button 3 times to select GUEST (USER G is illuminated) Press and hold the mode button until CALIBRATE LO is illuminated (approximately 7 seconds). Press the mode button once (CALIBRATE HI is illuminated) Remove the breath pod from the testing port and locate the large opening on the base of the breath pod. Place the base of the breath pod over the nozzle on the CALIBRATE HI cylinder. The following three steps should be performed quickly to avoid the dilution of calibration gas:](https://usermanual.wiki/Medamonitor/LVL10/User-Guide-3290695-Page-8.png)
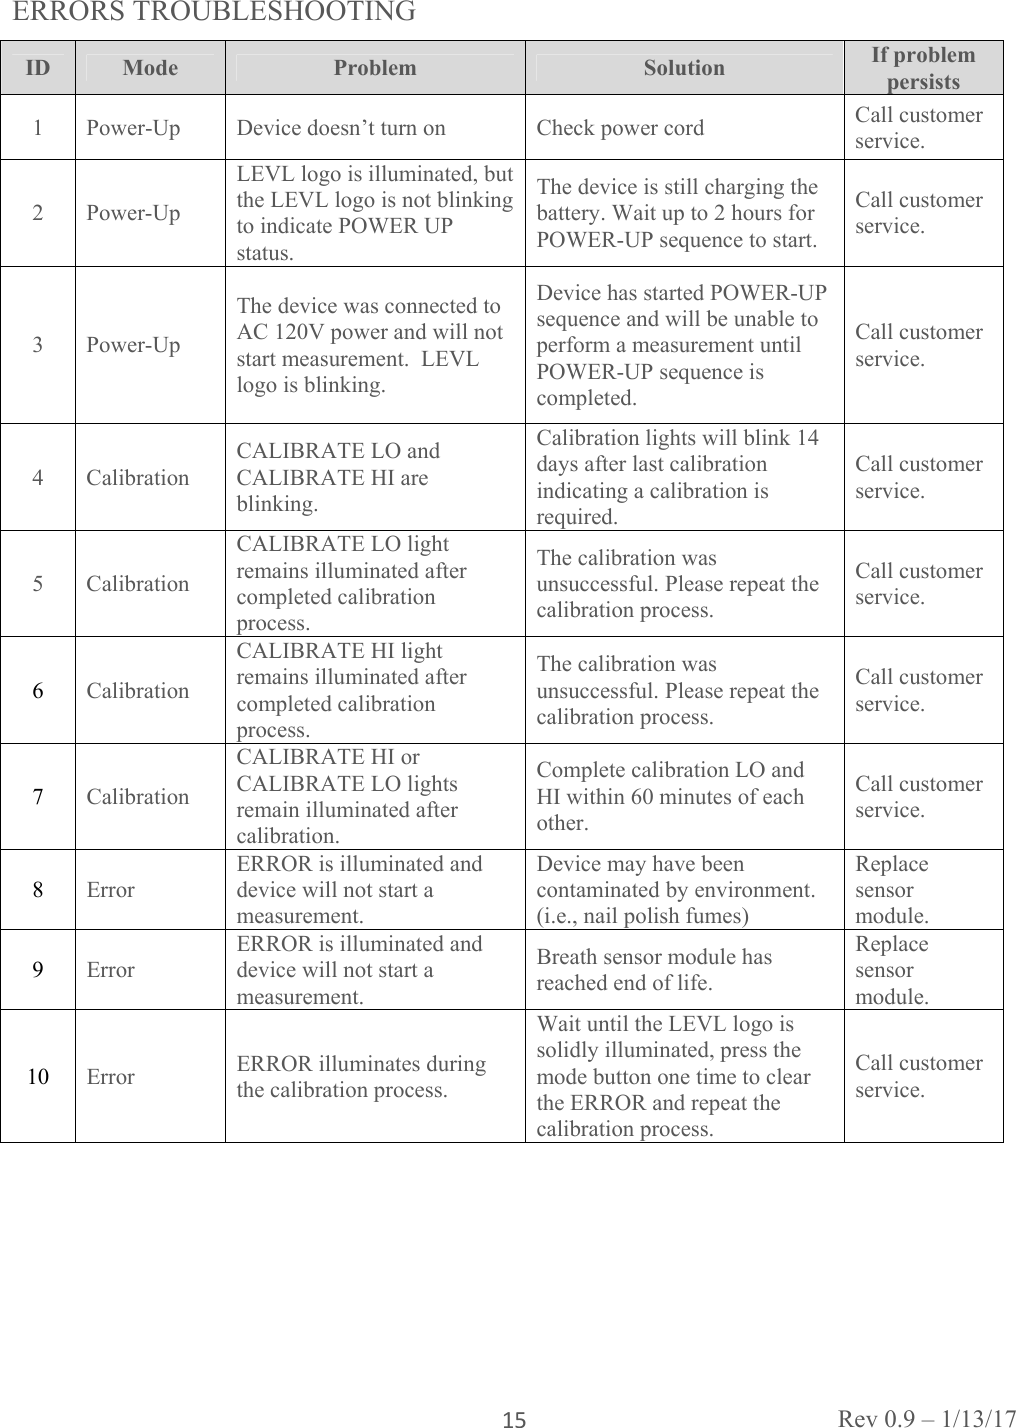
![Rev 0.9 – 1/13/17 9 Press the breath pod down on the cylinder nozzle for 3 seconds to fill the breath pod with HI calibration gas. Once the breath pod is filled with gas, place your thumb over the breath pod mouthpiece and immediately place the breath pod into the testing port (on the right side with the raised ring) of the LEVL device. Close lid to start HI calibration. LEVL light ring is illuminated in a rotating pattern to indicate calibration is in progress [15 seconds]. The rotating pattern will stop and disappear when HI calibration has finished. When the LEVL logo is solidly illuminated the device is in stand-by mode and is ready to perform a measurement. Replacement calibration cylinders are available for purchase on LEVLnow.com. PREPARING FOR A BREATH MEASUREMENT Remove any foreign materials in your mouth including but not limited to Breath mints Chewing gum Cough drops Throat lozenges Tobacco Please wait 30 minutes before taking a LEVL measurement if you have been exposed to the following. These items may cause false high readings and, in some cases, may cause the sensor to fail. Breath mints Chewing gum Cough drops Throat lozenges Tobacco Lip balm Mint Tea Mouthwash Non-sugar sweeteners (e.g., Sorbitol) Toothpaste Water enhancers (e.g., Mio) Alcohol Rinse mouth with water for 5 seconds to remove residual chemicals from your mouth. TAKING A BREATH MEASUREMENT Open the lid on the LEVL device. Press mode button 1 time to select USER 1 (twice to select USER 2; three times to select GUEST) When desired user is illuminated, remove breath pod from the LEVL device and hold in hand. If using a disposable straw, insert into the mouthpiece of the breath pod. Take a larger than normal breath and hold it for at least 5 seconds. Place lips around the breath pod or the disposable straw to form a complete seal. Exhale for five to ten seconds into the breath pod. Place breath pod into testing port (on the right side with the raised ring) of LEVL device. If using the disposable straw, remove it from the breath pod before placing in the testing port. Close Lid to start measurement. The LEVL light ring will illuminate in a rotating pattern to indicate the measurement is in progress. The results will be displayed in approximately 15 seconds. Once the measurement is complete, the LEVL light ring will display a LEVL score between 1 and 6 for up to 5 minutes.](https://usermanual.wiki/Medamonitor/LVL10/User-Guide-3290695-Page-9.png)
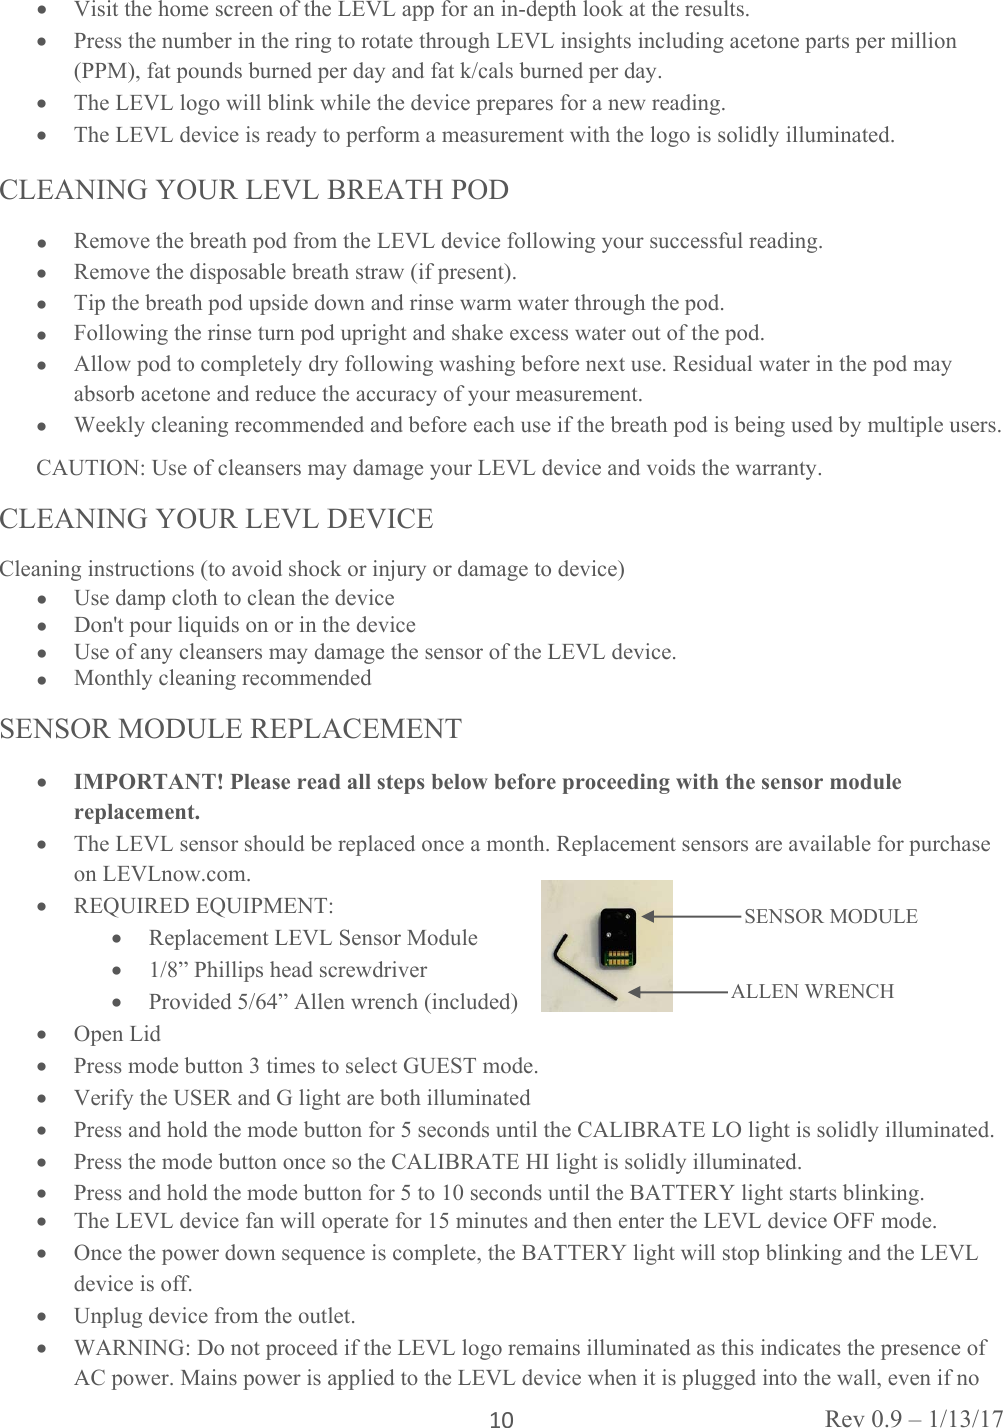
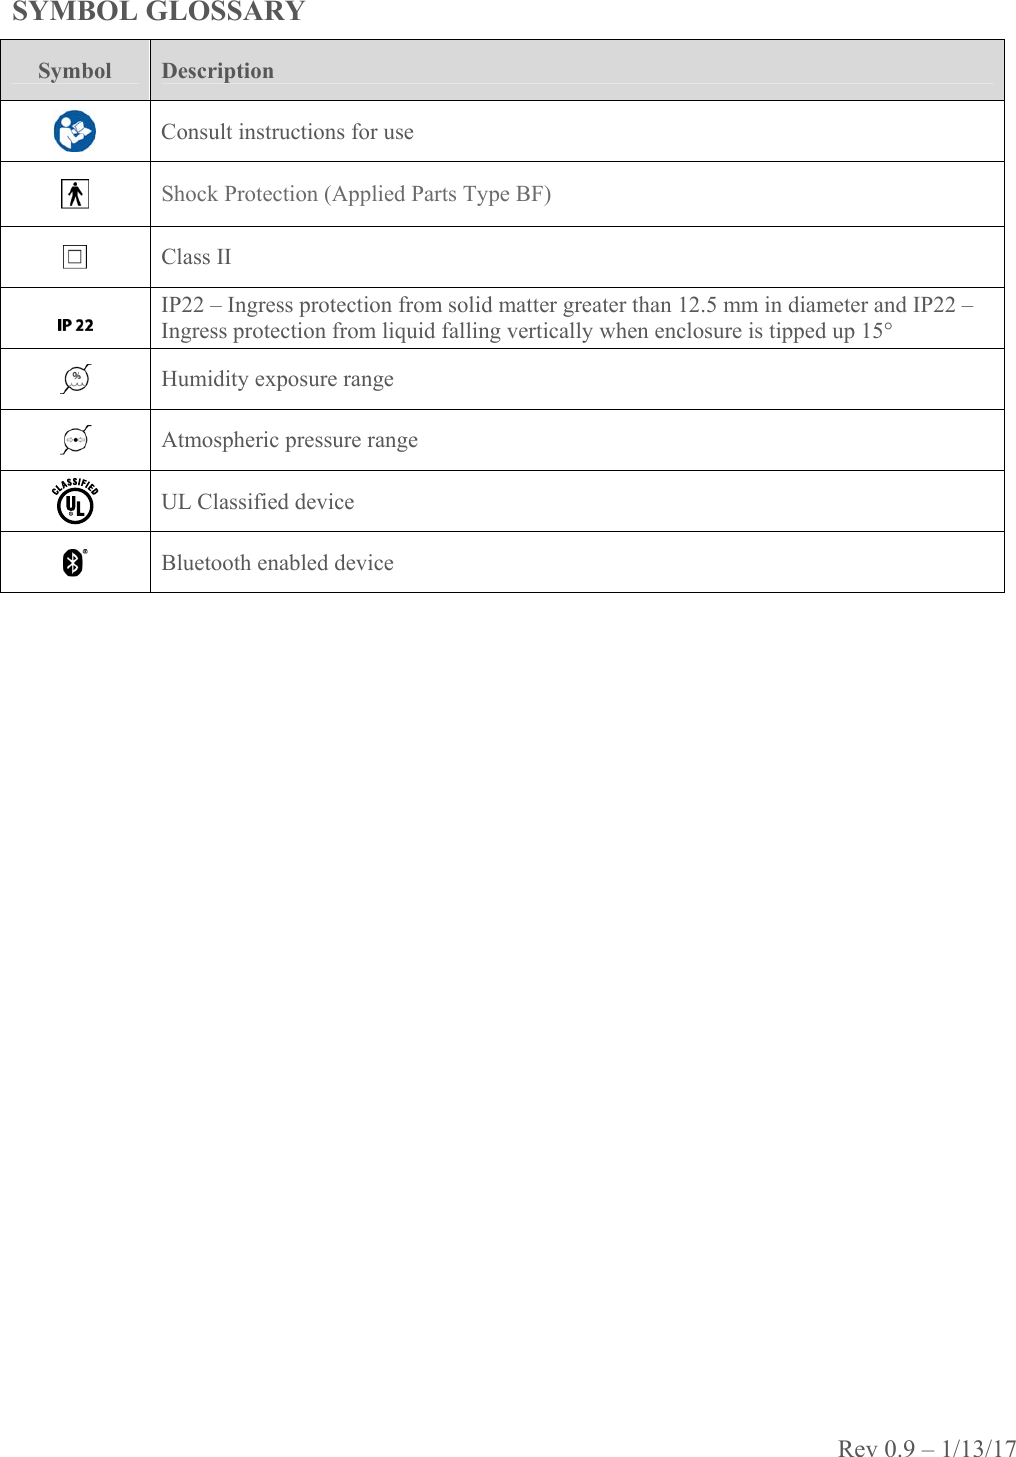
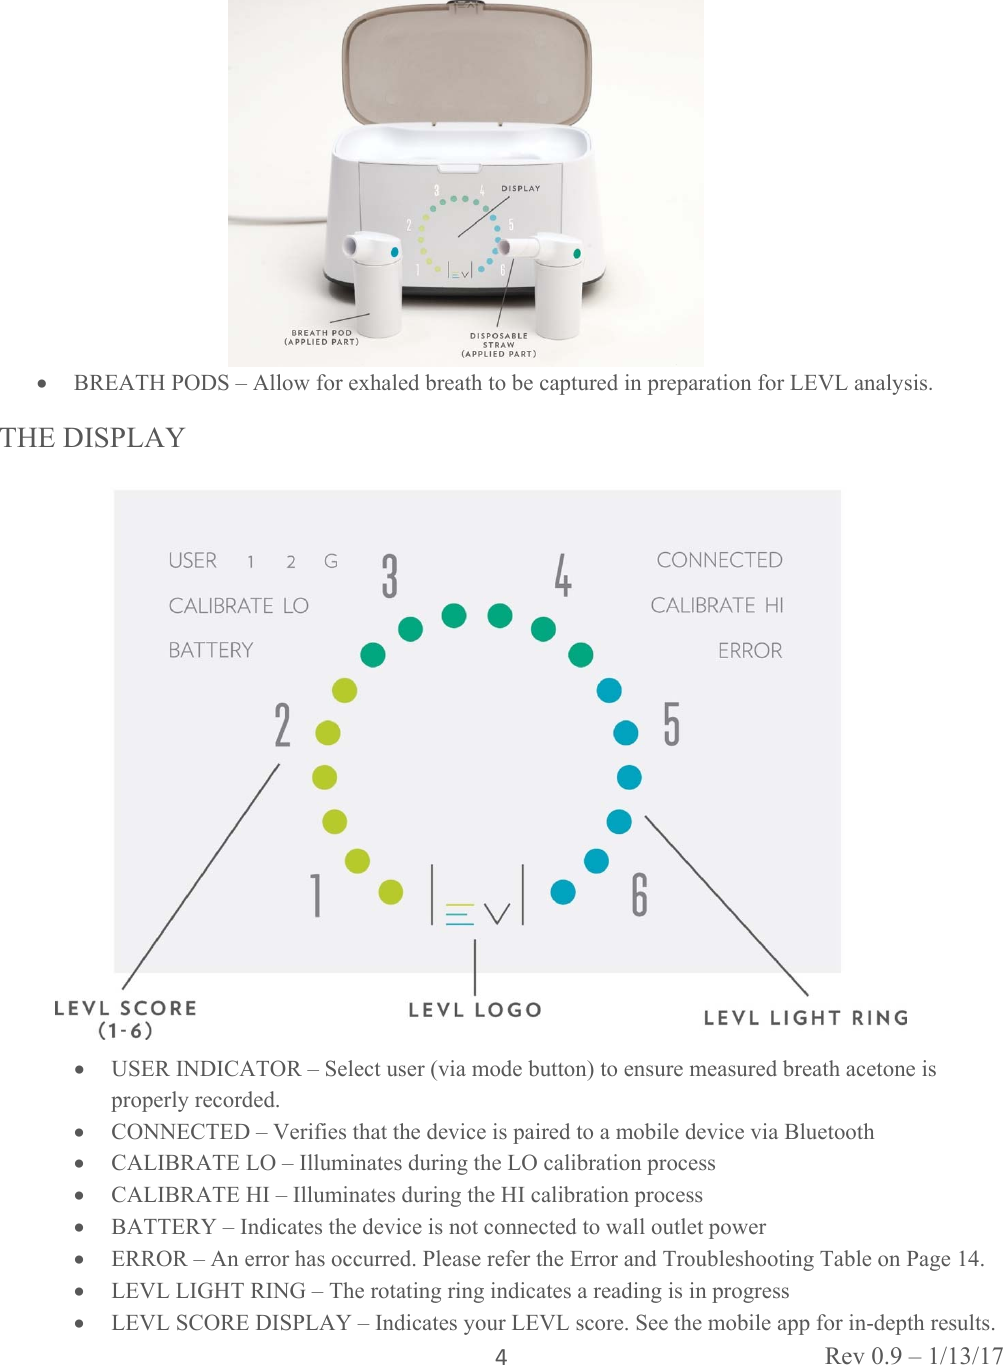
![Rev 0.9 – 1/13/17 11lights are illuminated. Unplug the LEVL device to disconnect mains power before replacing the sensor. Remove the breath pods. Find the sensor module access cover on the bottom of the LEVL device. Loosen and remove the access cover screw with 1/8” Phillips head screwdriver. Remove access cover. Loosen and remove the sensor module screws with the provided 5/64” Allen wrench. Pinch the sensor module finger removal tab and remove sensor module. Insert the new sensor module. Gently tighten the sensor module screws with the provided 5/64” Allen wrench. Replace access cover and tighten screw with the Philips screwdriver. Perform the POWER UP sequence [24 hours] and calibration process (page 7). RESETTING THE DEVICE](https://usermanual.wiki/Medamonitor/LVL10/User-Guide-3290695-Page-11.png)