Samsung Electronics Co ML2525W Laser Printer User Manual ml 2525w english
Samsung Electronics Co Ltd Laser Printer ml 2525w english
UserManual.wiki
>
Samsung Electronics Co
>
ML2525W User Manual
Users Manual
Navigation menu
Upload a User Manual
Namespaces
Wiki Guide
HTML
PDF
Info
Views
User Manual
Discussion / Help
Navigation

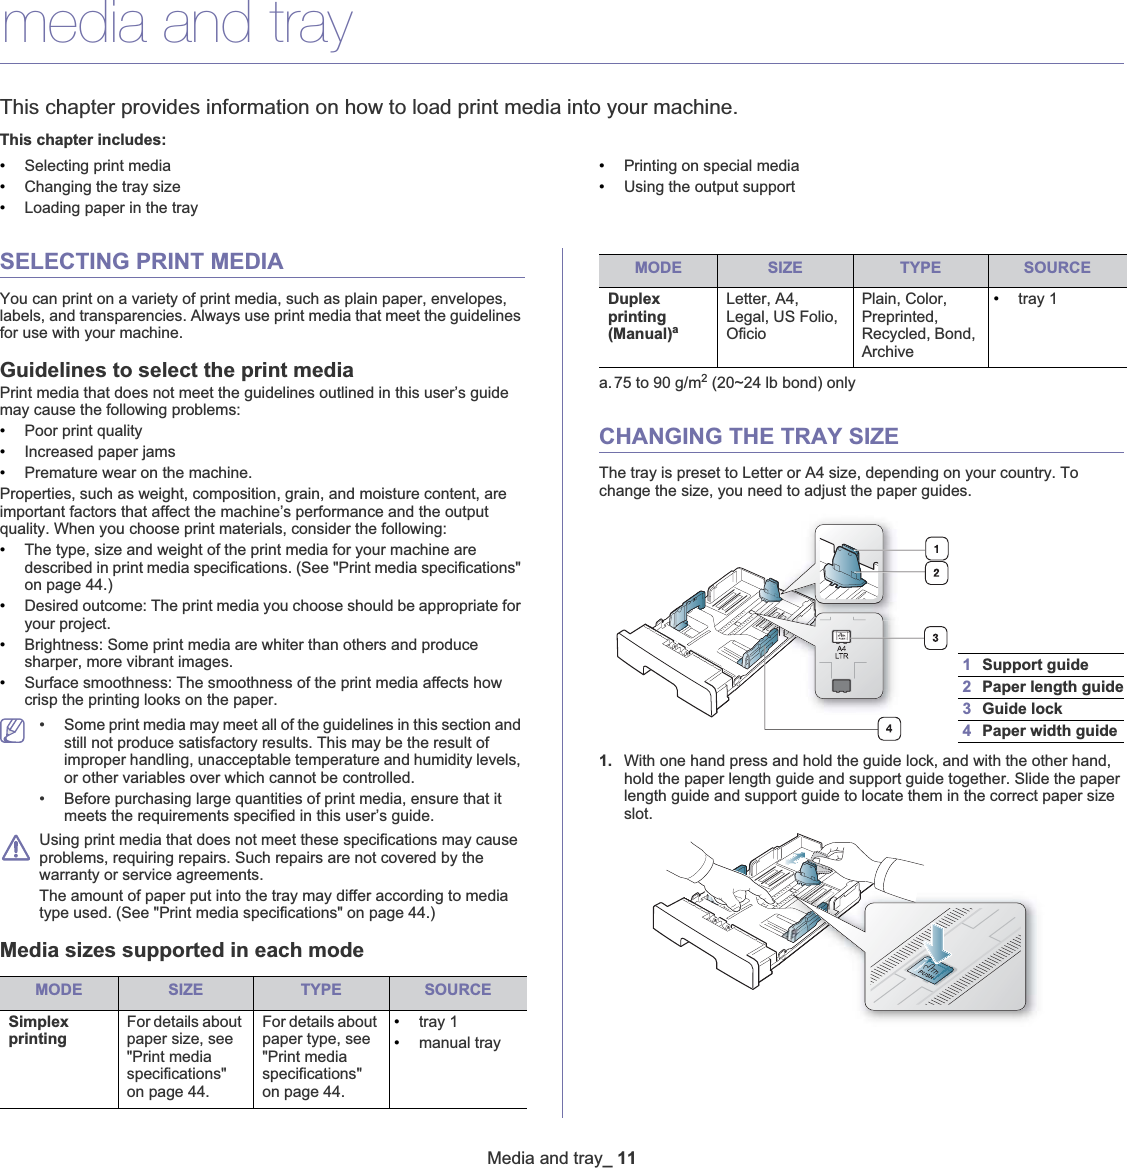
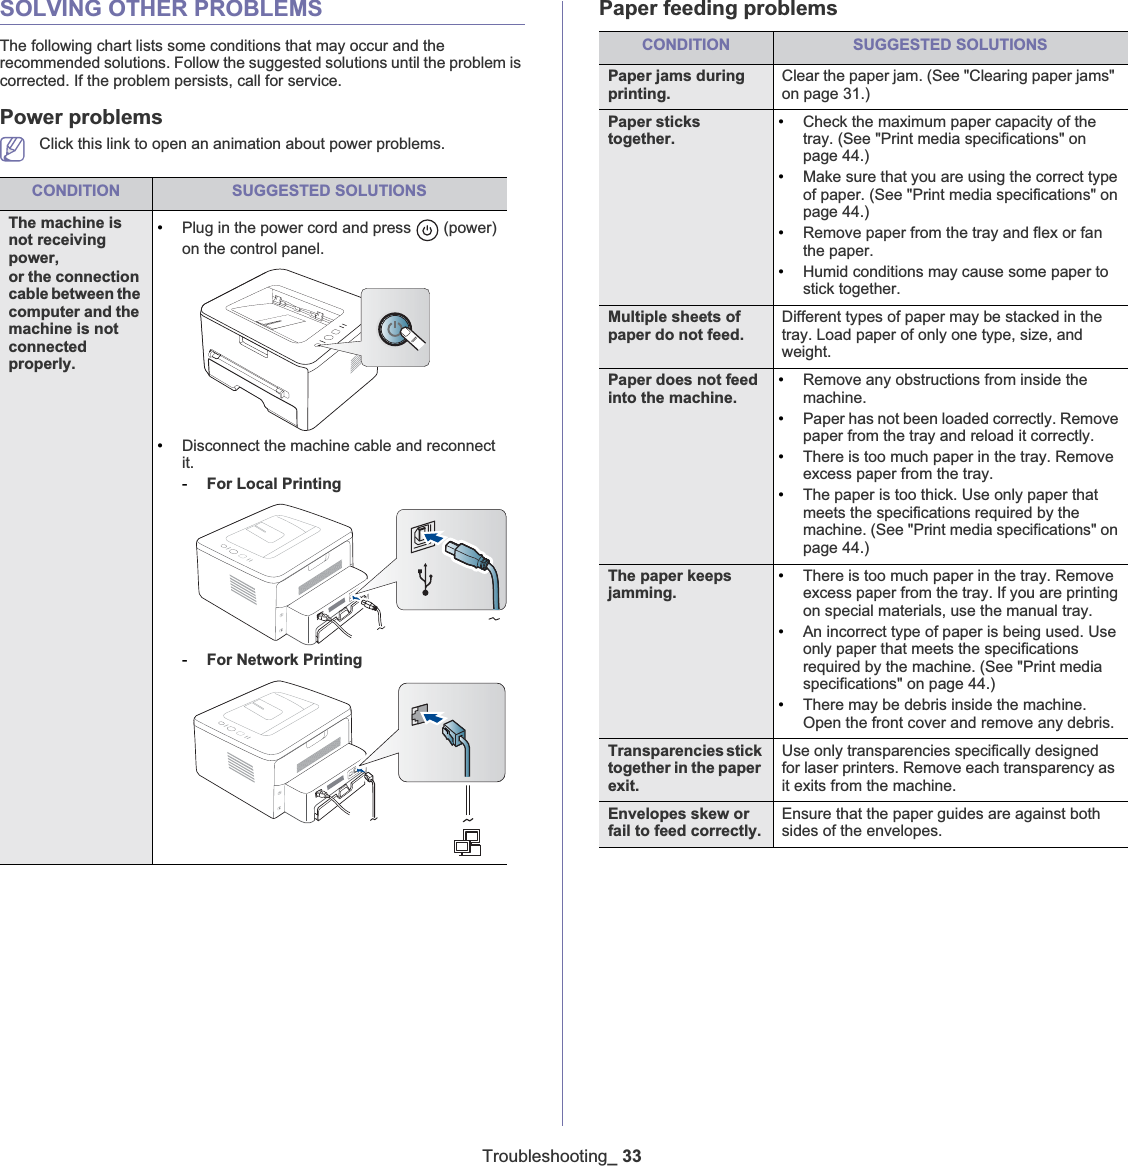
![Getting started_276. When the welcome screen appears, click Next.7. When the installation is complete, click Finish.The installation program has added the Unified Driver Configurator desktop icon and the Unified Driver group to the system menu for your convenience. If you have any difficulties, consult the on screen help that is available through your system menu or can otherwise be called from the driver package Windows applications, such as Unified Driver Configurator or Image Manager.Installing the SmartPanel1. Make sure that the machine is connected to your computer and powered on.2. When the Administrator Login window appears, type in root in the Login field and enter the system password.You must log in as a super user (root) to install the machine software. If you are not a super user, ask your system administrator.3. From the Samsung website, download the Smart Panel package to your computer.4. Right click the Smart Panel package and extract the package. 5. Double click cdroot > Linux > smartpanel > install.sh.Installing the Printer Settings Utility1. Make sure that the machine is connected to your computer and powered on.2. When the Administrator Login window appears, type in root in the Login field and enter the system password.You must log in as a super user (root) to install the machine software. If you are not a super user, ask your system administrator.3. From the Samsung website, download the Printer Settings Utility package to your computer.4. Right click the Printer Settings Utility package and extract the package. 5. Double click cdroot > Linux > psu > install.sh.If the printer driver does not work properly, uninstall the driver and reinstall it. Follow the steps below steps to uninstall the driver for Linux.a) Make sure that the machine is connected to your computer and powered on.b) When the Administrator Login window appears, type in “root” in the Login field and enter the system password.You must log in as a super user (root) to uninstall the printer driver. If you are not a super user, ask your system administrator.c) Click the icon at the bottom of the desktop. When the Terminal screen appears, type in:[root@localhost root]#cd /opt/Samsung/mfp/uninstall/[root@localhost uninstall]#./uninstall.shd) Click Uninstall.e) Click Next.f) Click Finish.SHARING YOUR MACHINE LOCALLYFollow the steps below to set up the computers to share your machine locally.If the Host computer is directly connected to the machine with USB a cable and is also connected to the local network environment, the client computer connected to the local network can use the shared machine through the host computer to print. WindowsSetting up a host computer1. Install your printer driver. (See "Installing USB connected machine’s driver" on page 24, "Installing network connected machine’s driver" on page 31.)2. Click the Windows Start menu. 3. For Windows 2000, select Settings >Printers.•For Windows XP/2003, select Printers and Faxes.•For Windows 2008/Vista, select Control Panel > Hardware and Sound >Printers.•For Windows 7, select Control Panel > Hardware and Sound >Devices and Printers.•For Windows Server 2008 R2, select Control Panel > Hardware >Devices and Printers.4. Right click your printer icon. 5. For Windows XP/2003/2008/Vista, press Properties.For Windows 7 and Windows Server 2008 R2, from context menus, select the Printer properties.If Printer properties item has Ź mark, you can select other printer drivers connected with selected printer.6. Select the Sharing tab.7. Check the Change Sharing Options.8. Check the Share this printer.9. Fill in the Share Name field. Click OK.1Host computer A computer which is directly connected to the machine by USB cable.2Client computers Computers which use the machine shared through the host computer.](https://usermanual.wiki/Samsung-Electronics-Co/ML2525W/User-Guide-1166874-Page-31.png)
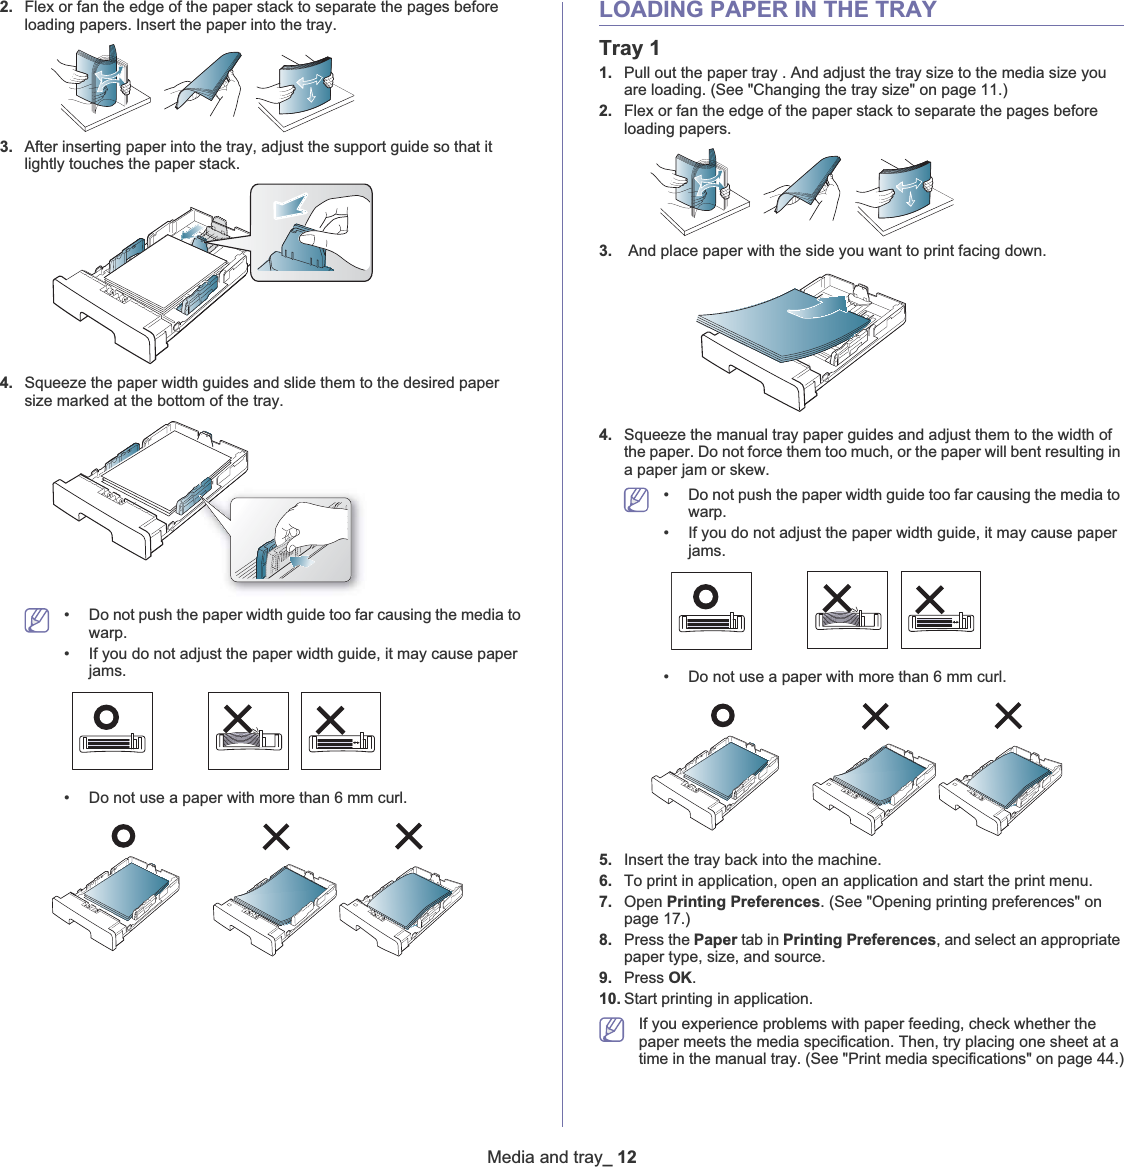
![Network setup_34Installing printer driverDriver installation for network printer in IPv6 network environment is same as TCP/IPv4. (See "Installing network connected machine’s driver" on page 31.)Select TCP/IP Port and when the list of machines are displayed, simply select your machine's IPv6 address.Using SyncThru Web Service1. Start a web browser such as Internet Explorer that supports IPv6 addressing as a URL .2. Select one of the IPv6 addresses (Link-local Address,Stateless Address,Stateful Address,Manual Address) from Network Configuration Report.3. Enter the IPv6 addresses. (ex: http://[FE80::215:99FF:FE66:7701]) Address must be enclosed in '[]' brackets.](https://usermanual.wiki/Samsung-Electronics-Co/ML2525W/User-Guide-1166874-Page-38.png)