Vivint CP01 CONTROL PANEL User Manual Vivint User Guide
Vivint. Inc. CONTROL PANEL Vivint User Guide
UserManual.wiki
>
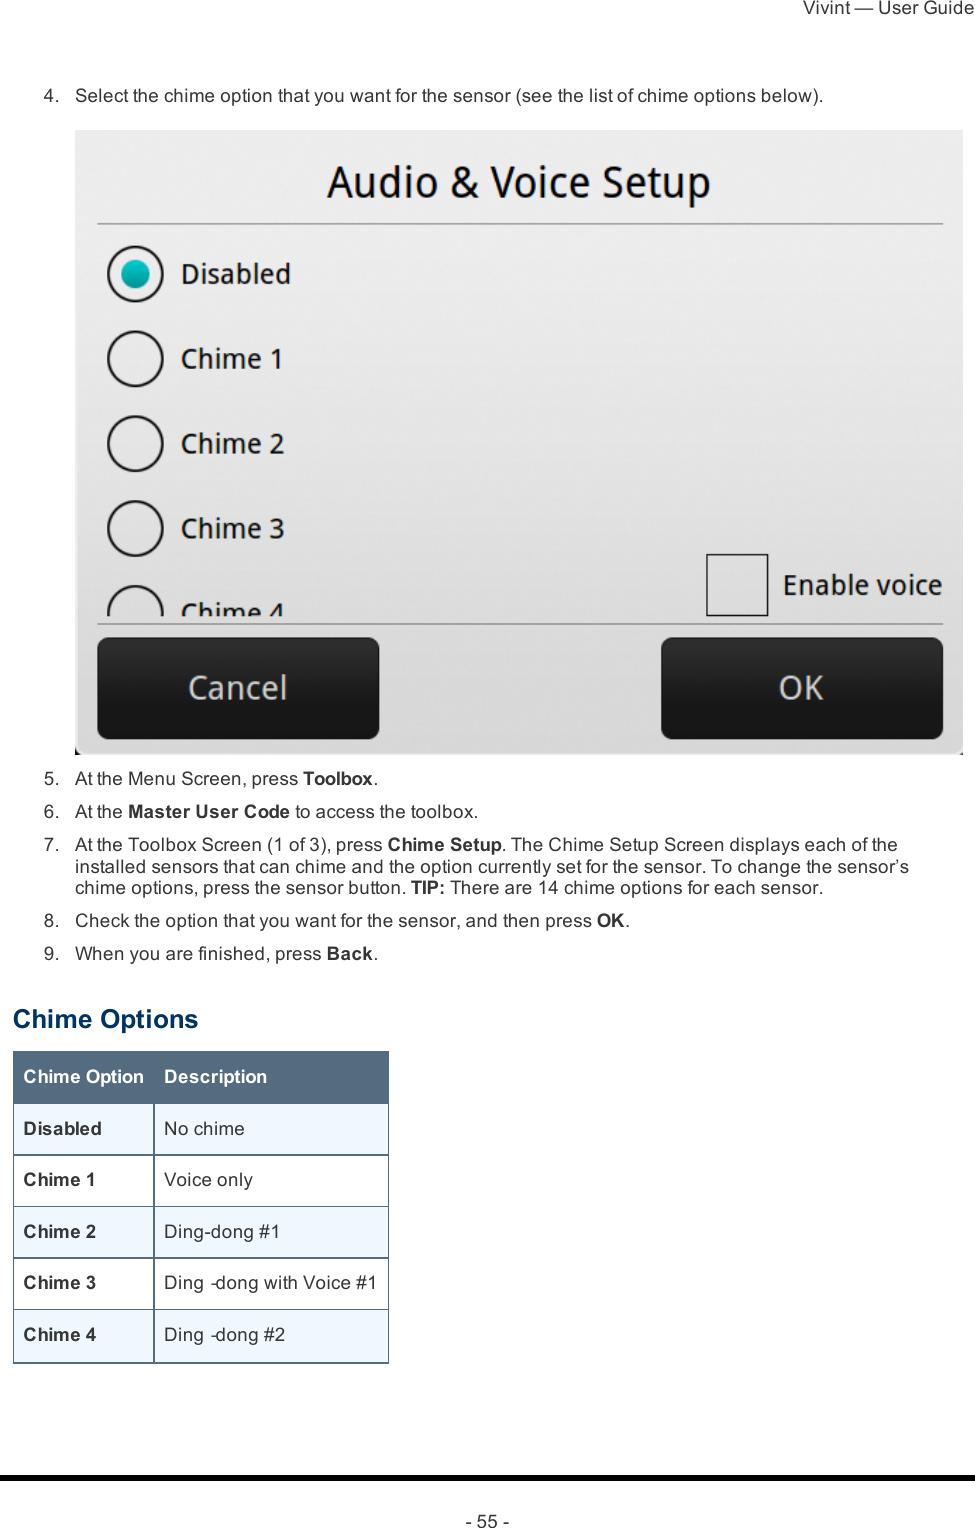
Vivint
>
CP01 User Manual
User Manual
Navigation menu
Upload a User Manual
Namespaces
Wiki Guide
HTML
PDF
Info
Views
User Manual
Discussion / Help
Navigation


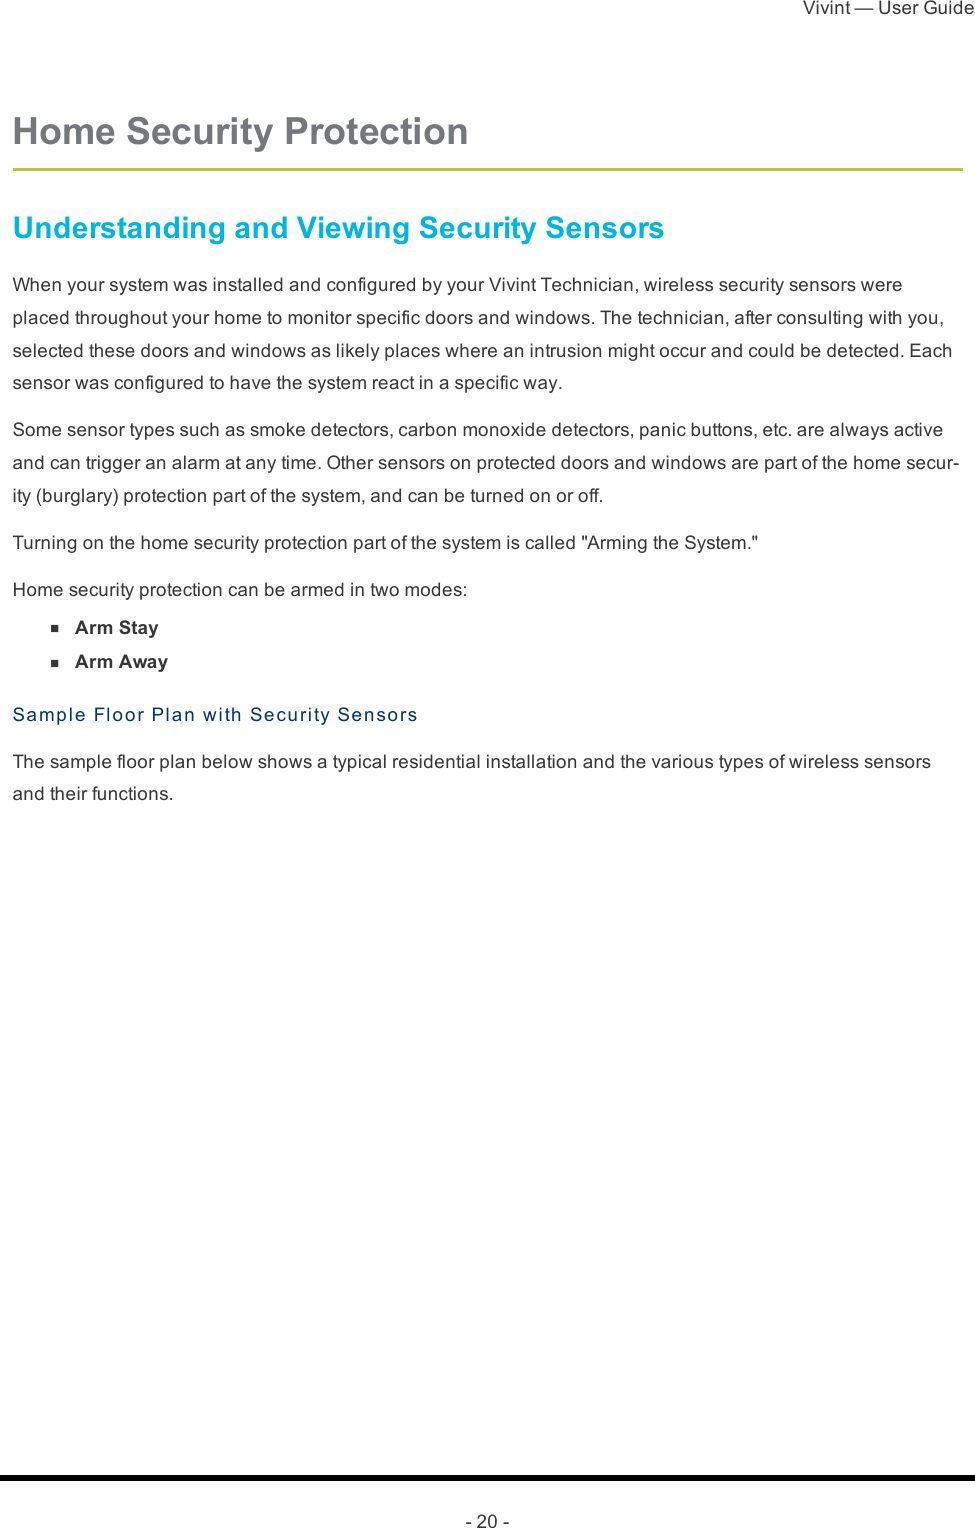
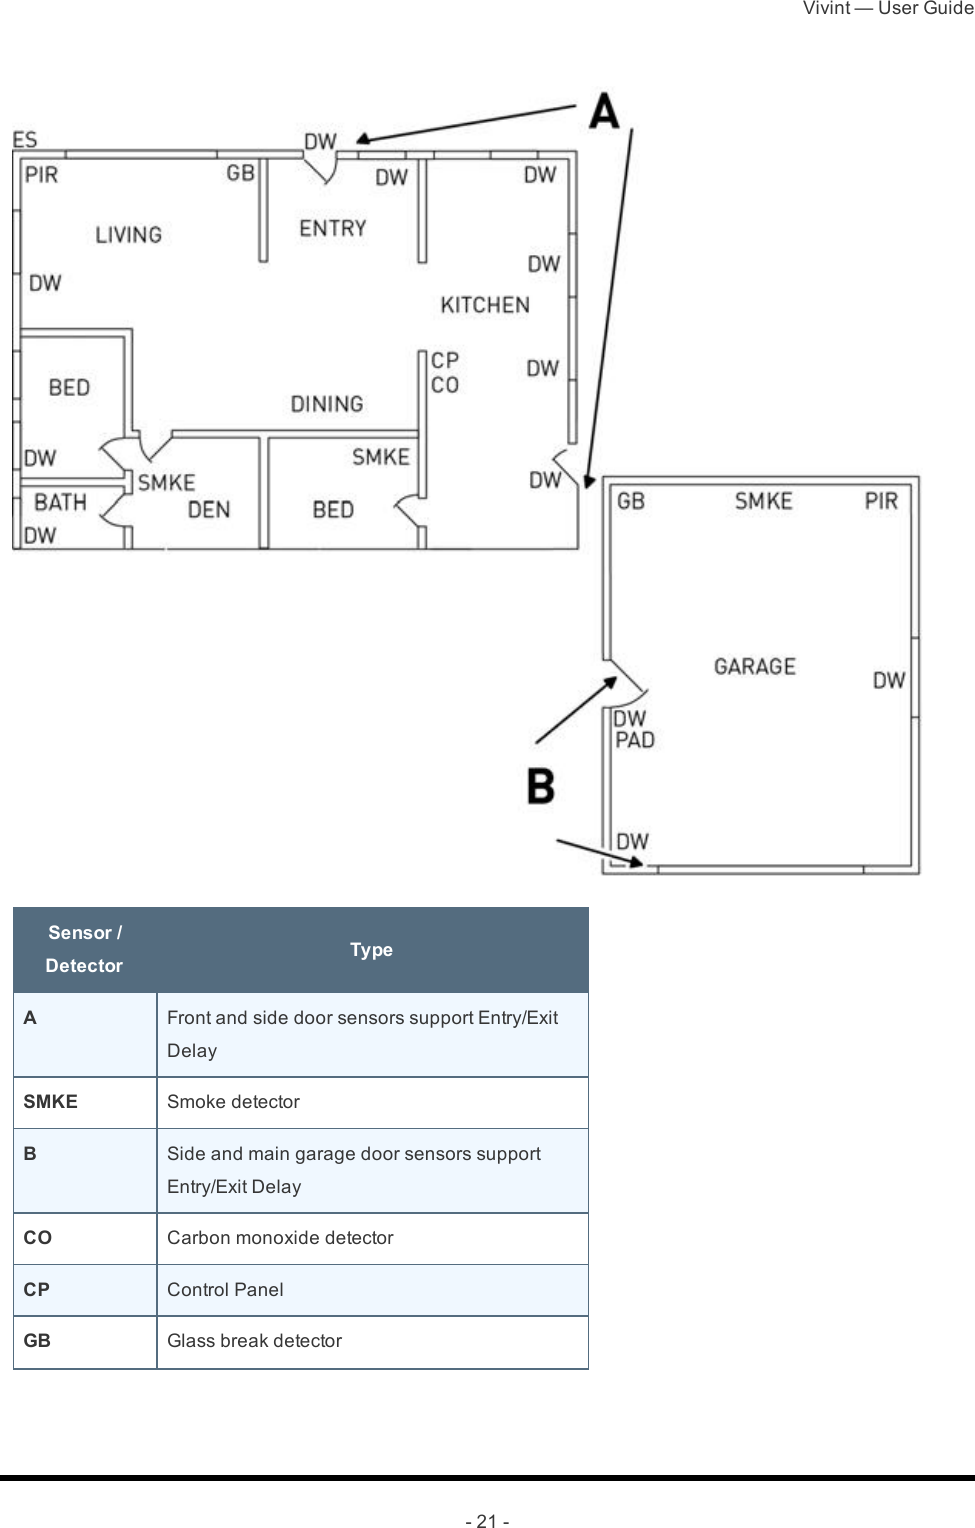
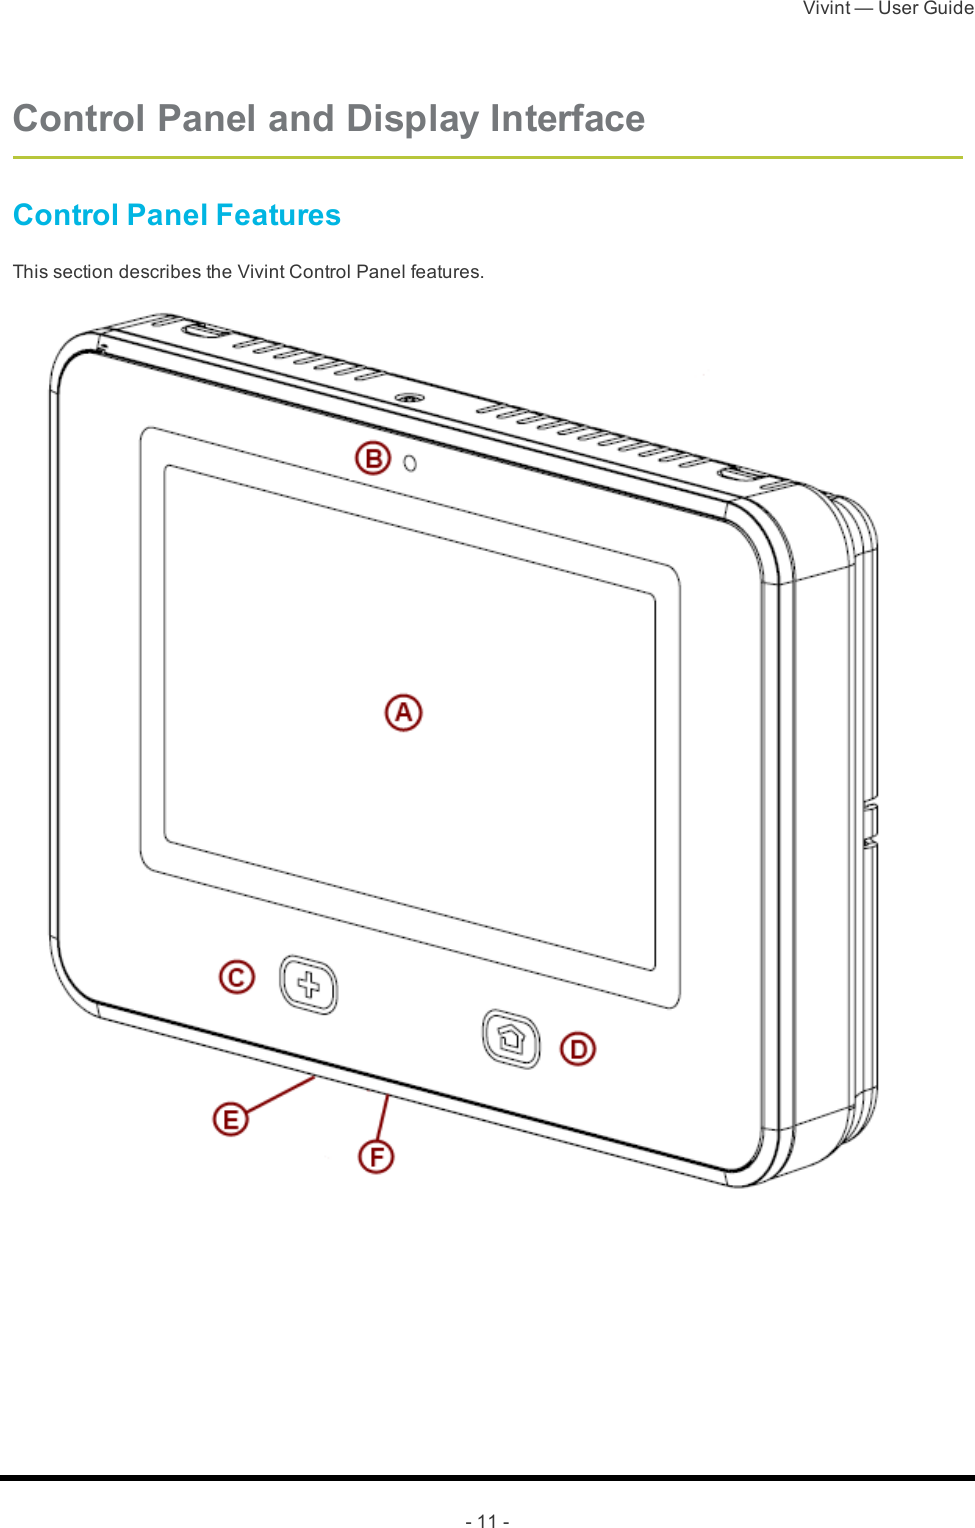
![Vivint — User Guide- 8 - n Admin User: The Control Panel supports one Admin User who can add, configure, and manage the other Users. n Duress User: One of the pre-defined User IDs functions as the Duress User. Accessing and controlling the system with this User ID gives the appearance of normal operation but automatically and secretly sends a "duress" report to the Central Station to initiate a silent alarm call for help. n Voice Announcements: The system has a built-in vocabulary of descriptive words that can be assigned, if desired, to the security sensors so that each sensor triggers a unique voice announcement when that security zone is encroached, such as "front door" or "bedroom window." n Z-Wave Technology: The system supports home automation features with the built‐in Z-Wave tech-nology for remote controlling Z‐Wave enabled home appliances and devices (optional). n 24‐Hour Emergency Functions:: Panic, Fire, and Emergency. These emergency functions can be activ-ated with touchscreen buttons on the Control Panel, with wireless sensors, or from portable pendant devices (such as the panic button remote). n Two‐way Voice: After an alarm, the system can automatically connect with a Central Station operator so they can converse with you at your premises. n System History: The system provides a detailed system event log. Each alarm and system alert is logged into the system memory. These events can be displayed and reviewed at the Control Panel or remotely by the Central Station. n Clock and Calendar The Home Screen displays a real-time clock and calendar. The clock is also used to time stamp items in the system event log. n Remote Control: You can remote control the system via a regular telephone line. n Web and Mobile Apps: You can also remote control the system from your desktop computer, laptop, tab-let, or smartphone (requires an Internet connection).[[Editing Note: Add more features to this list...?]] Basic OperationFollowing are general operational concepts that your system supports. Understanding these concepts will help you to use your security system to its fullest extent.Home Security Protection with Security Sensors (Types / Zones)The system's wireless security sensors have been assigned to selected "types" on your premises (often called "zones"). The sensor type determines how and when the system will react to a signal from the sensor. Some sensors are armed 24 hours a day; other sensors are only activated when the system is armed.Home Environment Protection with Smoke, Heat, and Freeze DetectorsIf wireless smoke, heat and freeze detectors have been installed in your system, they are armed 24 hours a day, These sensors will sound an alarm when smoke is detected and can report the fire alarm to the Central Station. For more information (including emergency planning and evacuation information), see "Home Environment Pro-tection" on page 36.](https://usermanual.wiki/Vivint/CP01/User-Guide-2070436-Page-9.png)
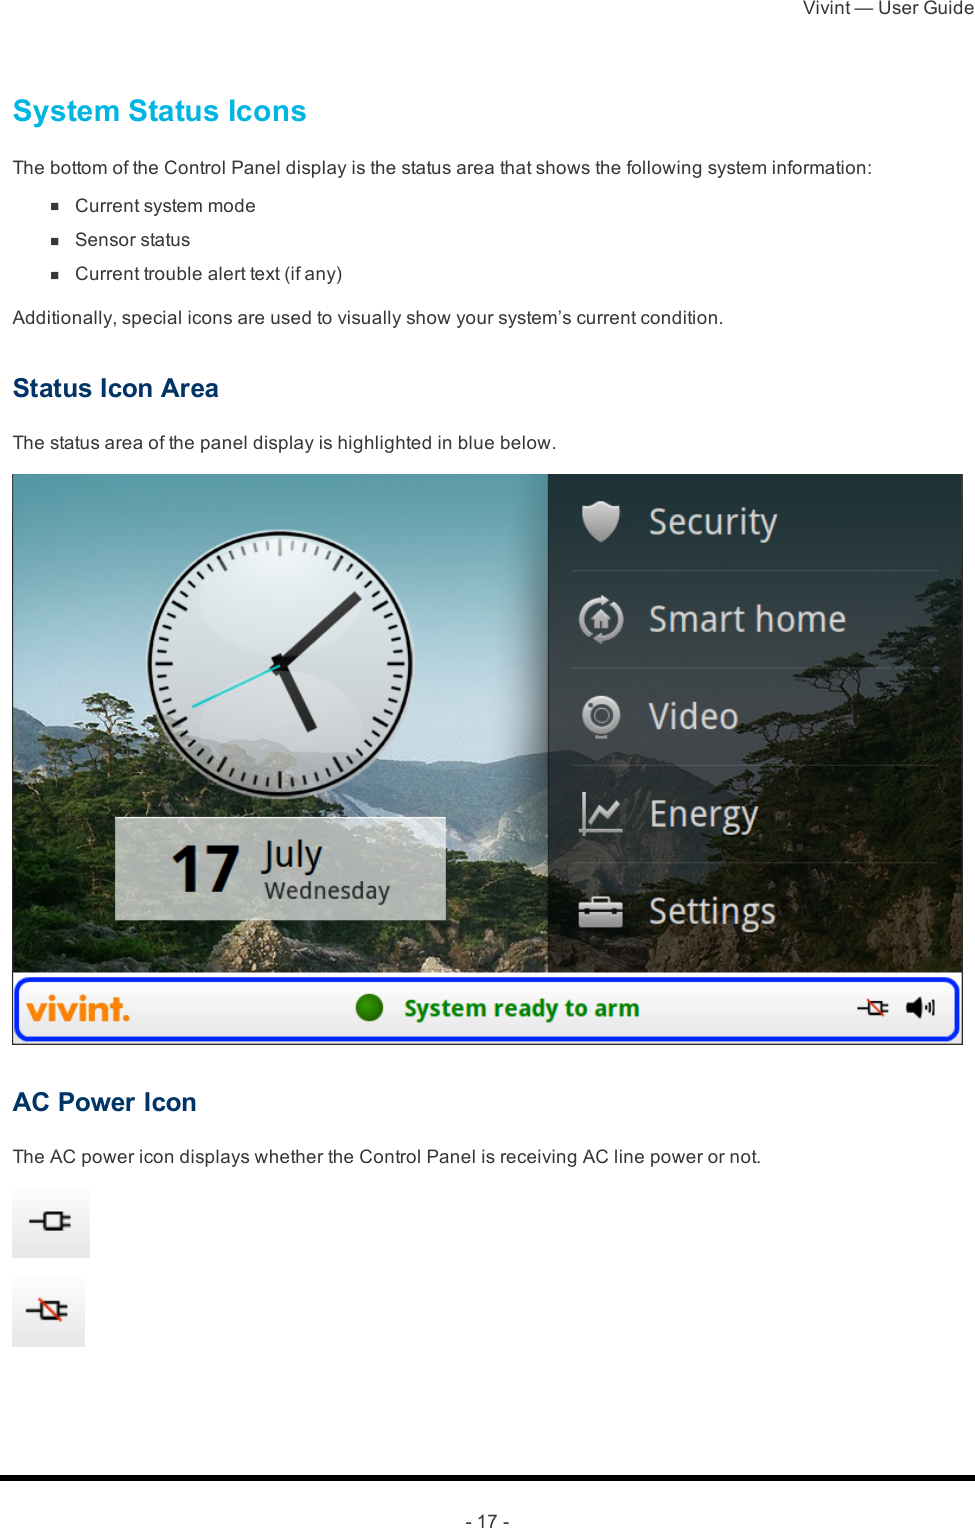
![Vivint — User Guide- 18 -Phone Line Failure IconIf the system detects a telephone line failure, the phone line failure icon is displayed.[[Editing Note: Add icon here...]]Backup Battery Status IconIf the Control Panel’s backup battery tests low or exhausted, the backup battery status icon is displayed.NOTE: In a commercial installation, the backup battery will keep the panel operating for a minimum of 24 hours. For battery replacement, contact your service representative, or contact Vivint Cus-tomer Care.Speaker IconThe speaker icon shows whether the sound is on or the speaker is muted.Test Mode IconWhen the system is placed in System Test mode, the test mode icon will flash in the status bar of the display dur-ing the testing.[[Editing Note: Add icon here...]]Remote Access IconWhen the system is being remotely accessed by using an optional TS1 wireless keypad, the Remote Access icon is displayed.[[Editing Note: Add icon here...]]](https://usermanual.wiki/Vivint/CP01/User-Guide-2070436-Page-19.png)
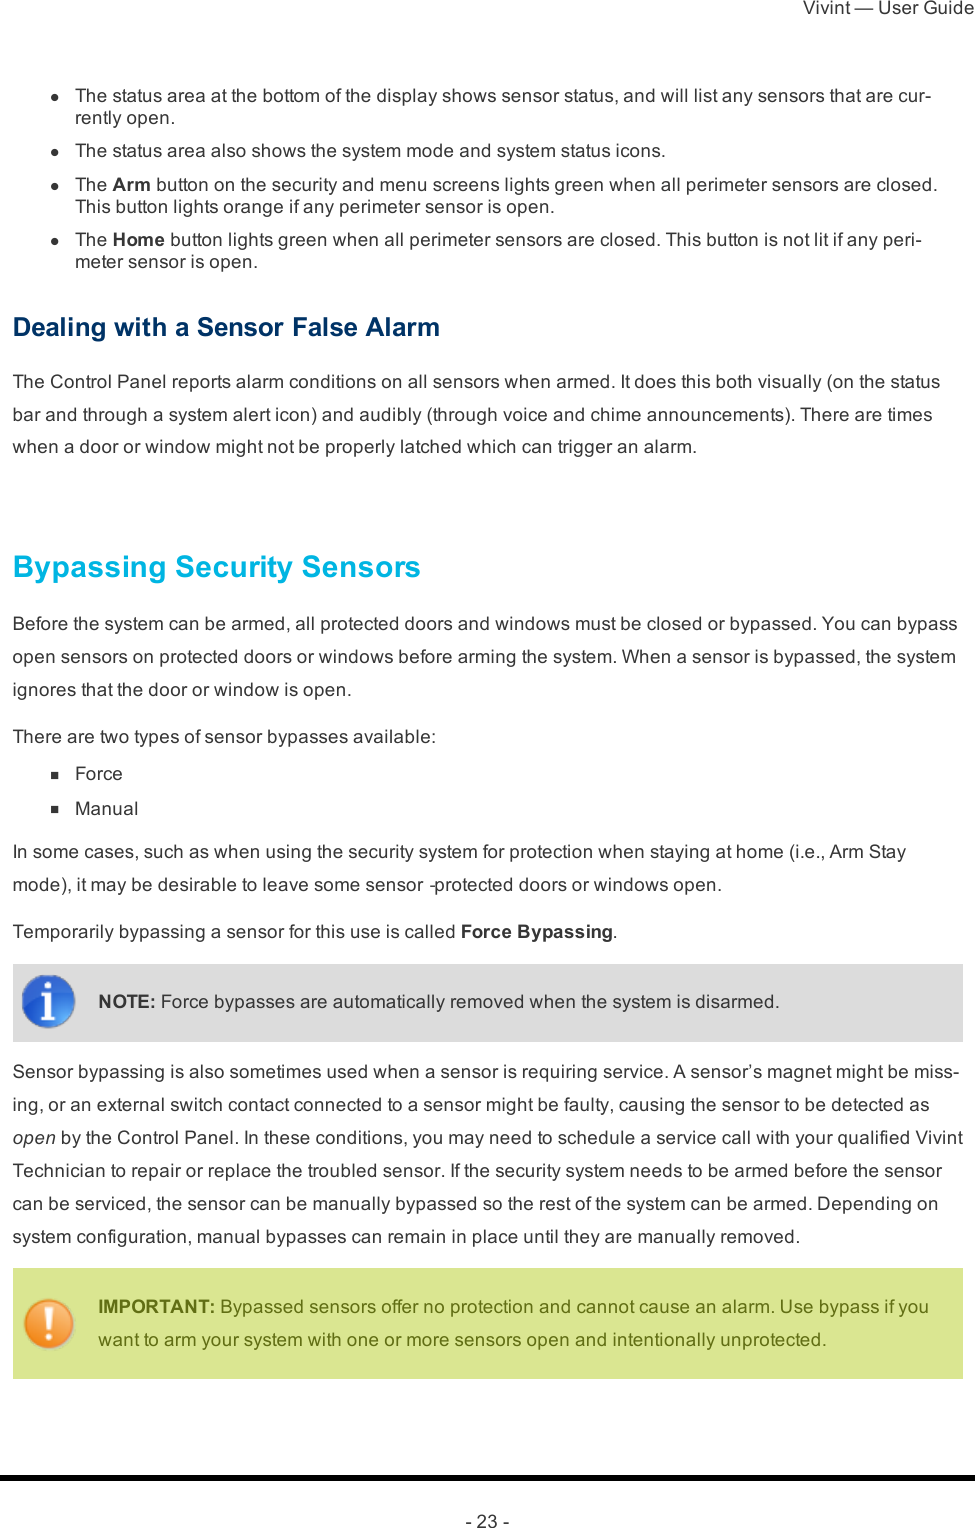
![Vivint — User Guide- 19 -Radio Modem IconIf the system’s optional Cell radio modem is installed, the cell radio icon is displayed on the status bar while the cell radio is being used to update software or add features.[[Editing Note: Add icon here...]]Sensor Open IconIf an interior security sensor is open (or a motion detector has just been activated) the status area displays the interior sensor open icon.IMPORTANT: During system arming, the House icon flashes as a warning.](https://usermanual.wiki/Vivint/CP01/User-Guide-2070436-Page-20.png)