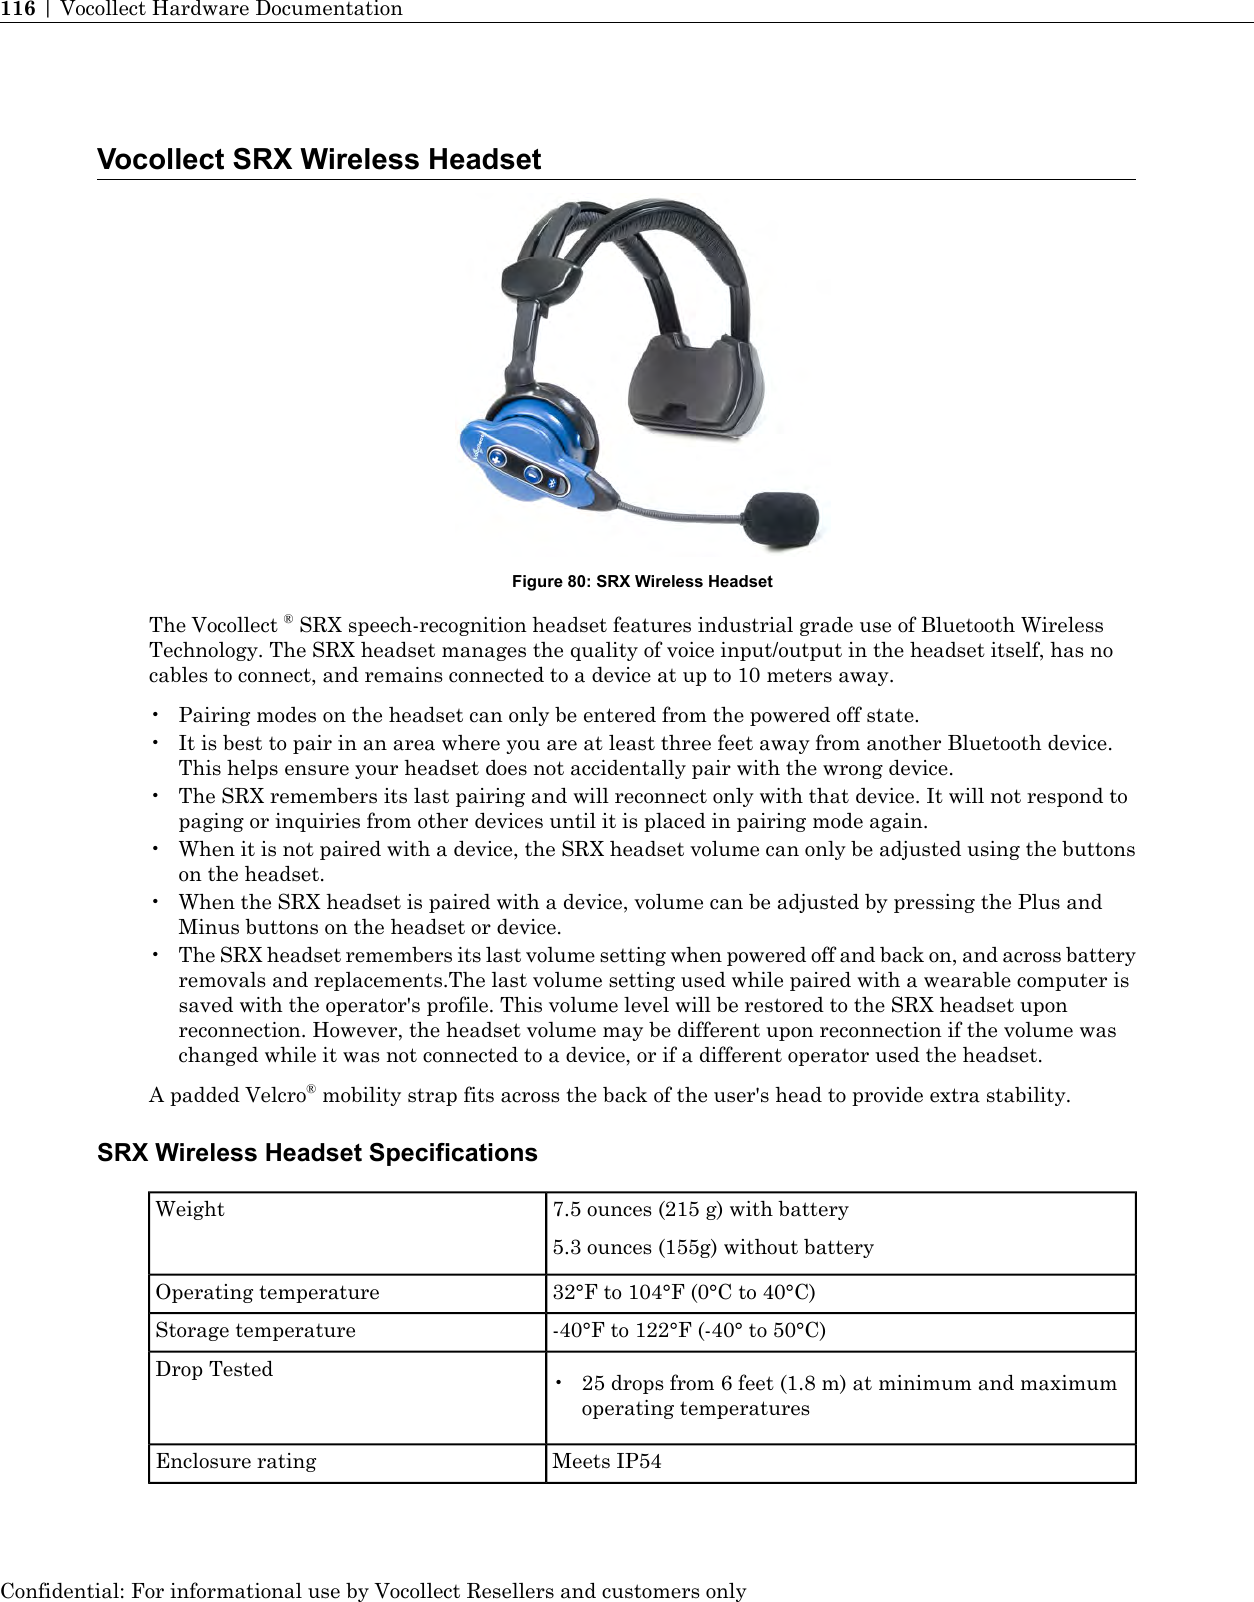
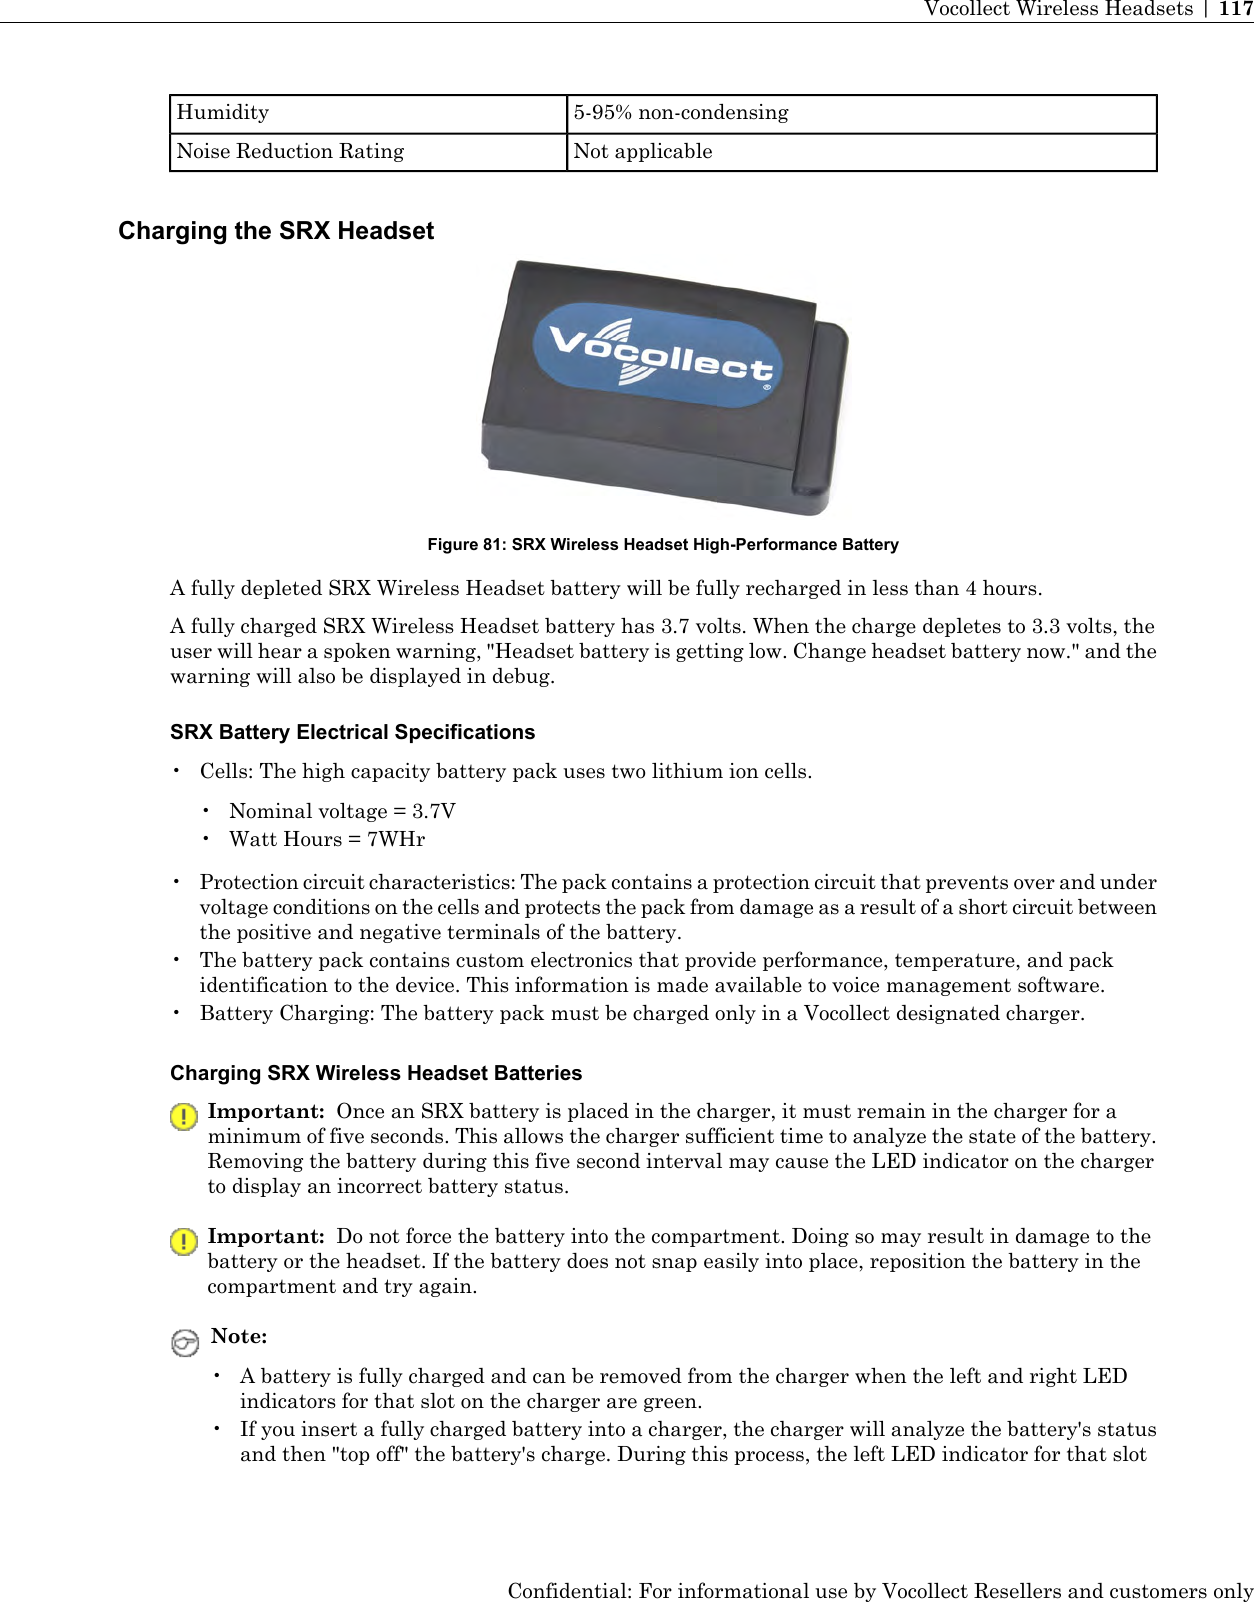
Vocollect HBT1000-01 Vocollect SRX2 Bluetooth Wireless Headset (HBT1000-01) User Manual CERTIFICATE OF COMPLIANCE
Vocollect Inc Vocollect SRX2 Bluetooth Wireless Headset (HBT1000-01) CERTIFICATE OF COMPLIANCE
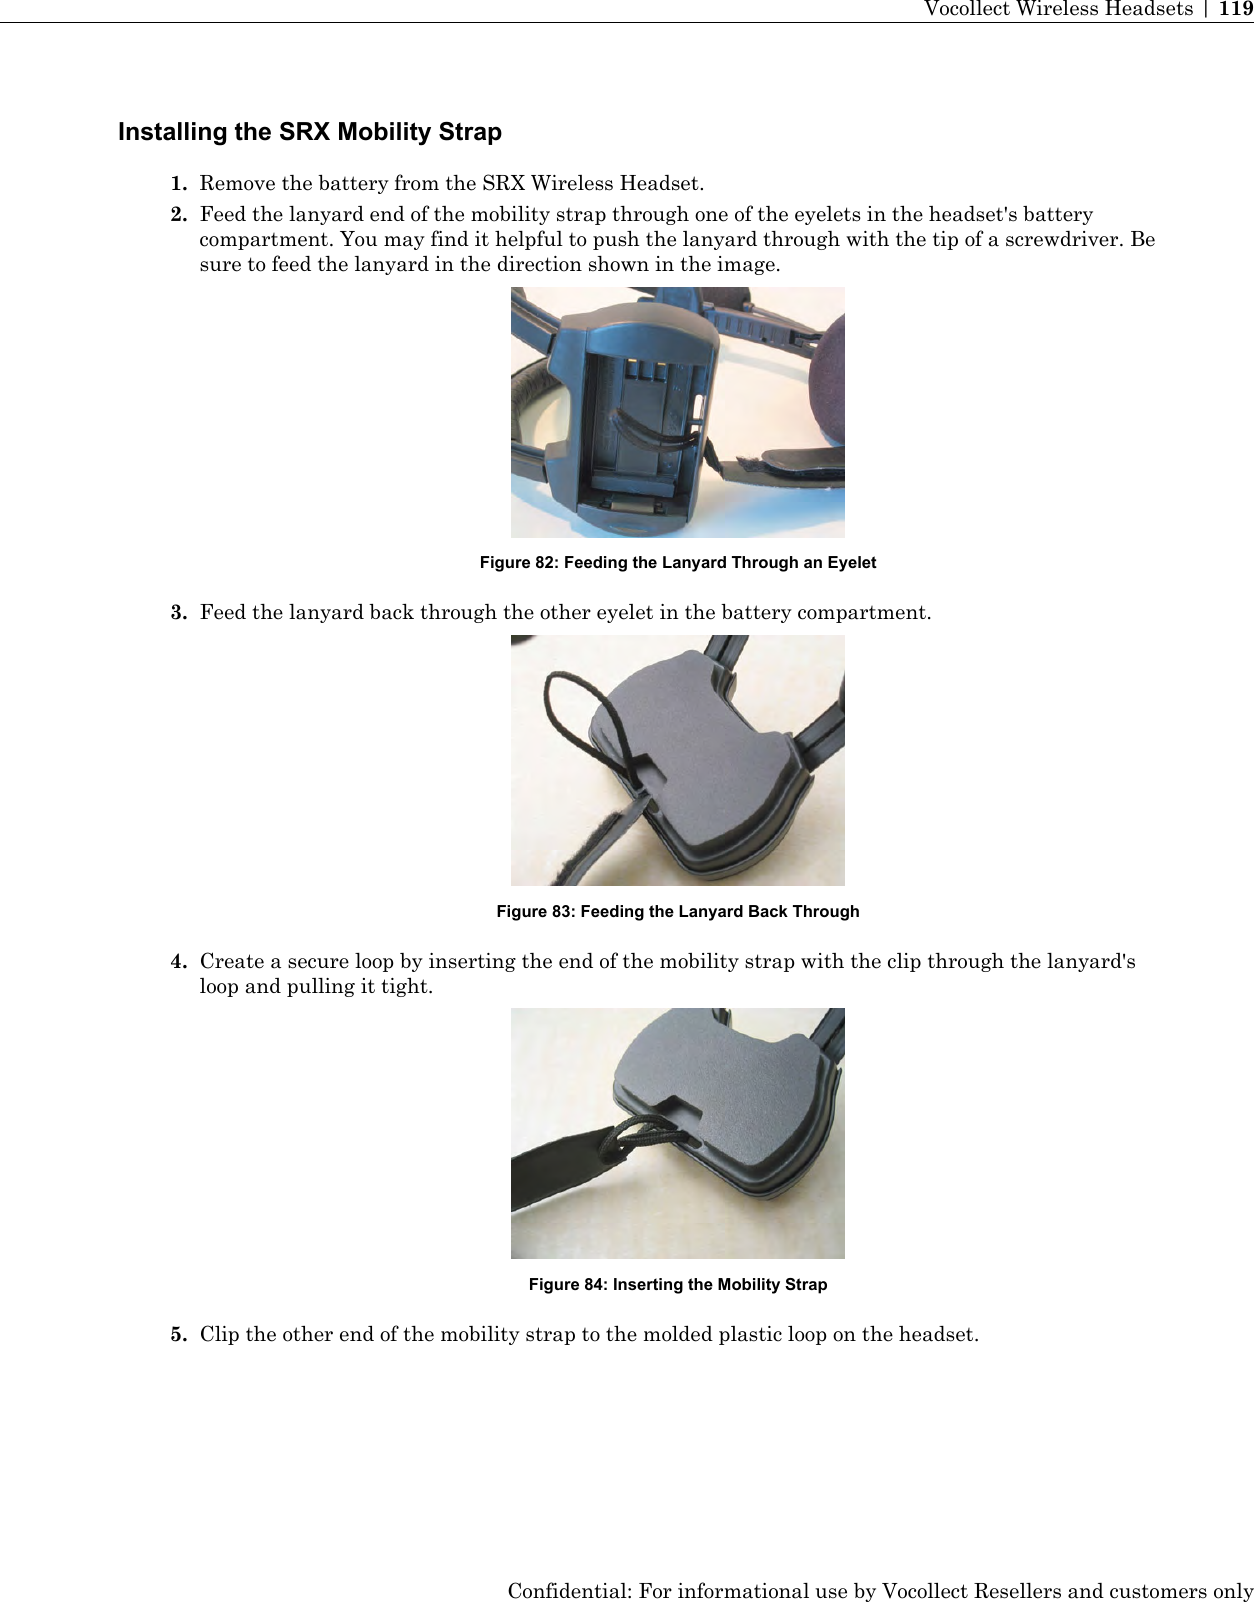
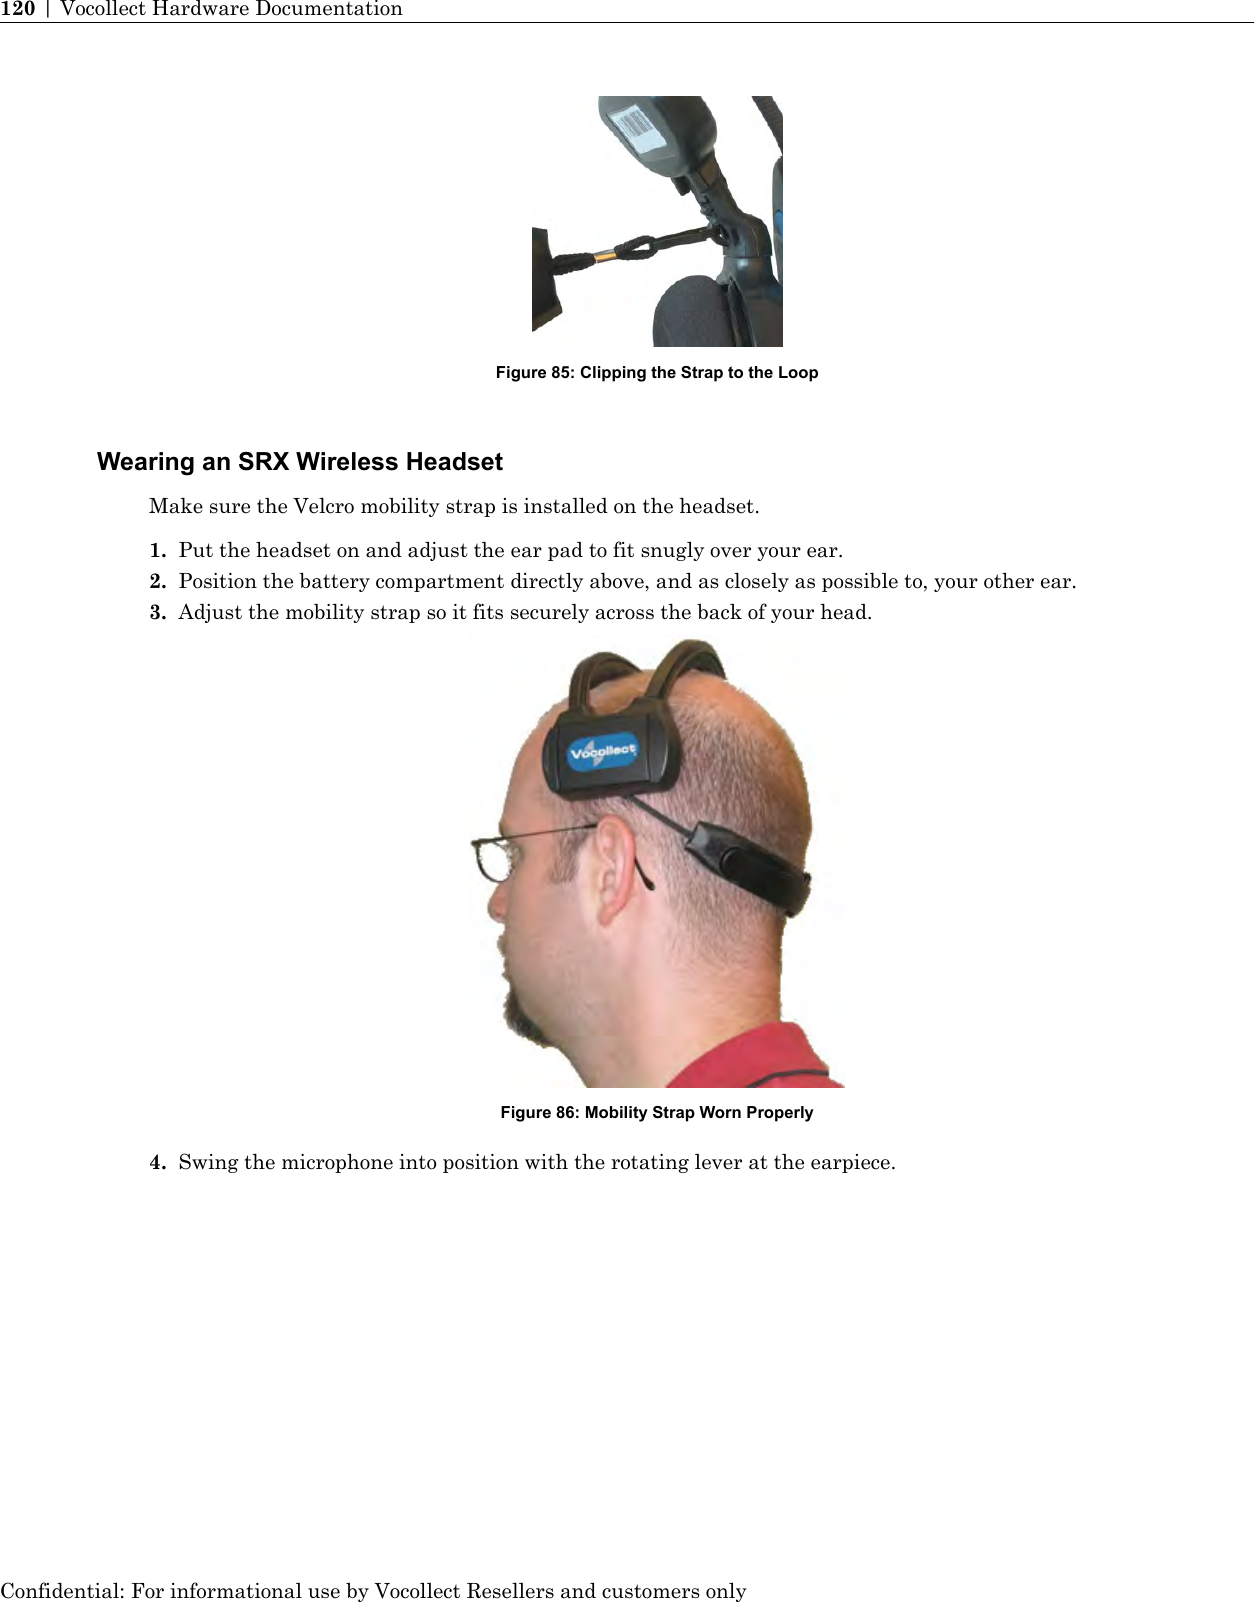
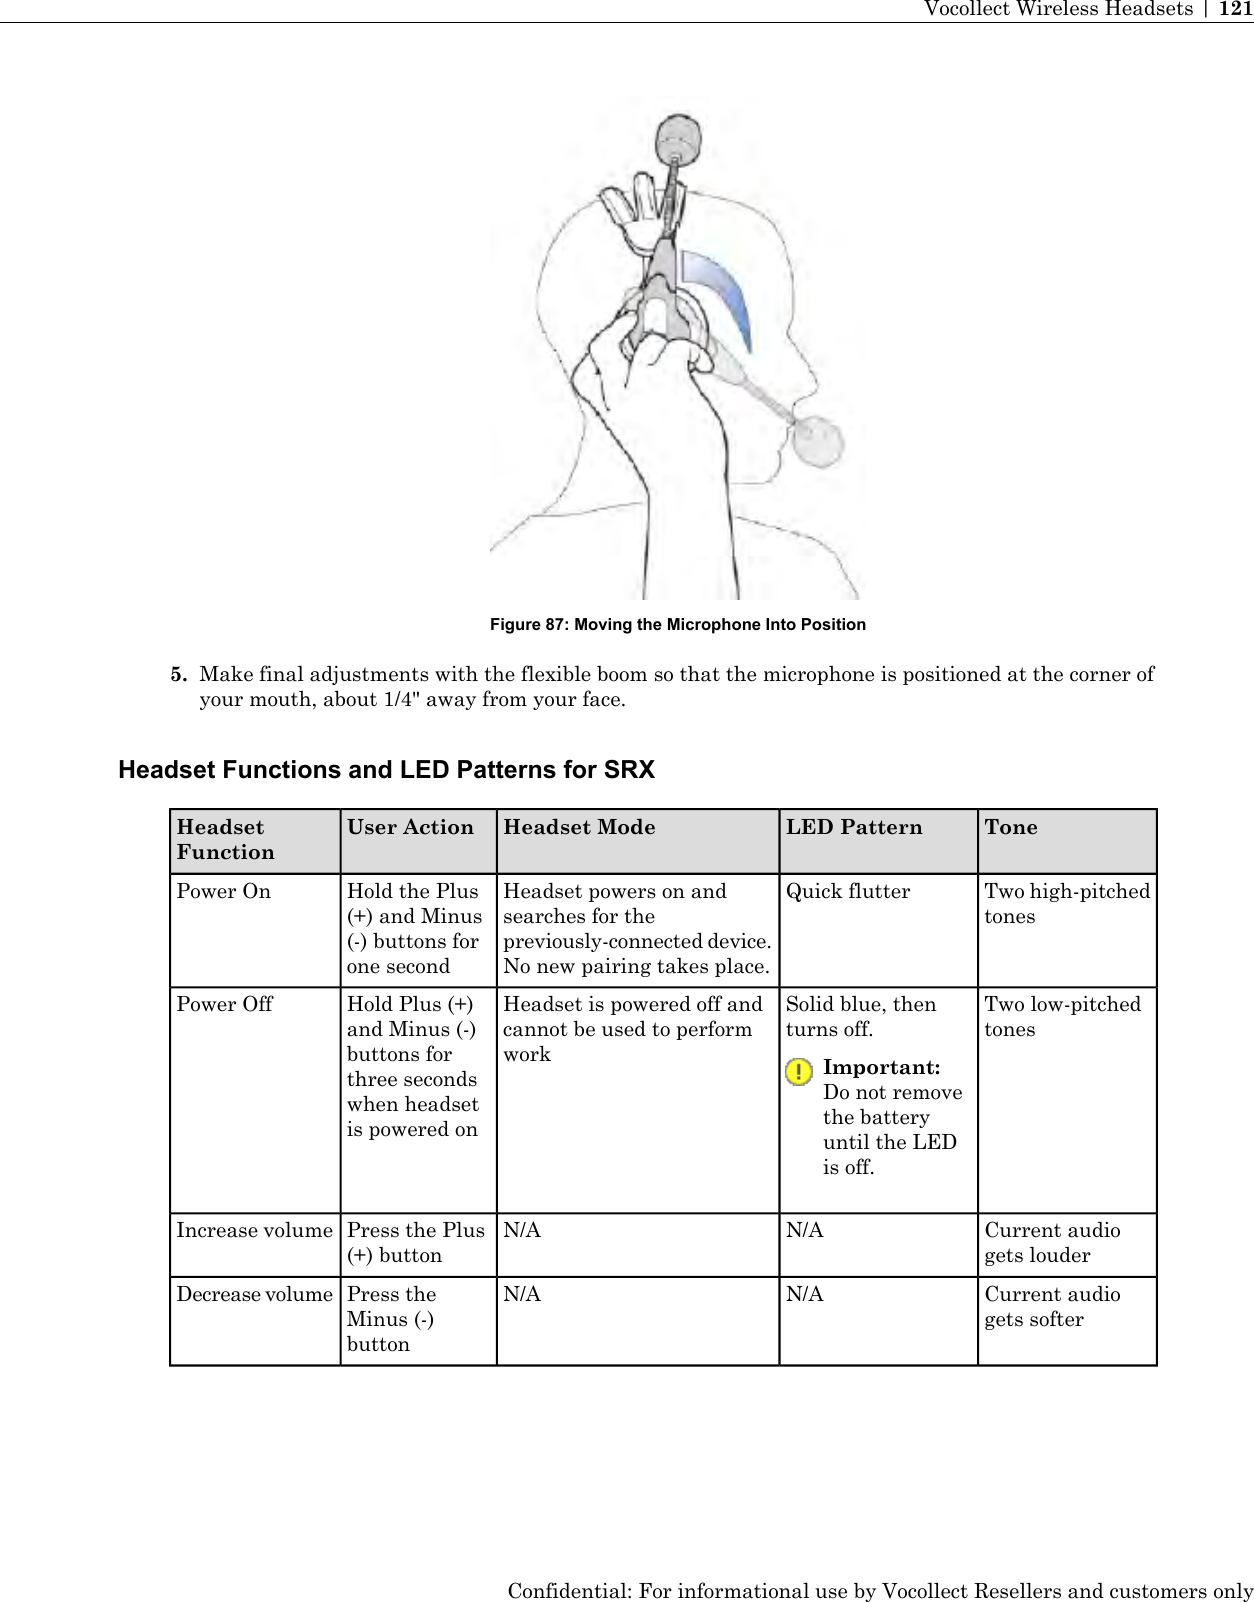
UserManual.wiki
>
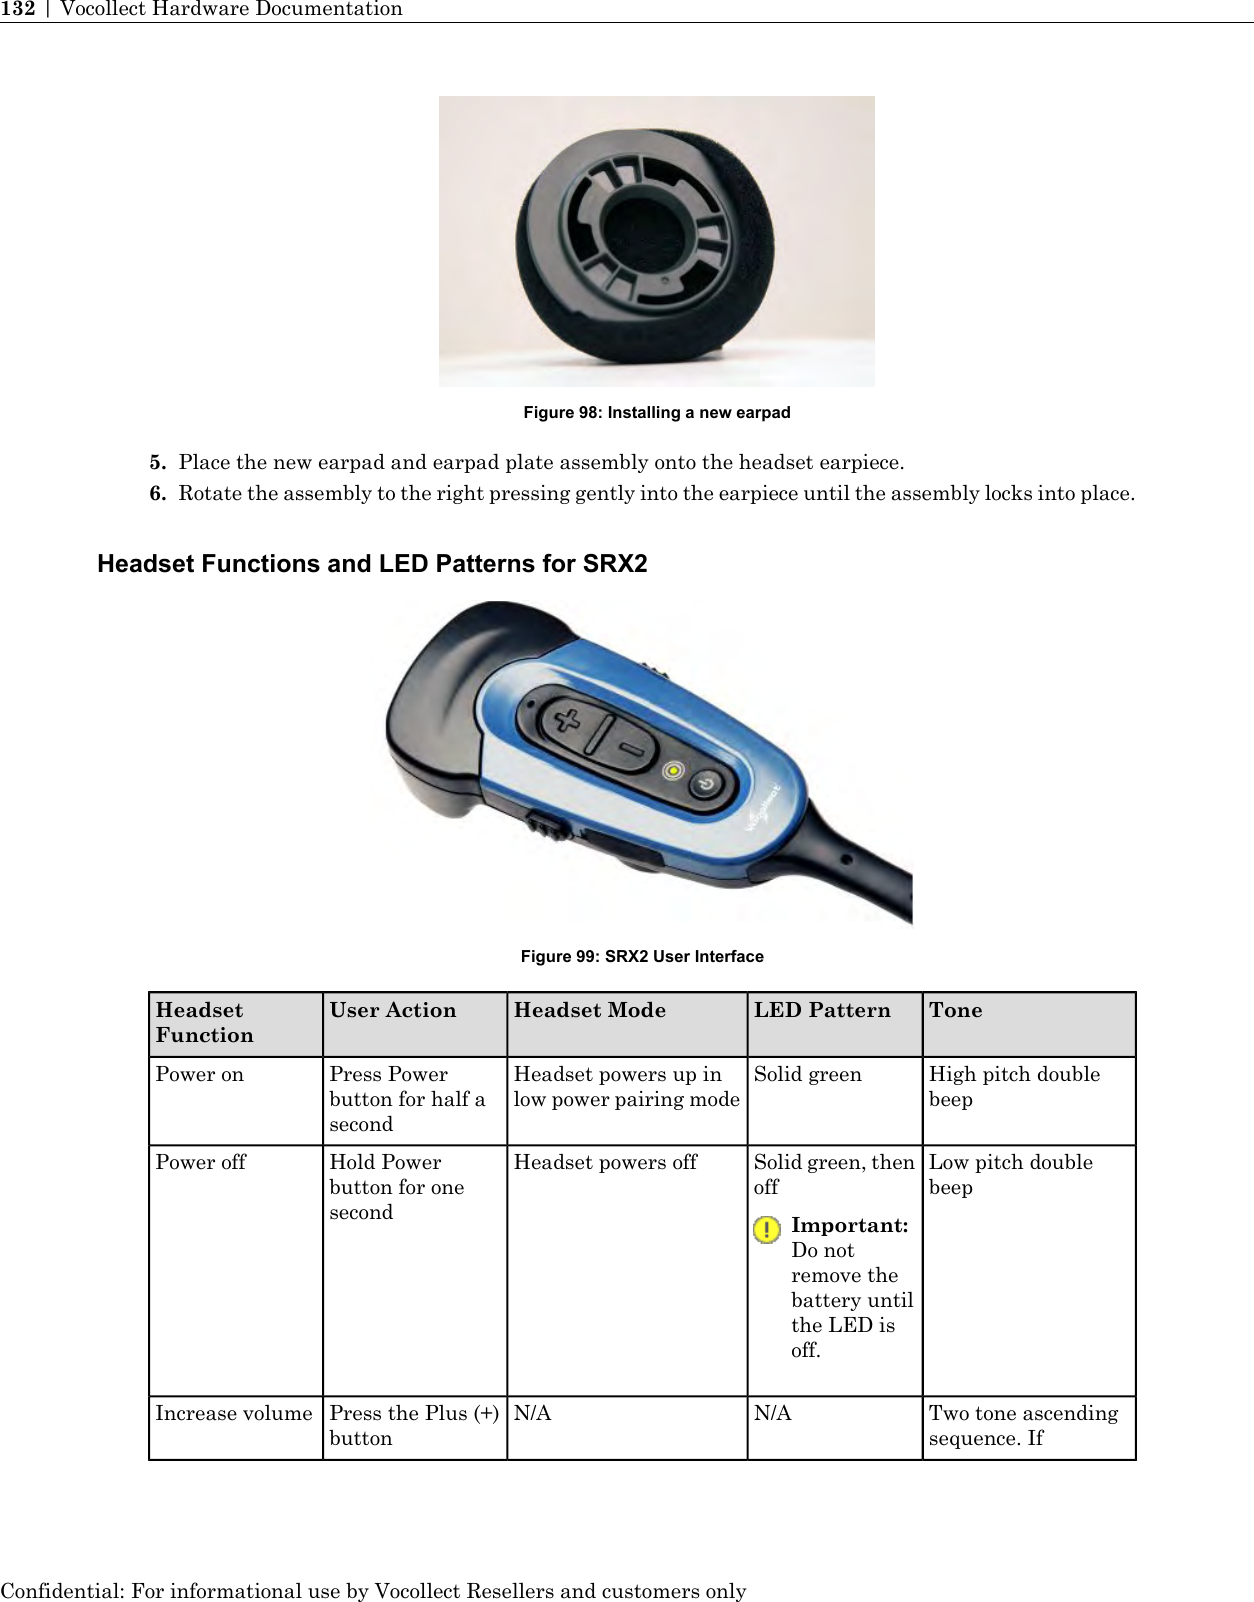
Vocollect
>
HBT1000 01 User Manual
User Manual
Navigation menu
Upload a User Manual
Namespaces
Wiki Guide
HTML
PDF
Info
Views
User Manual
Discussion / Help
Navigation


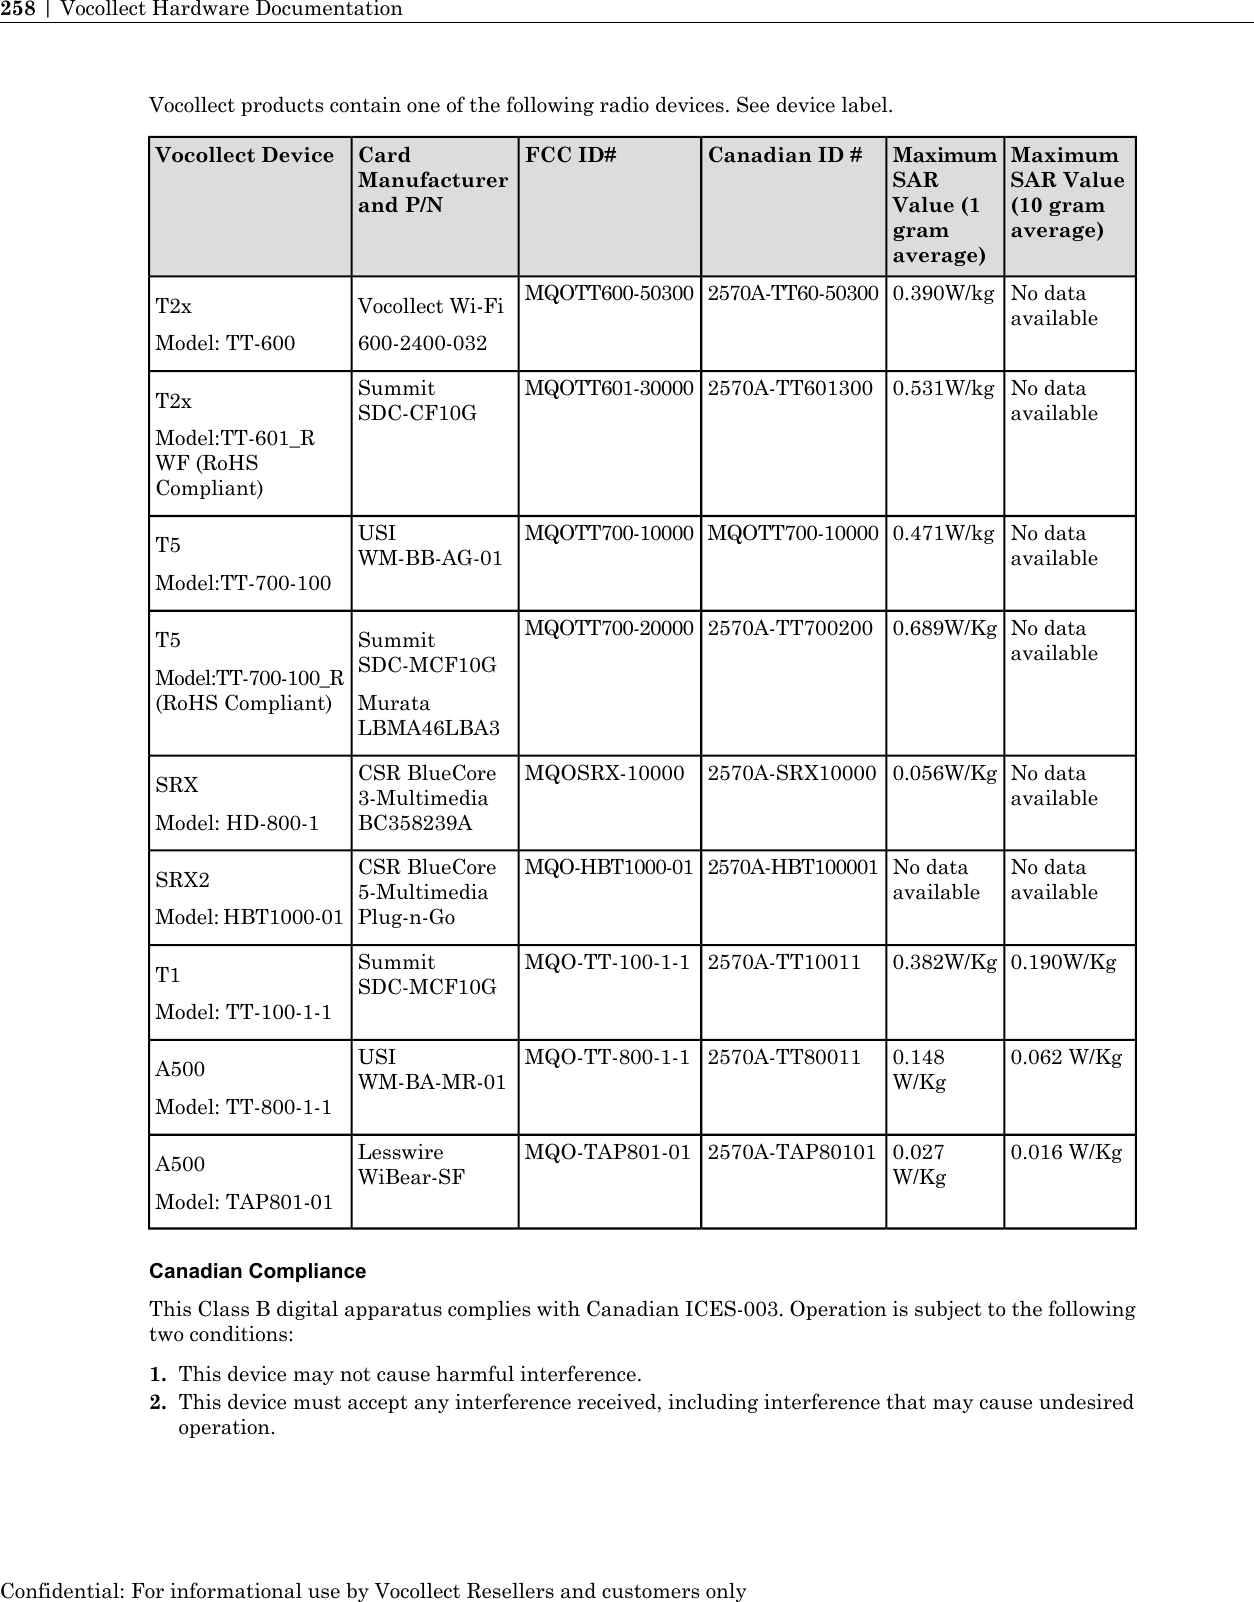
![Cet appareil numérique de la classe B est conforme à la norme NMB-003 du Canada. Le présent appareilest conforme aux CNR d'Industrie Canada applicables aux appareils radio exempts de licence.L'exploitation est autorisée aux deux conditions suivantes:1. L'appareil ne doit pas produire de brouillage.2. l'utilisateur de l'appareil doit accepter tout brouillage radioélectrique subi, même si le brouillage estsusceptible d'en compromettre le fonctionnement.CE Marking & European ComplianceProducts intended for sale within the European Union are marked with the CE Mark, which indicatescompliance to applicable Directives and European Normes (EN) as follows. Amendments to theseDirectives or ENs are included.Devices - T5, T2x, SRXImportant Notice: This device is a 2.4 to 2.48 GHz RFdevice intended for office and light industrial use in allEU and EFTA member states with restrictions in Franceand Italy.Italy Restrictions: If used outside of own premises, general authorization is required.France Restrictions: Outdoor use is limited to 10mW e.i.r.p. within the band 2454-2483.5Device - A500 [PART: TT-800; MODEL: TT-800-1-1]Important Notice: This device is a wireless terminal that operates in the2.4GHz and 5GHz ISM frequency bands and is intended for light industrialuse in all EU and EFTA member states. See restrictions below.Italy Restrictions: If used outside of own premises, general authorization is required.France Restrictions: Outdoor use is limited to 10mW e.i.r.p. within the band 2454-2483.5This device must be used with Access Points that have employed and activated a radar detection featurerequired for European Community operation in the 5 GHz bands. This device will operate under thecontrol of the Access Point in order to avoid operating on a channel occupied by any radar system in thearea. The presence of nearby radar operation may result in temporary interruption in communicationsof this device. The Access Point's radar detection feature will automatically restart operation on a channelfree of radar. You may consult with the local technical support staff responsible for the wireless networkto ensure the Access Point device(s) are properly configured for European Community operation.Device - A500 [PART: TT-801; MODEL: TT-800-1-1 and TAP801-01]Device - T1 [PART: TT-100; MODEL: TT-100-1-1]Regulatory Approvals for Bluetooth®Radio DevicesVocollect devices that contain an integrated Bluetooth®module are designed to comply with the mostcurrent applicable standards on safe levels of RF energy, developed by the Institute of Electrical andElectronics Engineers (IEEE) and the American National Standards Institute CommunicationsCommission (FCC).Confidential: For informational use by Vocollect Resellers and customers onlyCompliance | 259](https://usermanual.wiki/Vocollect/HBT1000-01/User-Guide-1782447-Page-76.png)