Vocollect TAP700-01 Vocollect T5 TAP700-01 Voice-Enabled Device with Wireless Capability User Manual CERTIFICATE OF COMPLIANCE
Vocollect Inc Vocollect T5 TAP700-01 Voice-Enabled Device with Wireless Capability CERTIFICATE OF COMPLIANCE
UserManual.wiki
>
Vocollect
>
TAP700 01 User Manual
User Manual
Navigation menu
Upload a User Manual
Namespaces
Wiki Guide
HTML
PDF
Info
Views
User Manual
Discussion / Help
Navigation

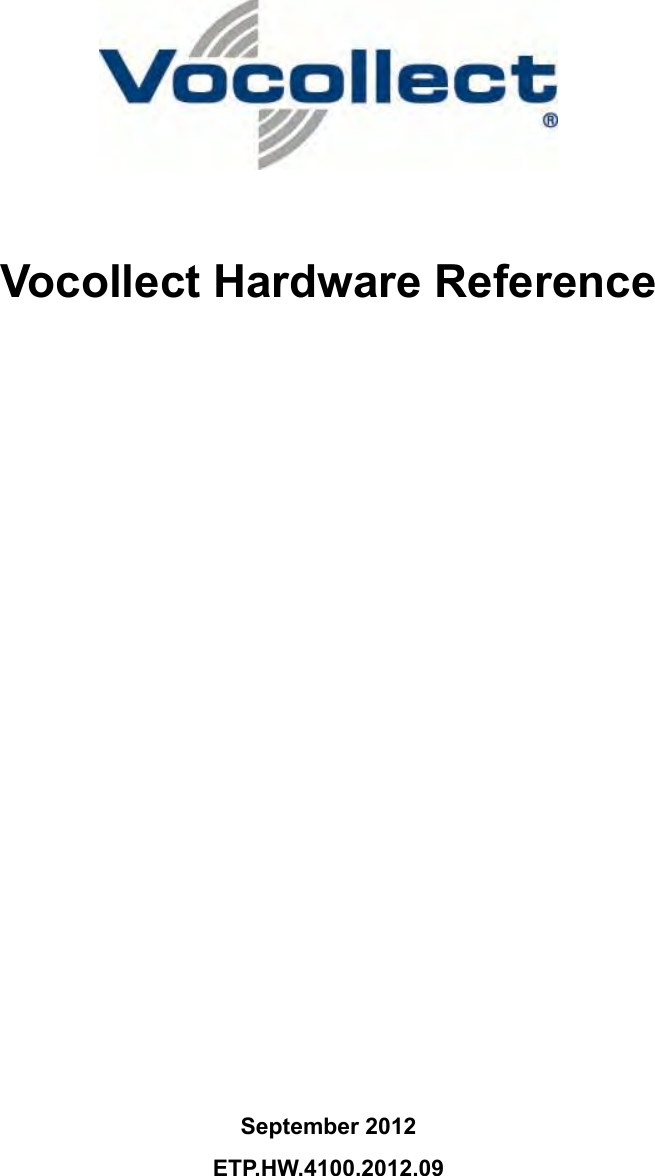
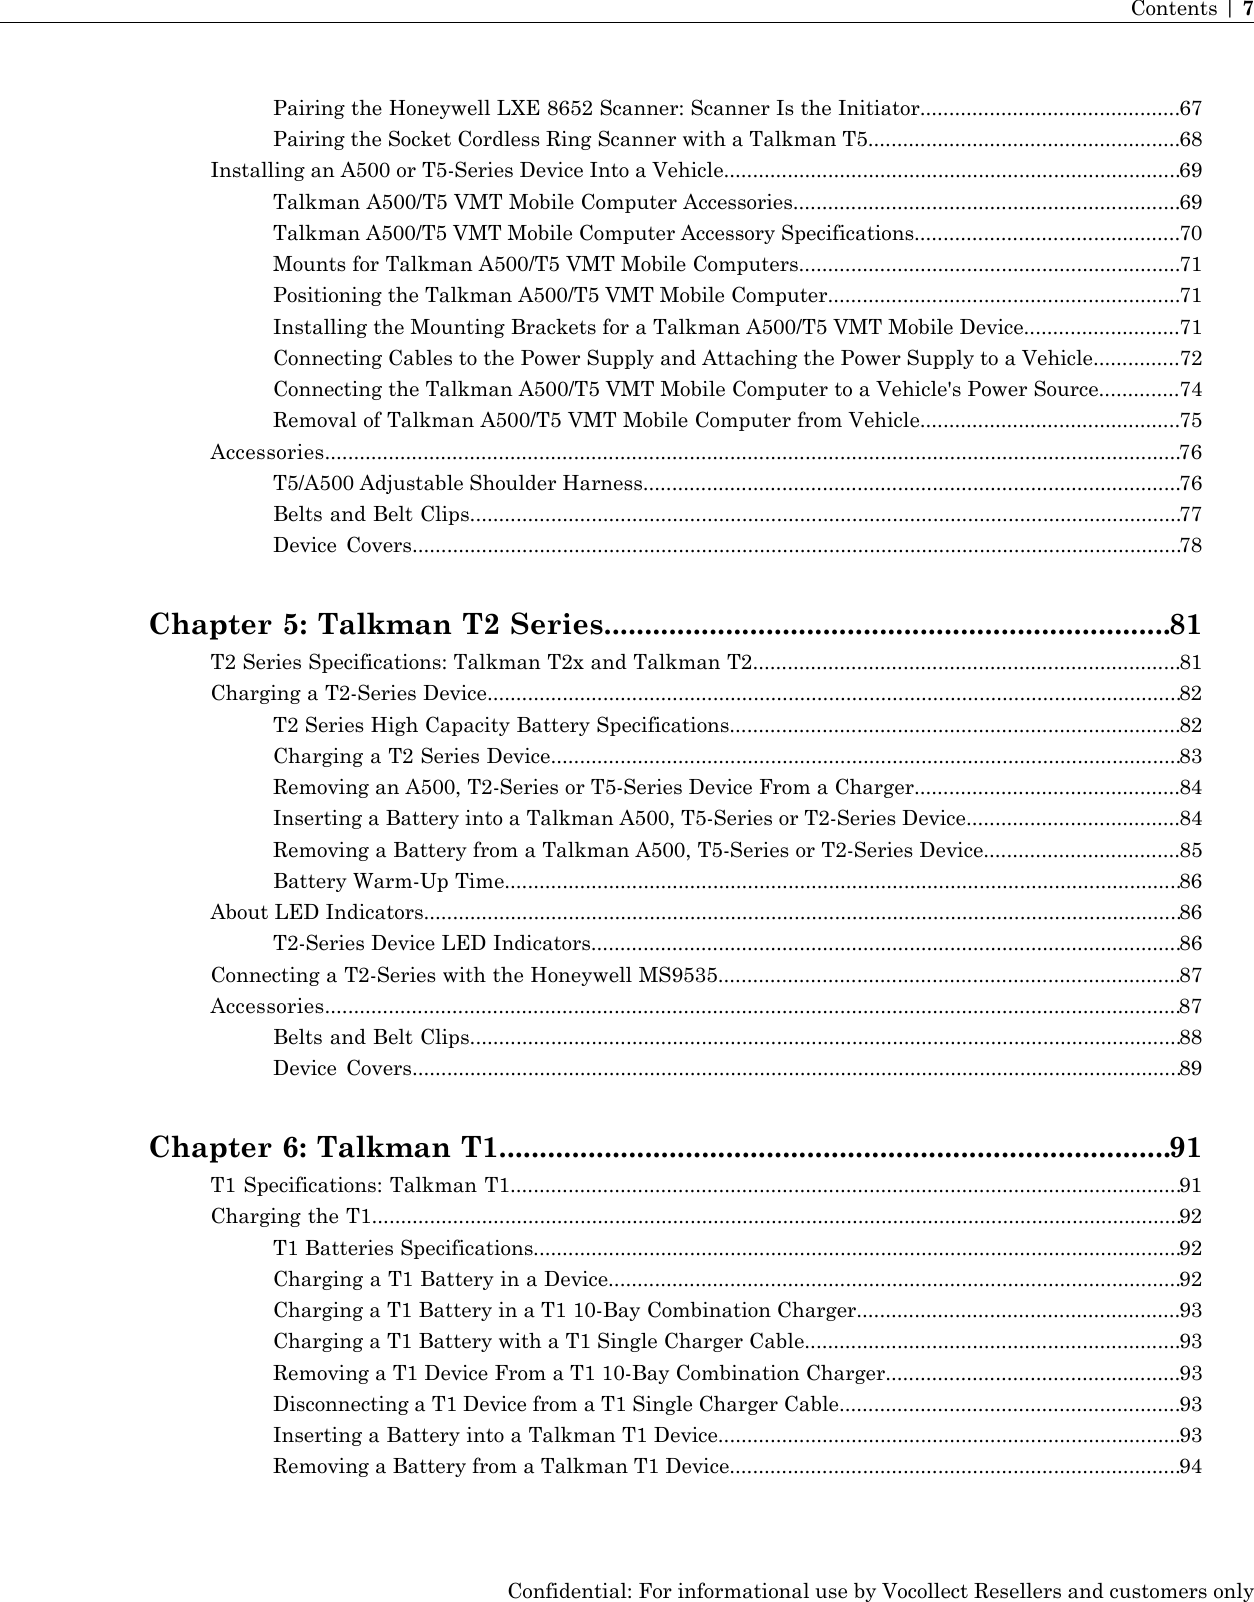

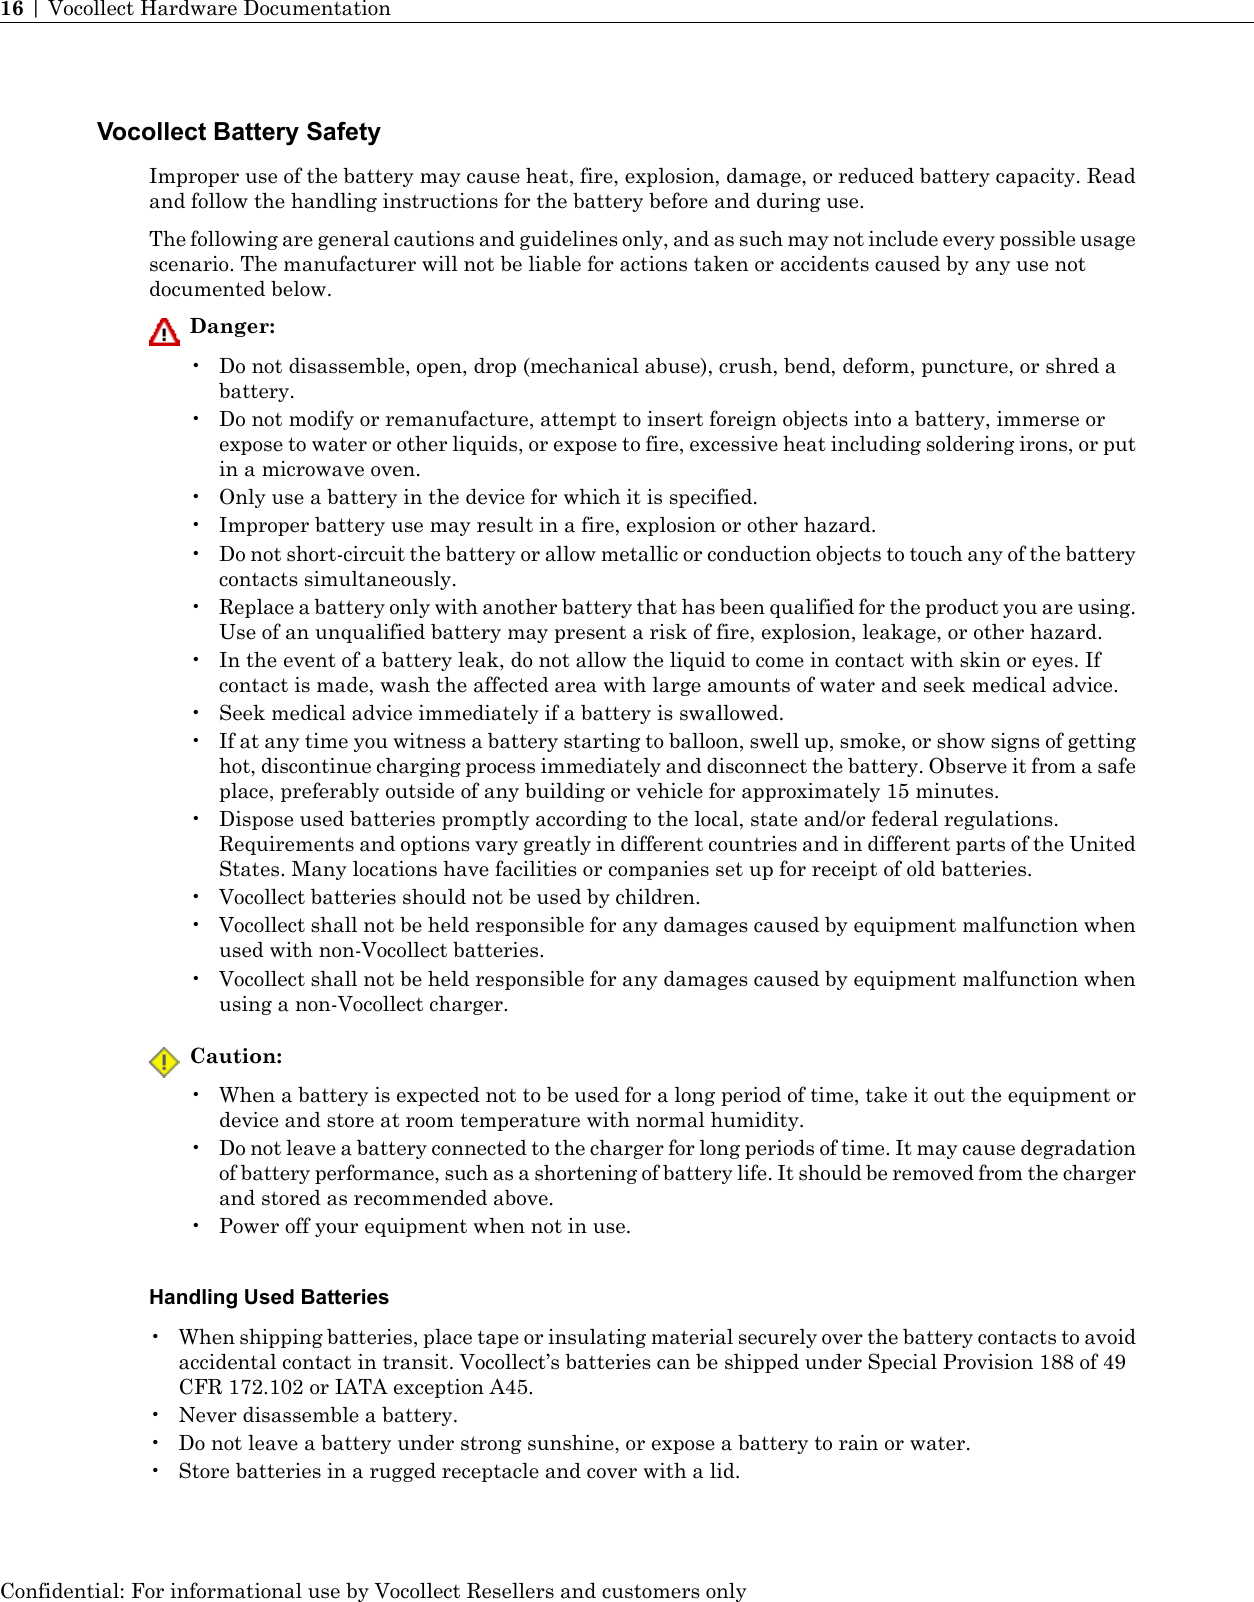

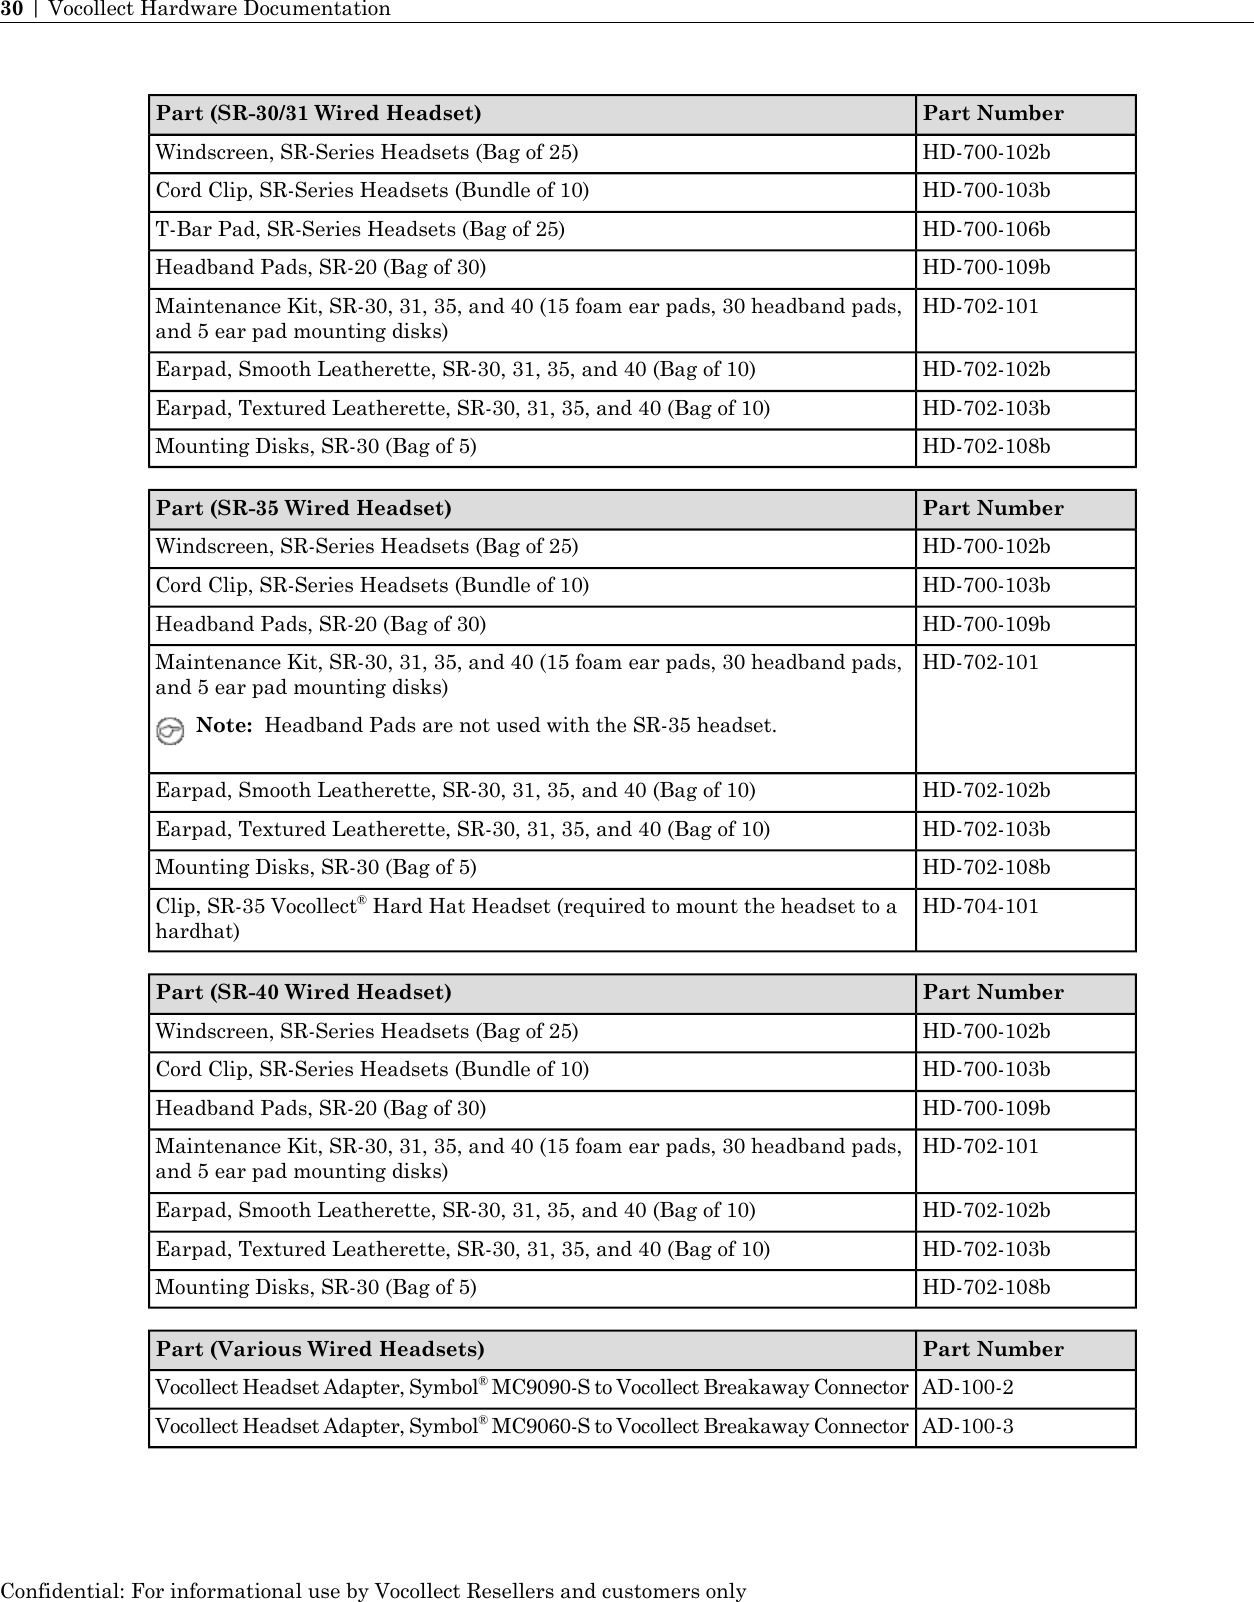


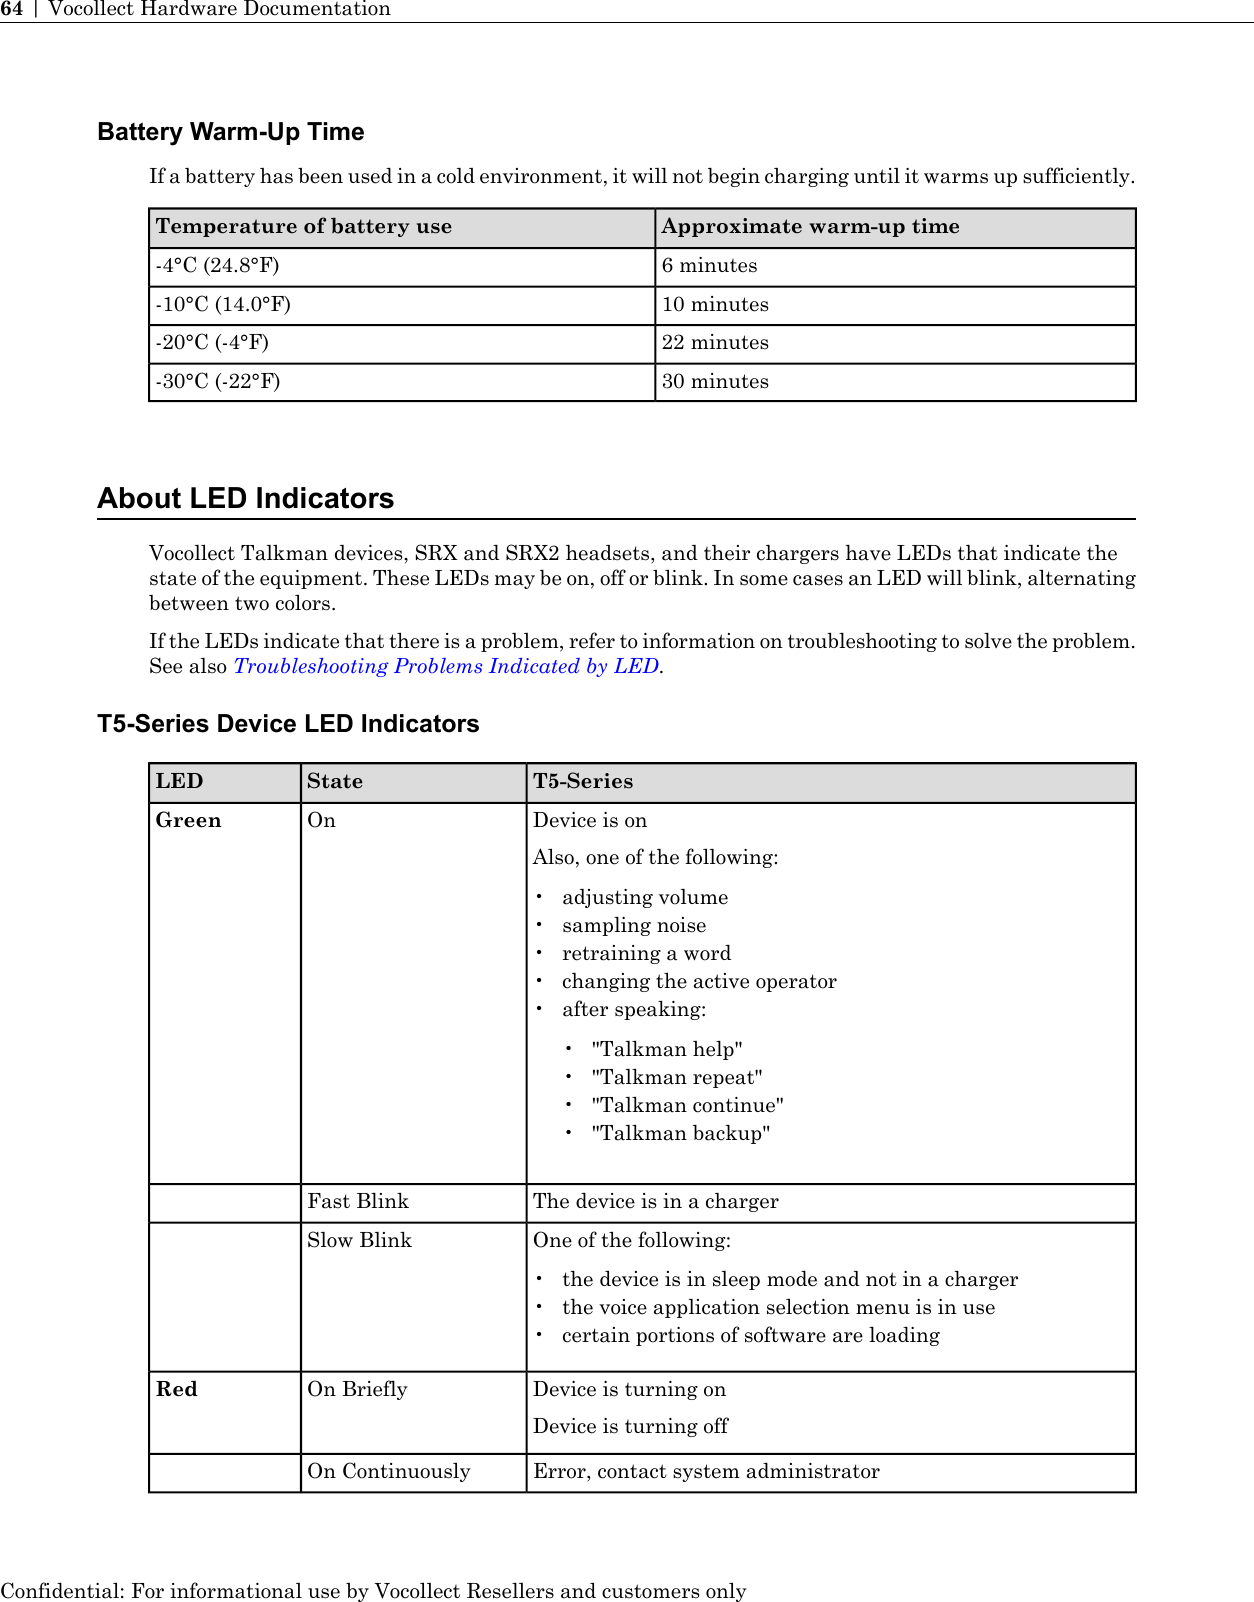


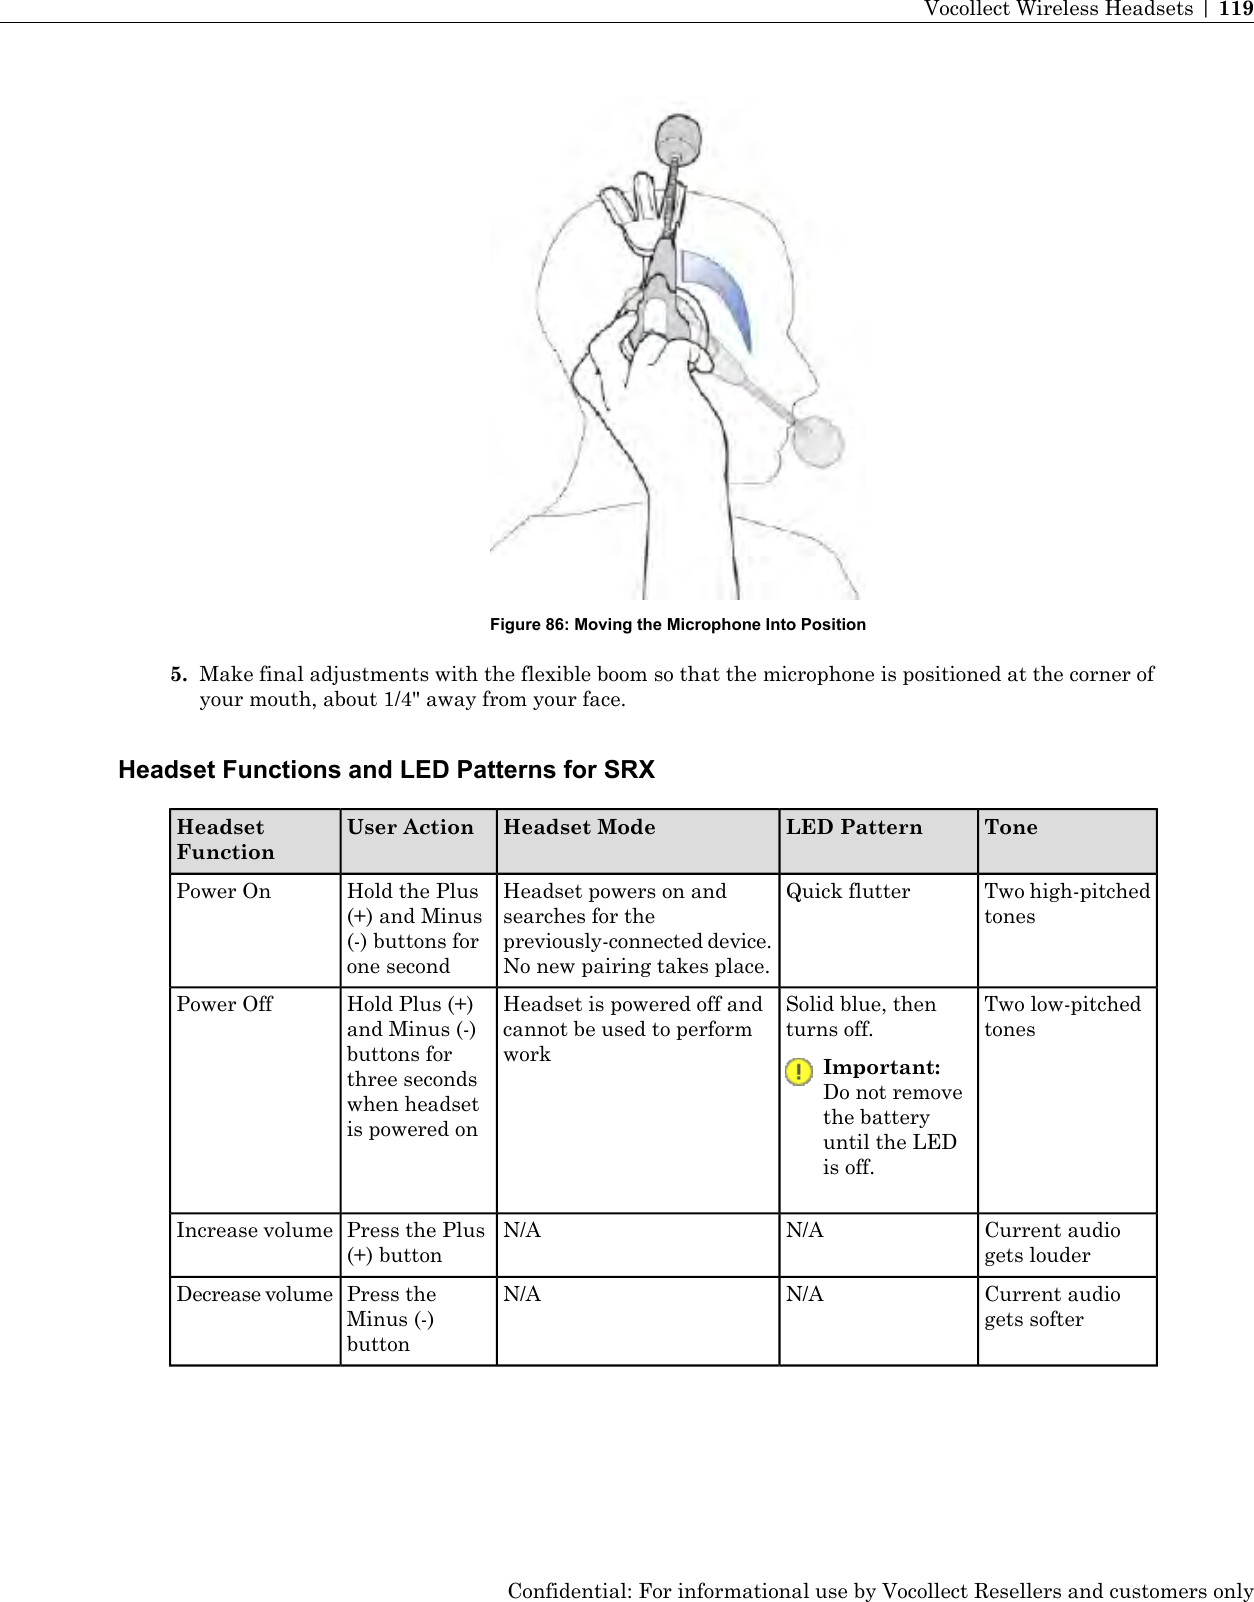
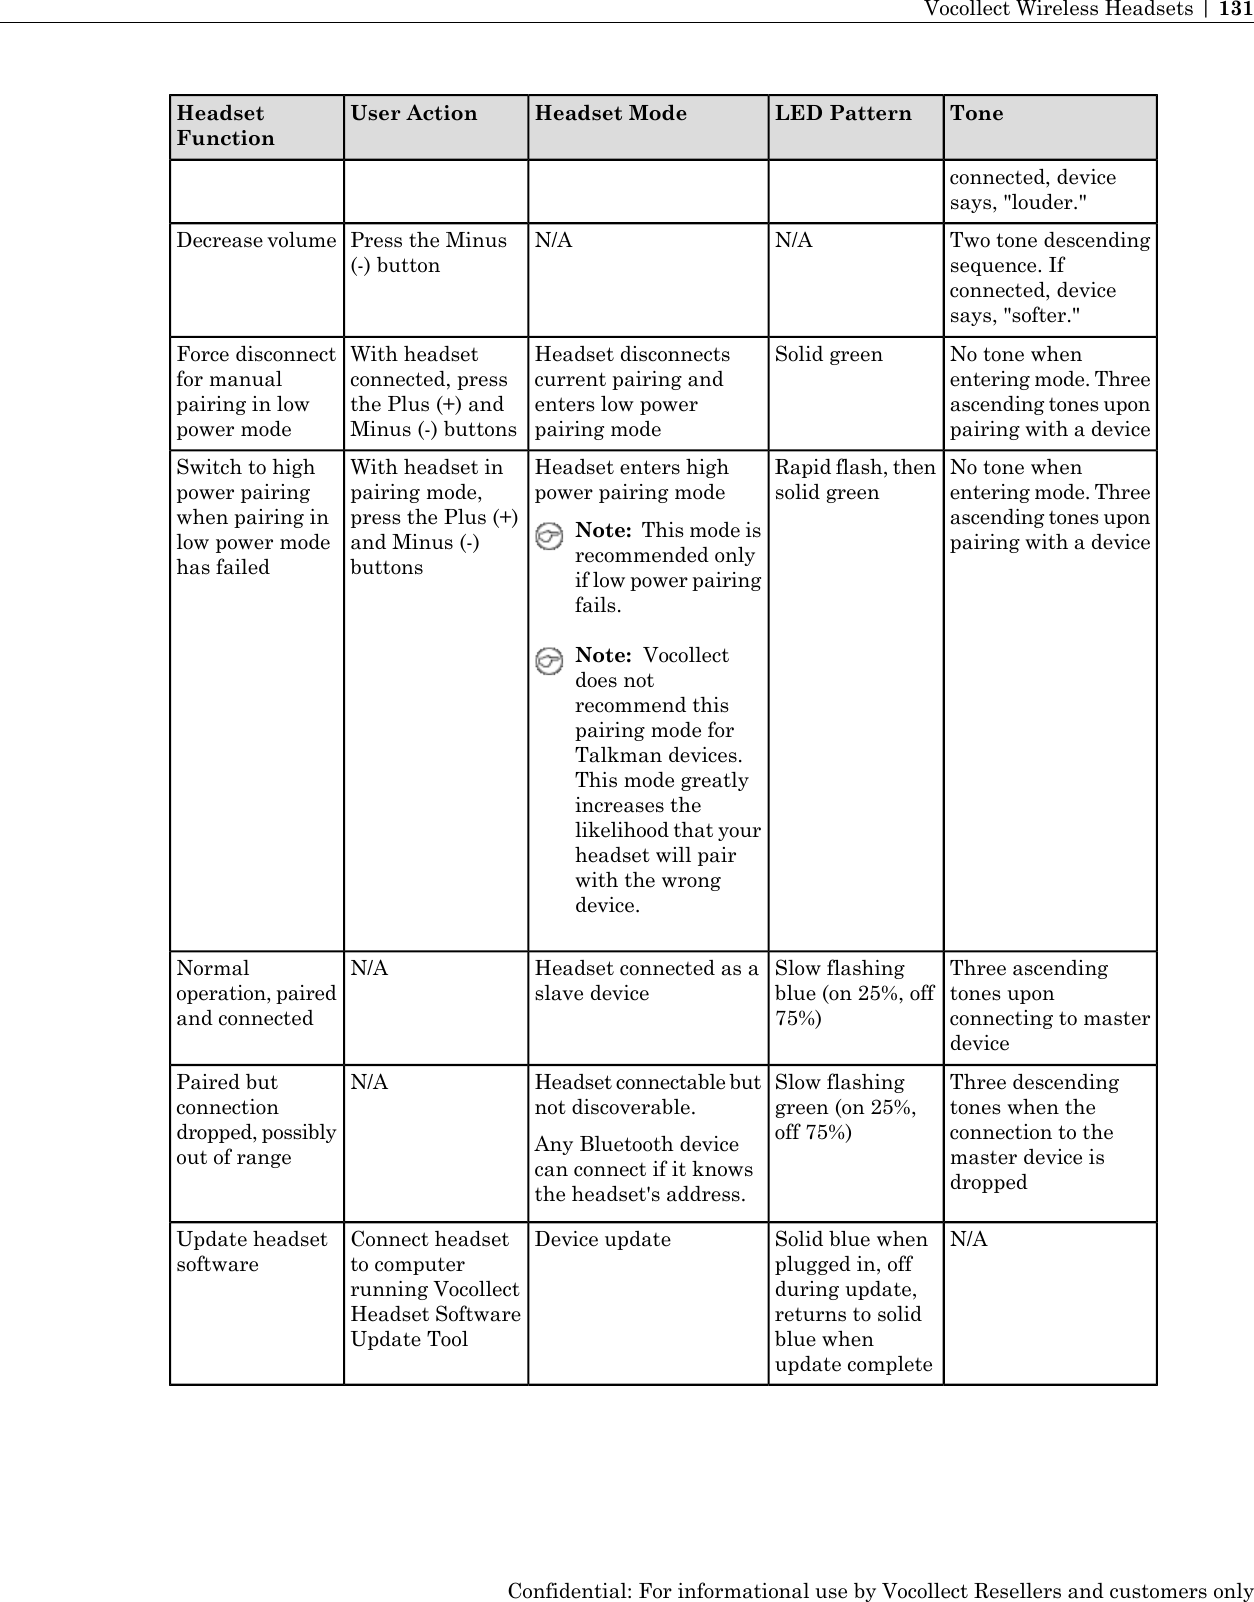


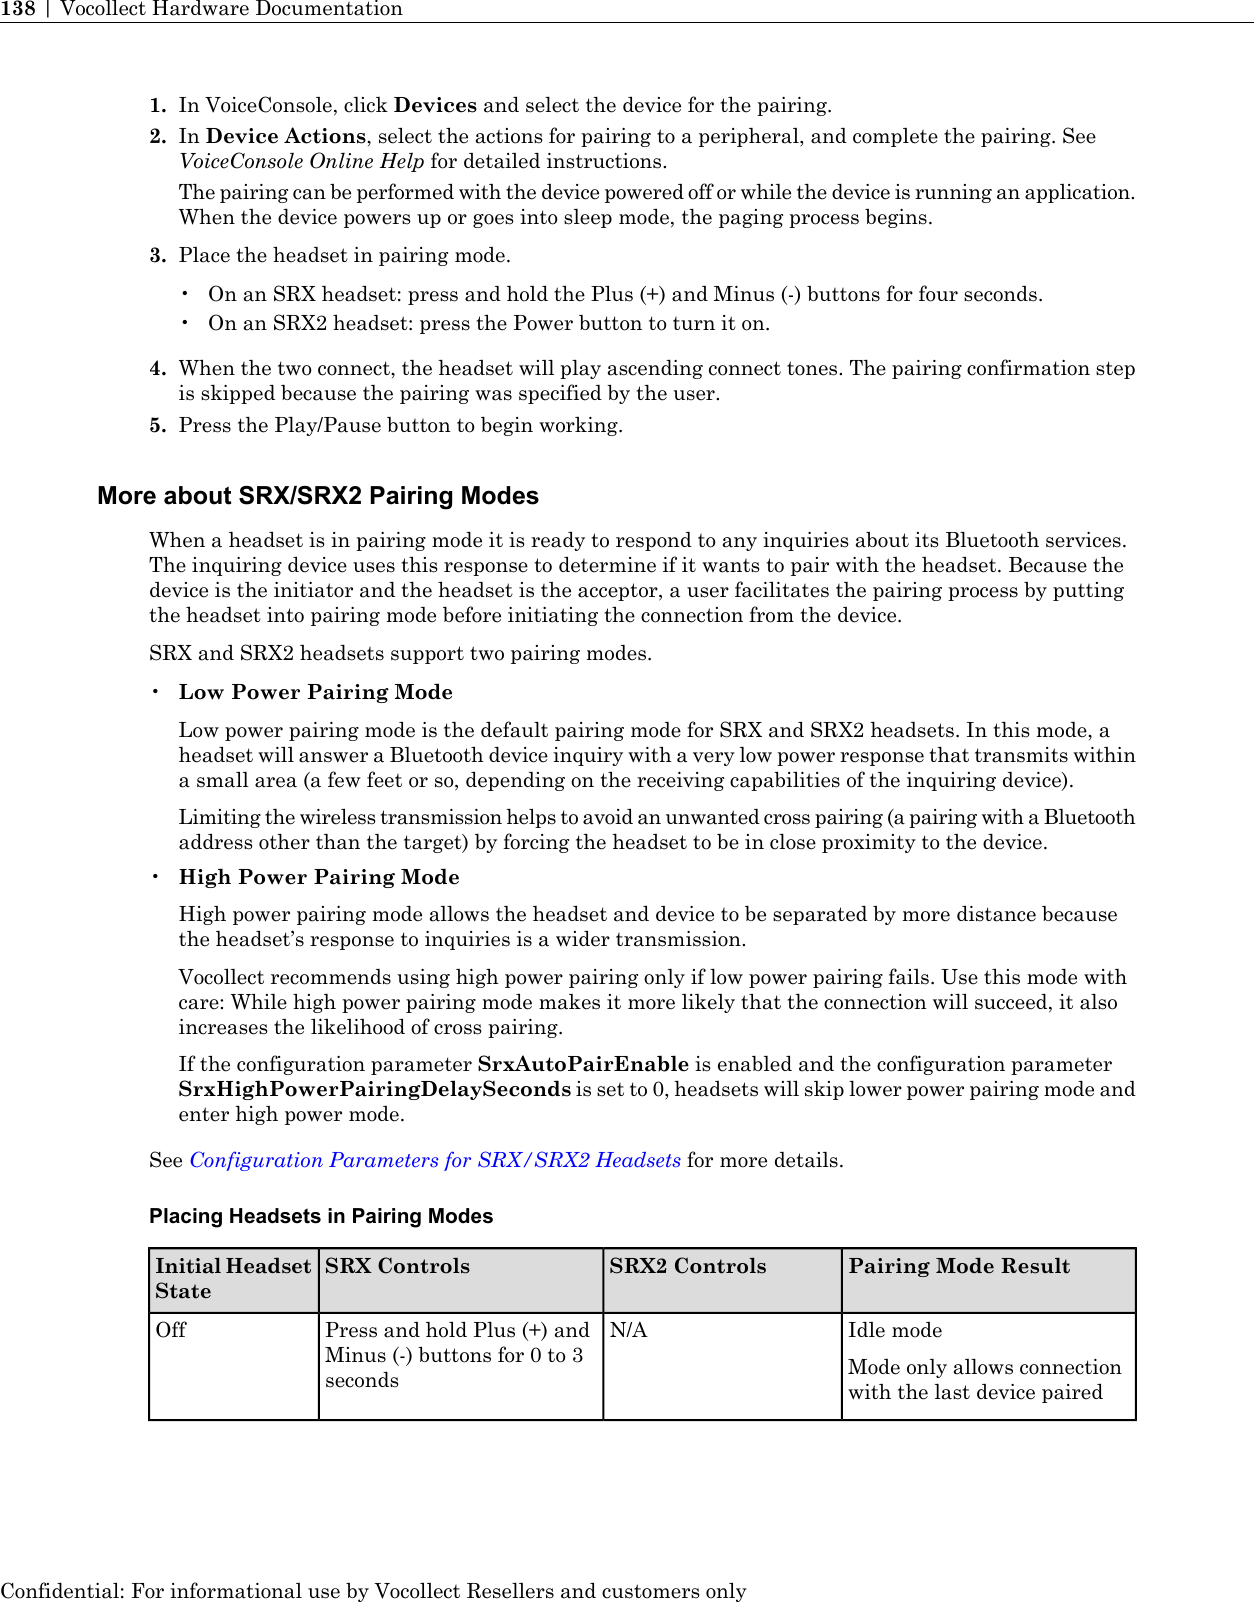


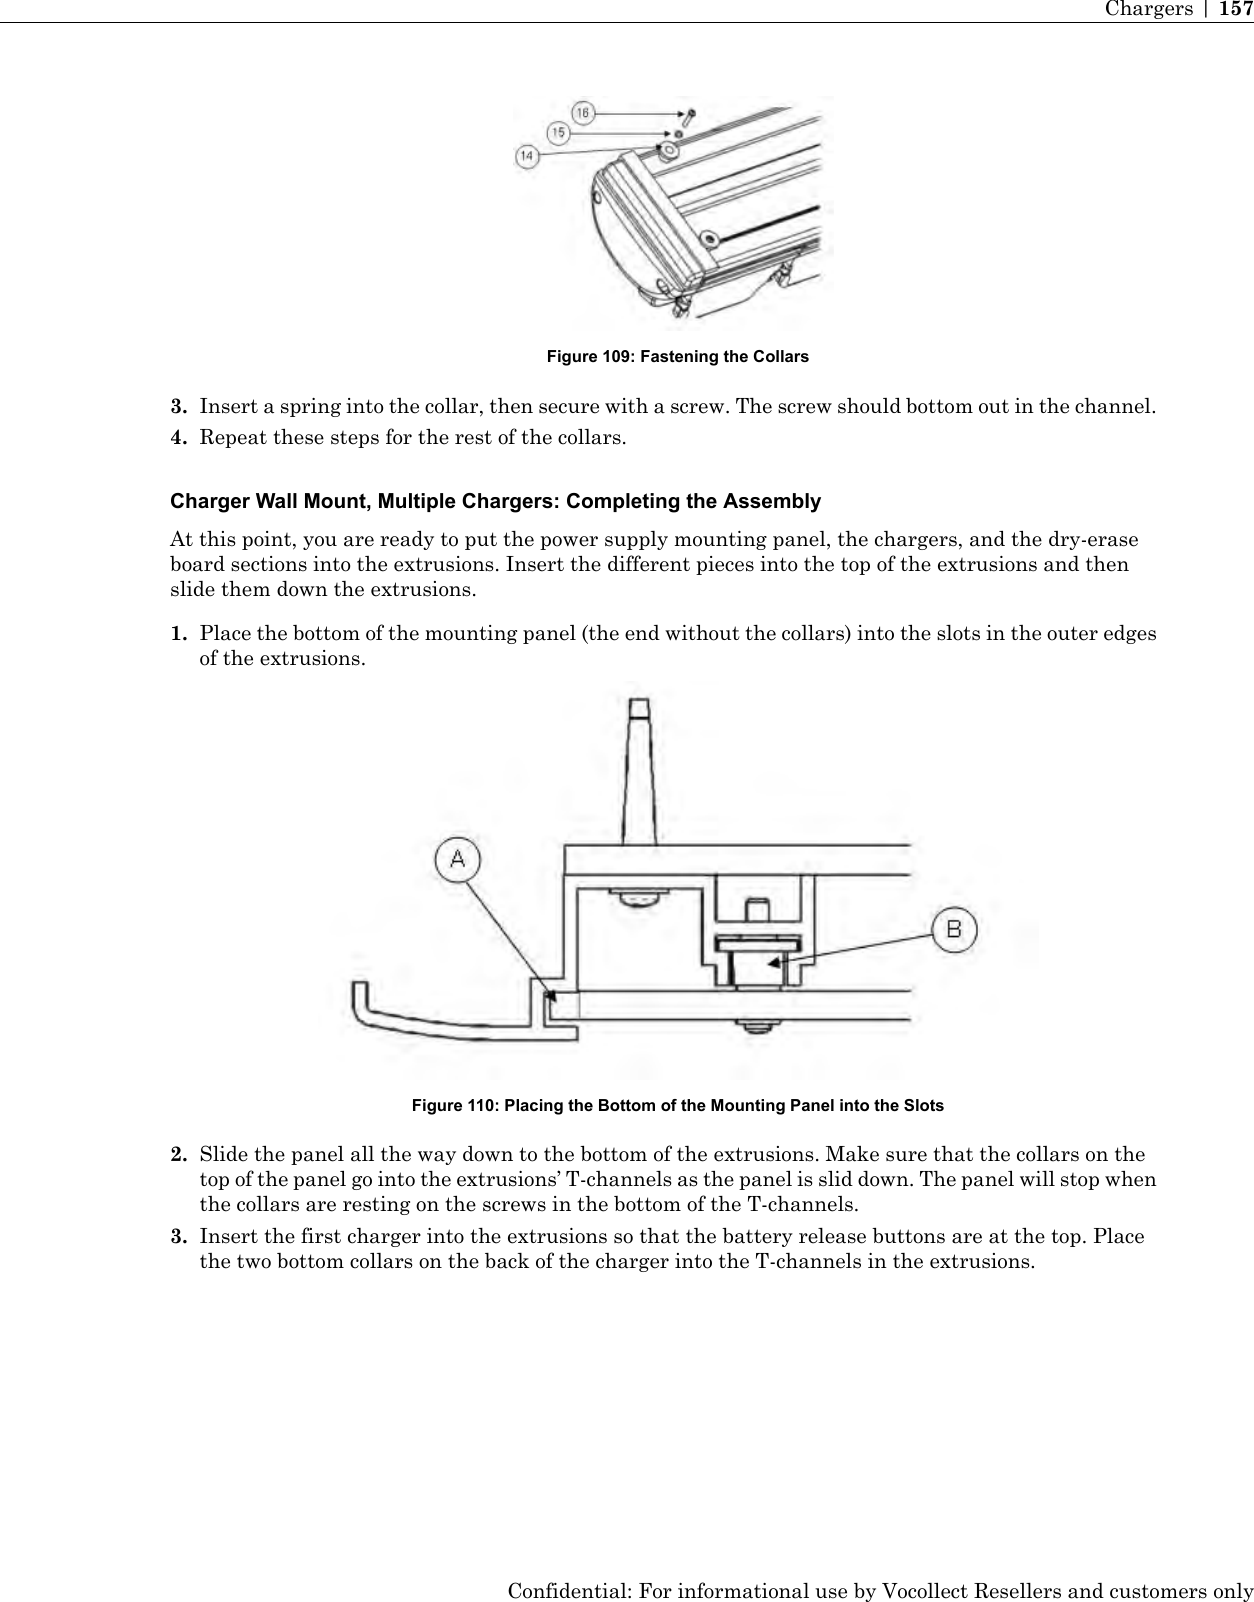


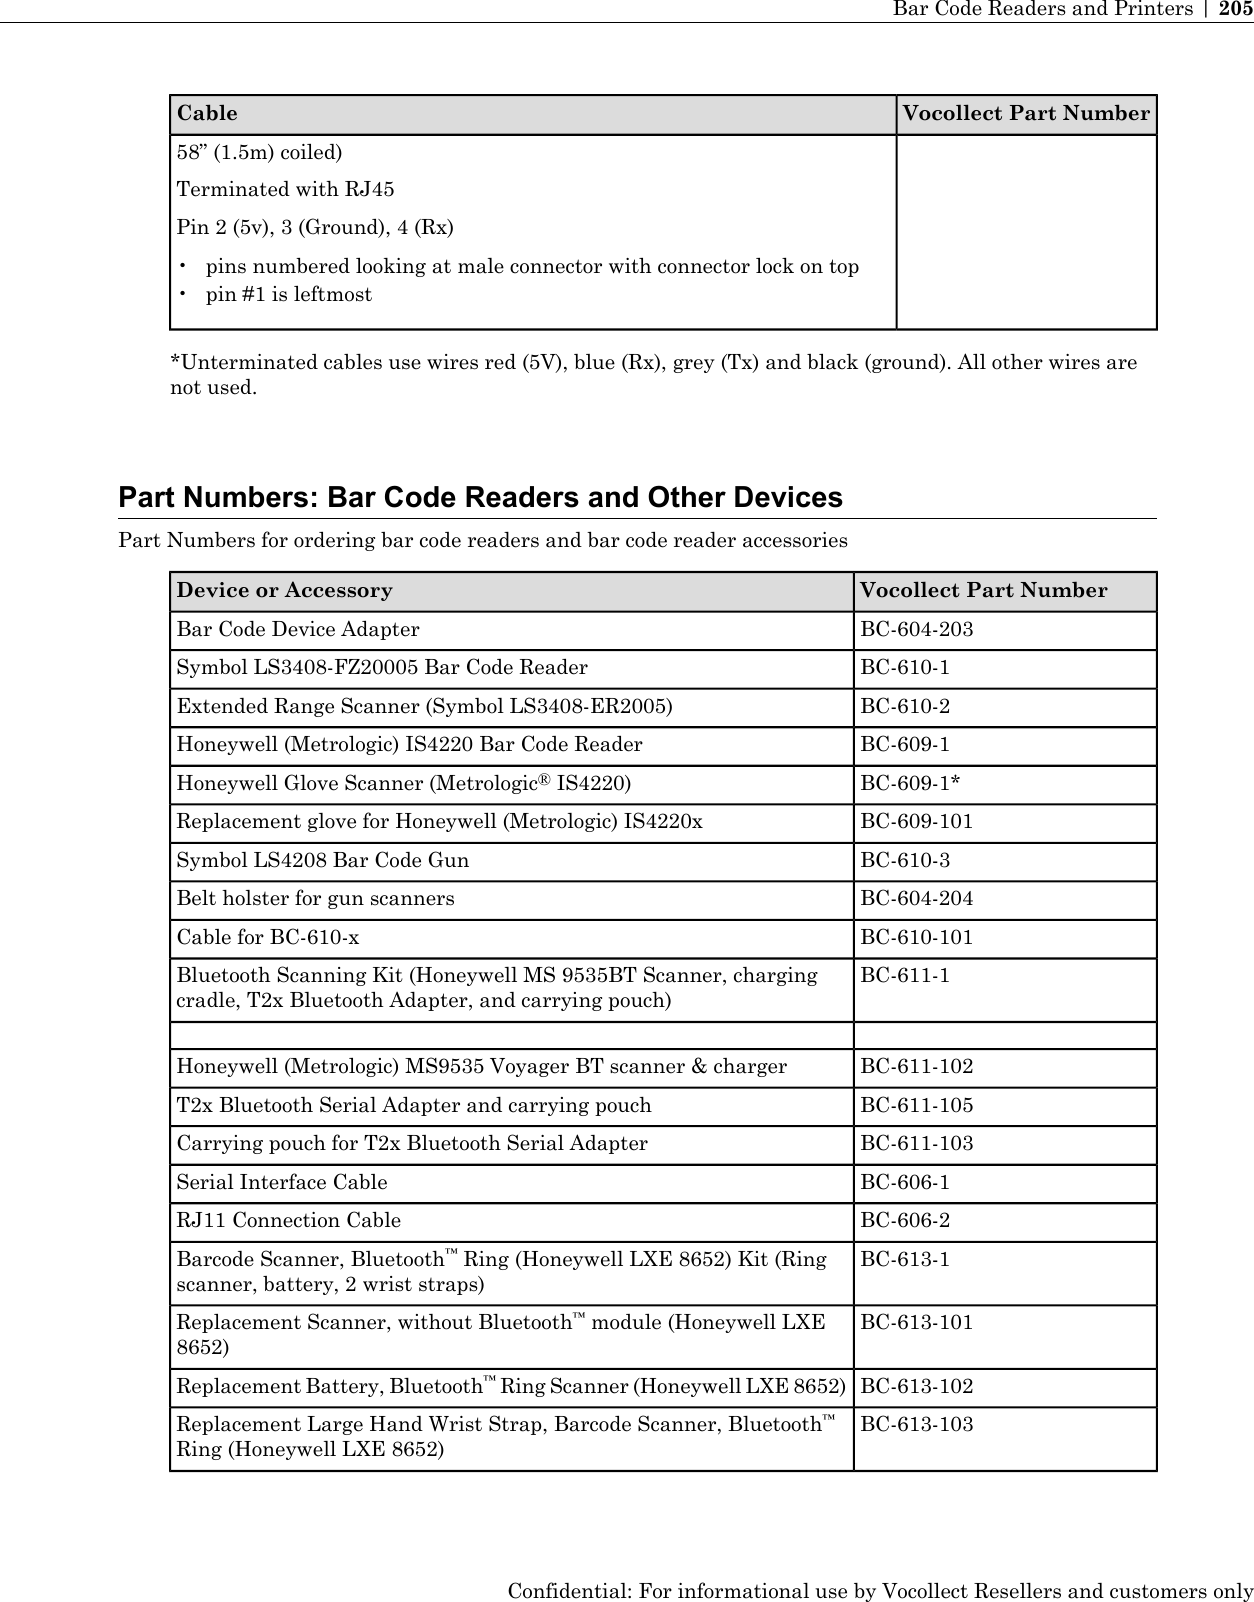

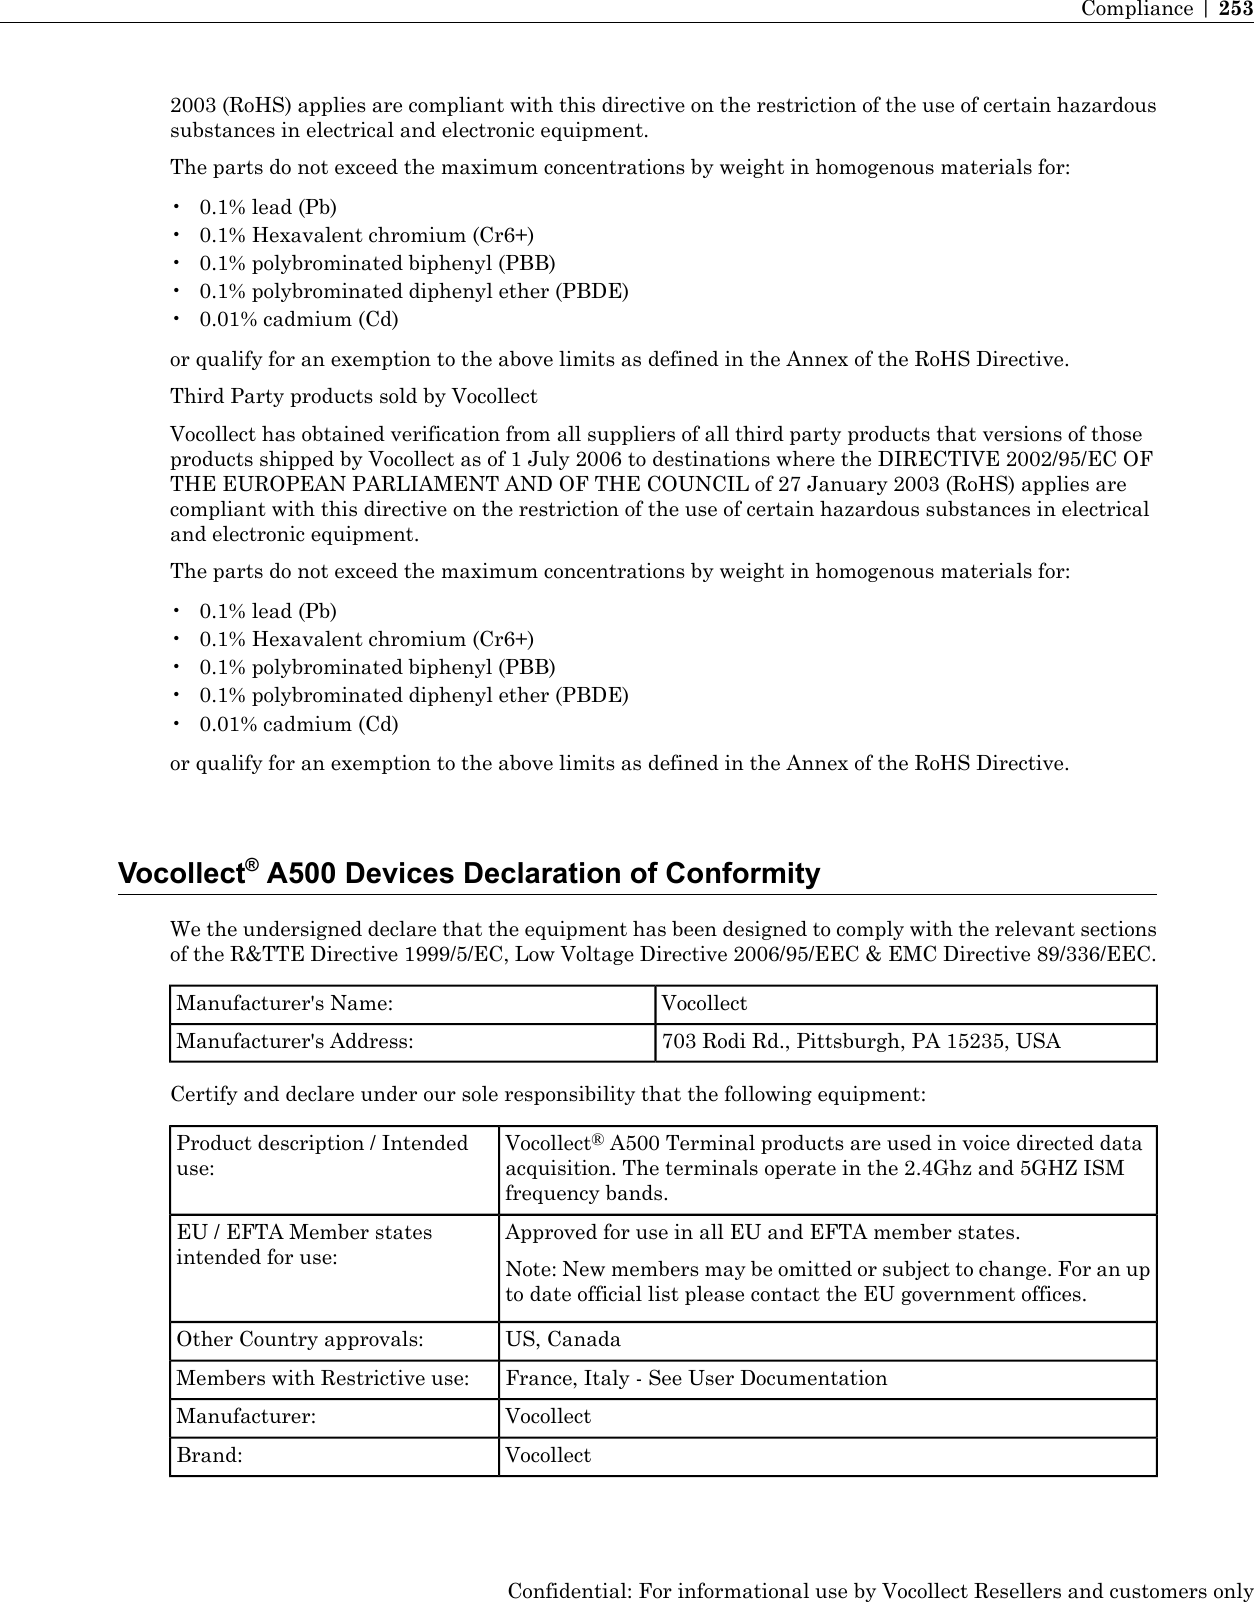
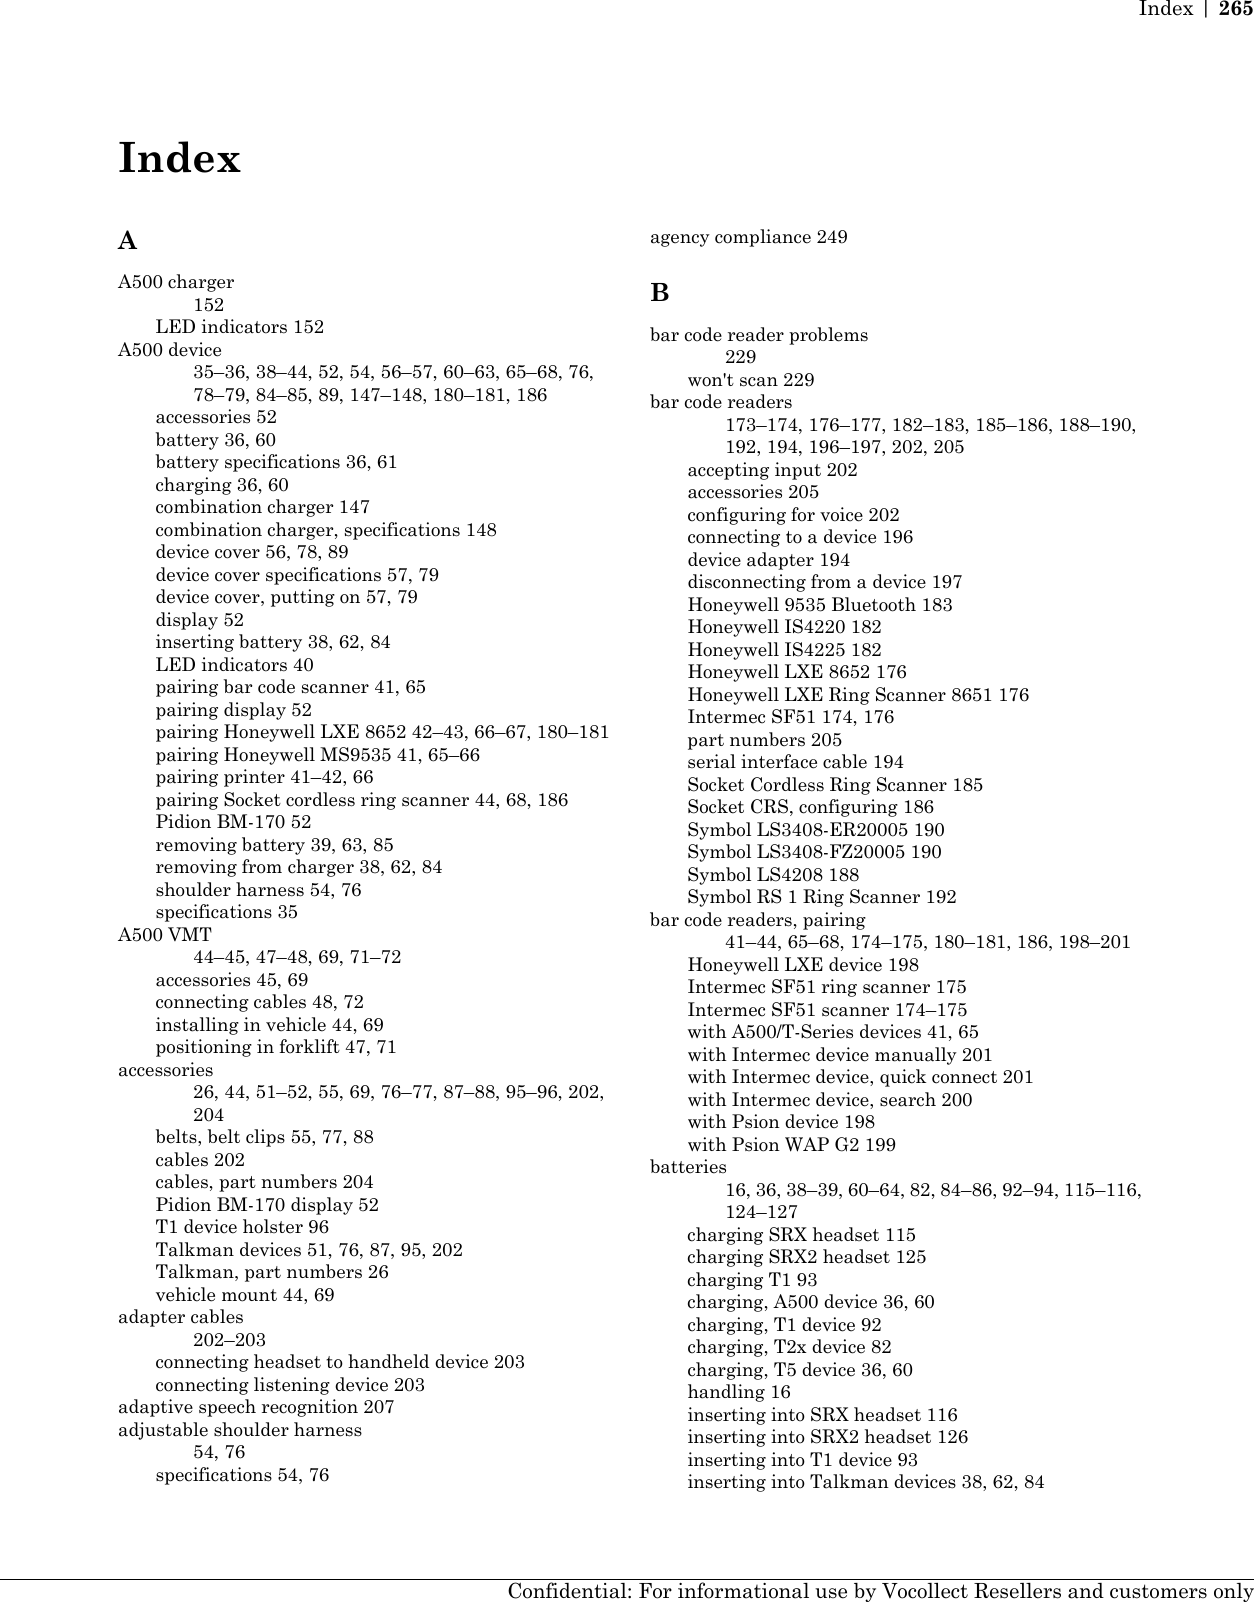
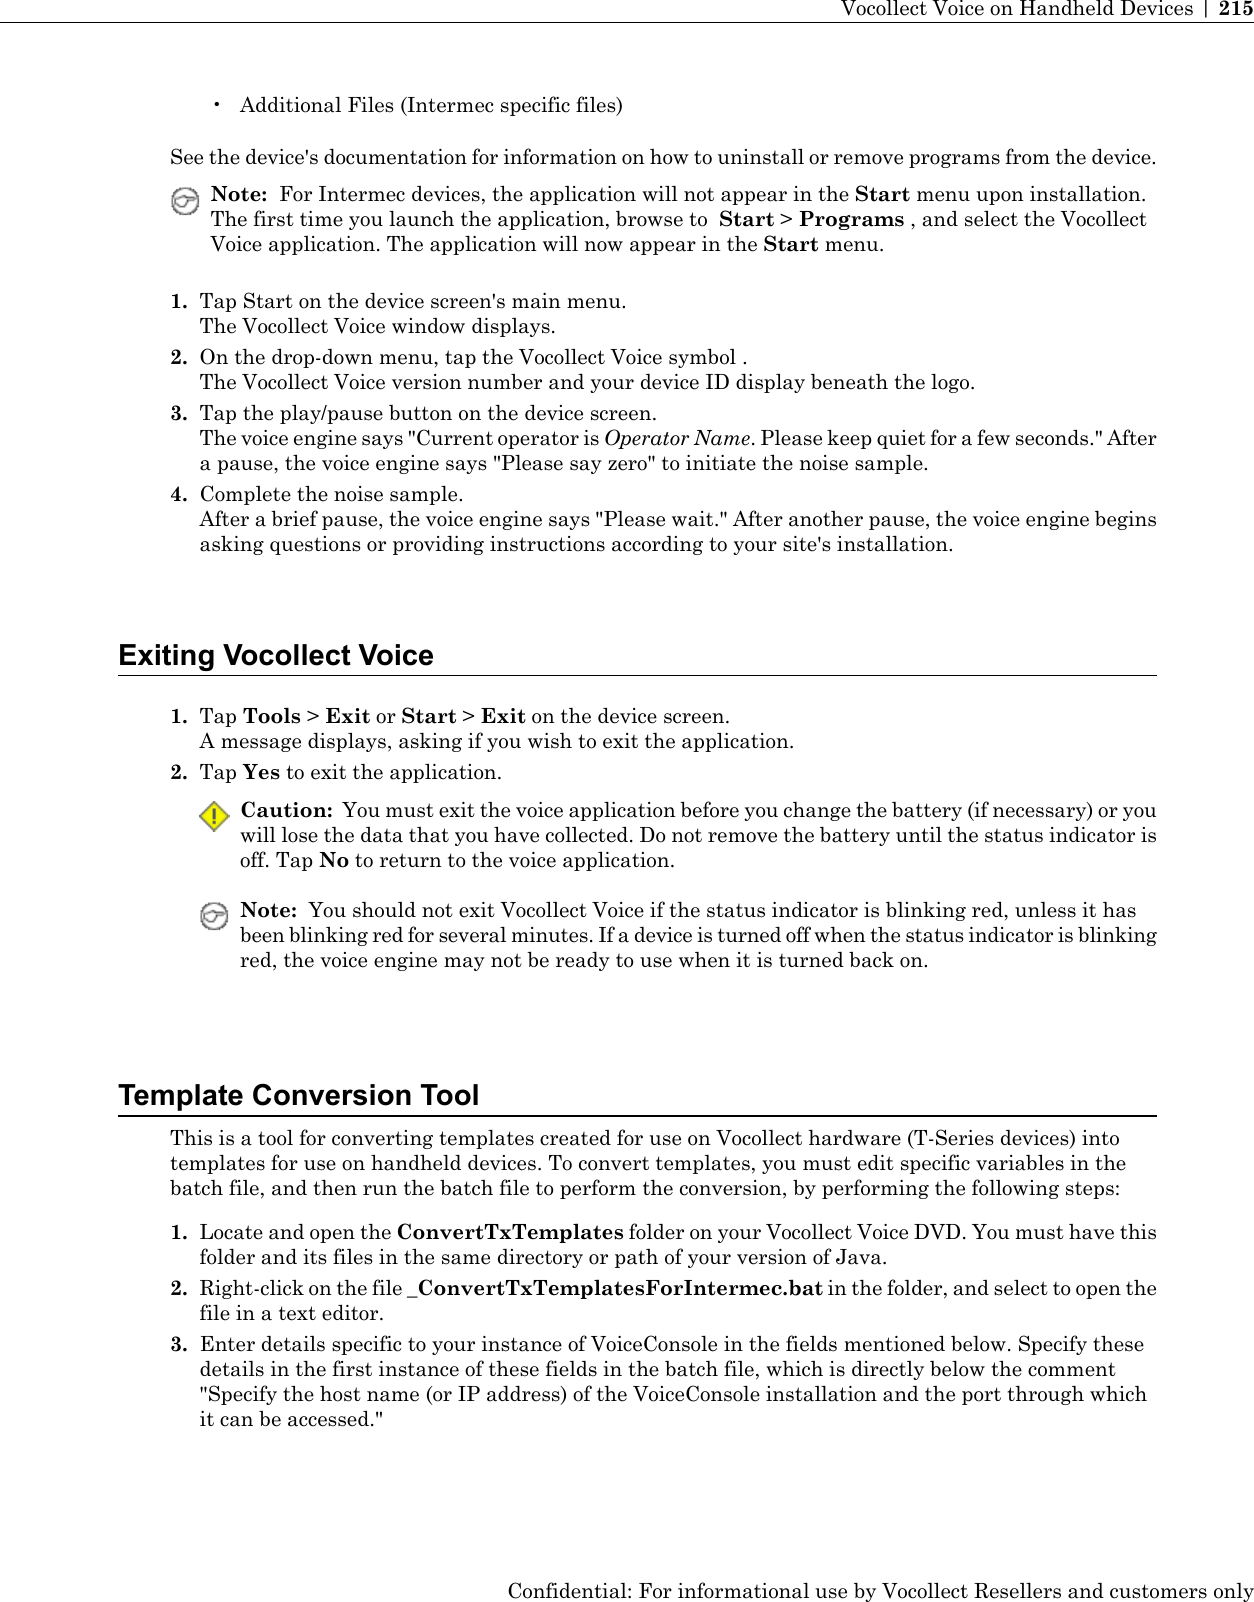
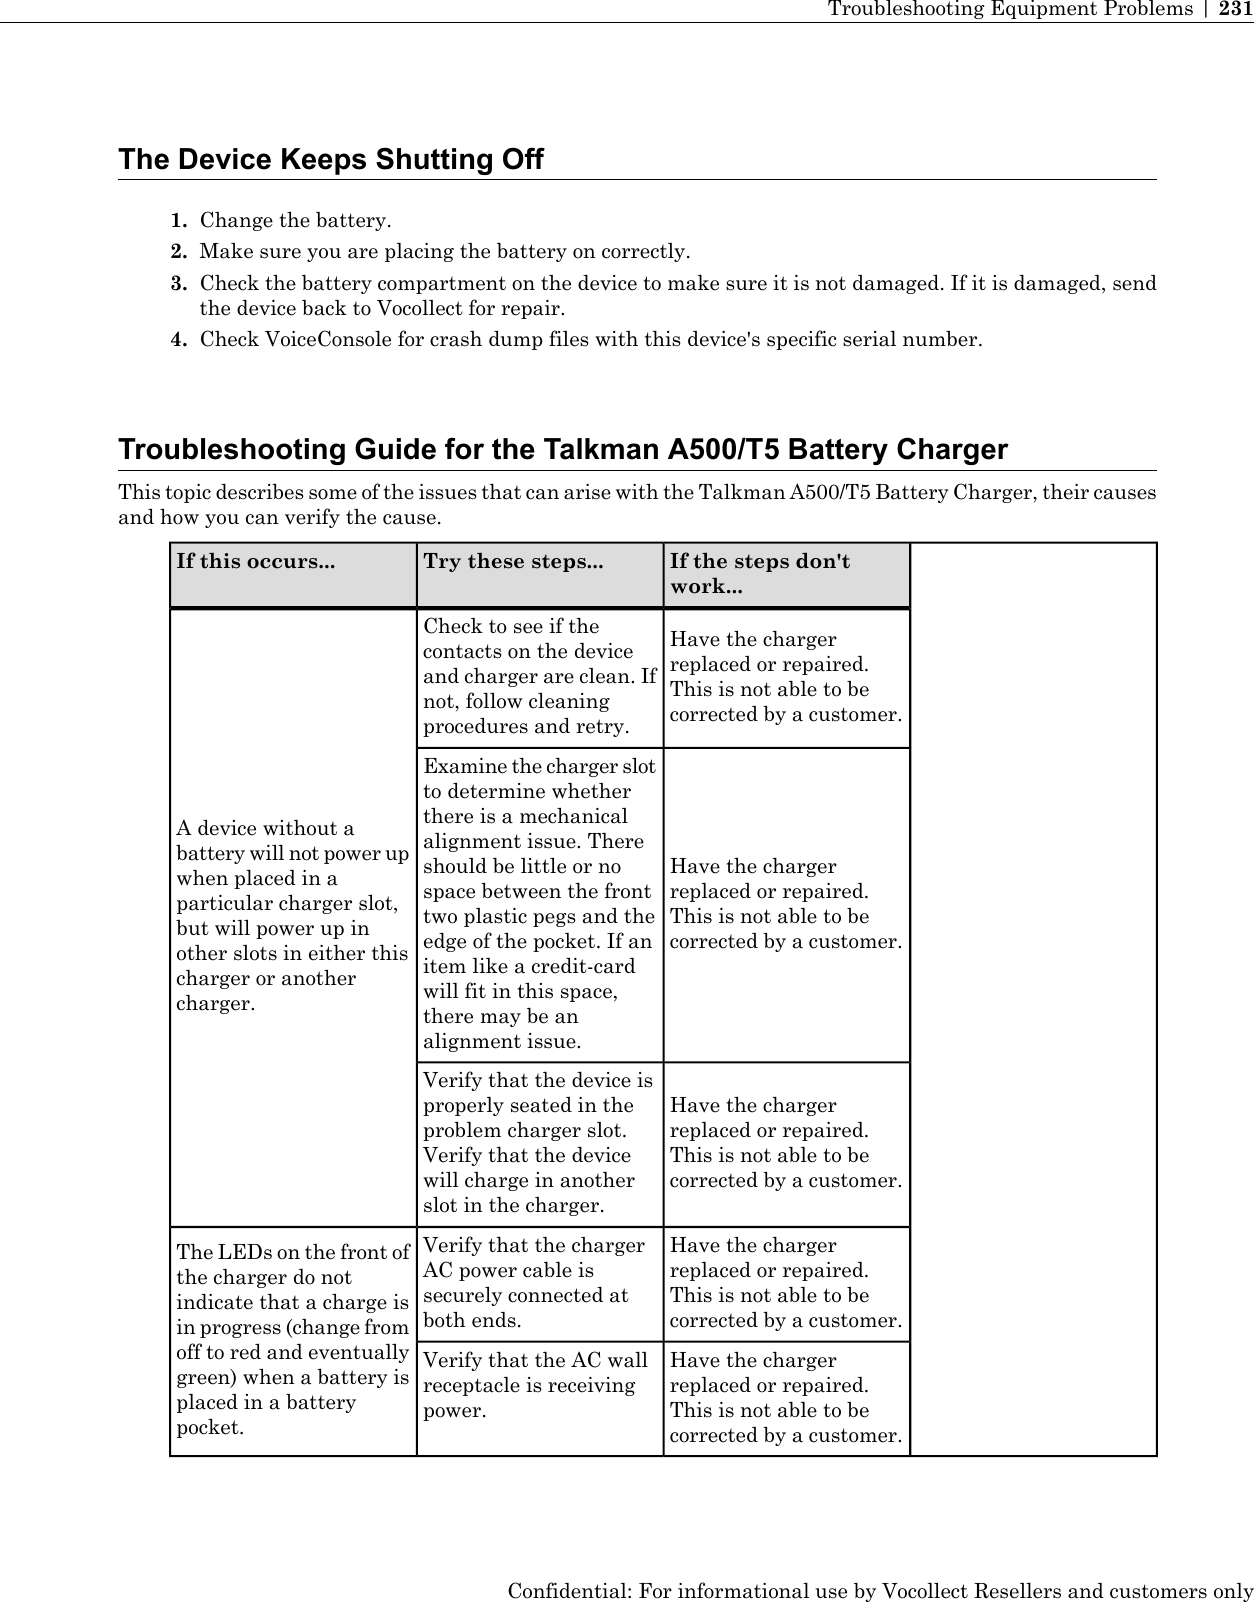
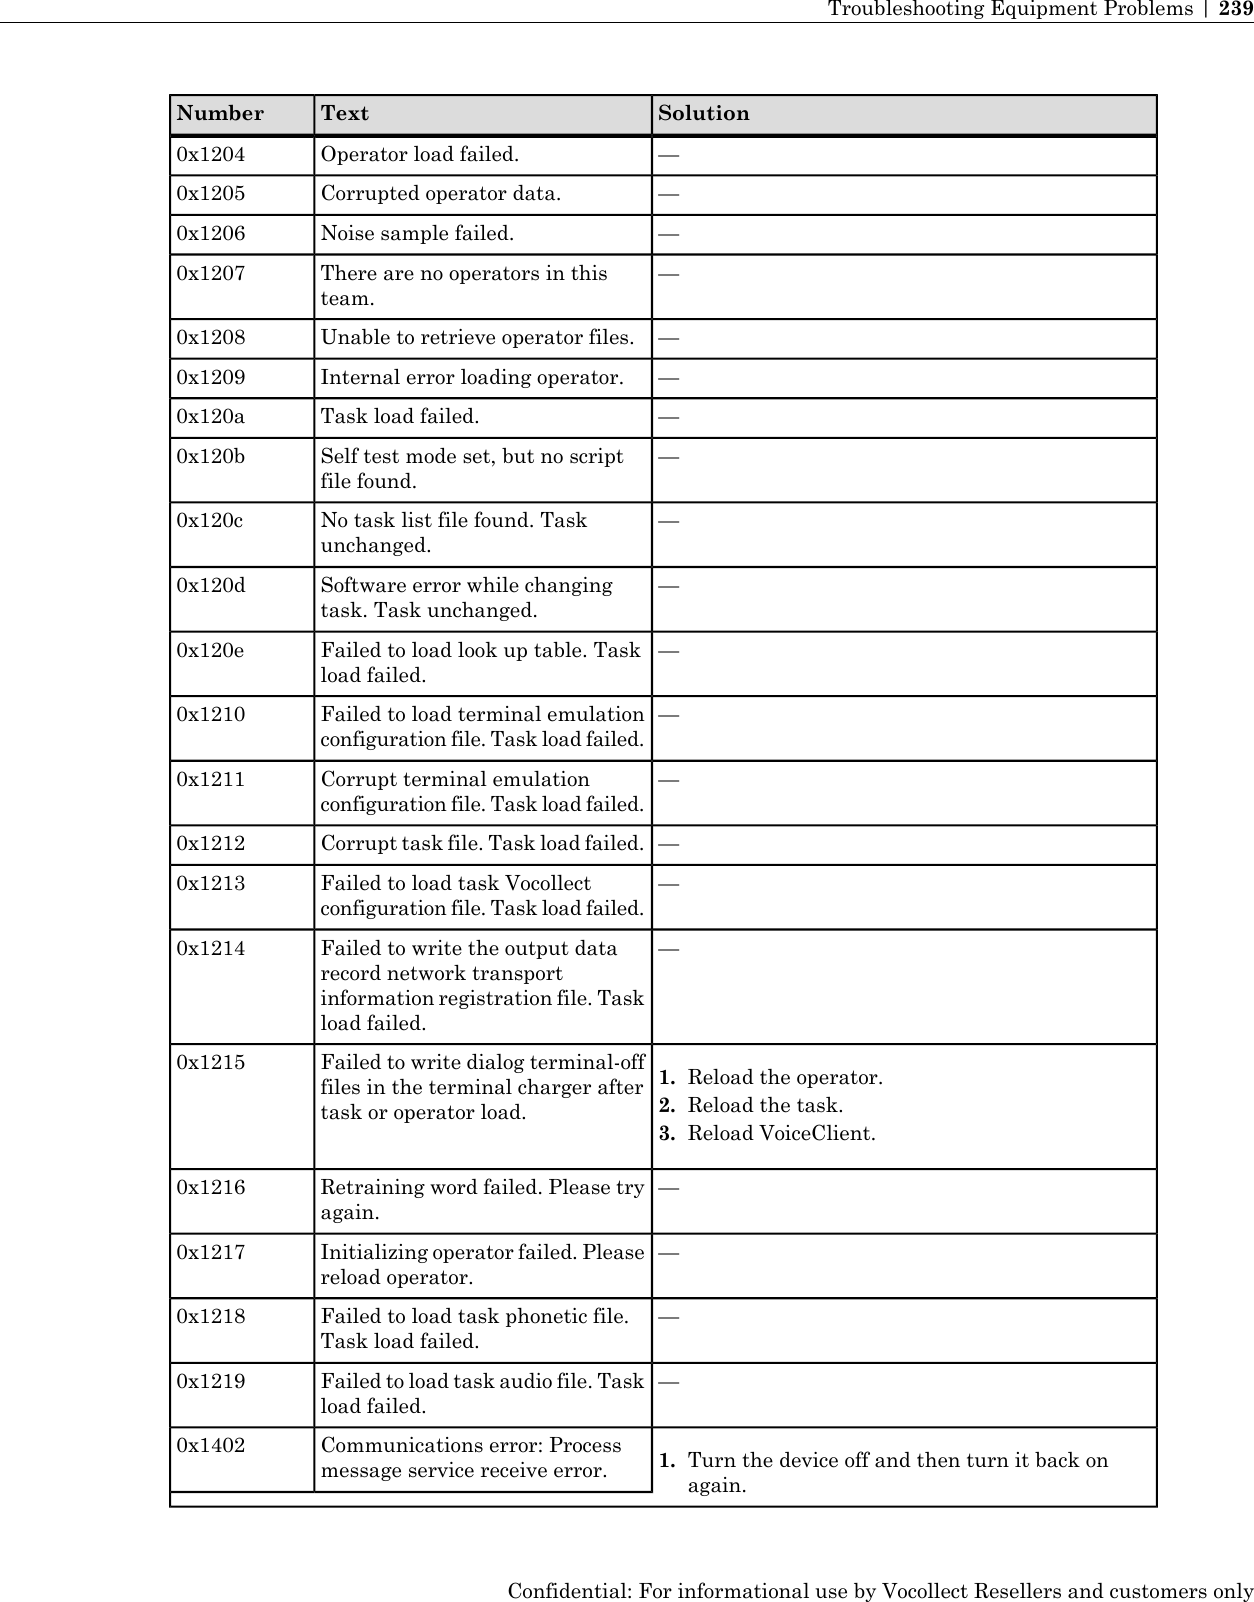
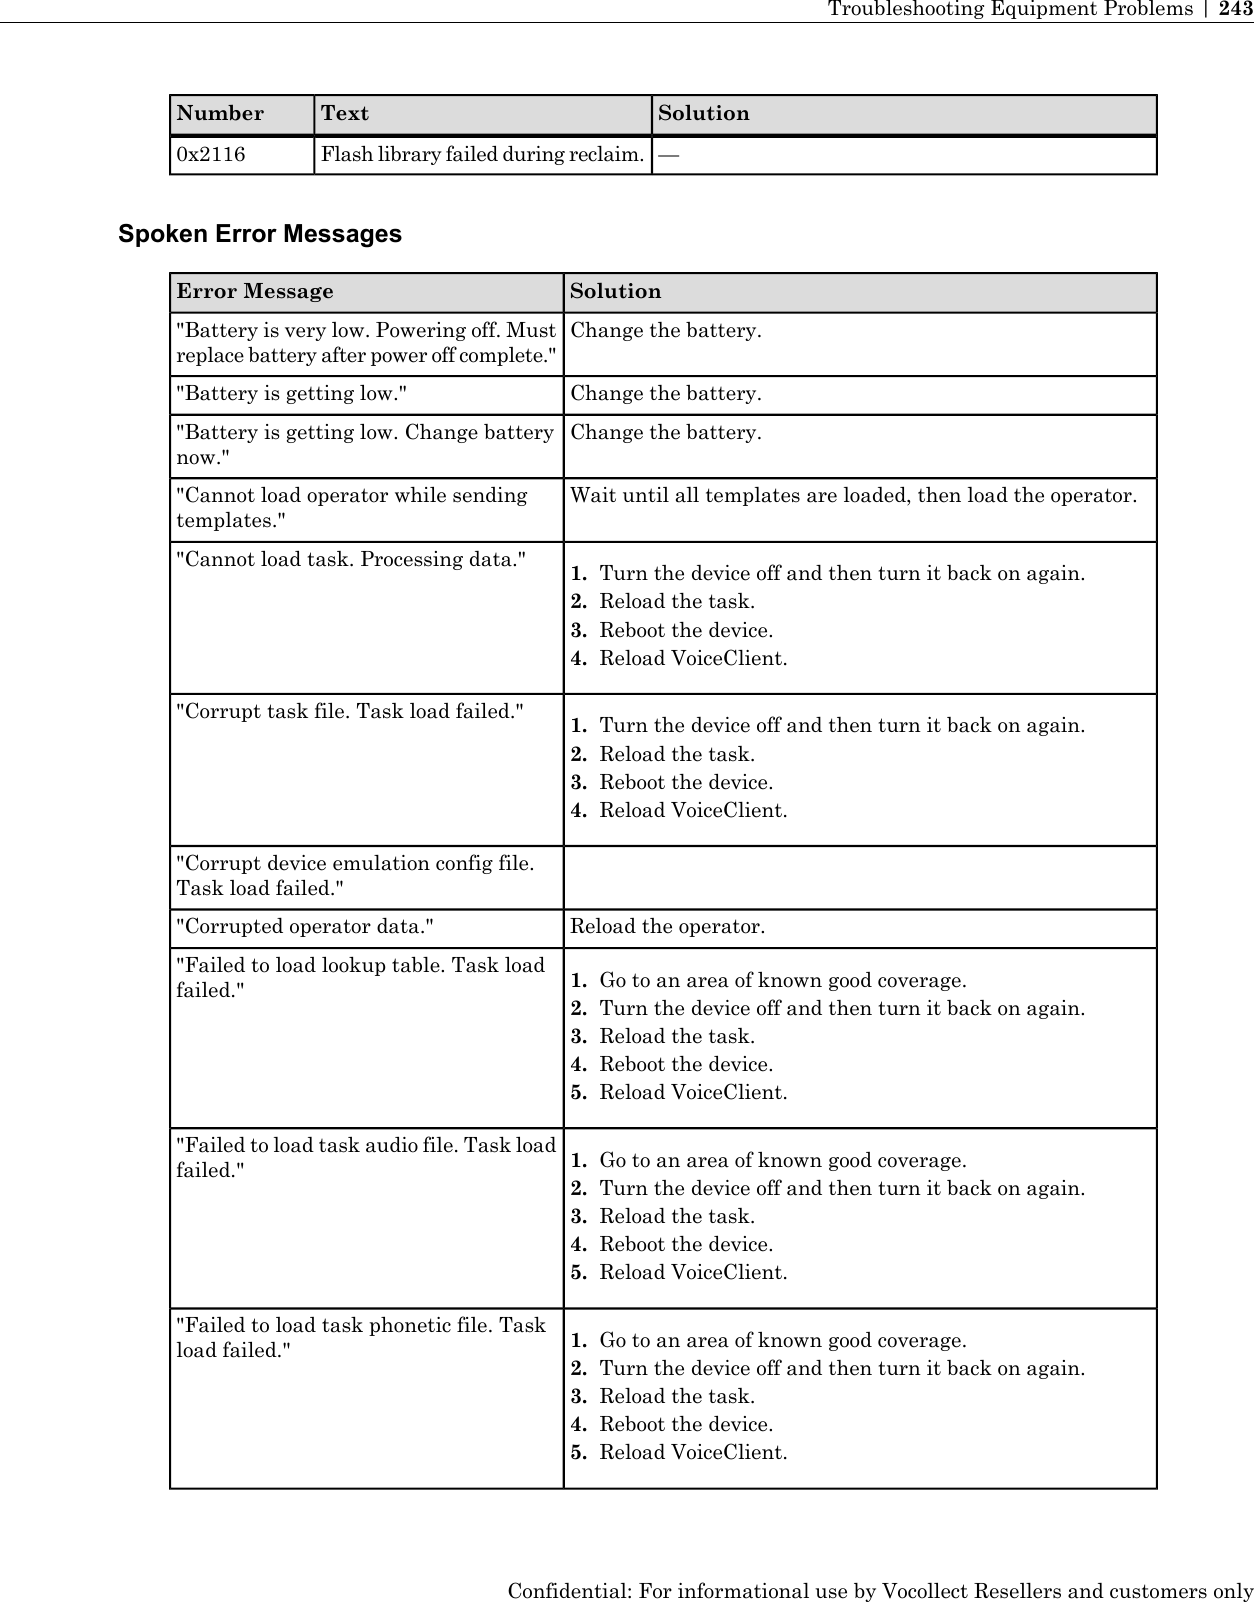
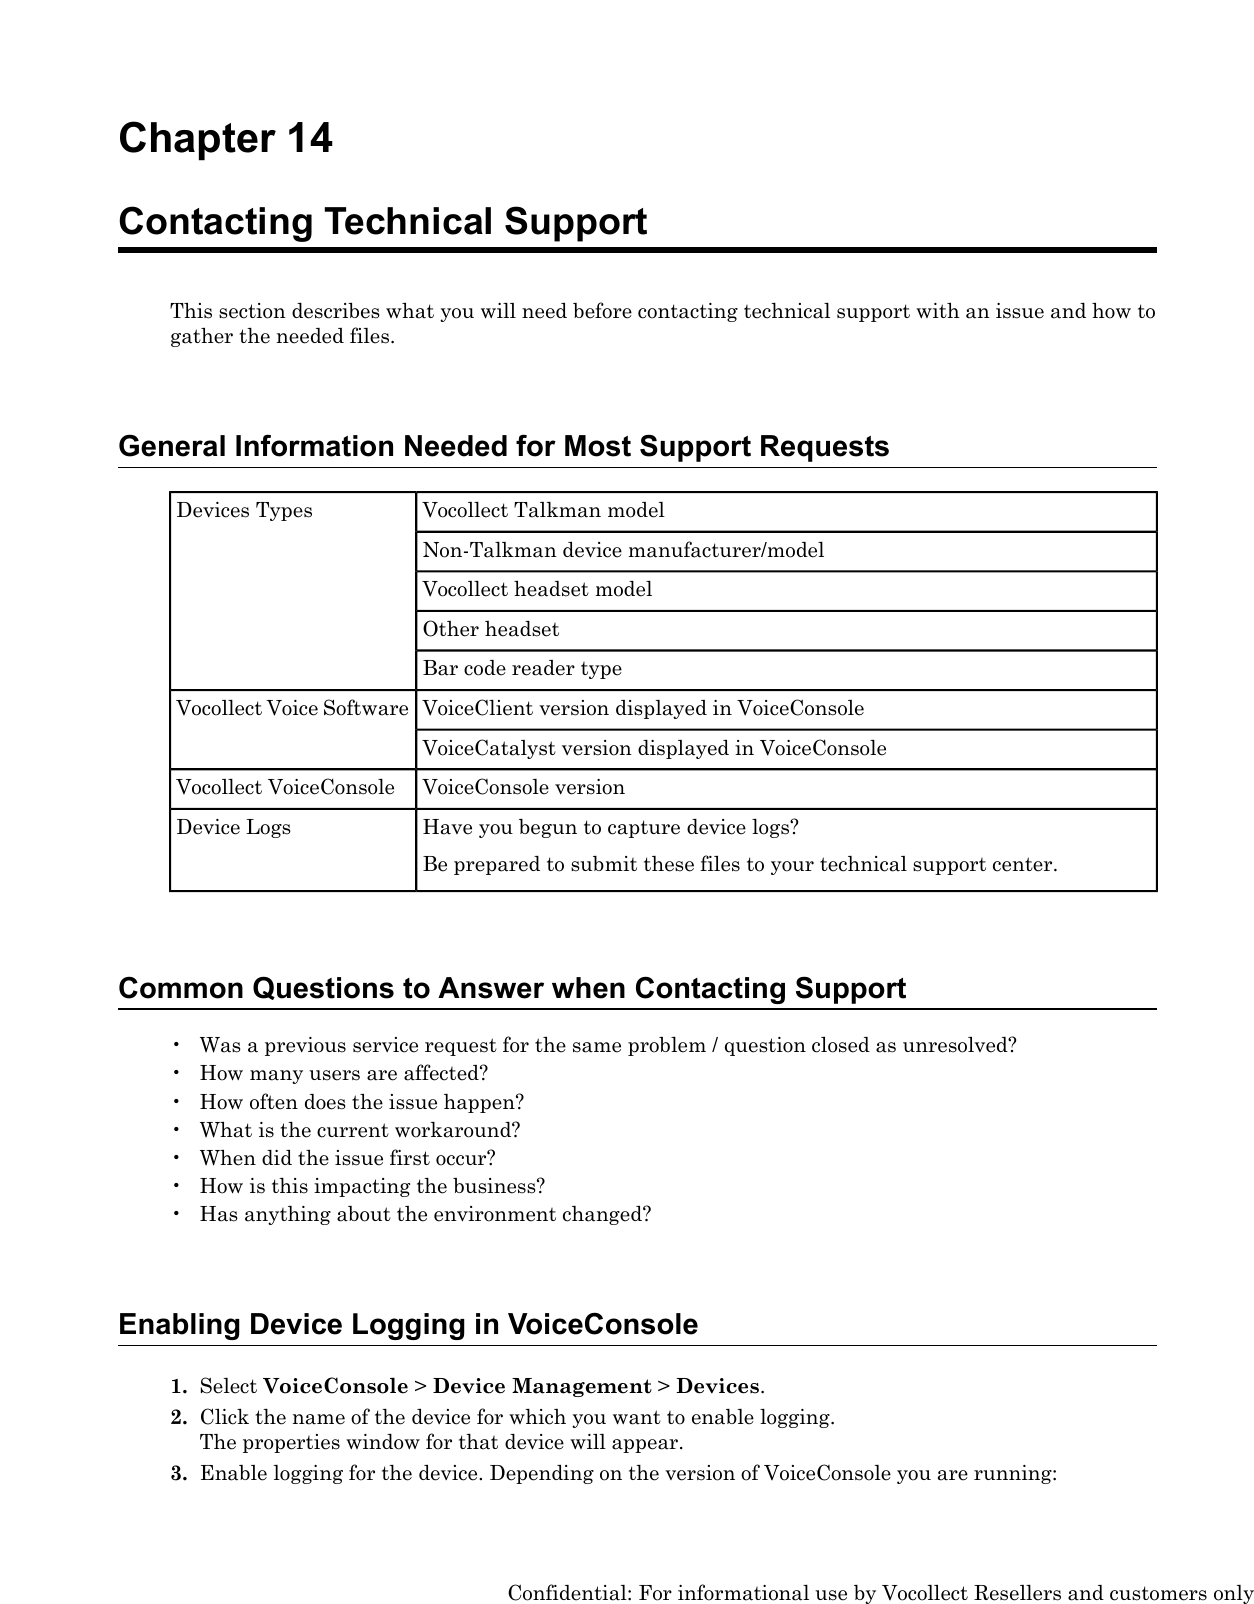
![Voice Module FolderLanguage and Voice Numberno_NO_6Norwegian (Norway) 6pl_PL_3Polish (Poland) 3pl_PL_6Polish (Poland) 6pt_PT_3Portuguese (Portugal) 3pt_PT_6Portuguese (Portugal) 6ro_RO_6Romanian (Romania) 6ru_RU_3Russian (Russia) 3ru_RU_6Russian (Russia) 6sk_SK_6Slovak (Slovakia) 6es_ES_1Spanish (Spain) 1es_ES_6Spanish (Spain) 6sv_SE_1Swedish (Sweden)1sv_SE_3Swedish (Sweden) 3sv_SE_6Swedish (Sweden) 6tr_TR_6Turkish (Turkey) 63. Place the following parameters under the[HKEY_LOCAL_MACHINE\Vocollect\CONFIG_PARAMS\DIAG_FILE] registry setting in theconfig.vrg file:• "VVHModuleLocation"="path to folder you created in step 2"• "defaultVoice"="voice name language code"Upon startup, Vocollect Voice searches the folder for voice modules and begins with the specifiedvoice. See VoiceConsole Online Help or Release Notes for Vocollect Voice for your device for moreinformation on these parameters.Note: If the default voice on the device needs to be changed, repeat this process but with thenew voice name language code set in the defaultVoice parameter.Starting Vocollect VoiceBefore you turn the voice engine on, make sure that there is a charged battery connected to the deviceand that you have put on a properly connected headset.Note: For Intermec devices only: To create more available memory, Vocollect recommendsclosing or uninstalling applications that are not in use prior to running Vocollect Voice on Intermecdevices. The following programs must remain on Intermec CK3 devices to run Vocollect Voice, butthese programs are not required for Intermec 70-Series devices:• Data Collection and Intermec Settings• Bluetooth (only when Bluetooth devices are in use)• IDLRuntime• Power ProfilerConfidential: For informational use by Vocollect Resellers and customers only214 | Vocollect Hardware Documentation](https://usermanual.wiki/Vocollect/TAP700-01/User-Guide-1841002-Page-215.png)
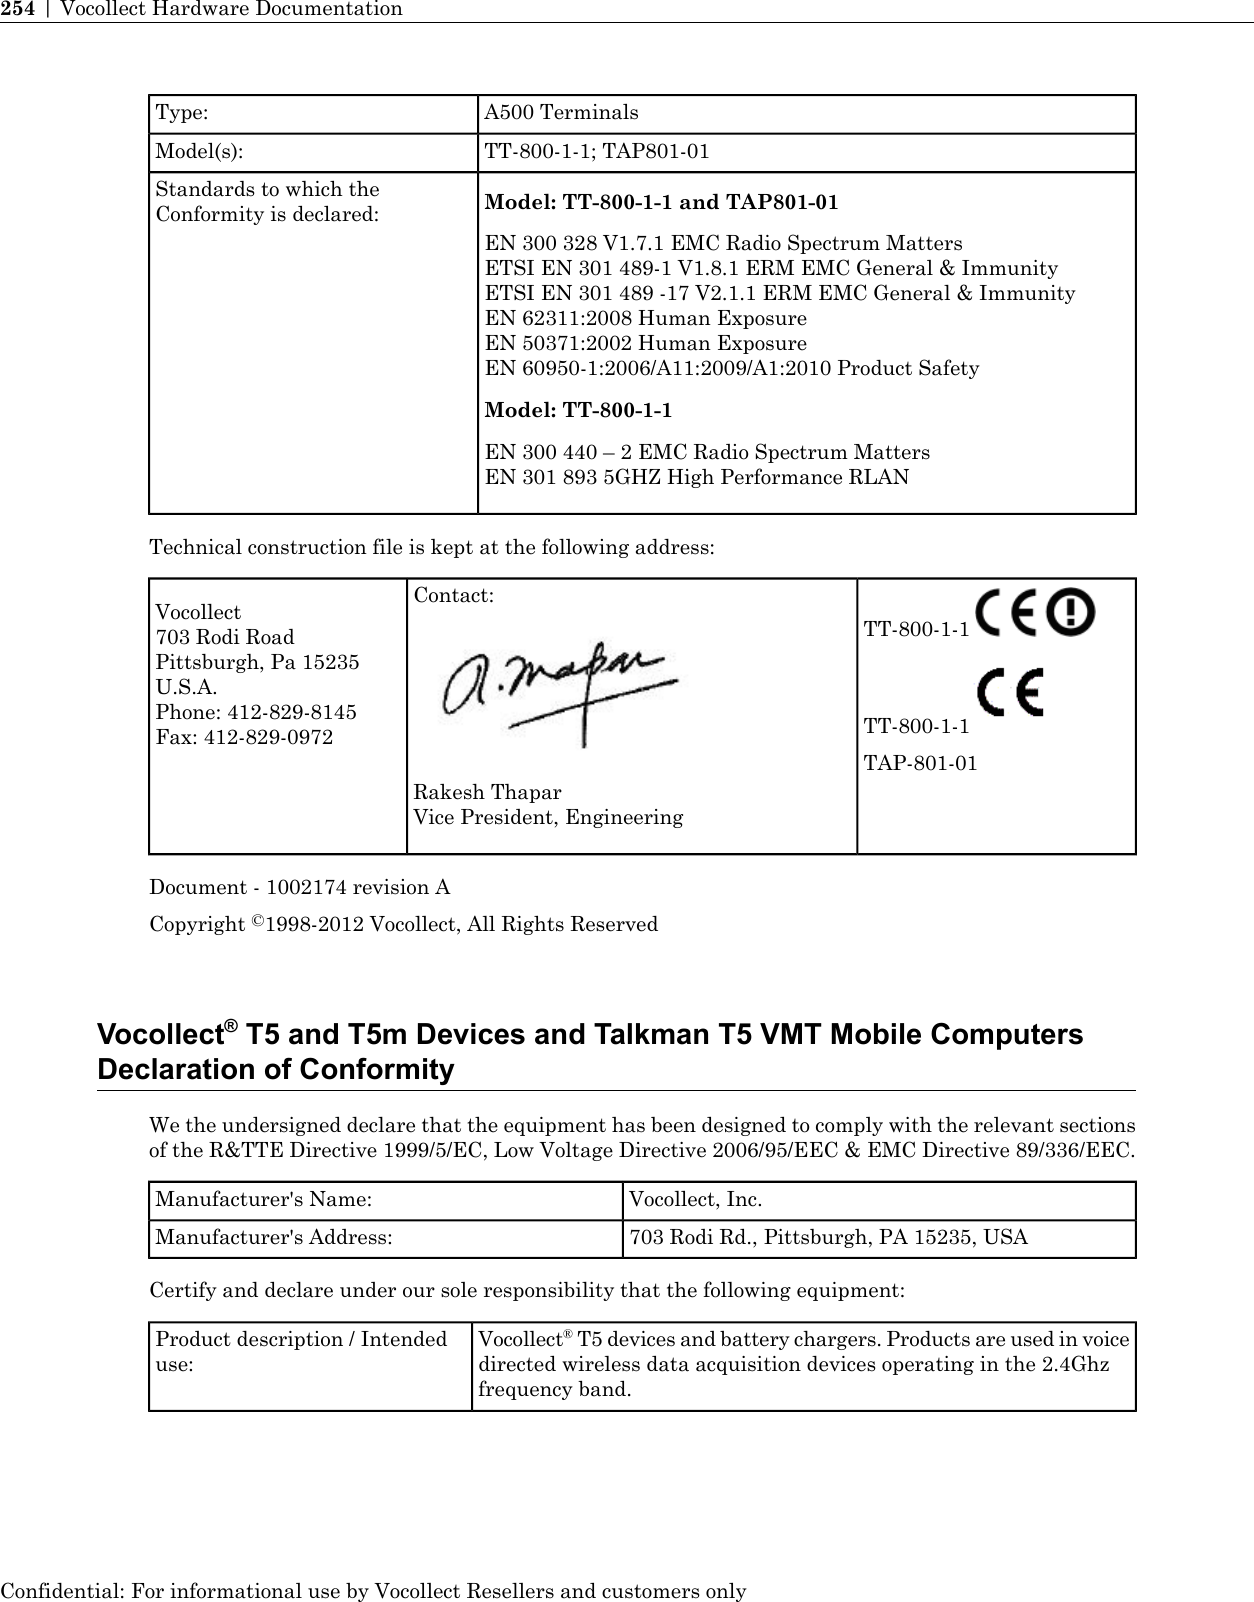
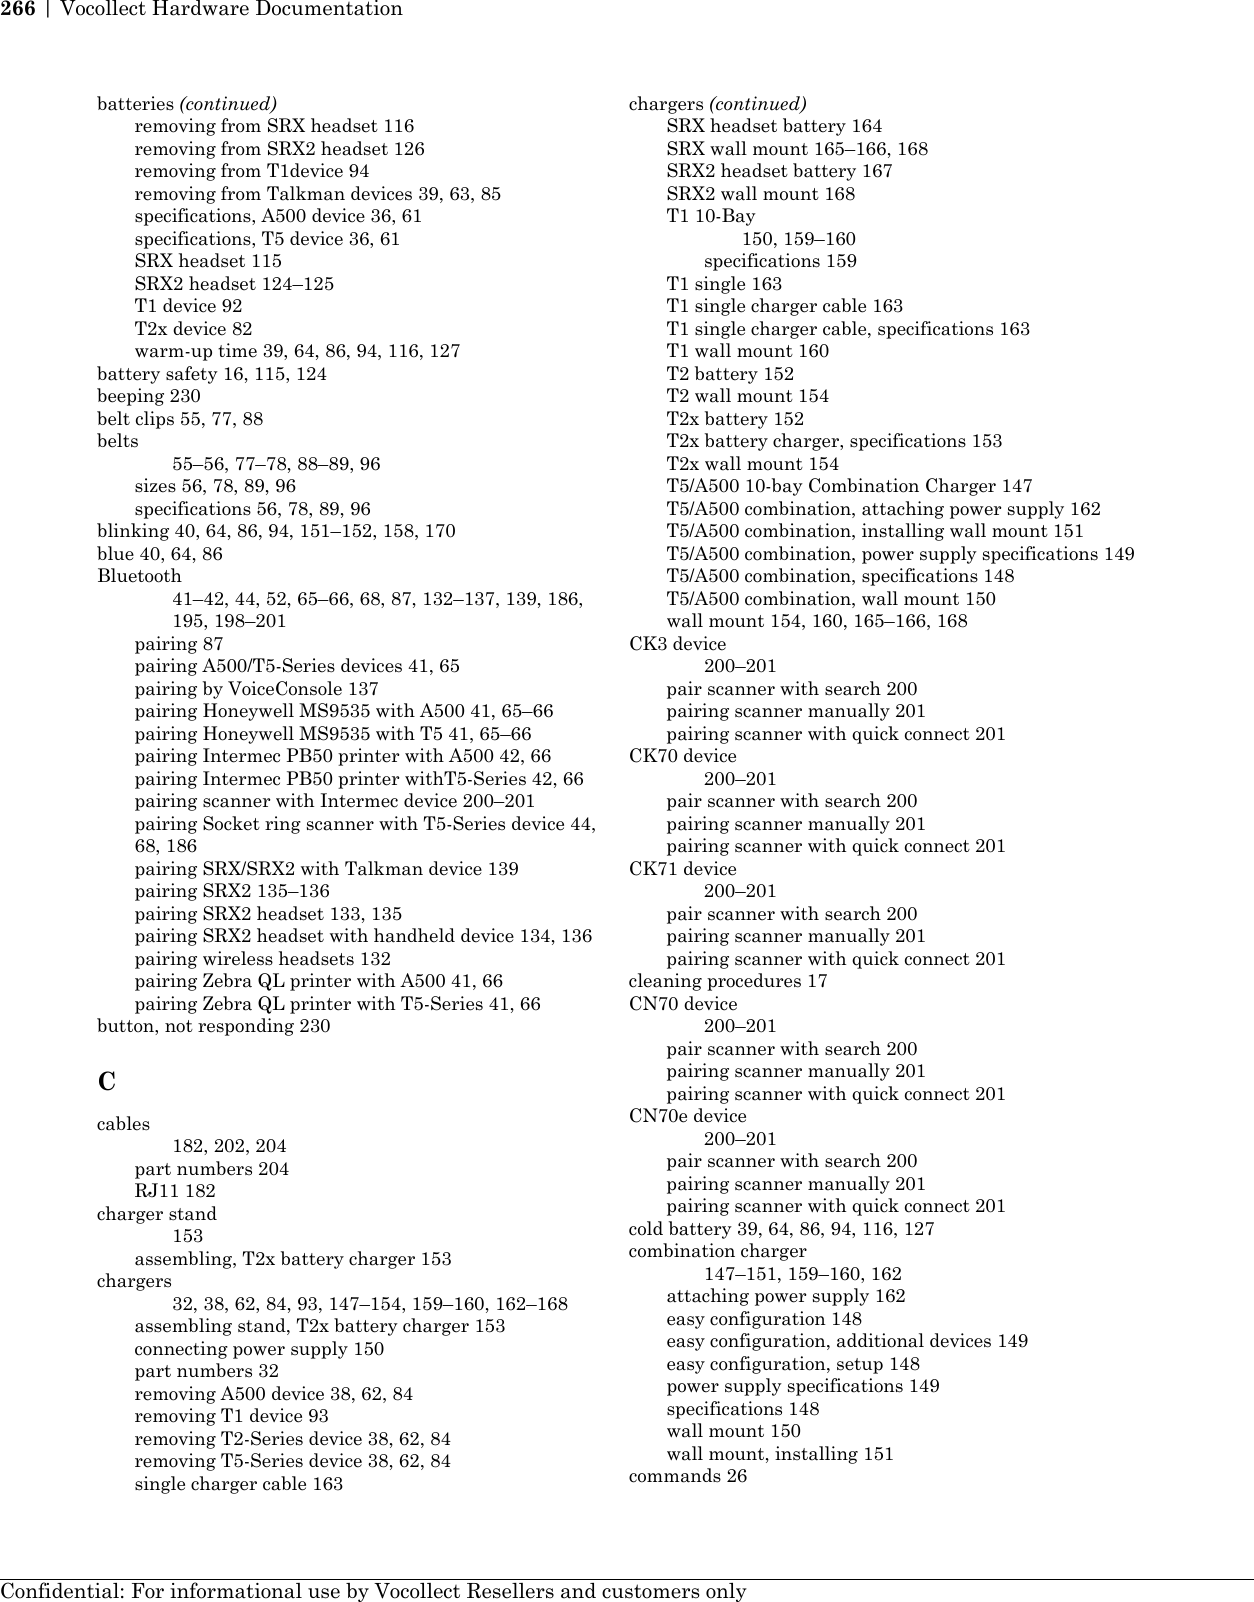
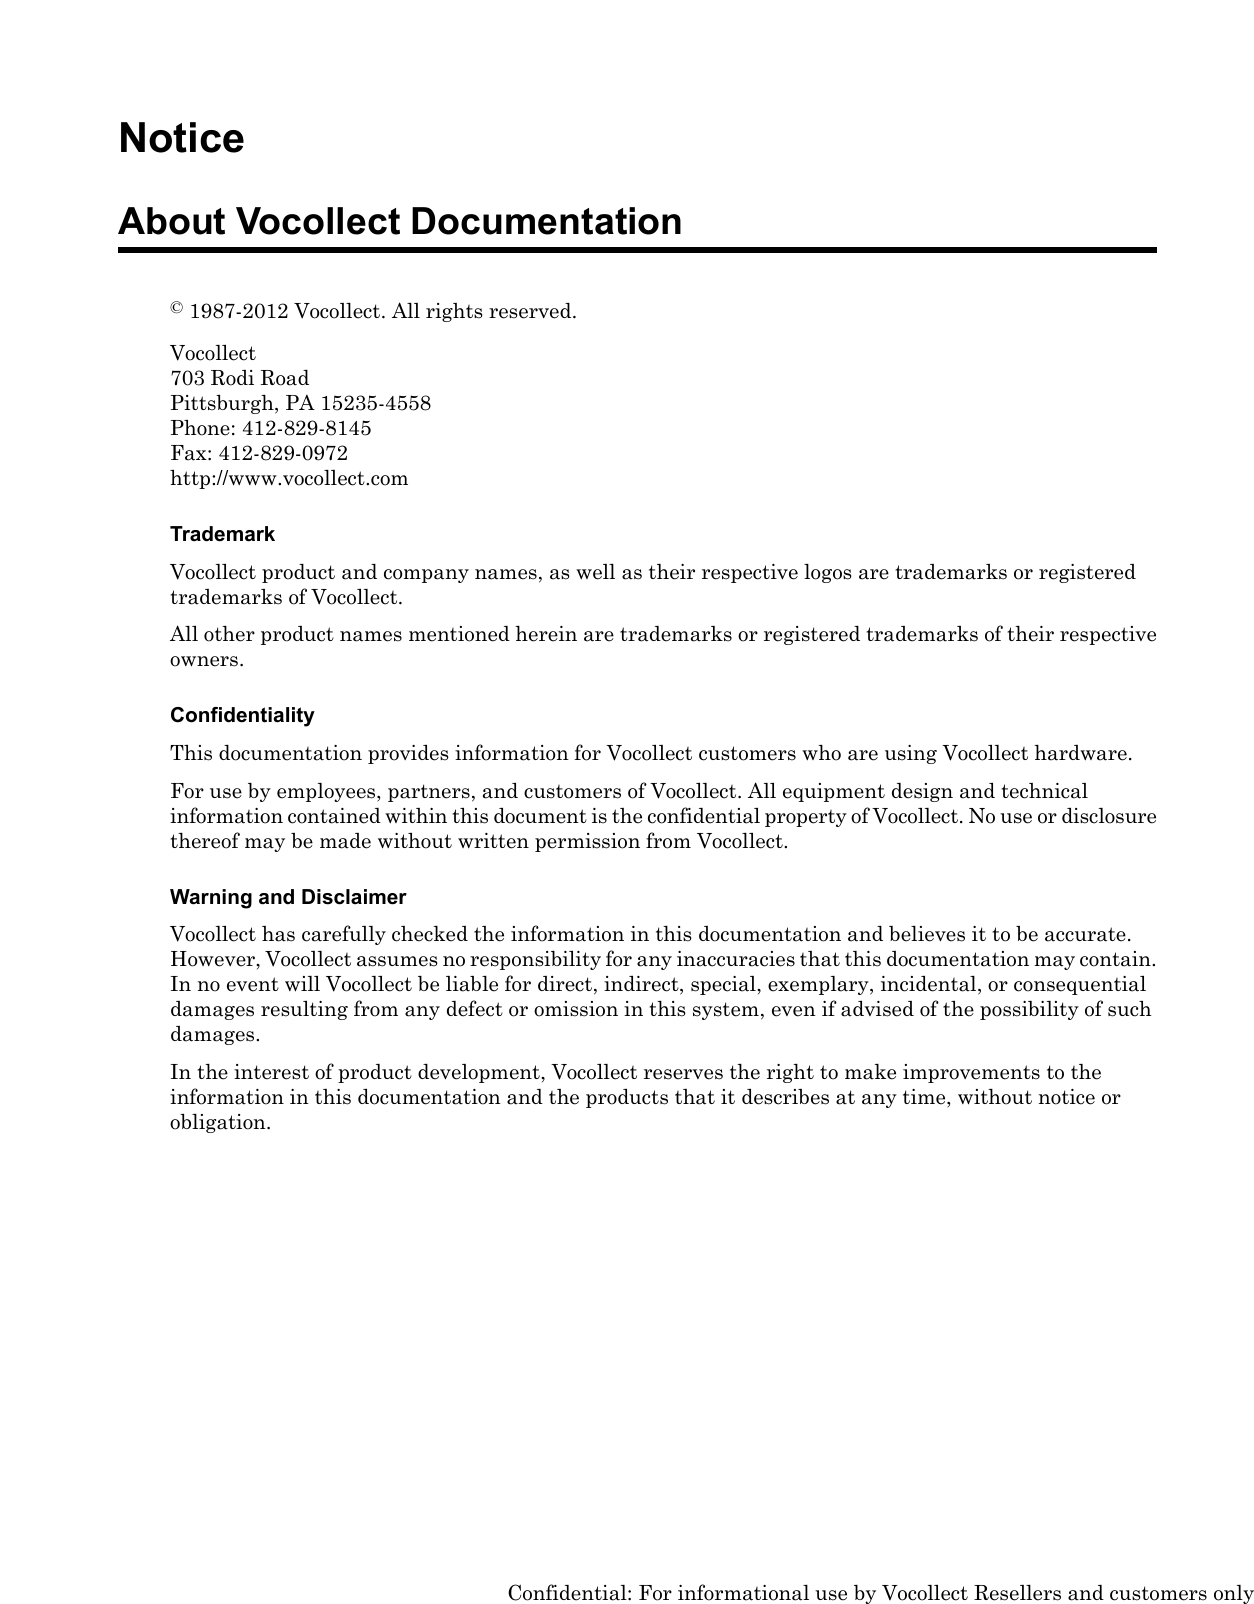
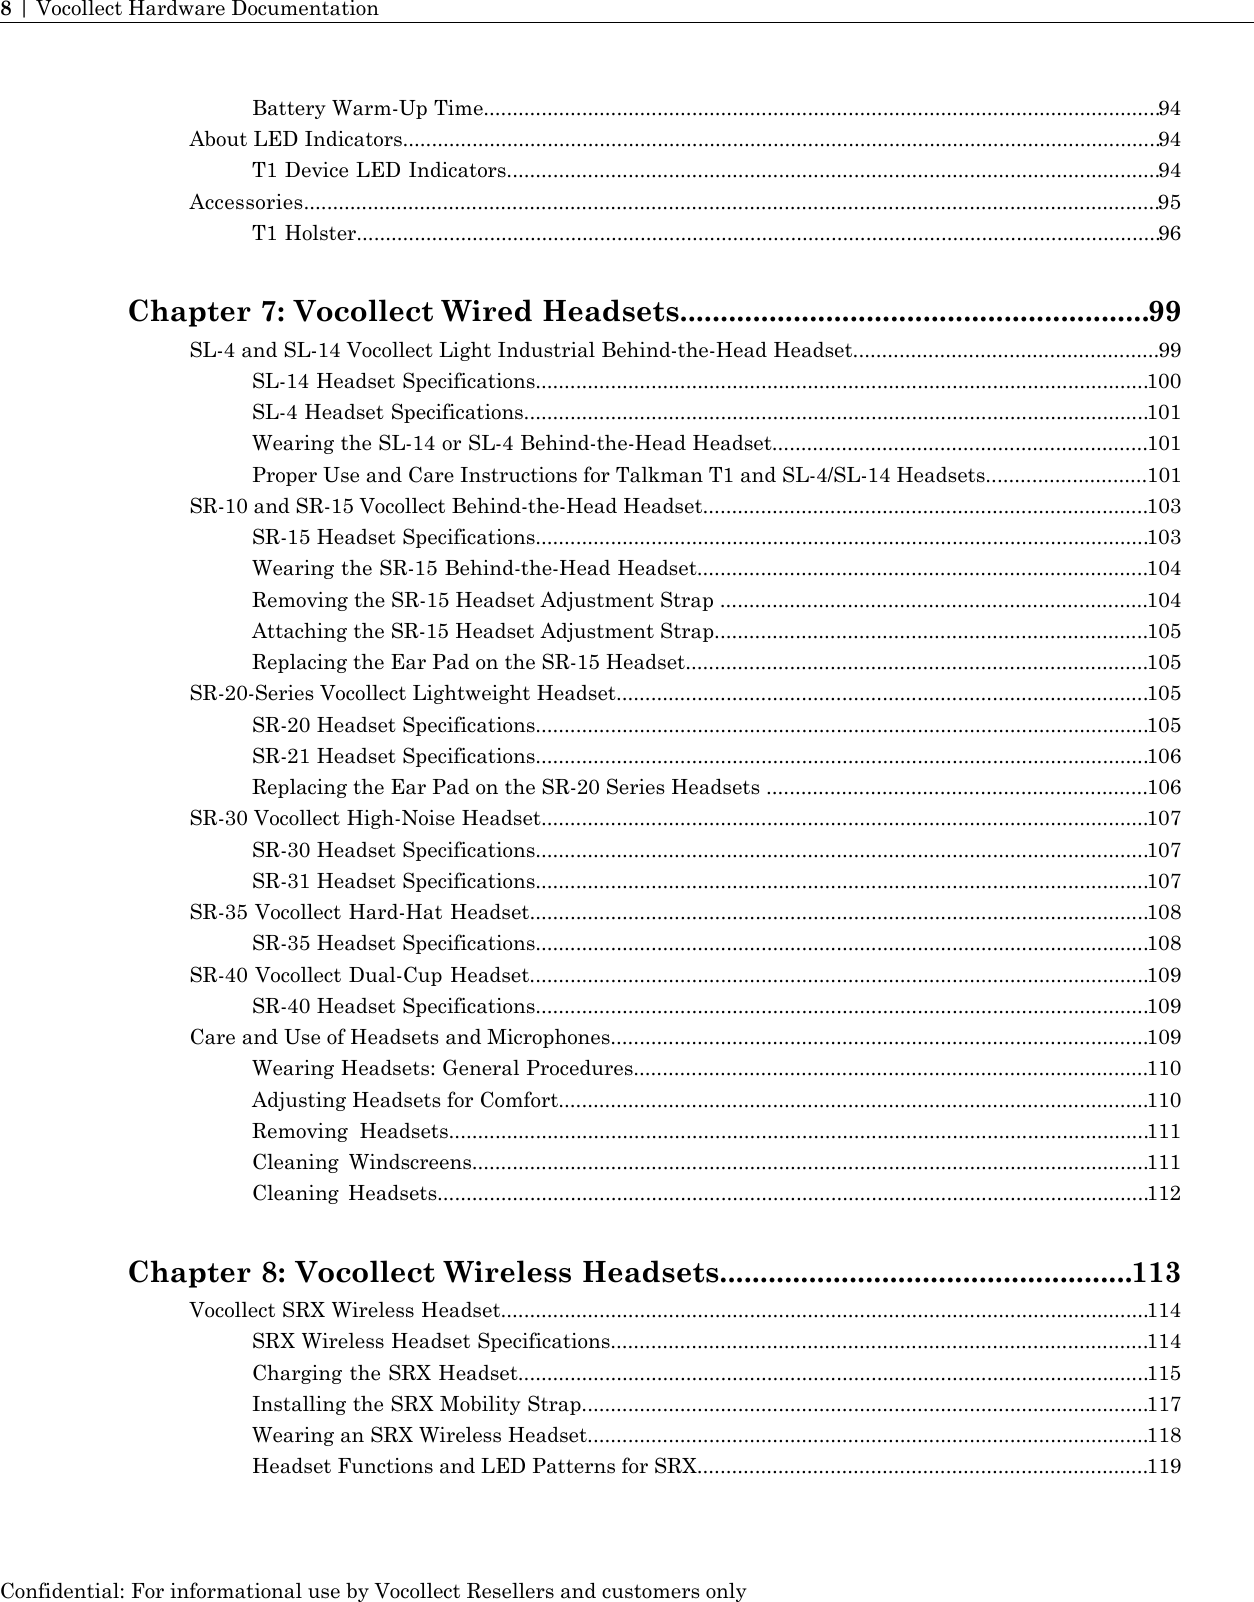
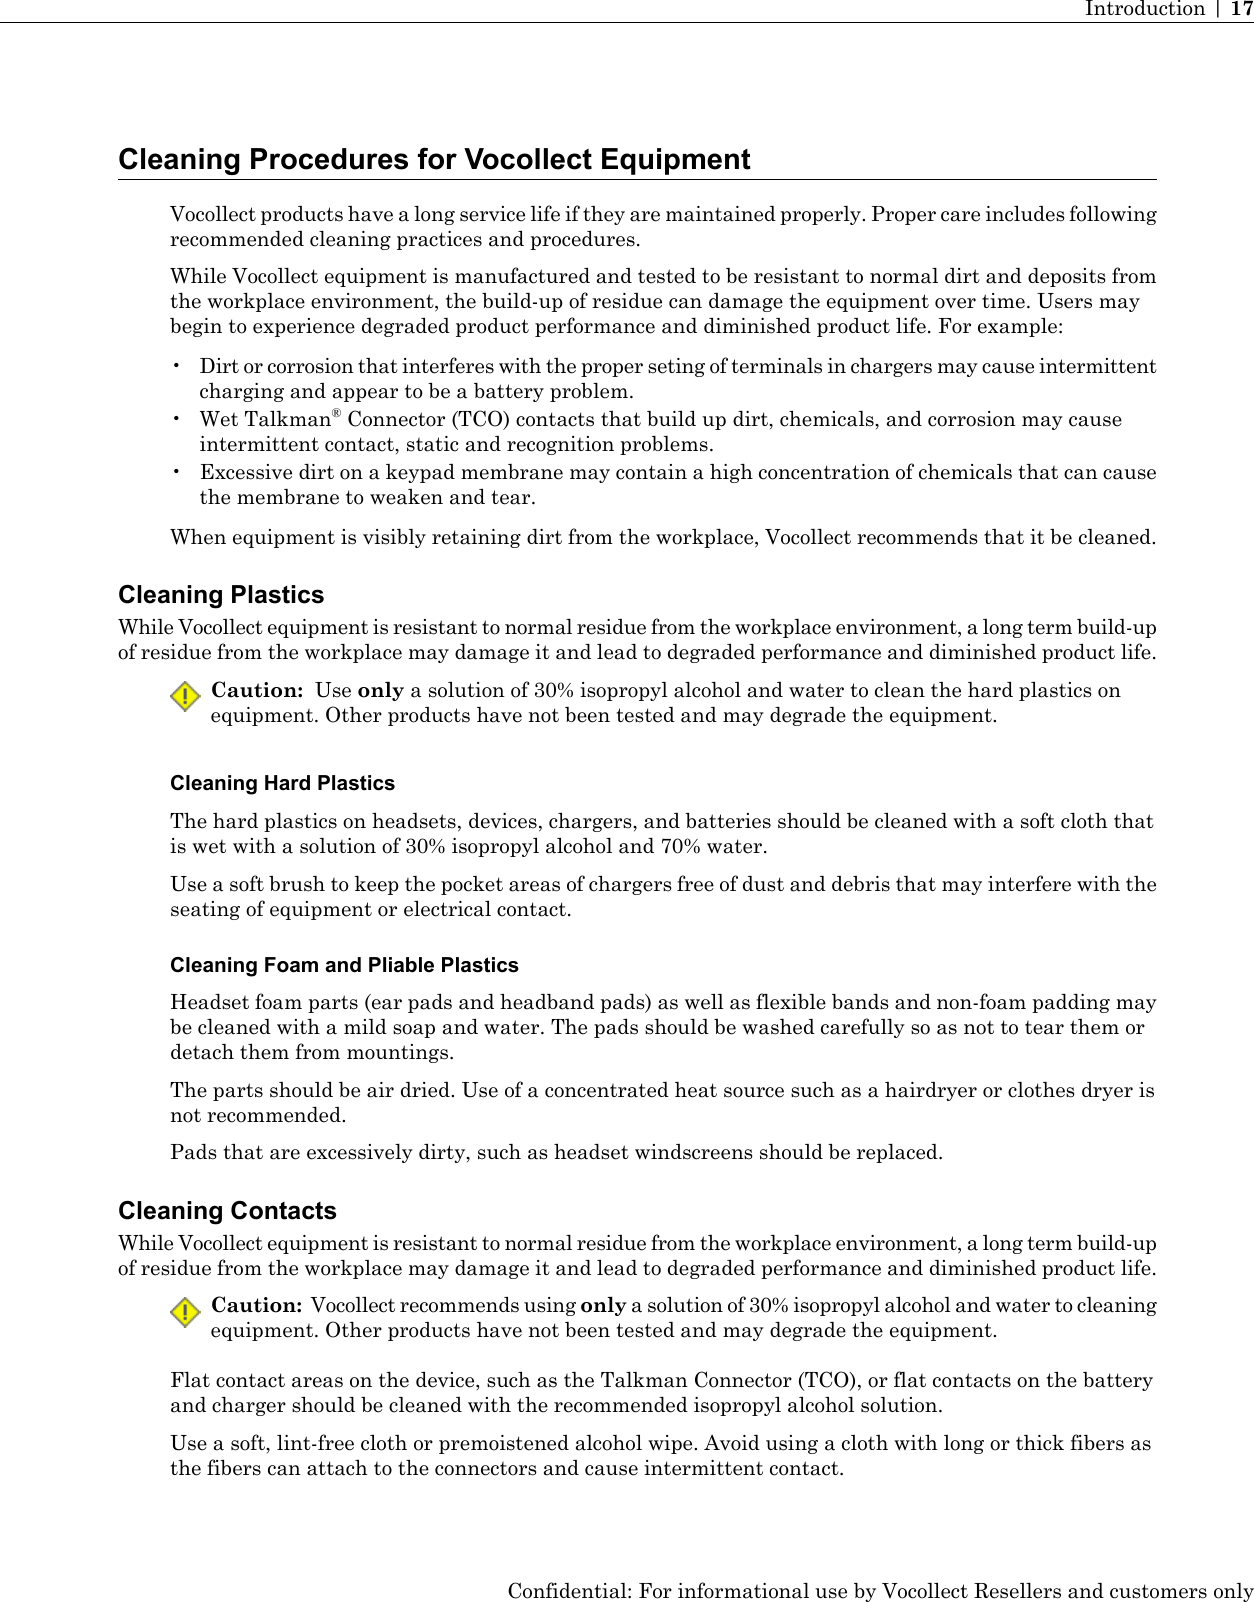
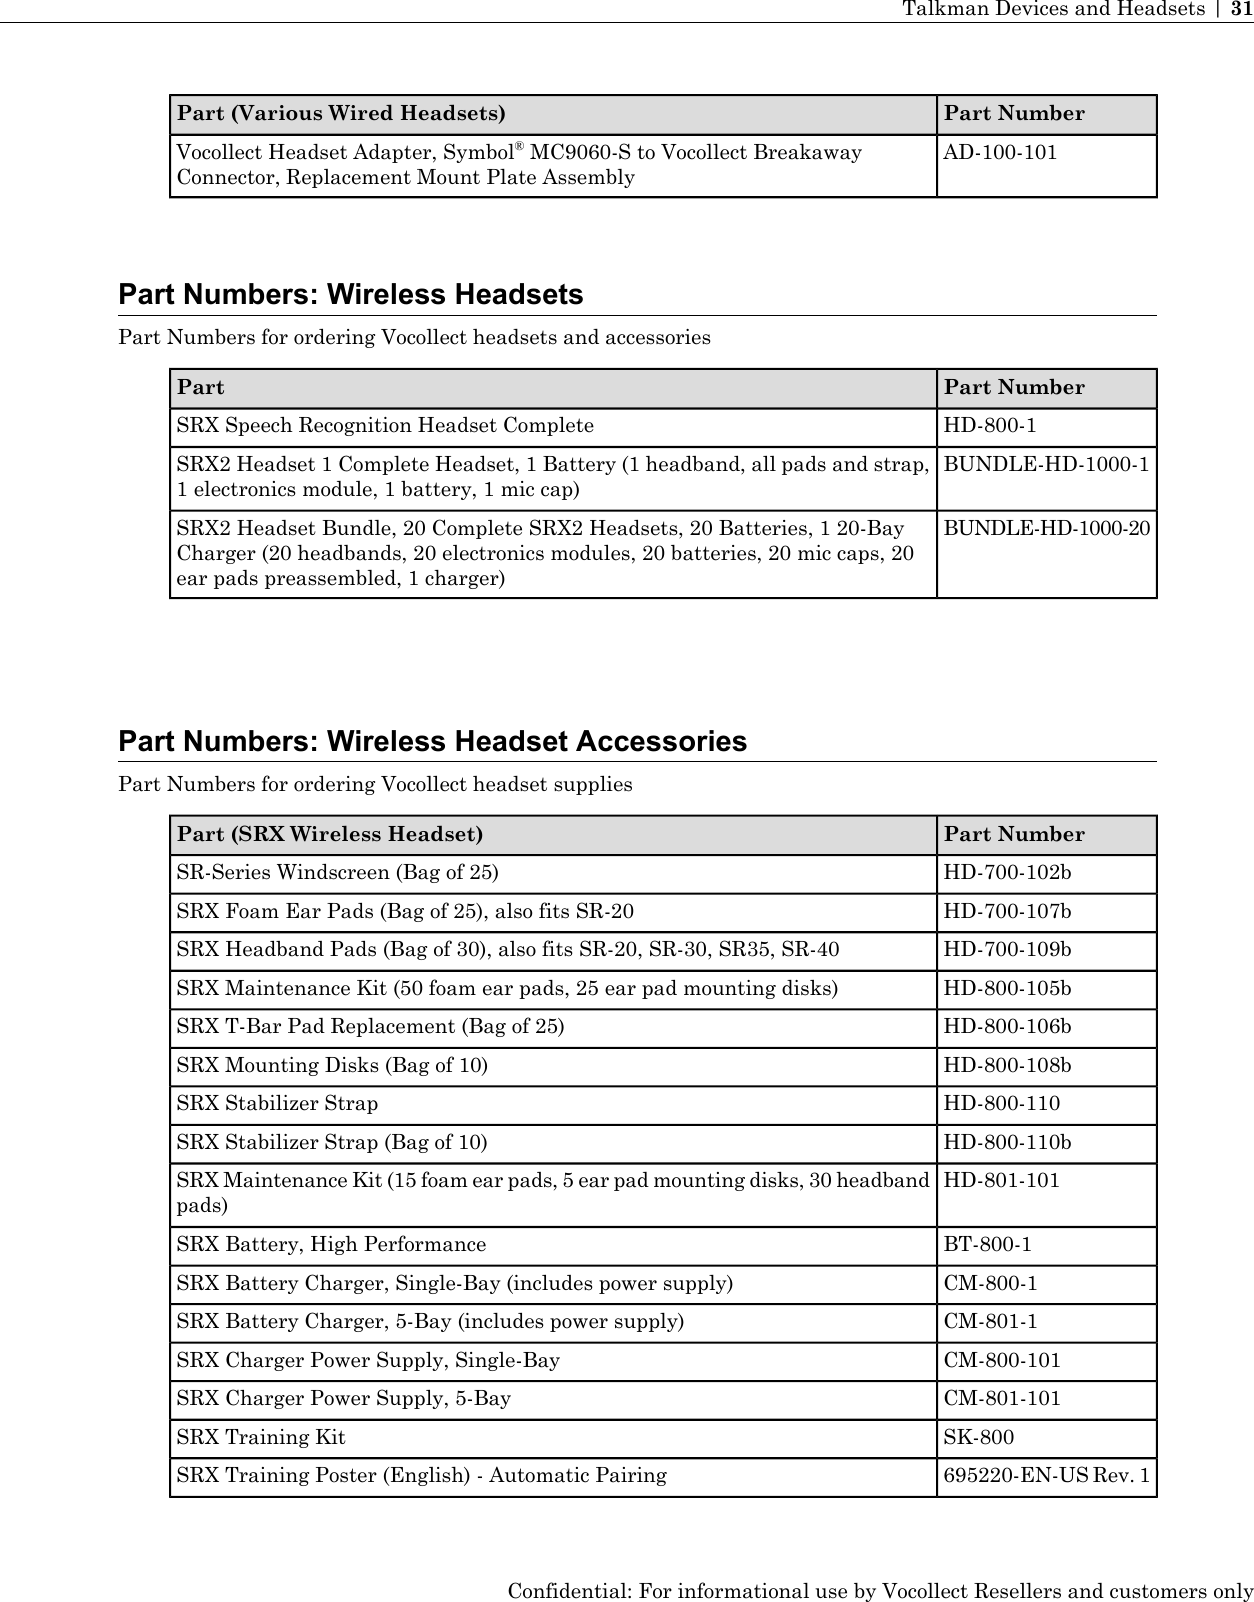
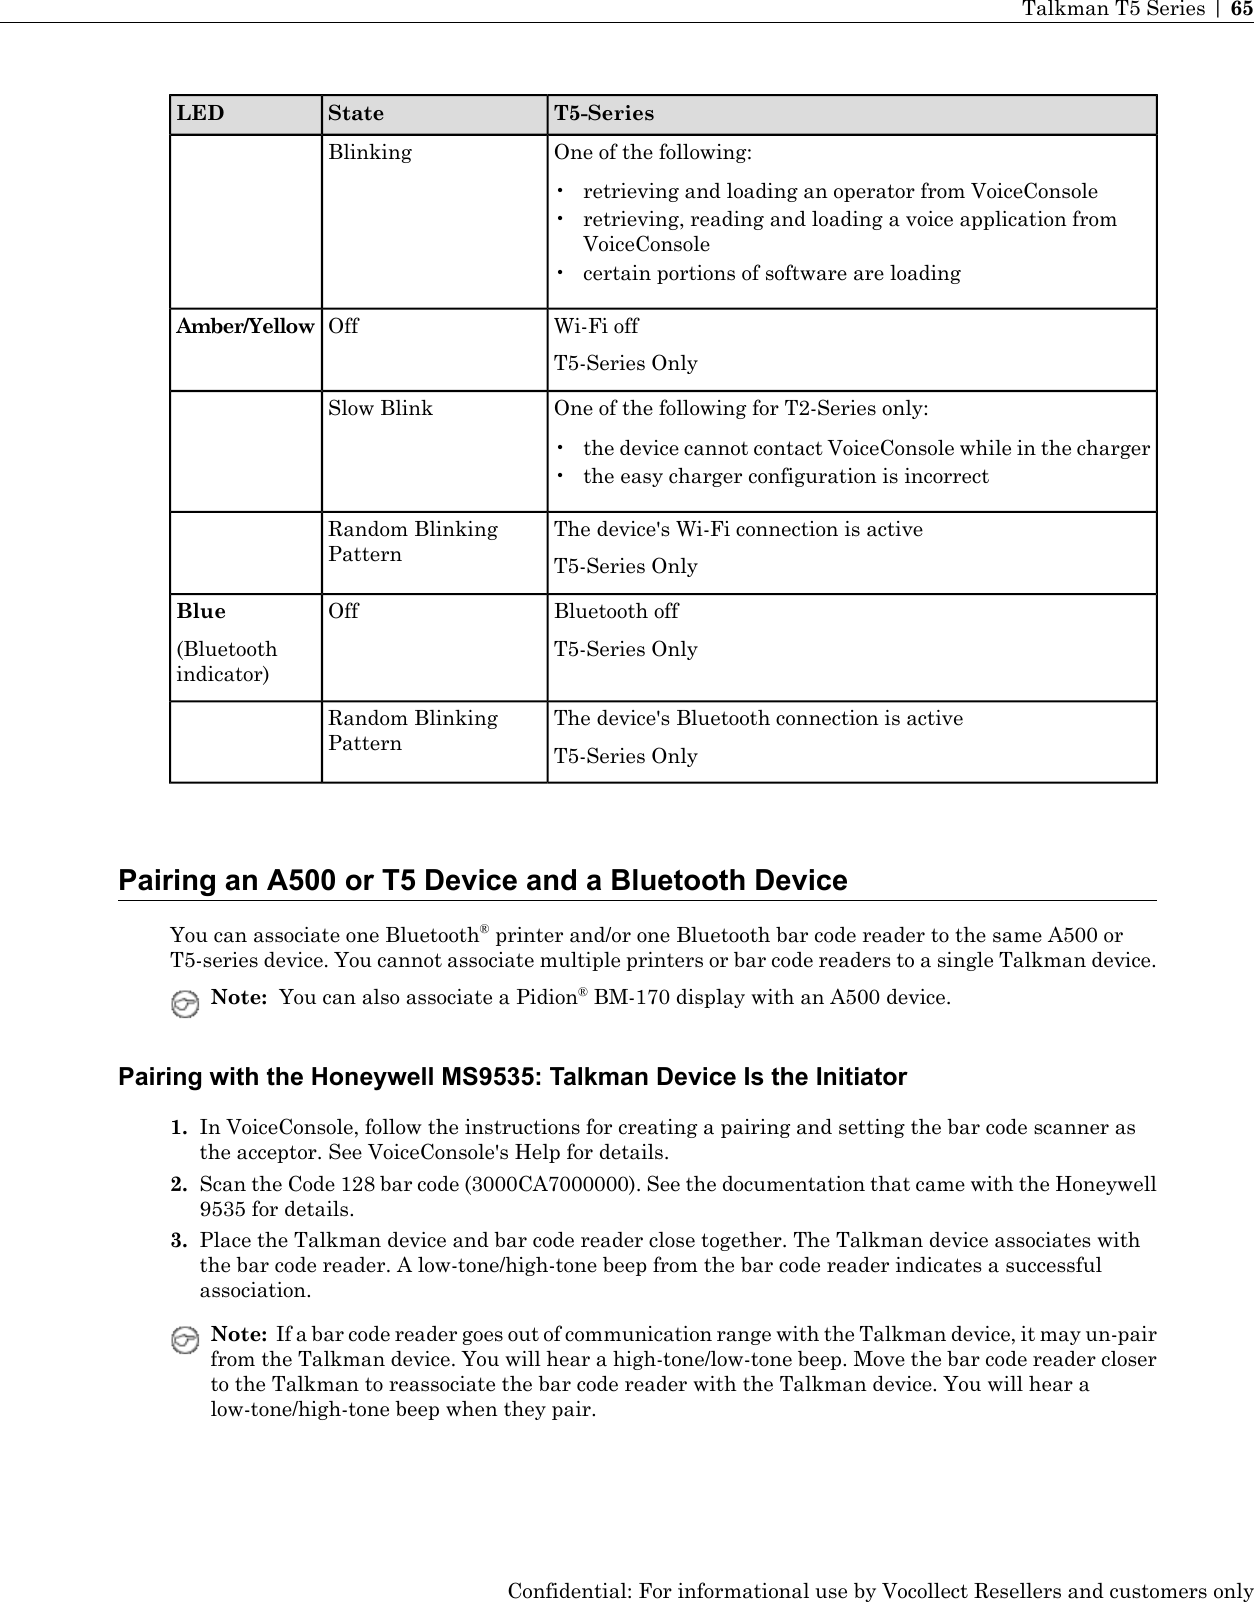
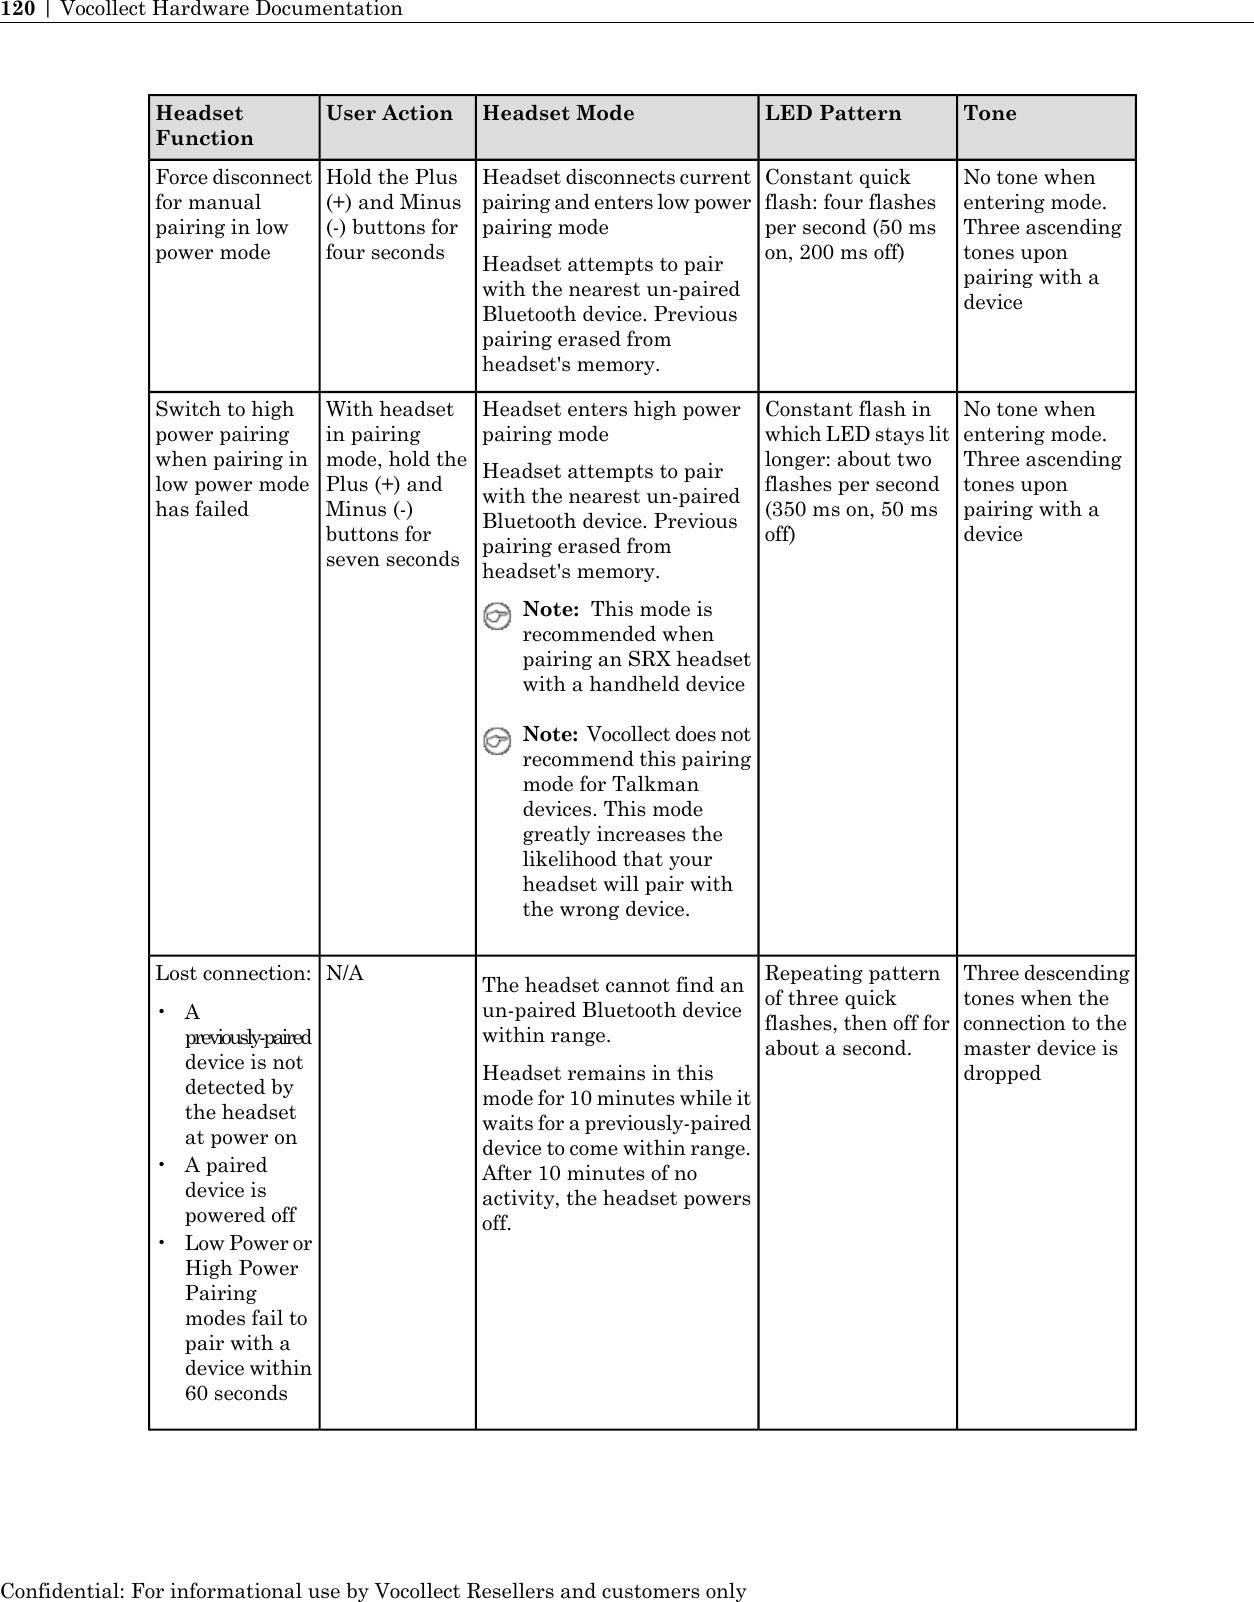
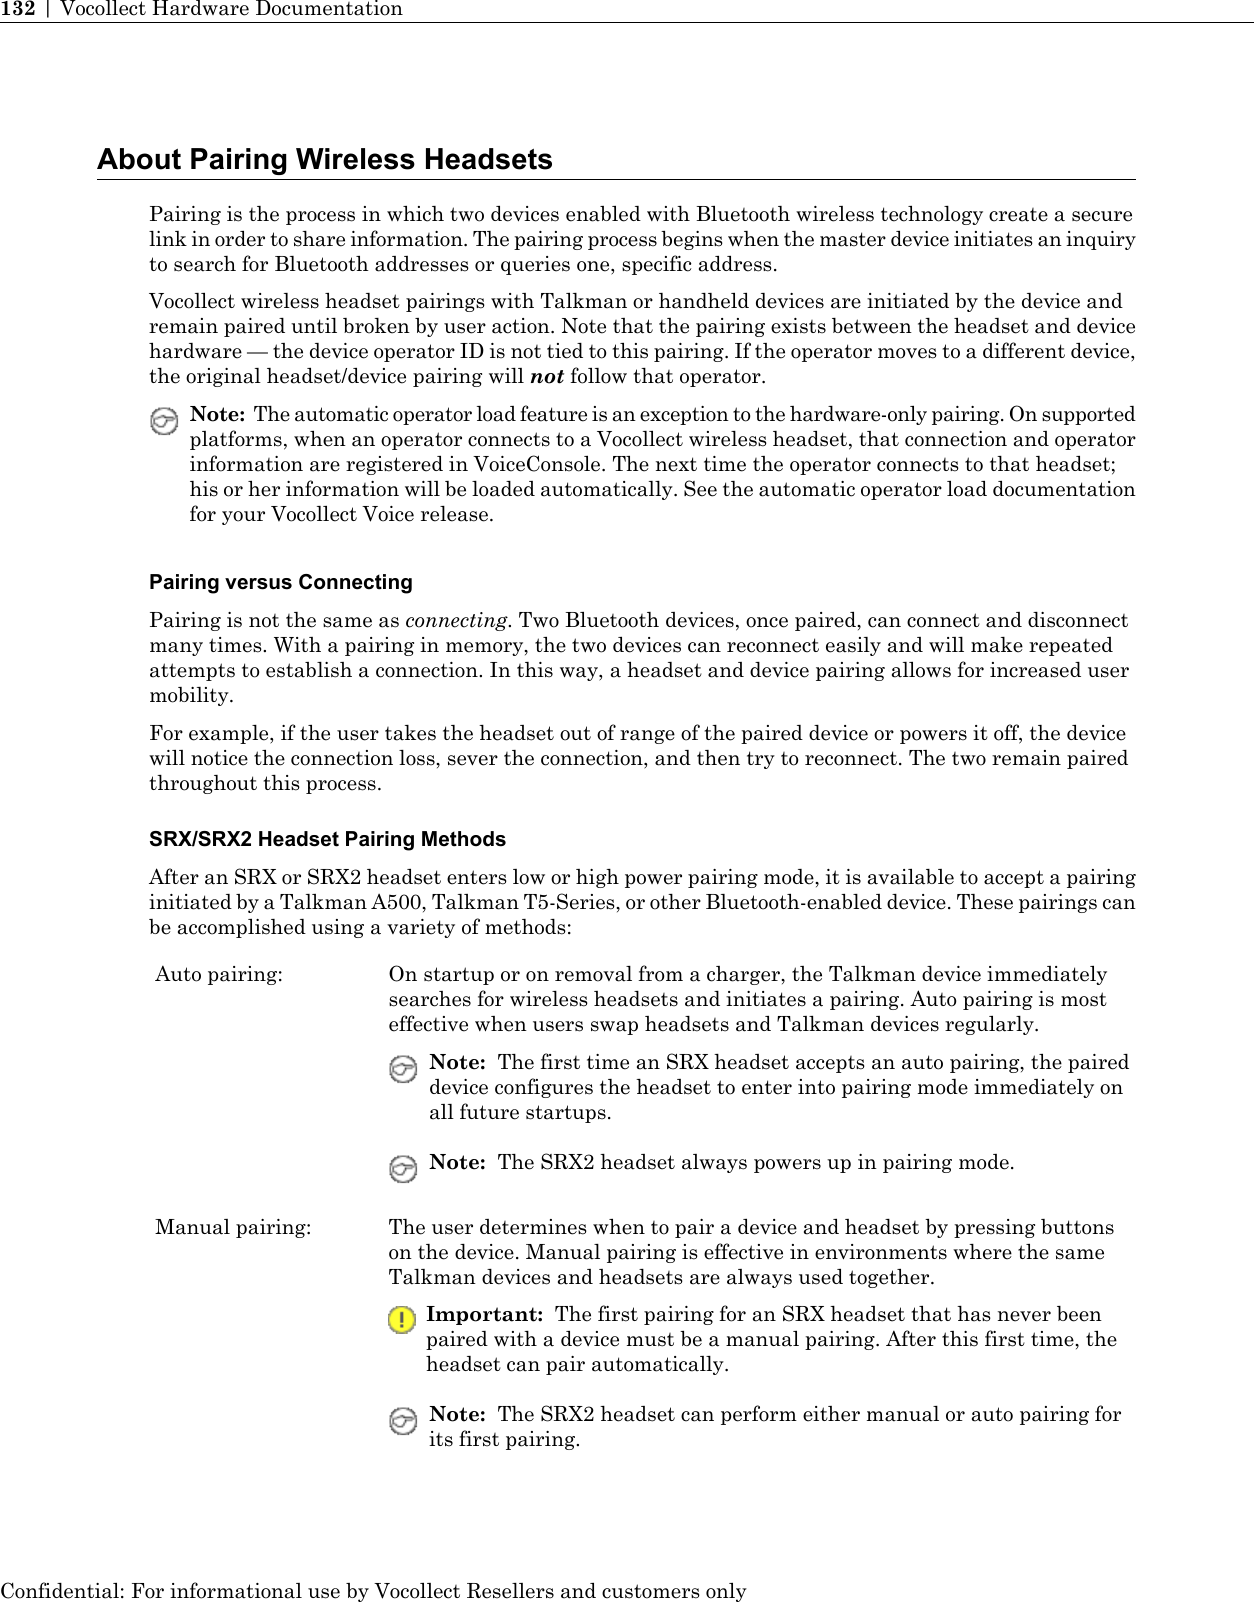
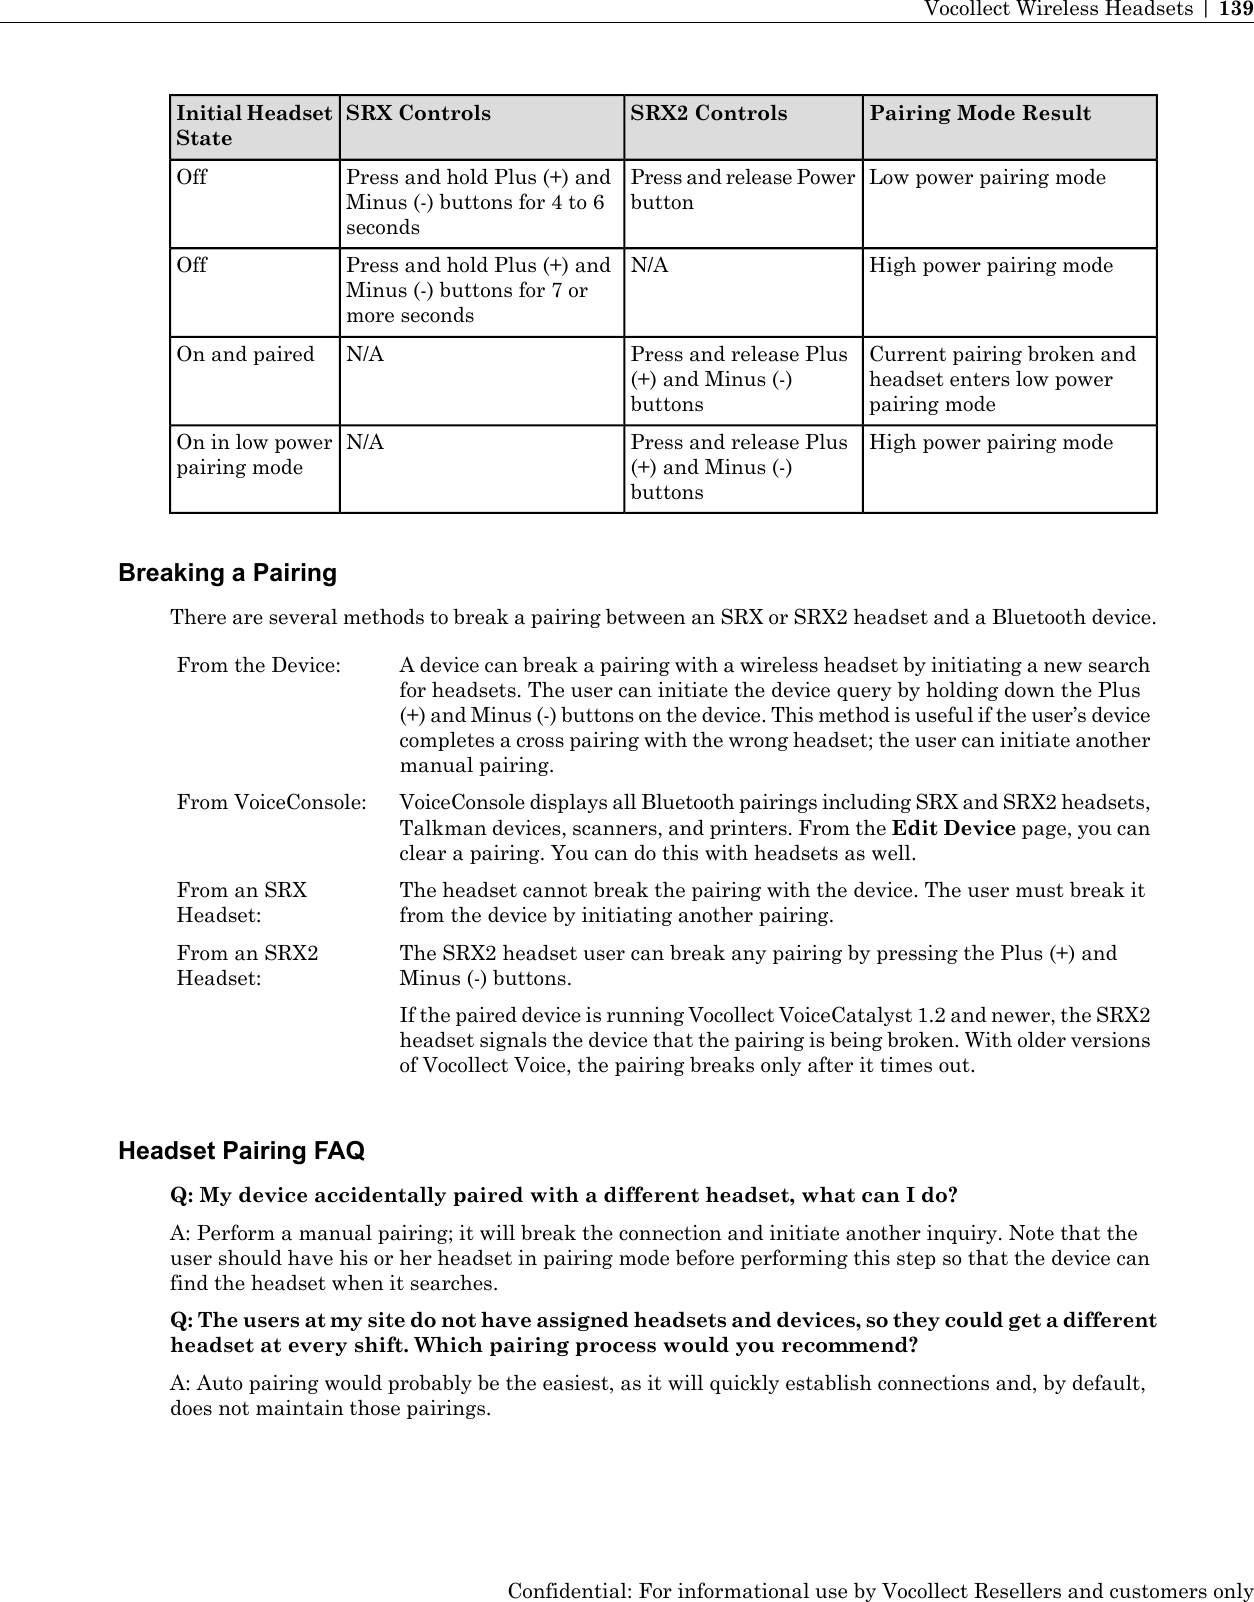
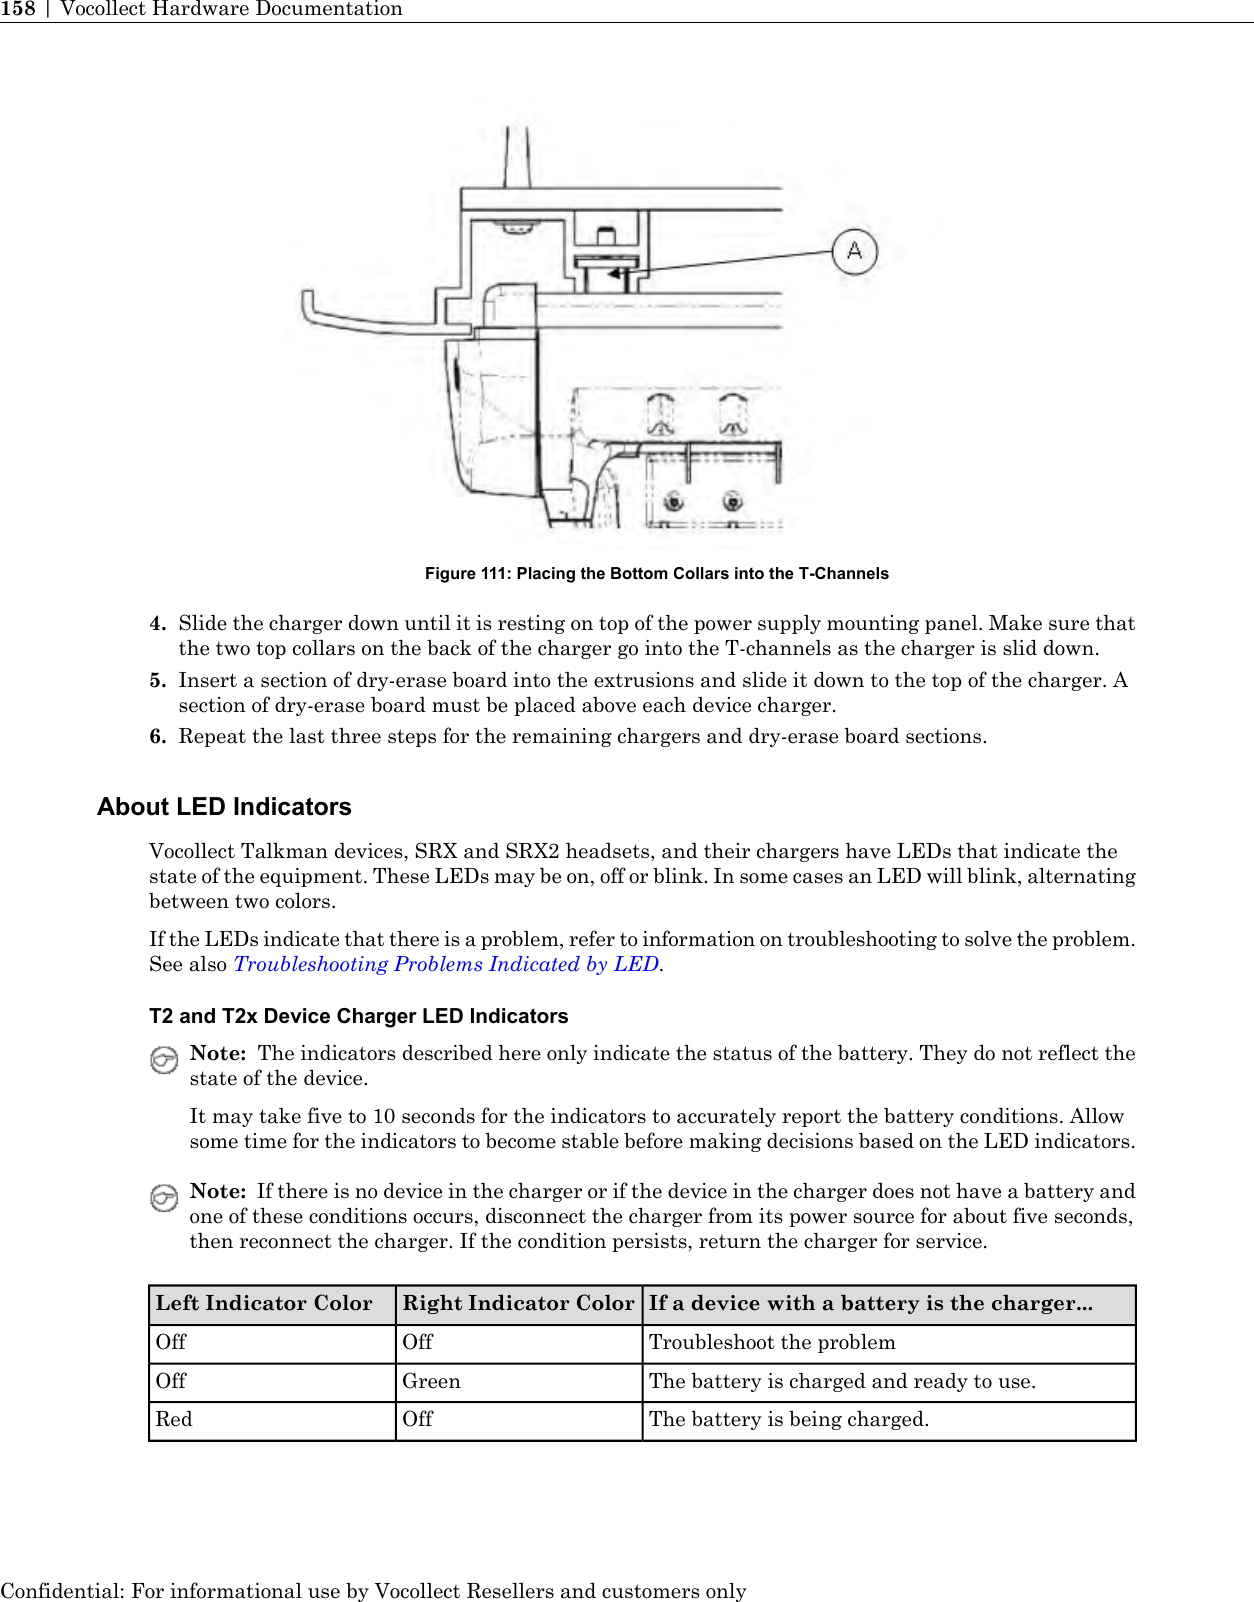
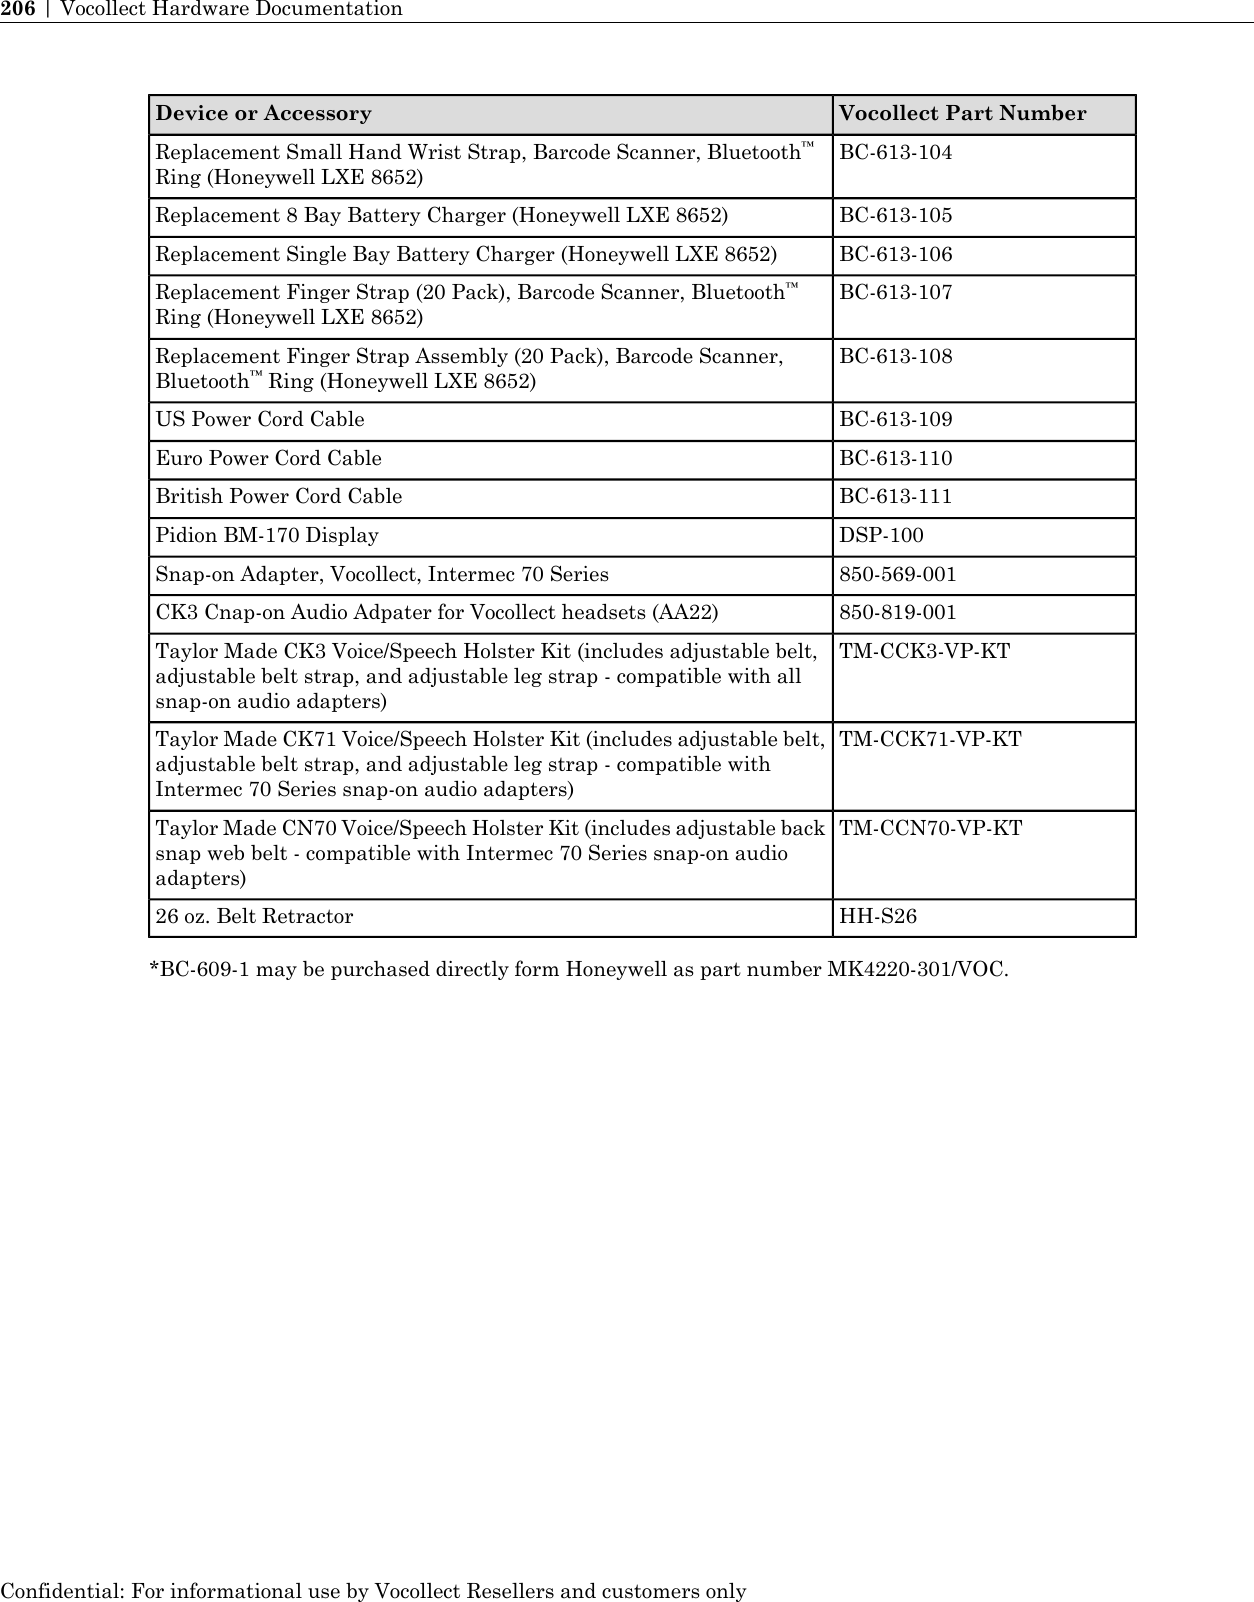
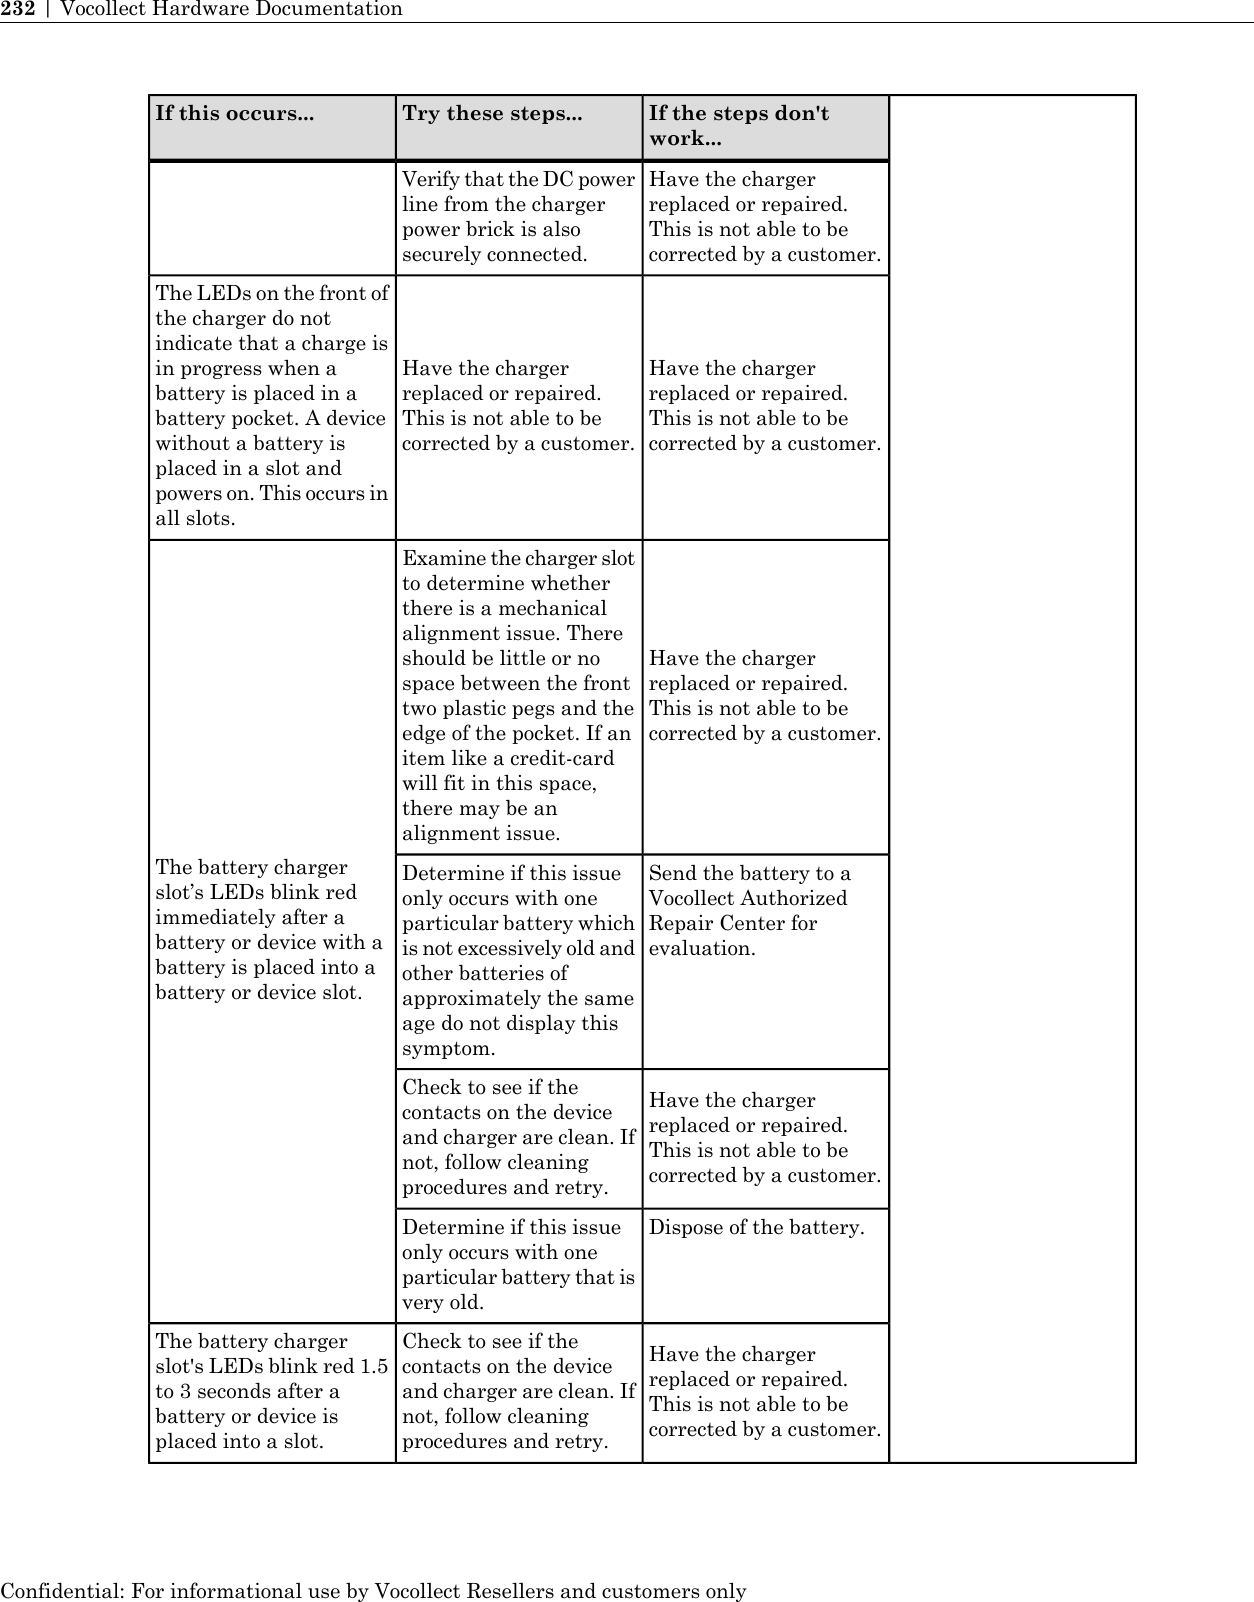
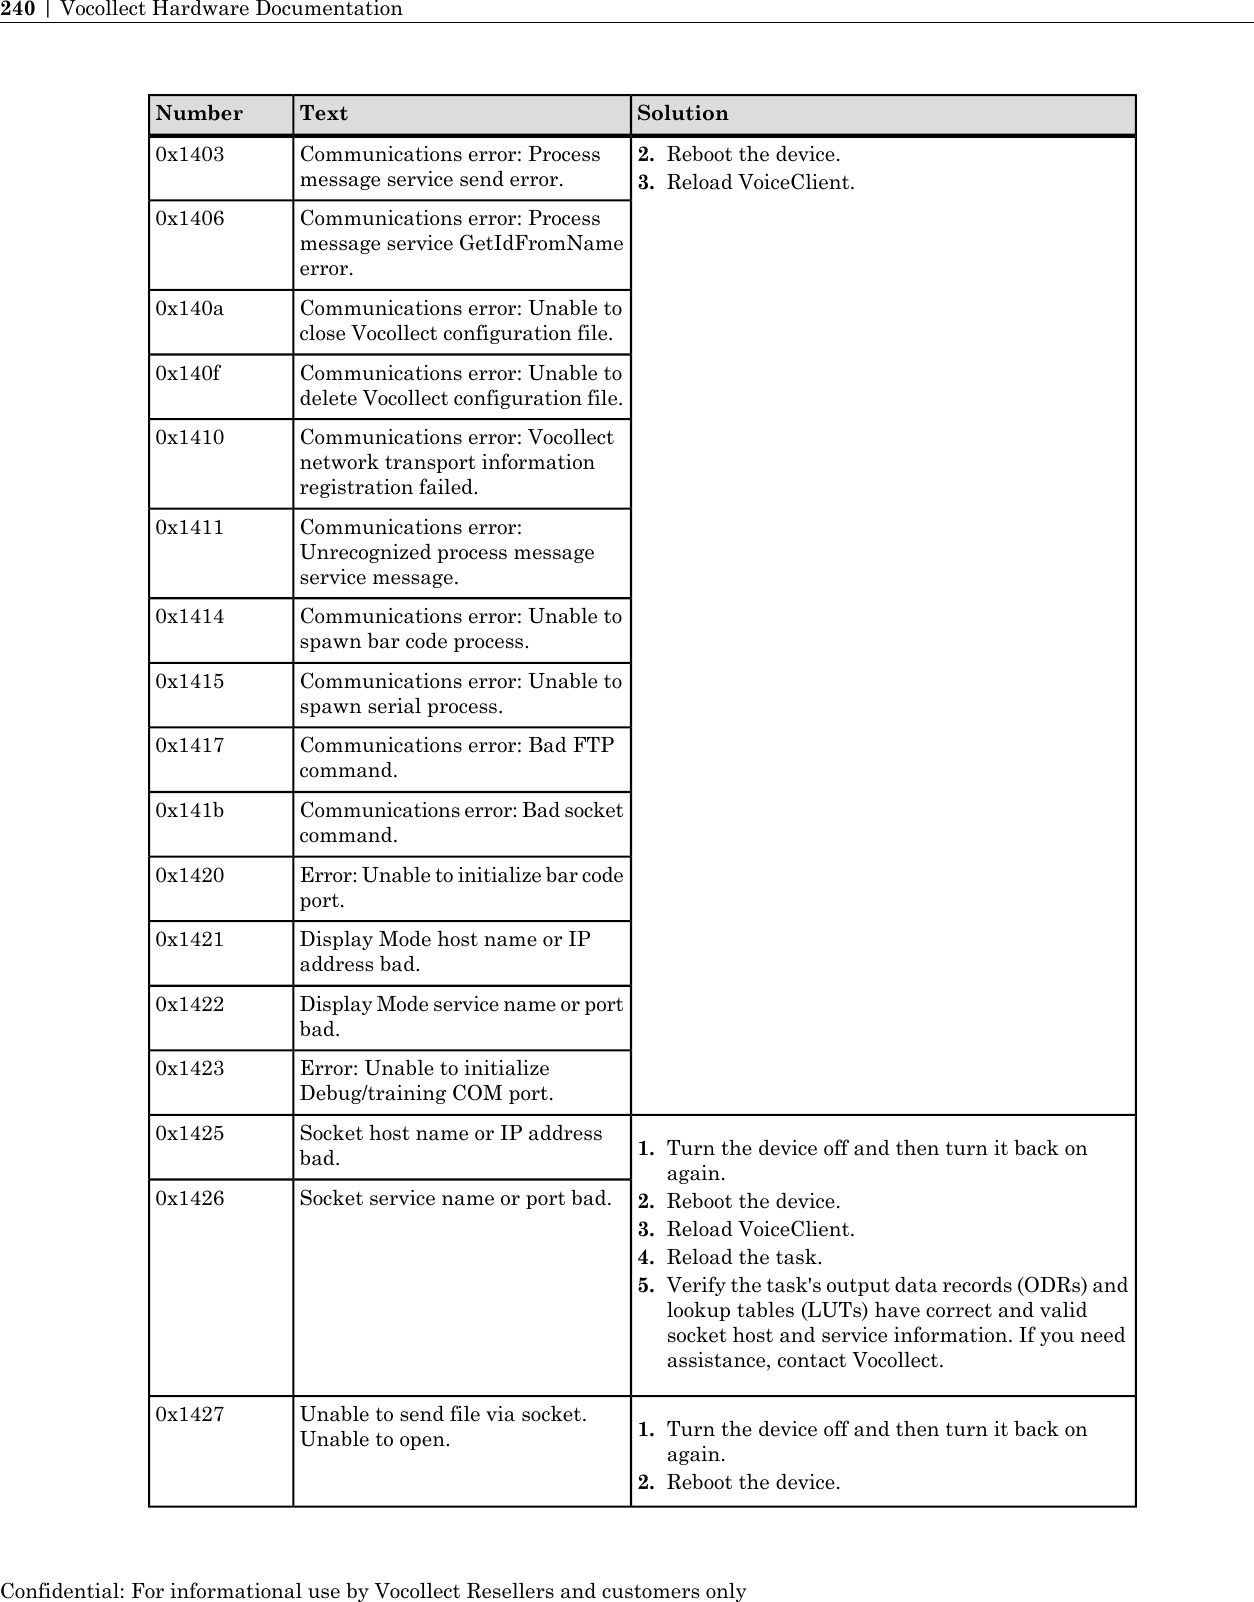
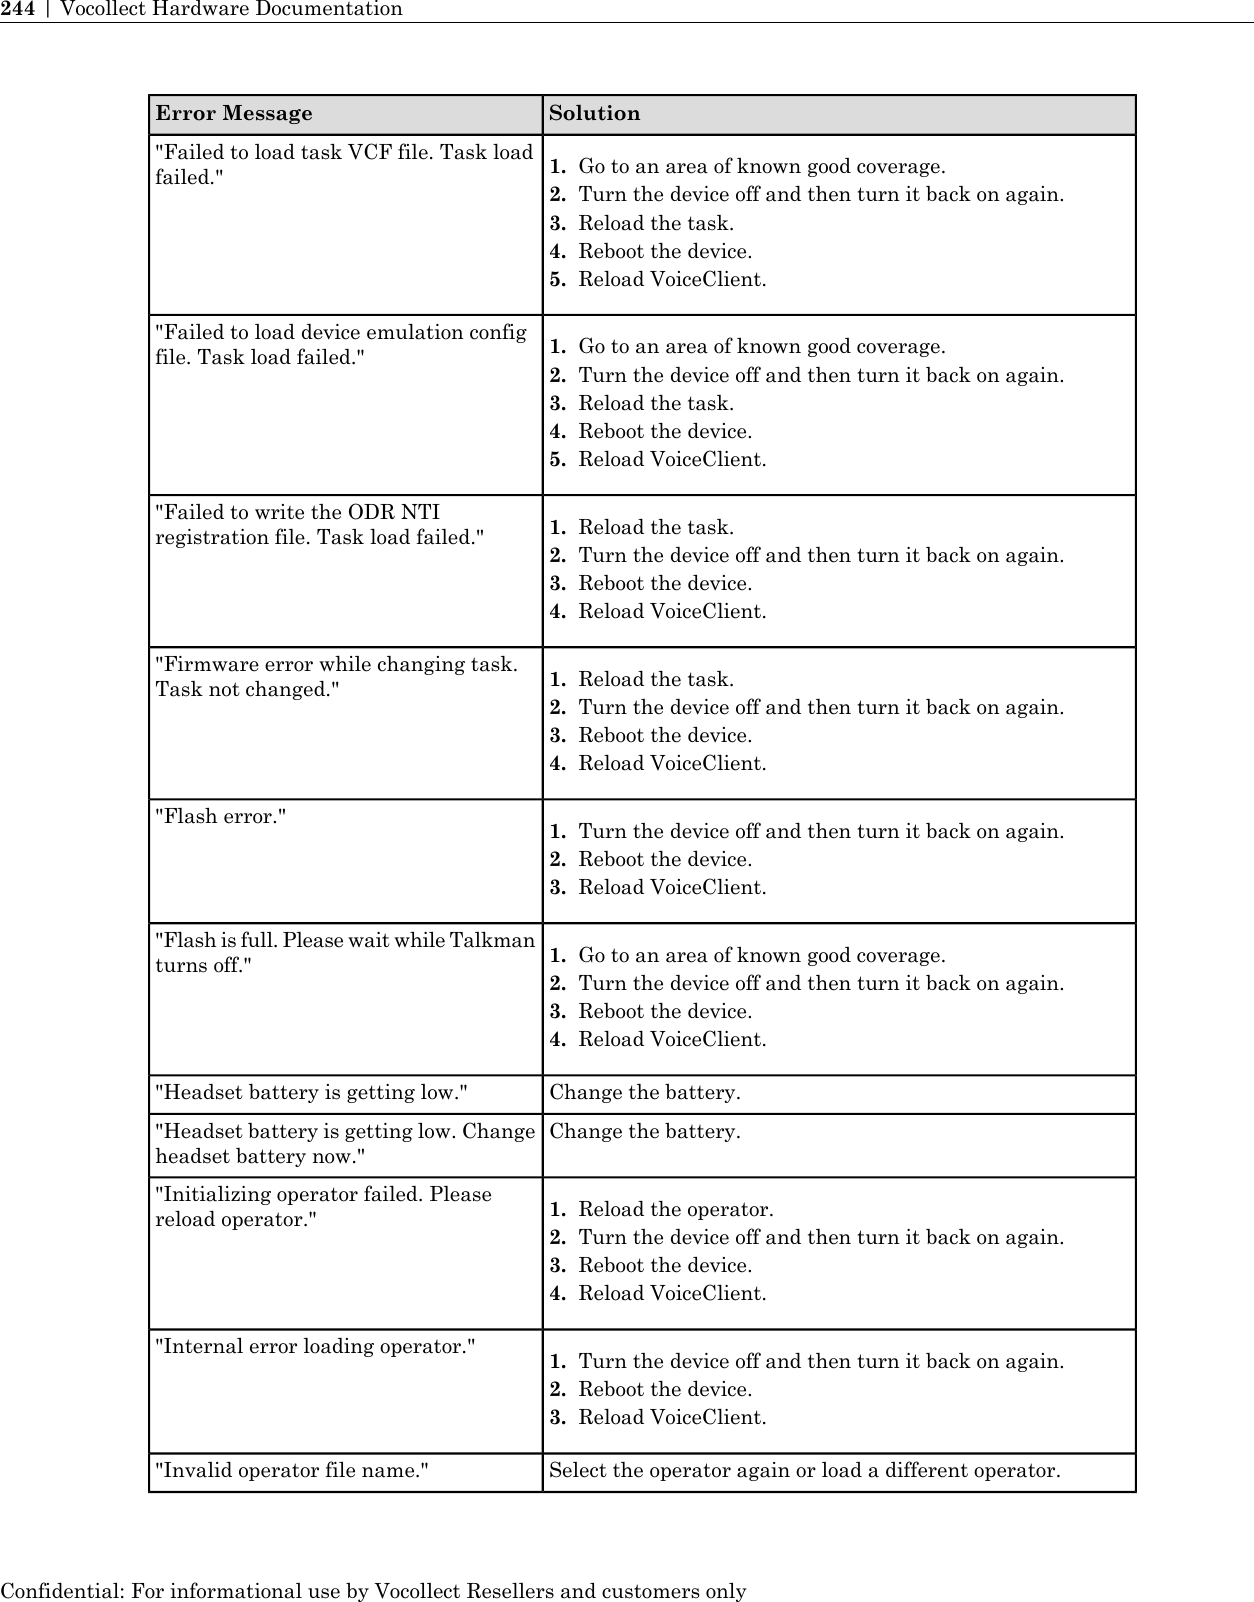
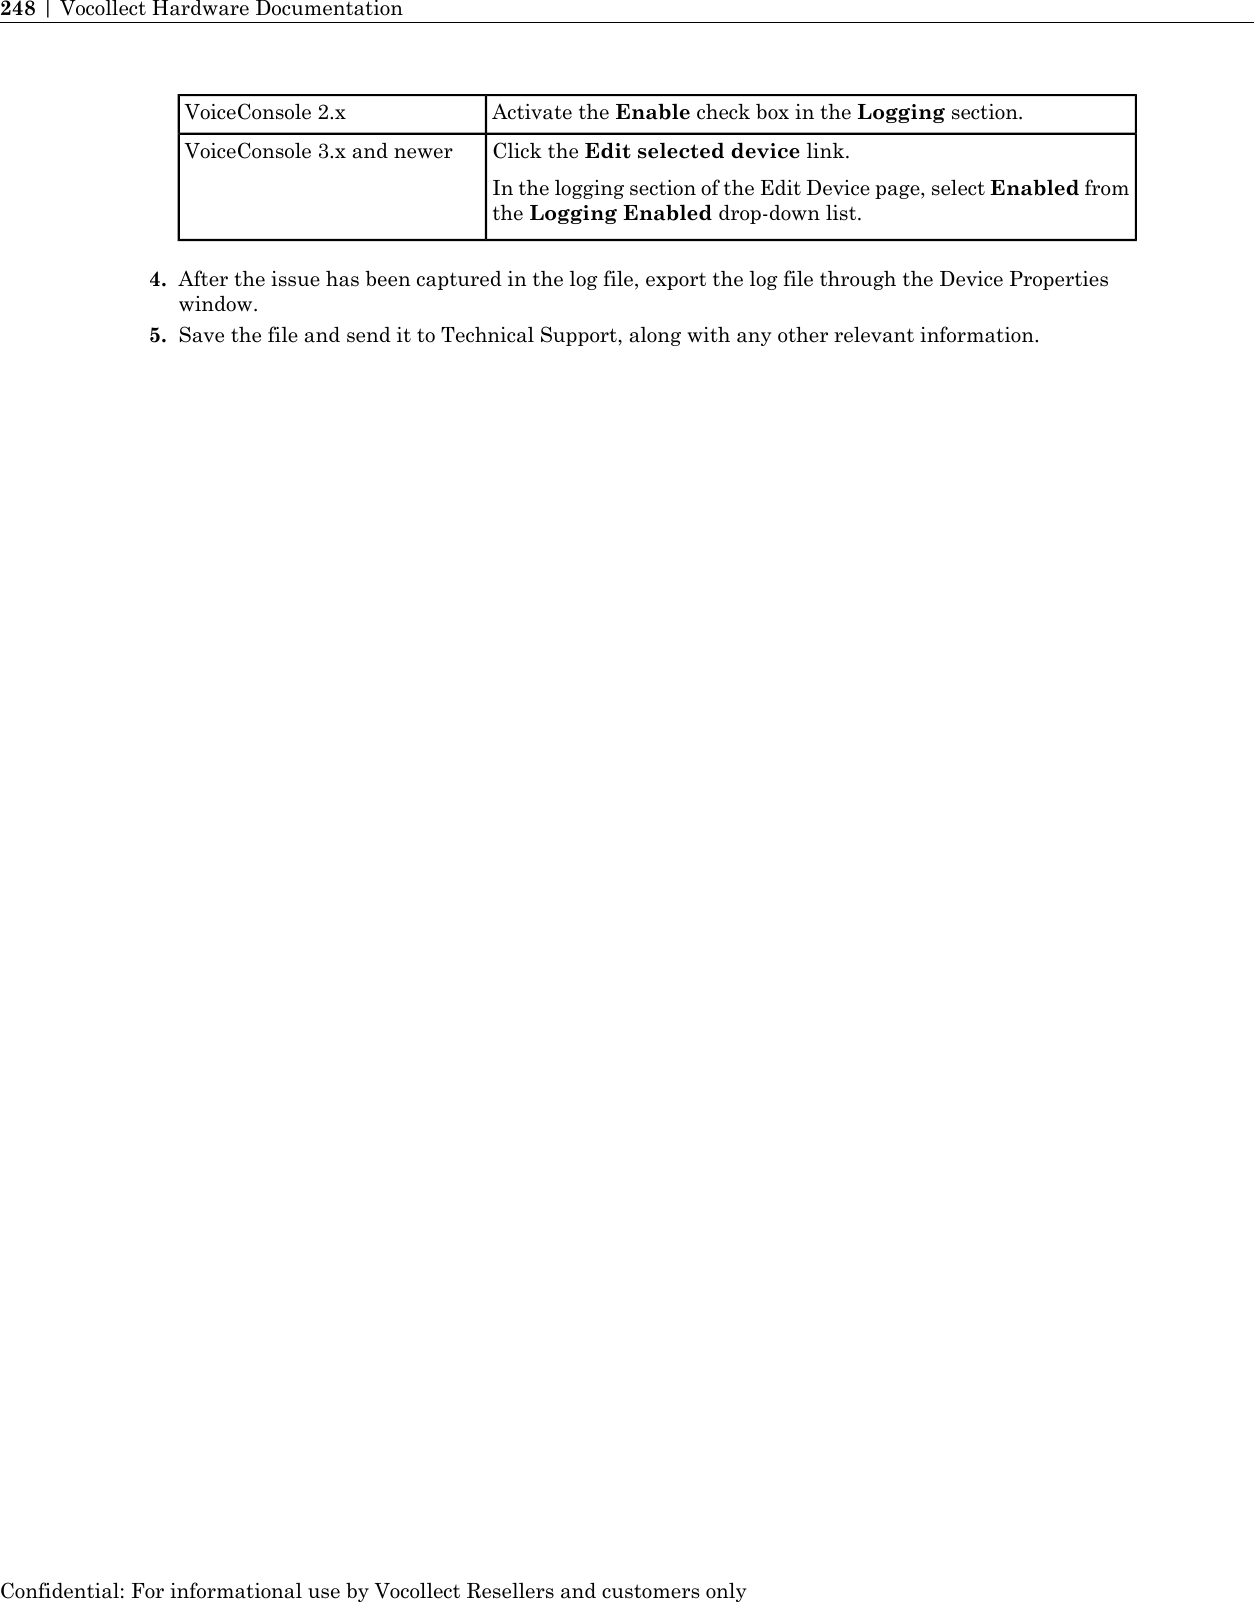
![4. Tap the + button or — button to scroll through the list of operator teams until you hear the name ofa team to which you belong.5. Tap the operator button.The voice engine says, "Please wait." It may take a few moments for the voice engine to retrieve alist of operators who belong to the selected team. The voice engine then says, "Current operator isoperator name. Select new operator."6. Tap the + button or — button to scroll through the list of available operator names until you hearyour name.• If you do not hear your name, tap the yellow play/pause button to cancel this operation and startover from step 2. When selecting a team in step 3, choose the "All Operators" team.• Consult with your supervisor if you are not listed in the "All Operators" team.7. Tap the operator button.The voice engine says, "Loading operator." The voice engine then loads your templates. While yourtemplates are loading, you will hear a beep periodically and the status indicator on the device screenwill blink red. Once it has loaded your templates, the voice engine says, "Current operator is operatorname. Good night" and goes to sleep.8. Tap the yellow play/pause button on the device screen to restart the voice engine and to begin work.Changing the Voice on a Handheld DeviceA device can store several voices, depending on the memory available on the device. By selecting a newvoice module, operators can change the voice language or voice quality that is spoken by the devicewithout having to ActiveSync, without contacting VoiceConsole, and without reinstalling Vocollect Voice.This feature is helpful for multilingual sites and for sites whose operators prefer different soundingvoices.Note: This feature is supported on Vocollect Voice 2.0 and newer.Enabling the Ability to Change Voices1. After installing Vocollect Voice, ensure the device has enough space in flash memory to accommodatethe voice(s) you want to install by comparing the free space in flash to the size of the voice(s).2. Place the folder containing the voice module you want accessible (located on the Vocollect Voice DVD)on the device in a folder in the flash memory. Note: Some voices may not be supported on your device.Please see the release notes for your version of Vocollect Voice for a list of supported voices. See Settingthe Default Voice on the Device for a list of languages and voice module folders.Note: Voice module folders must be kept in a location other than the Vocollect Voice directoryto prevent a failure when changing voices on the device.Note: The voice module(s) must be placed in a folder in flash. Do not put the folder in RAM. Ifplaced in RAM, the voice modules will be gone on the next device reboot.3. Place the following parameter under the[HKEY_LOCAL_MACHINE\Vocollect\CONFIG_PARAMS\DIAG_FILE] registry setting in theconfig.vrg file:"enableVoiceSwitchMenu"="1"Note: Ensure the VVHModuleLocation parameter is set to the correct location (\VoiceModules)of the voice module(s).Confidential: For informational use by Vocollect Resellers and customers onlyVocollect Voice on Handheld Devices | 217](https://usermanual.wiki/Vocollect/TAP700-01/User-Guide-1841002-Page-218.png)

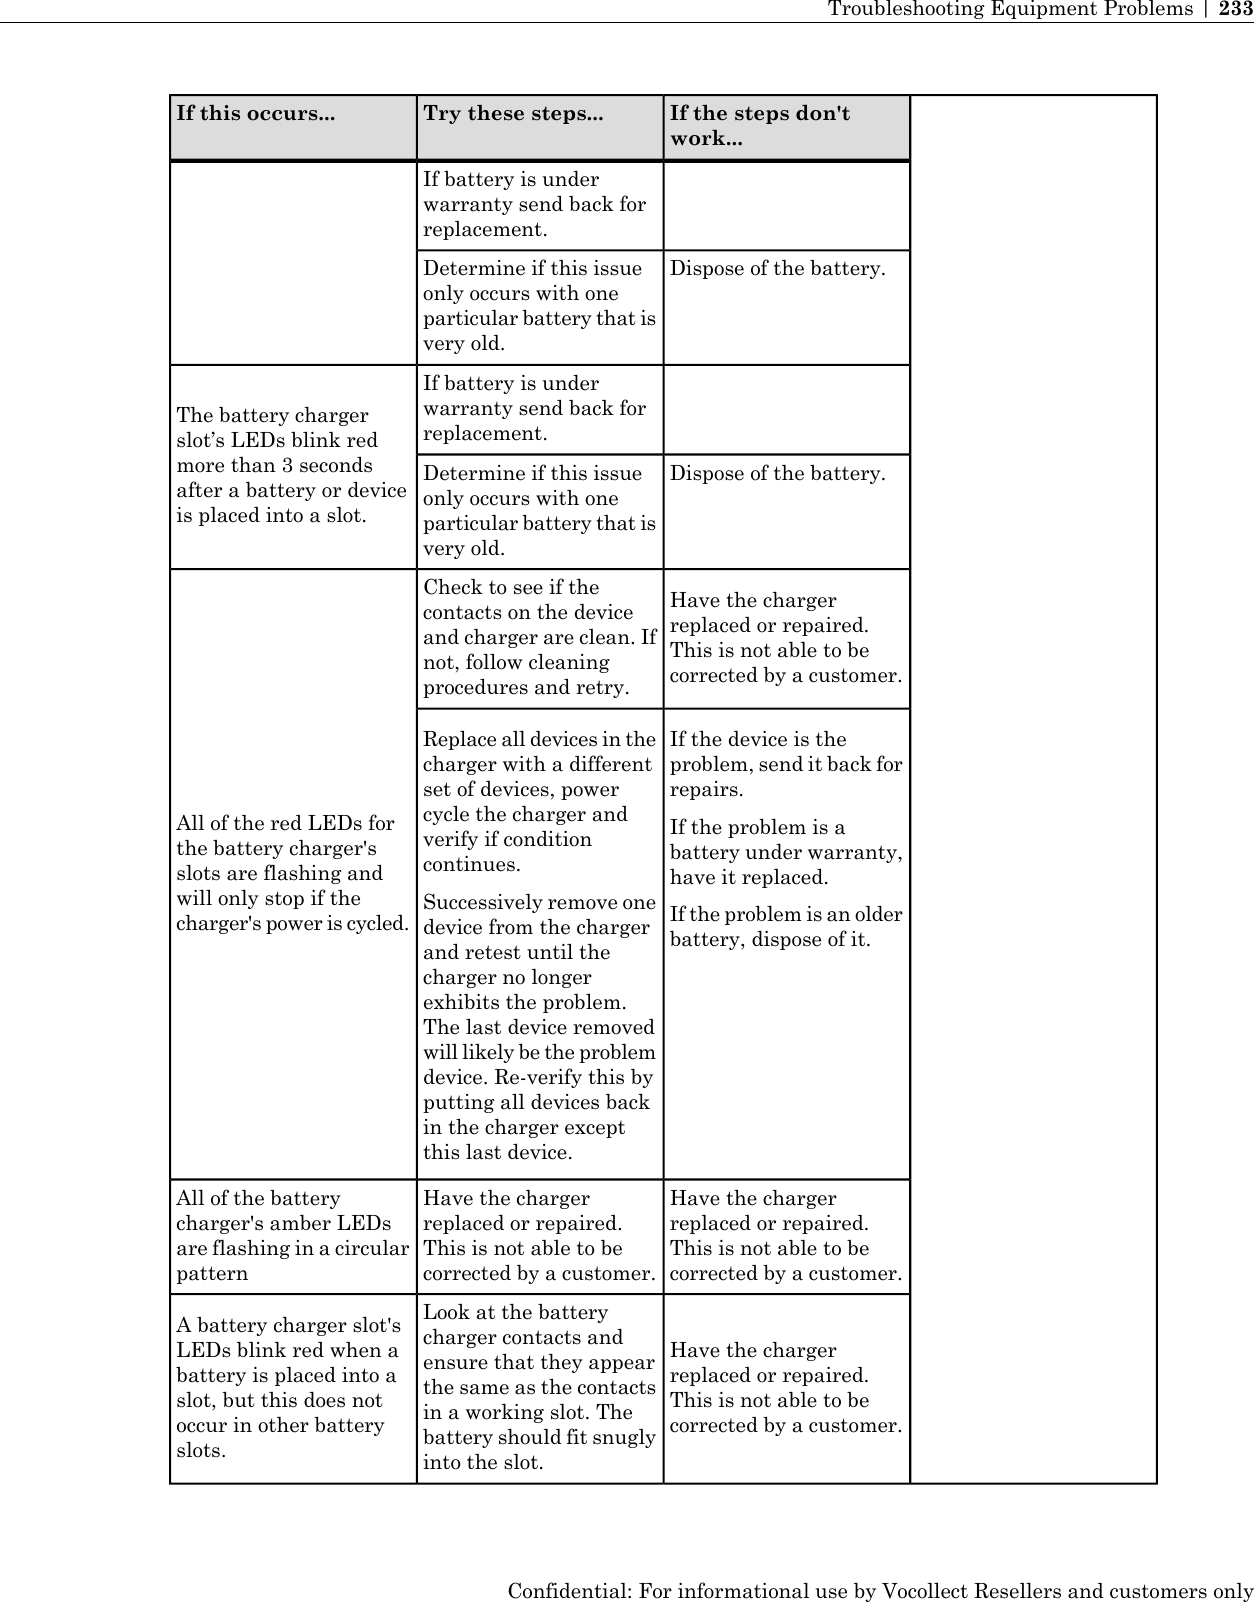
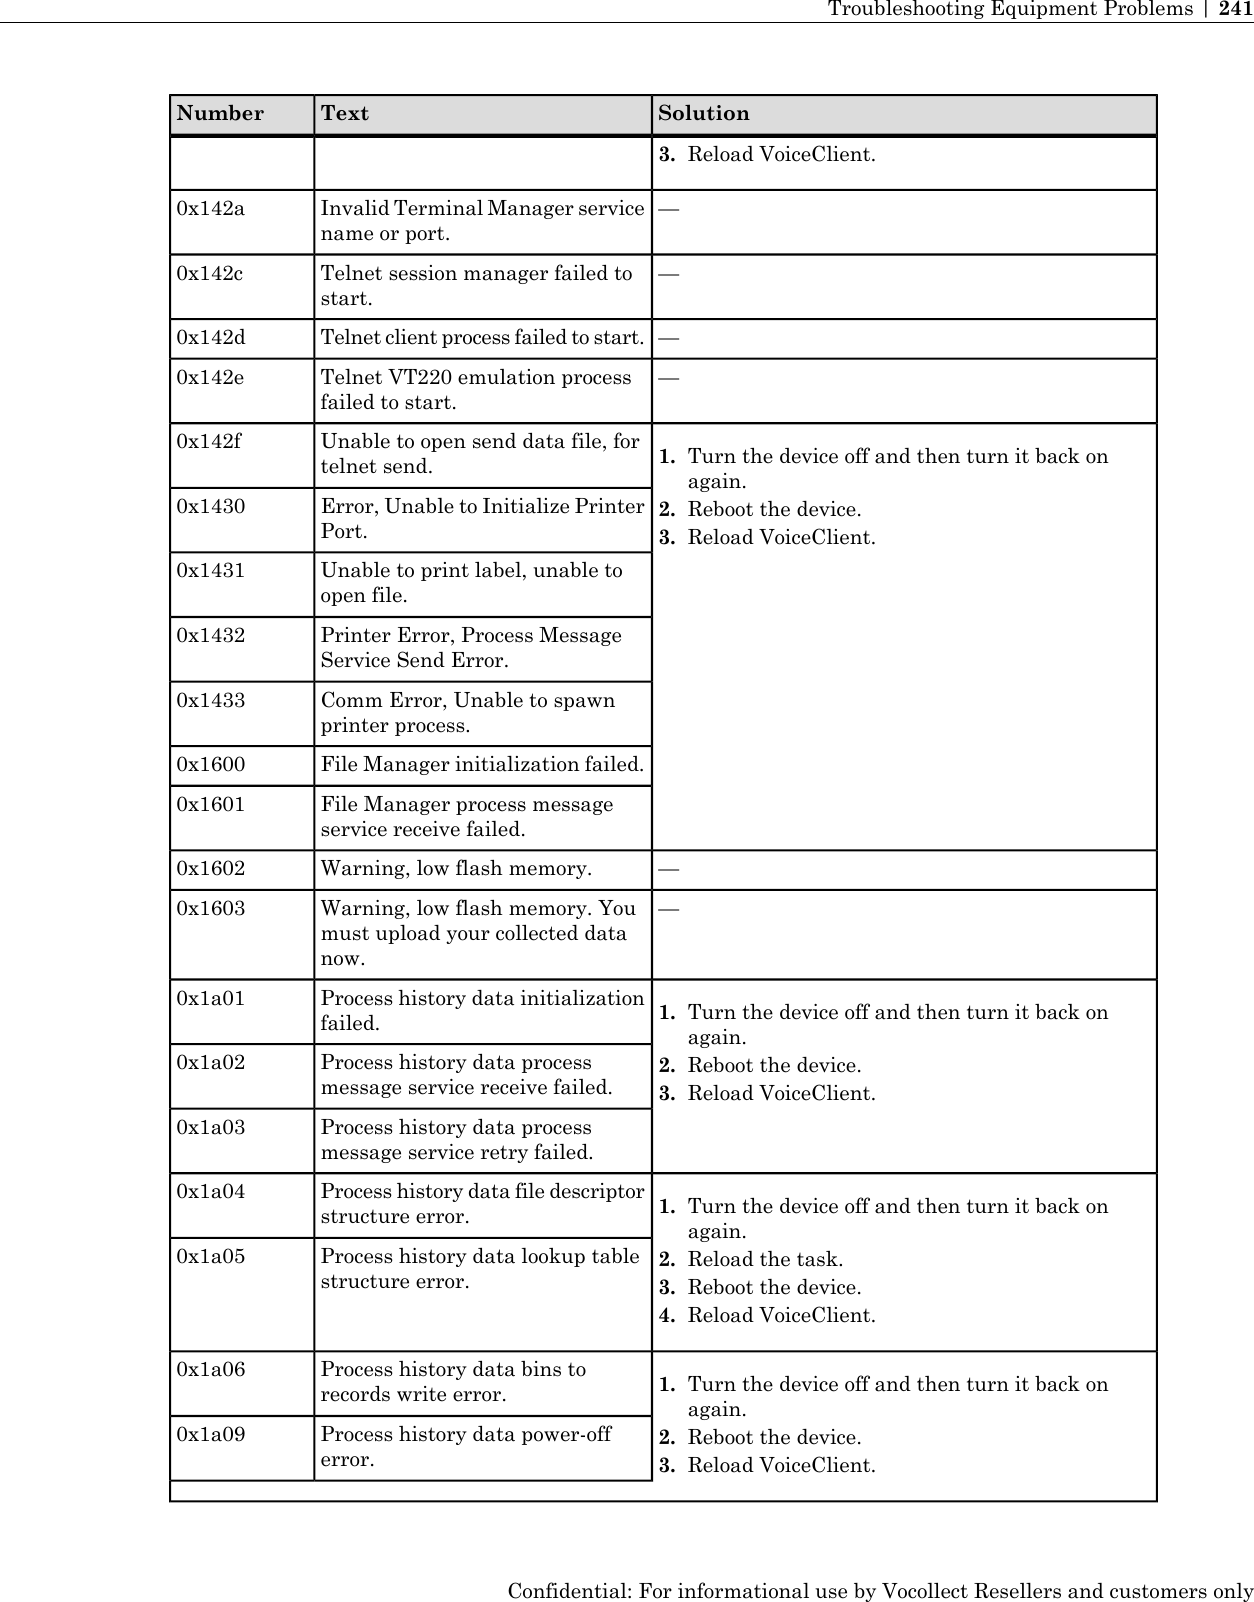
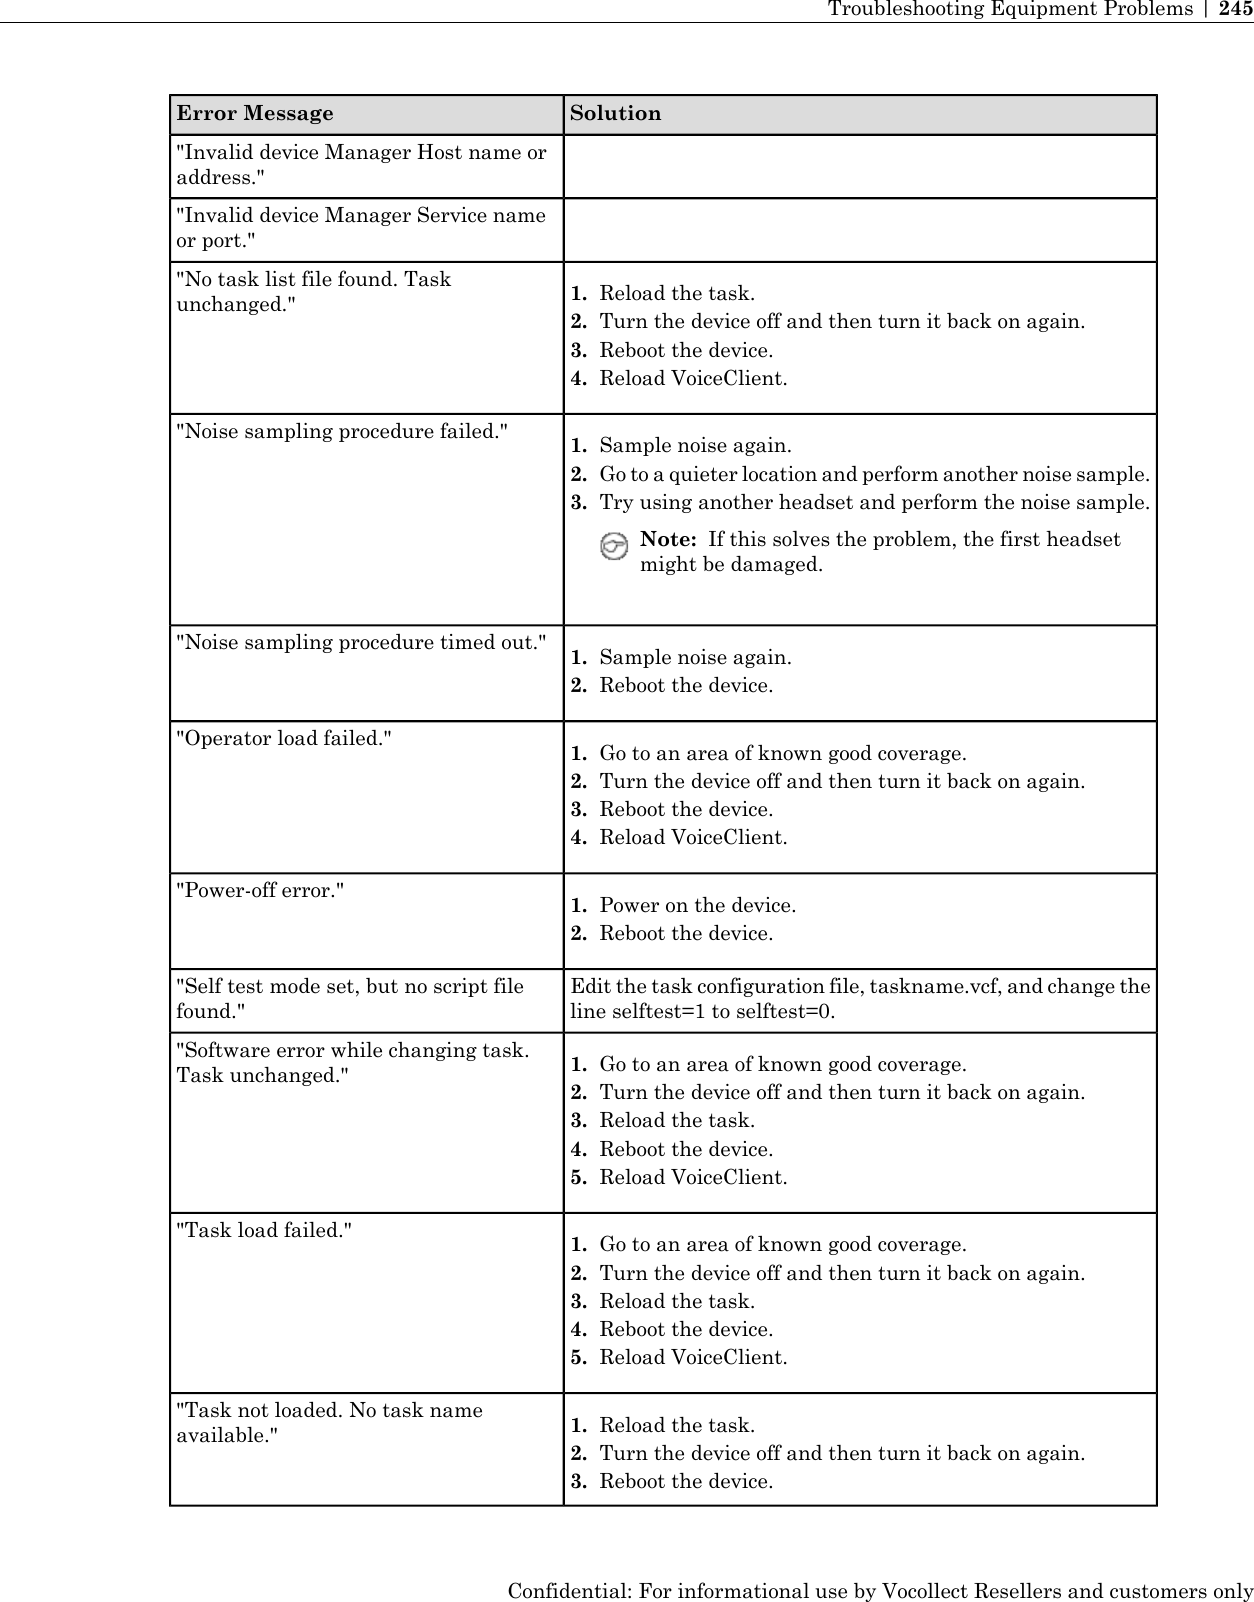
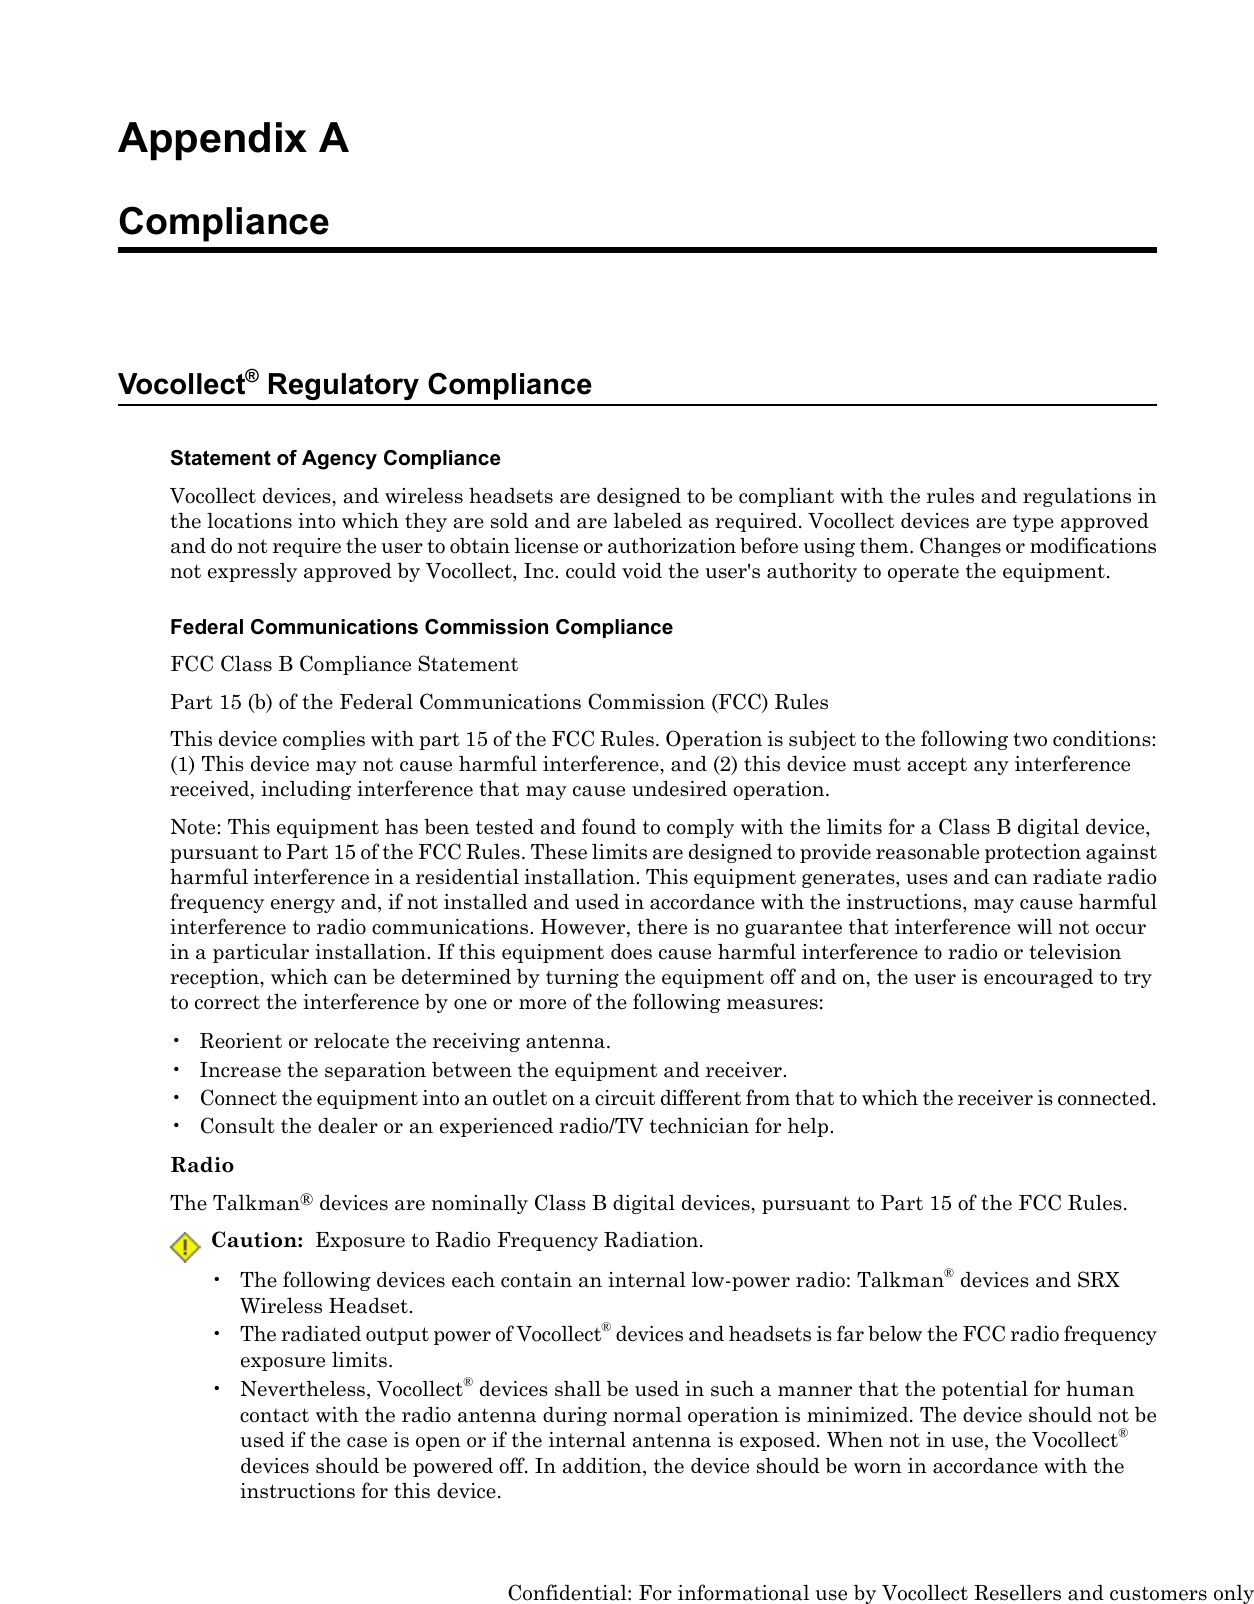
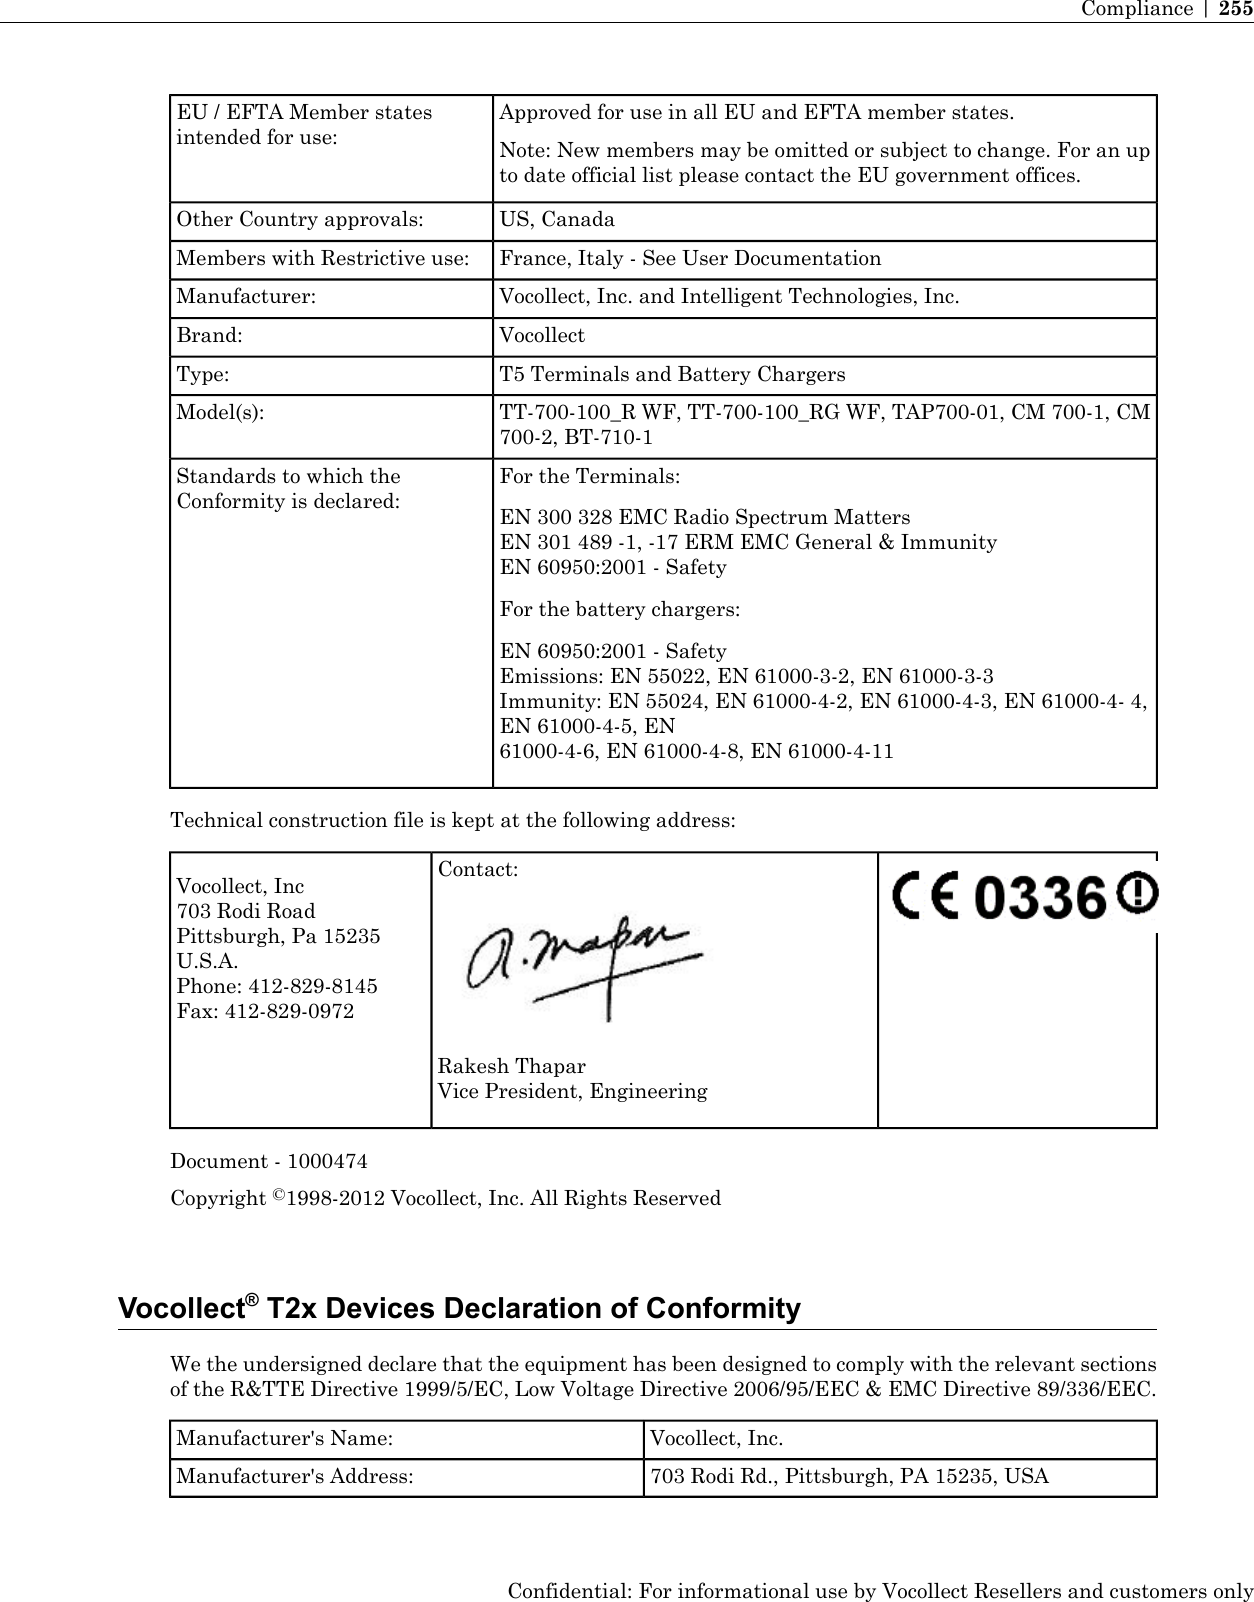
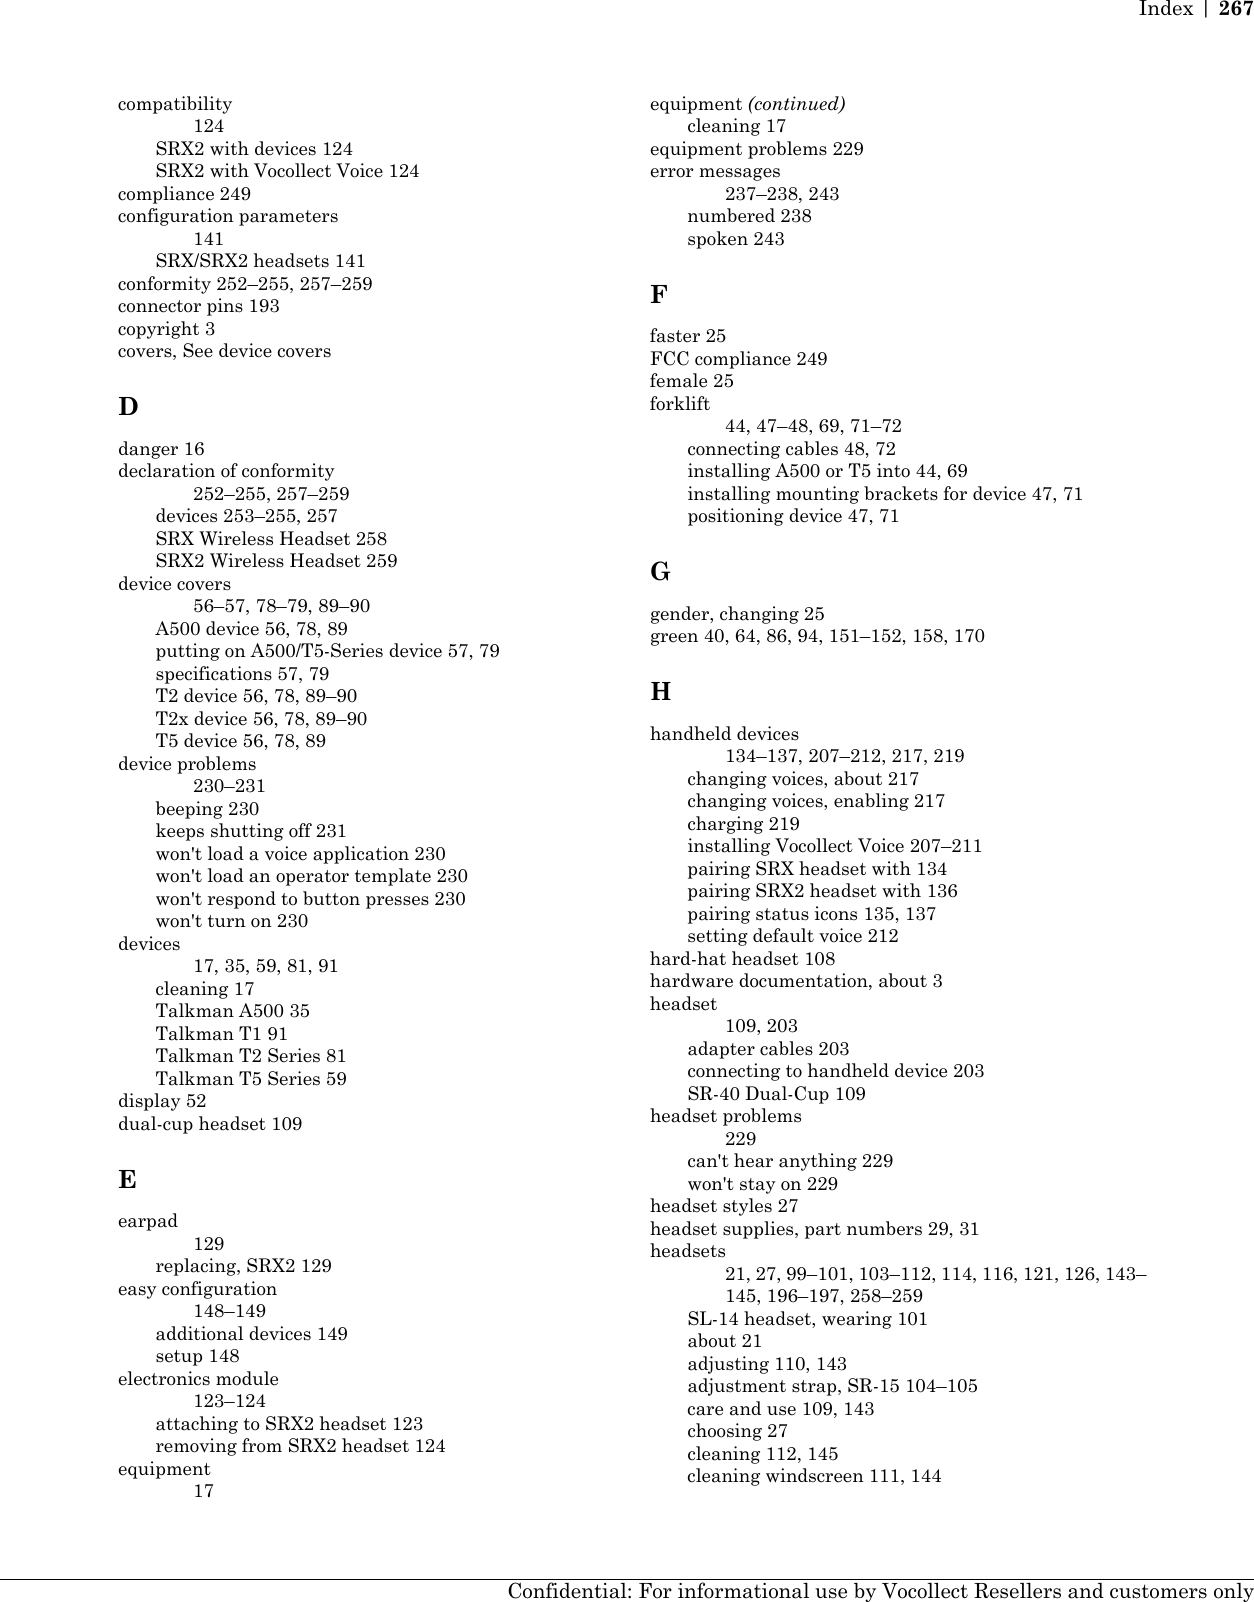
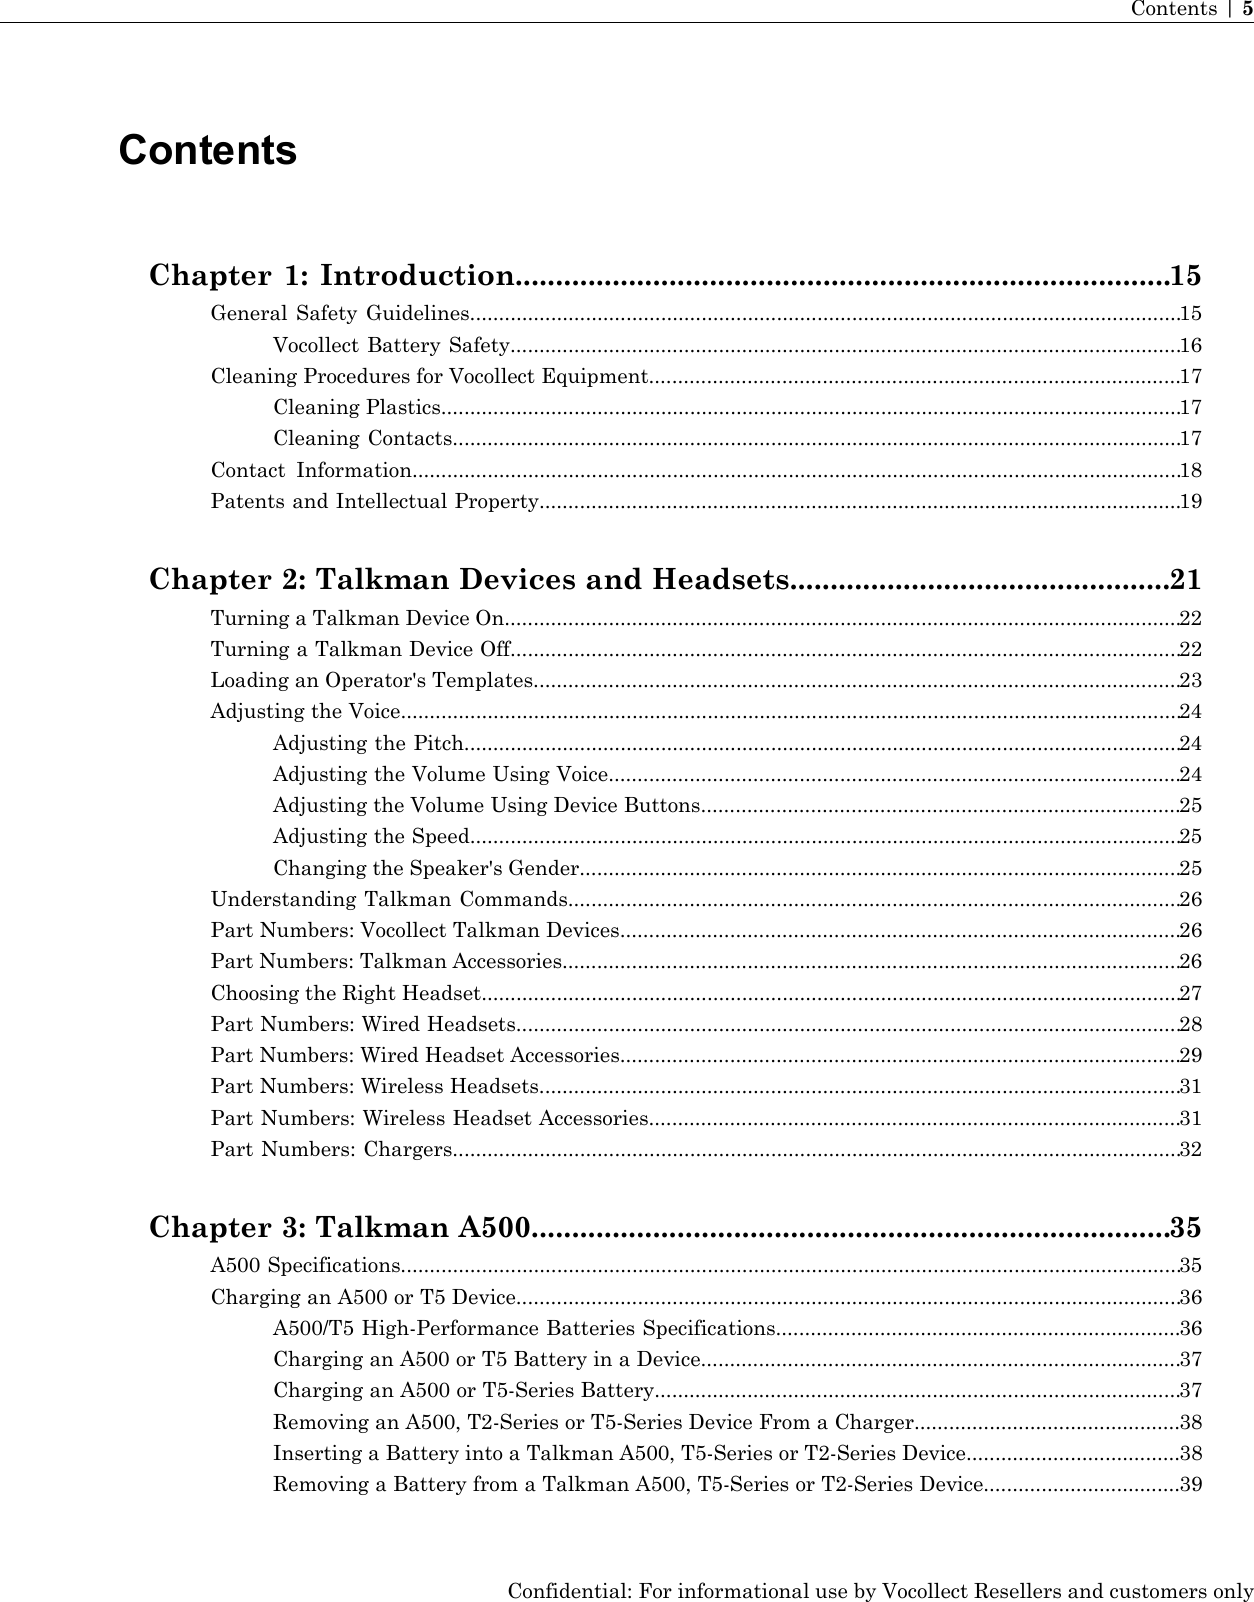
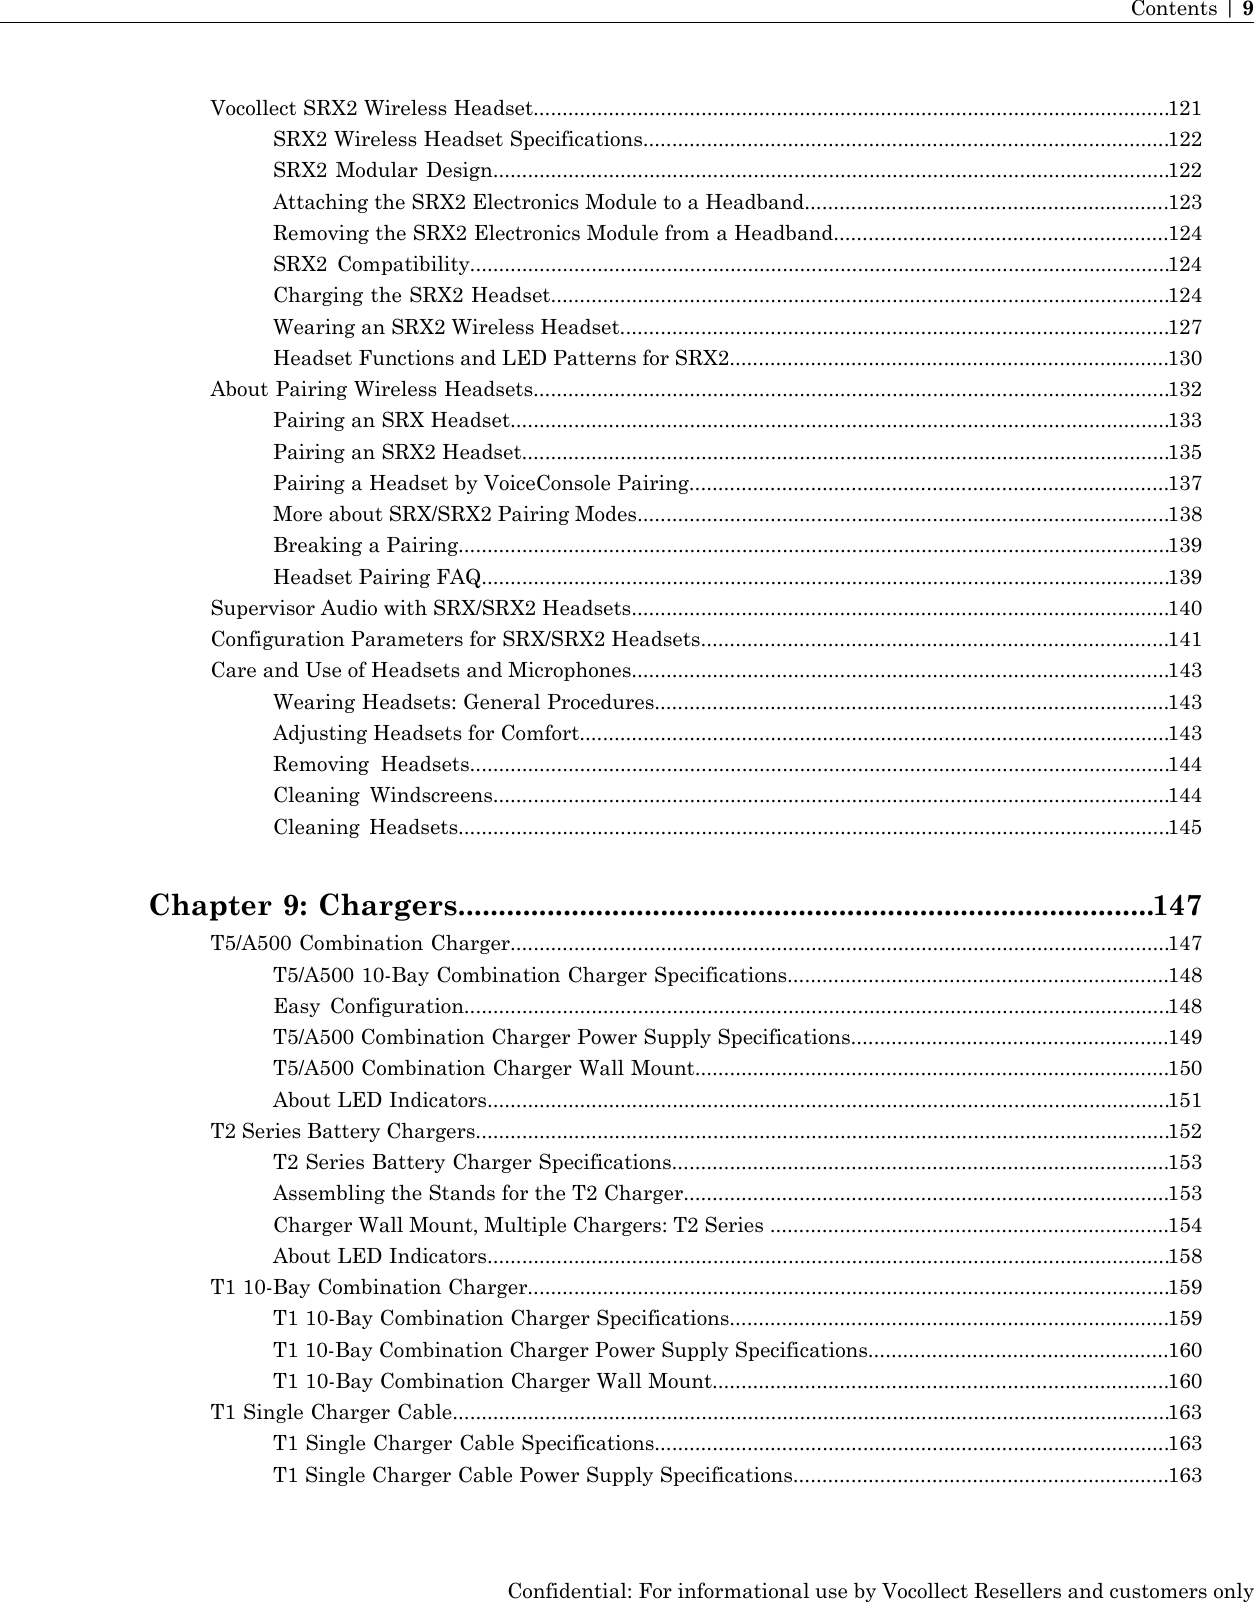
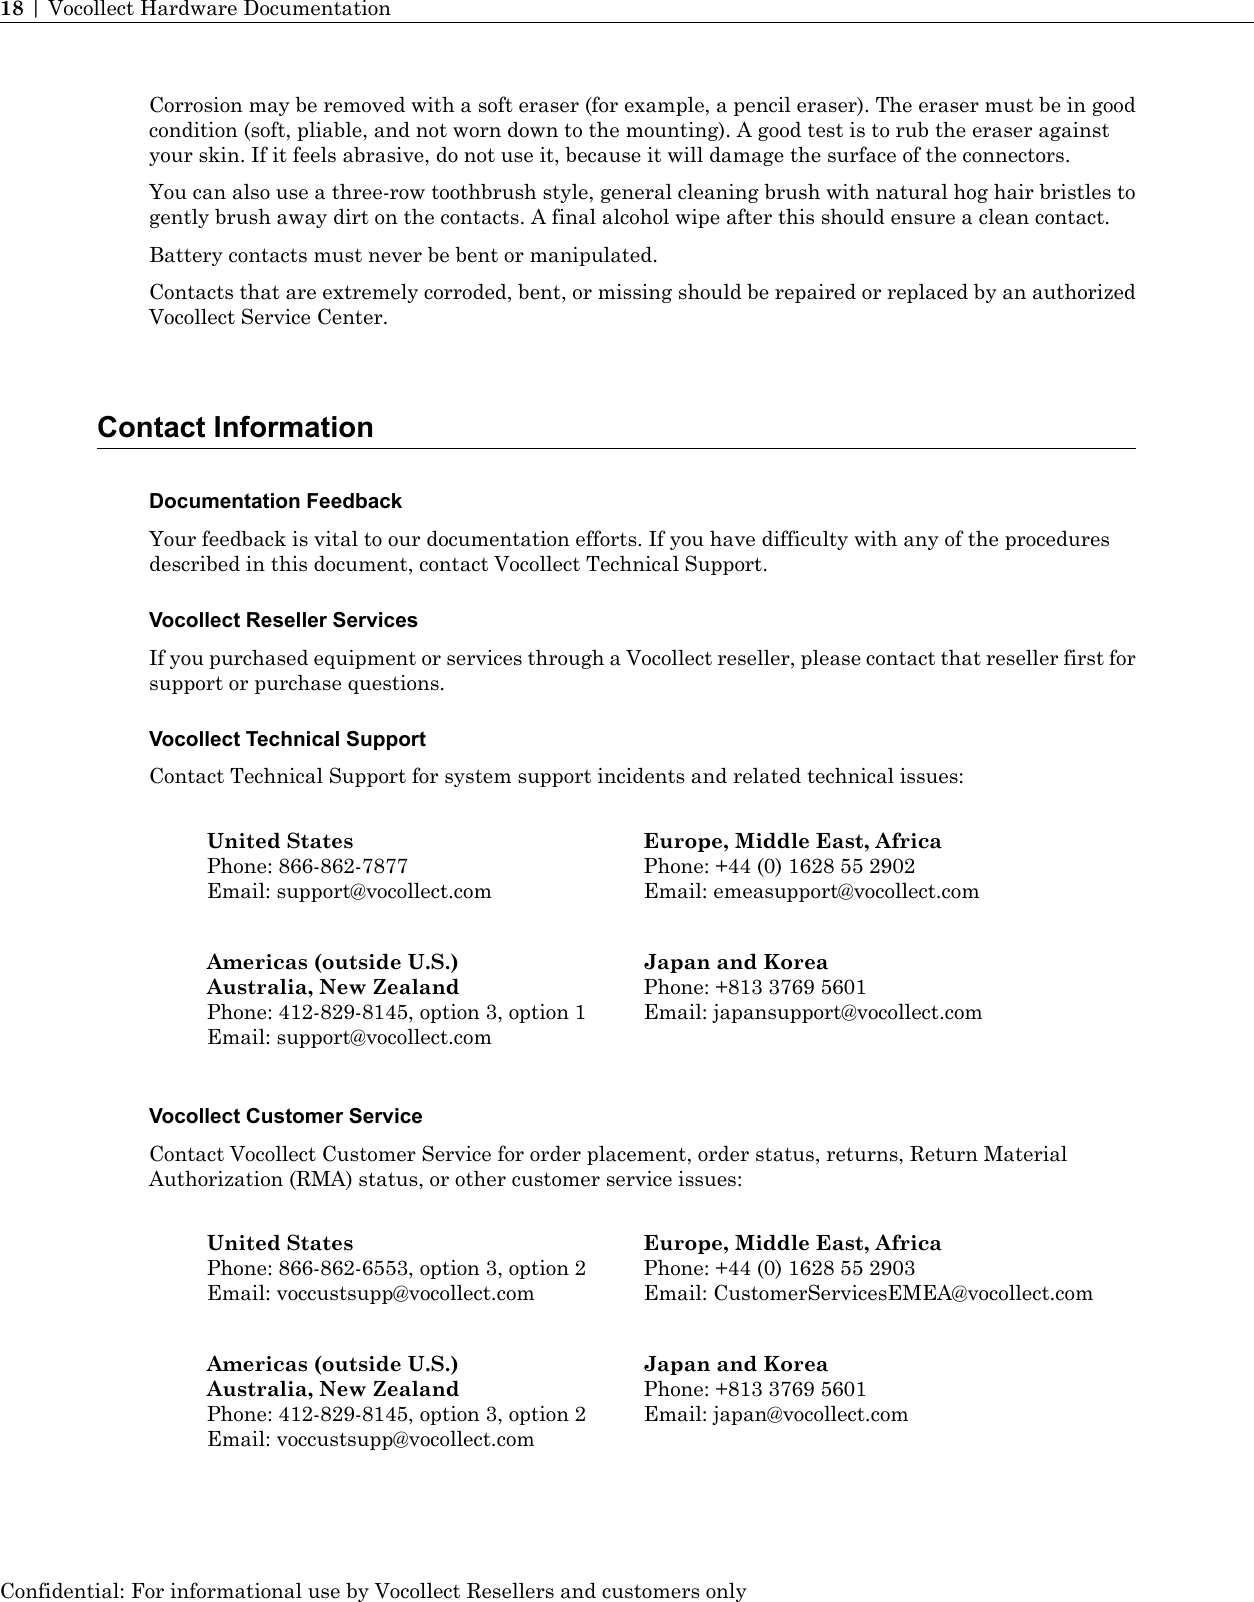
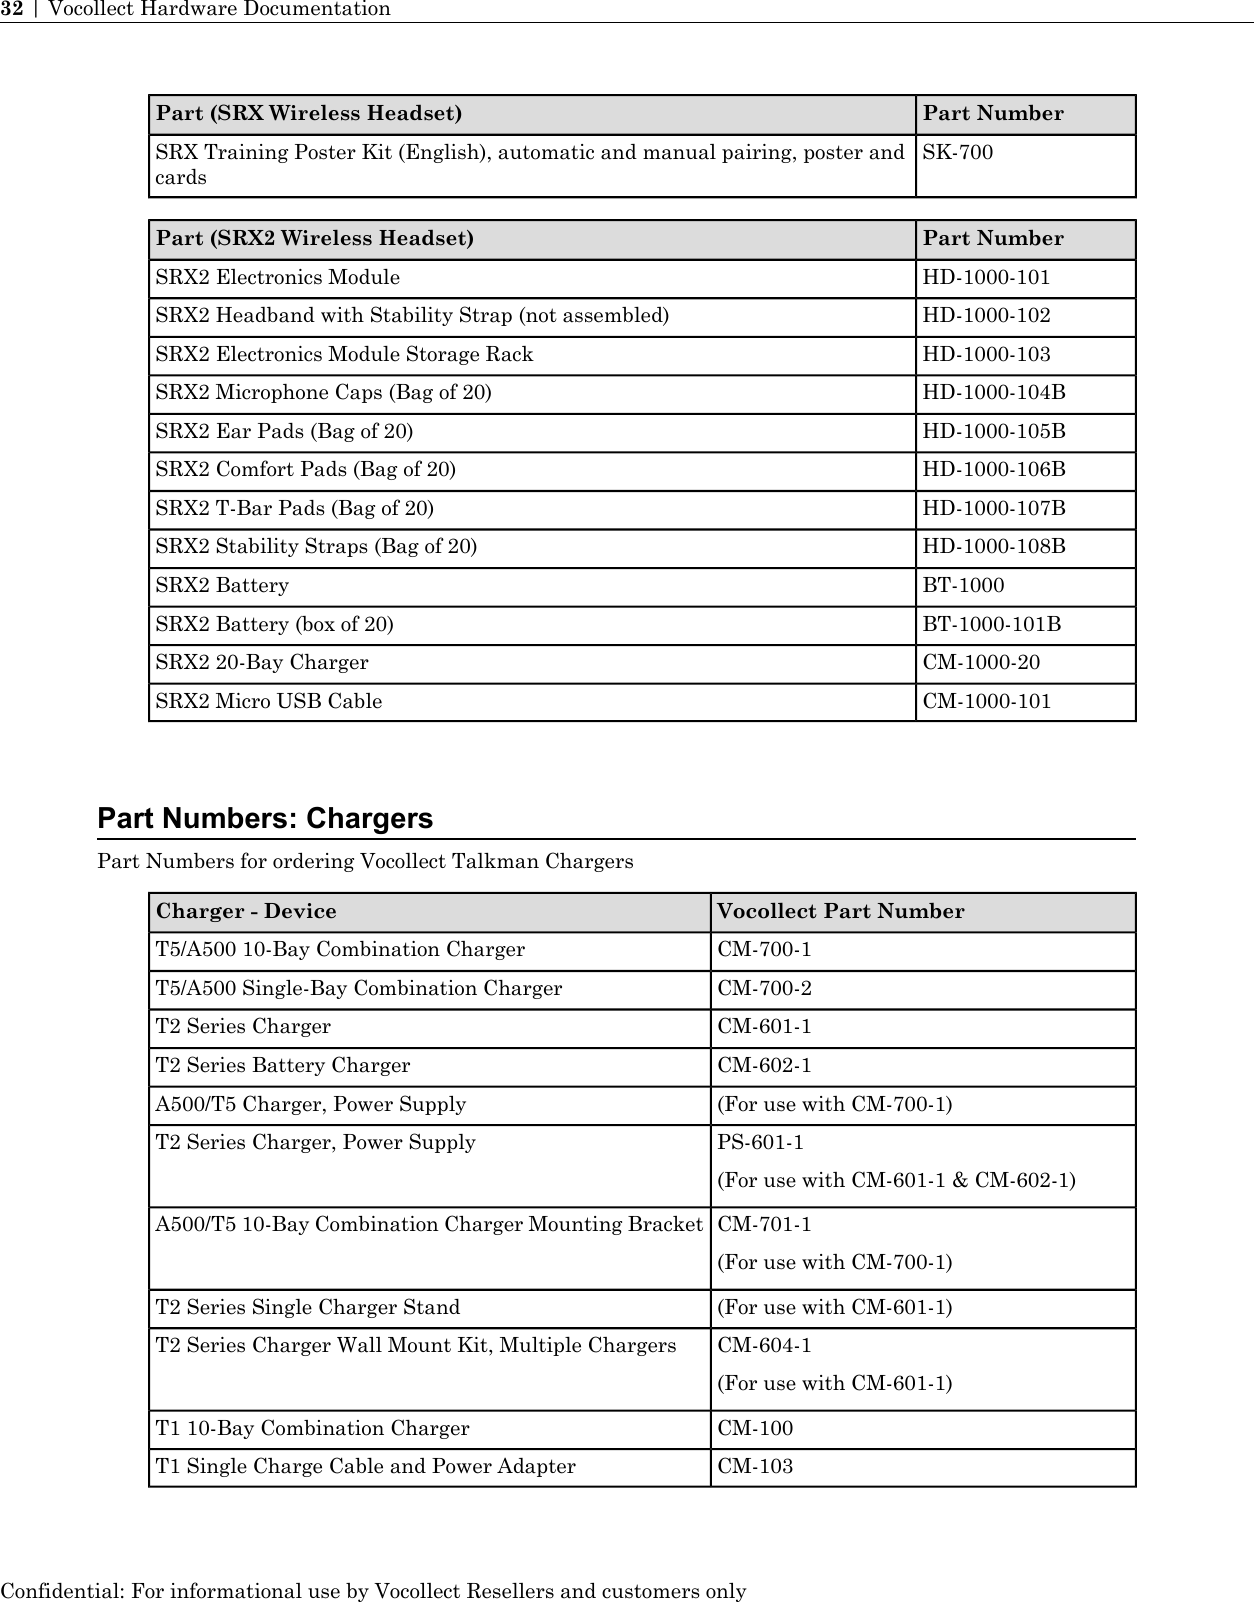
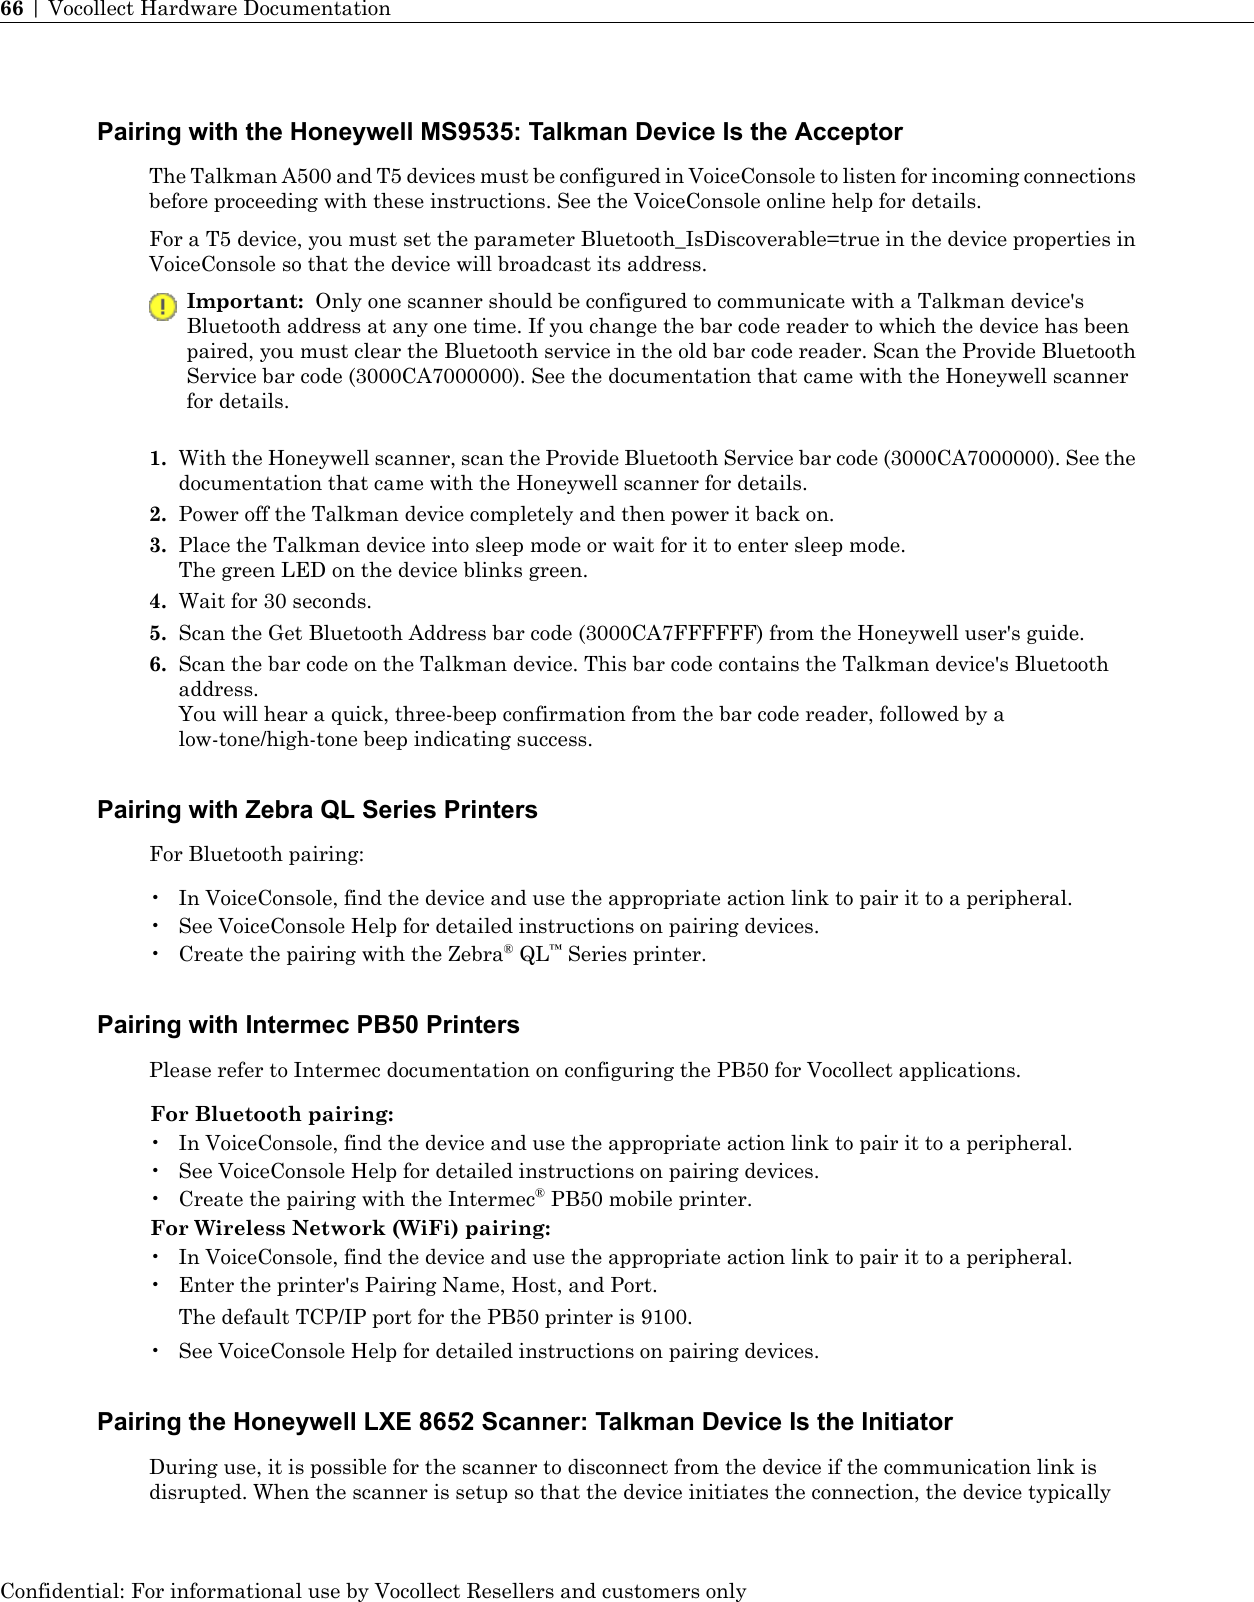
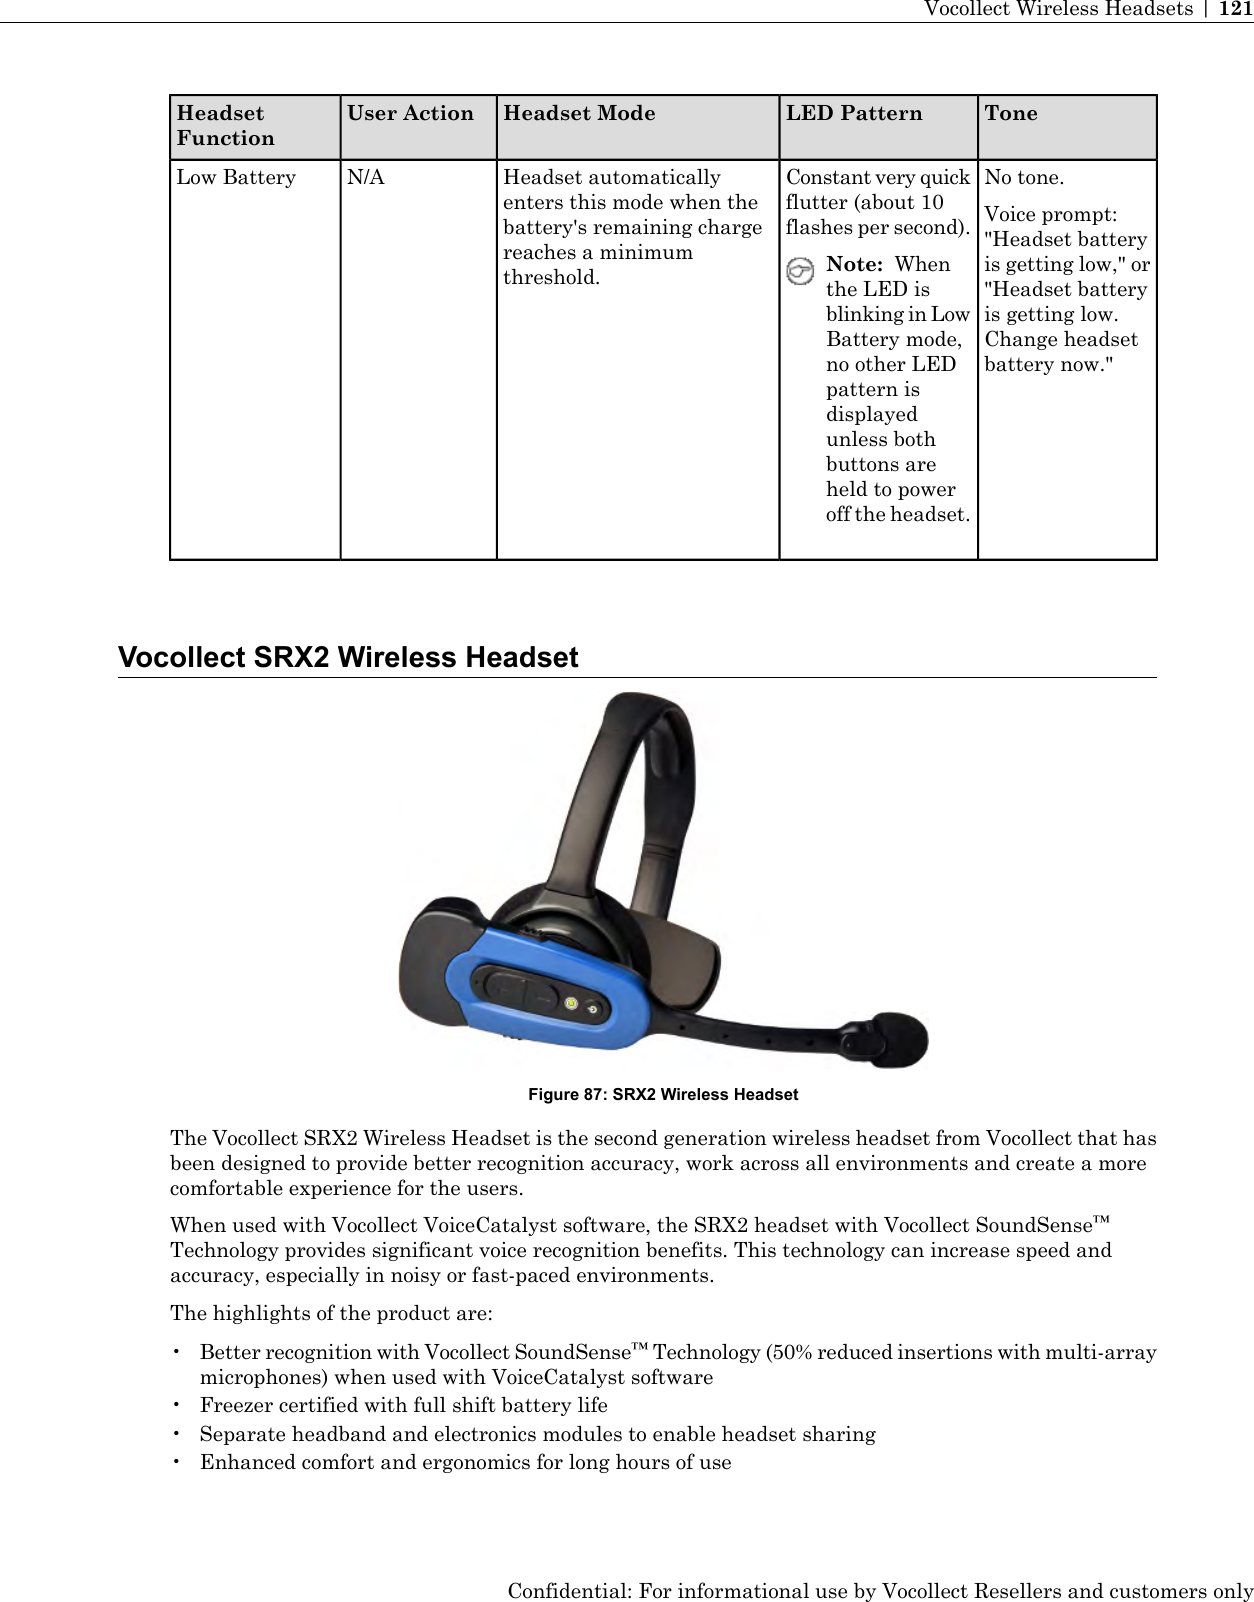
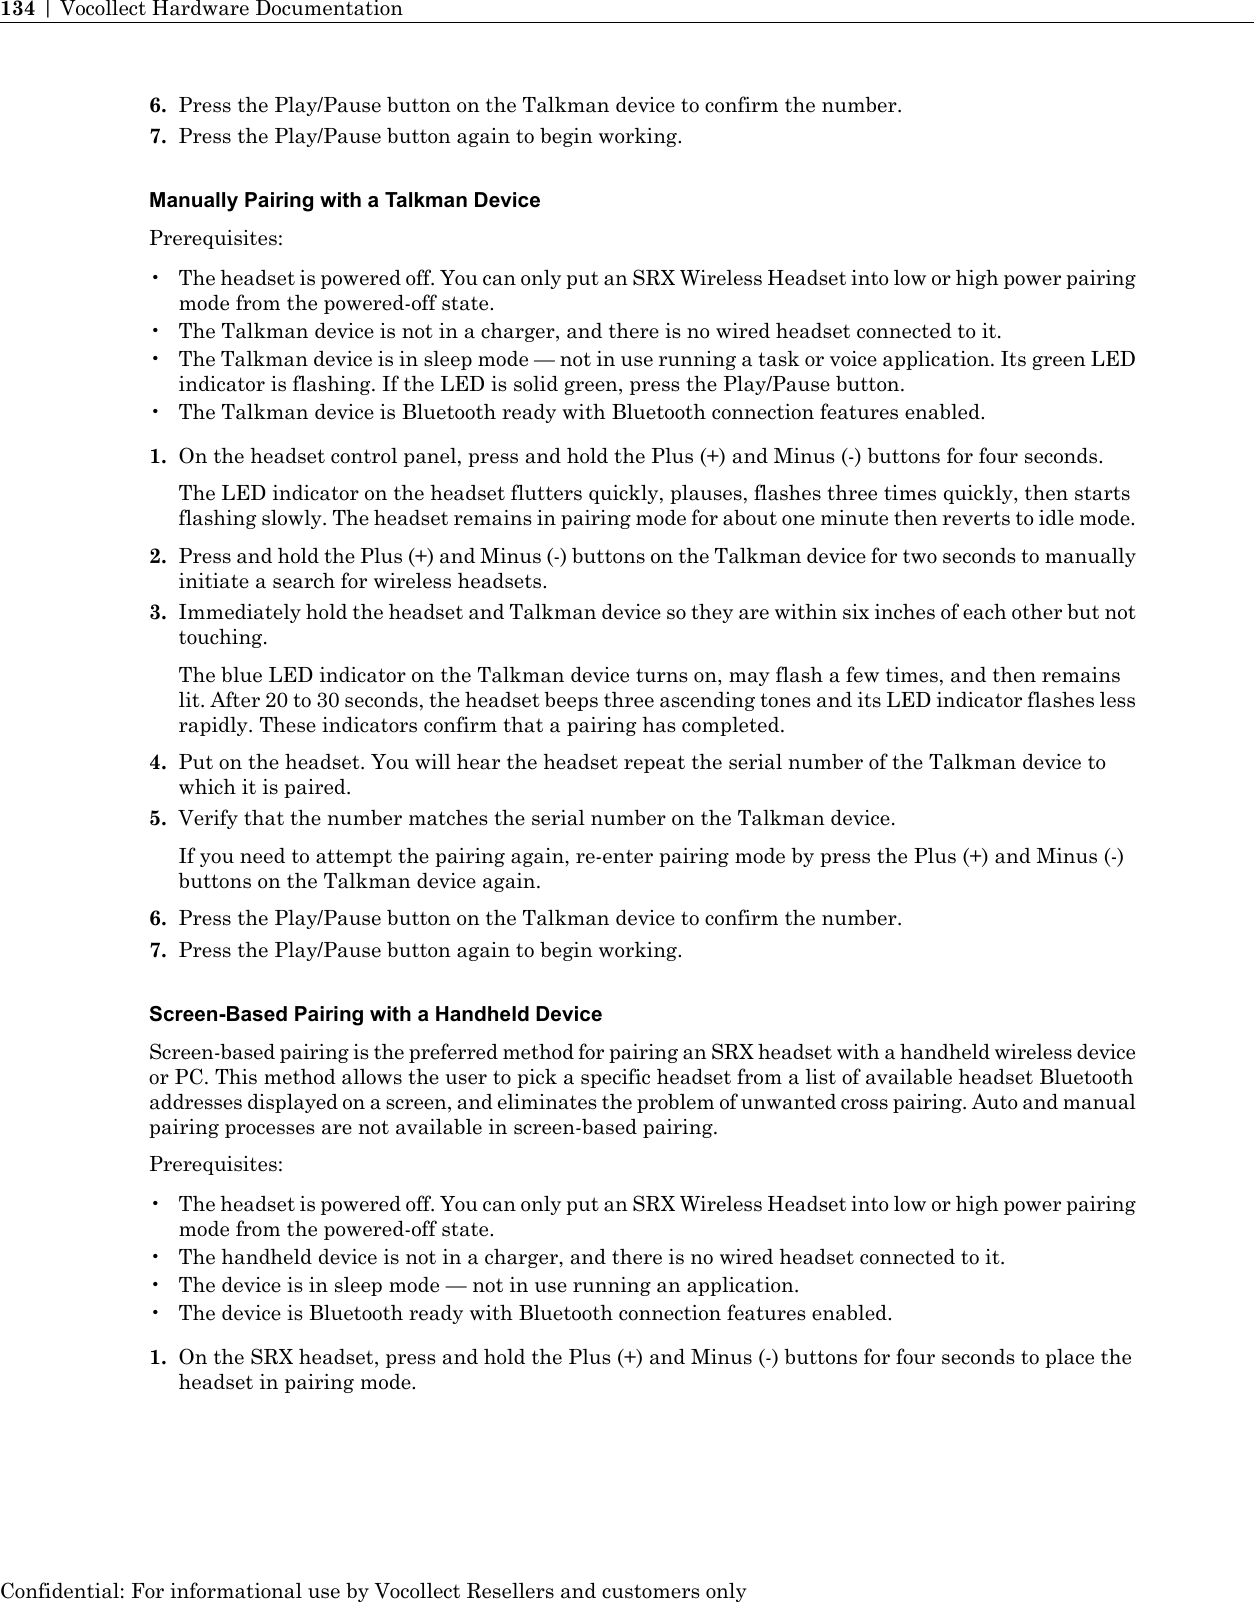
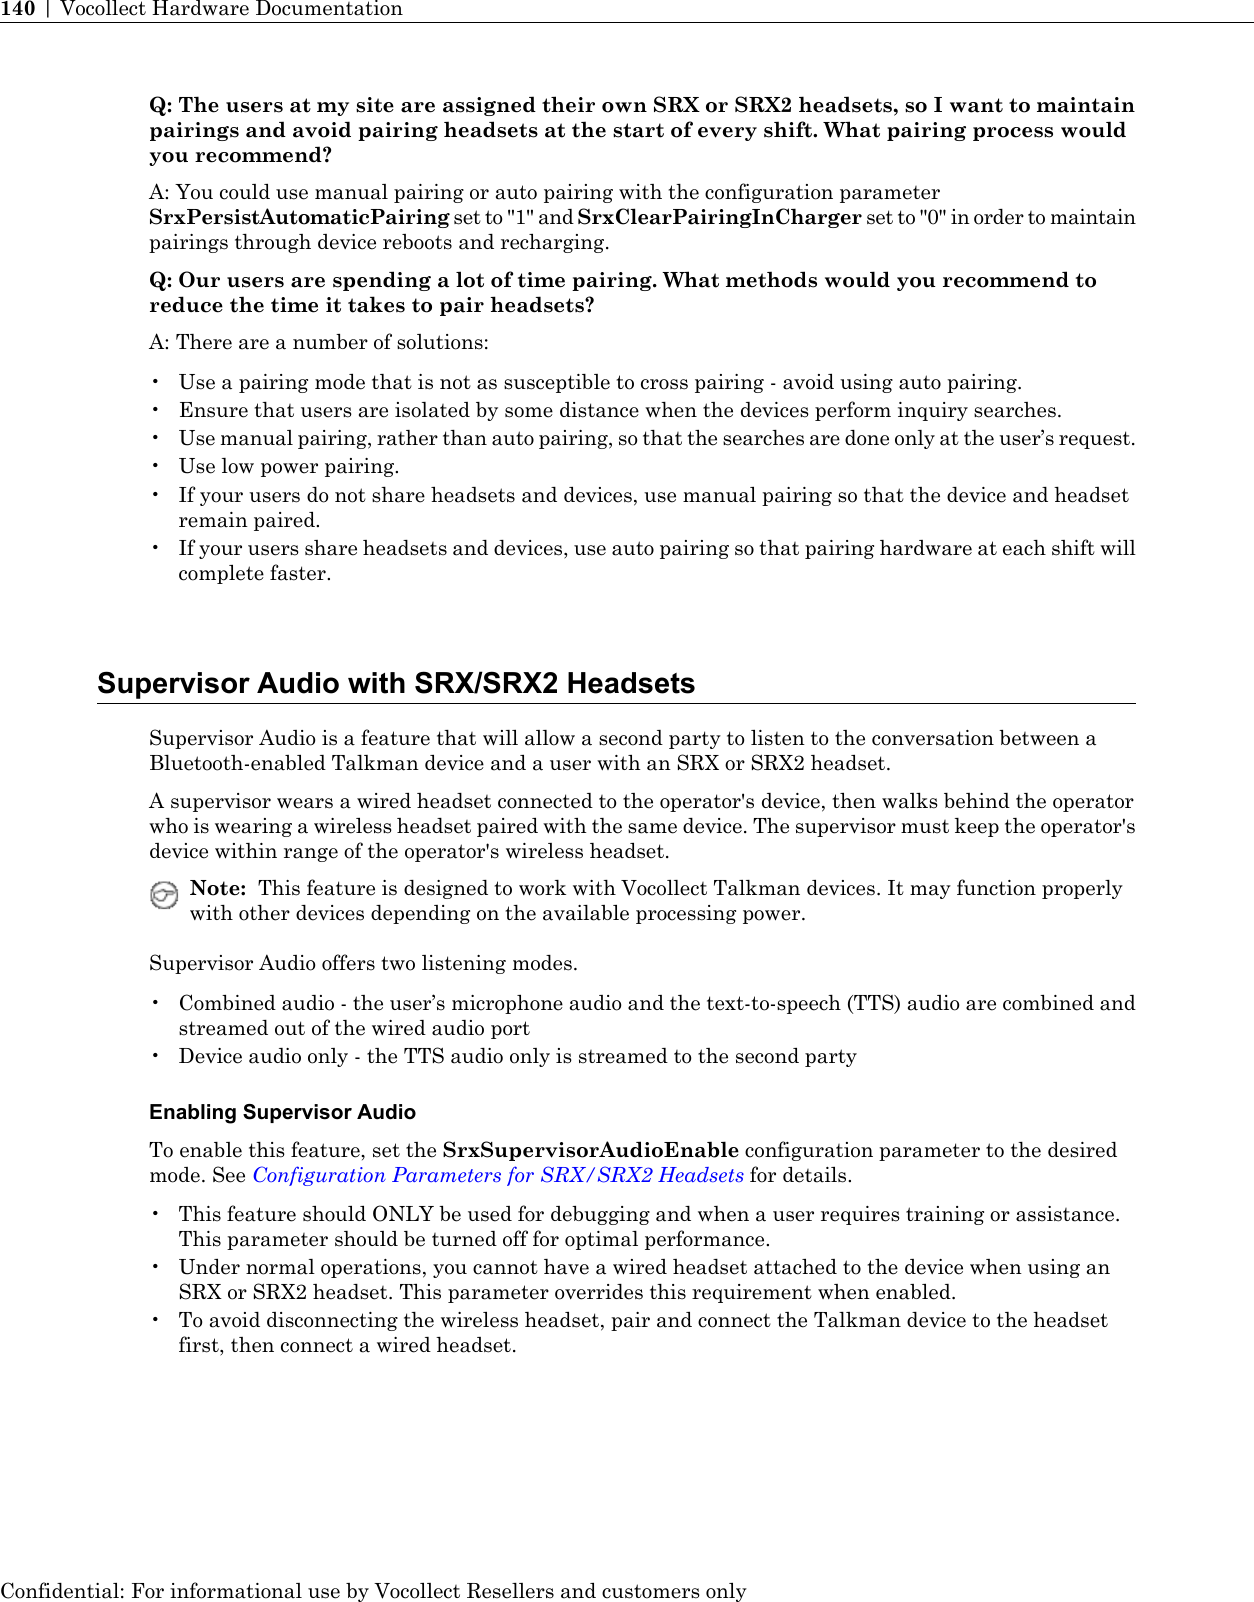
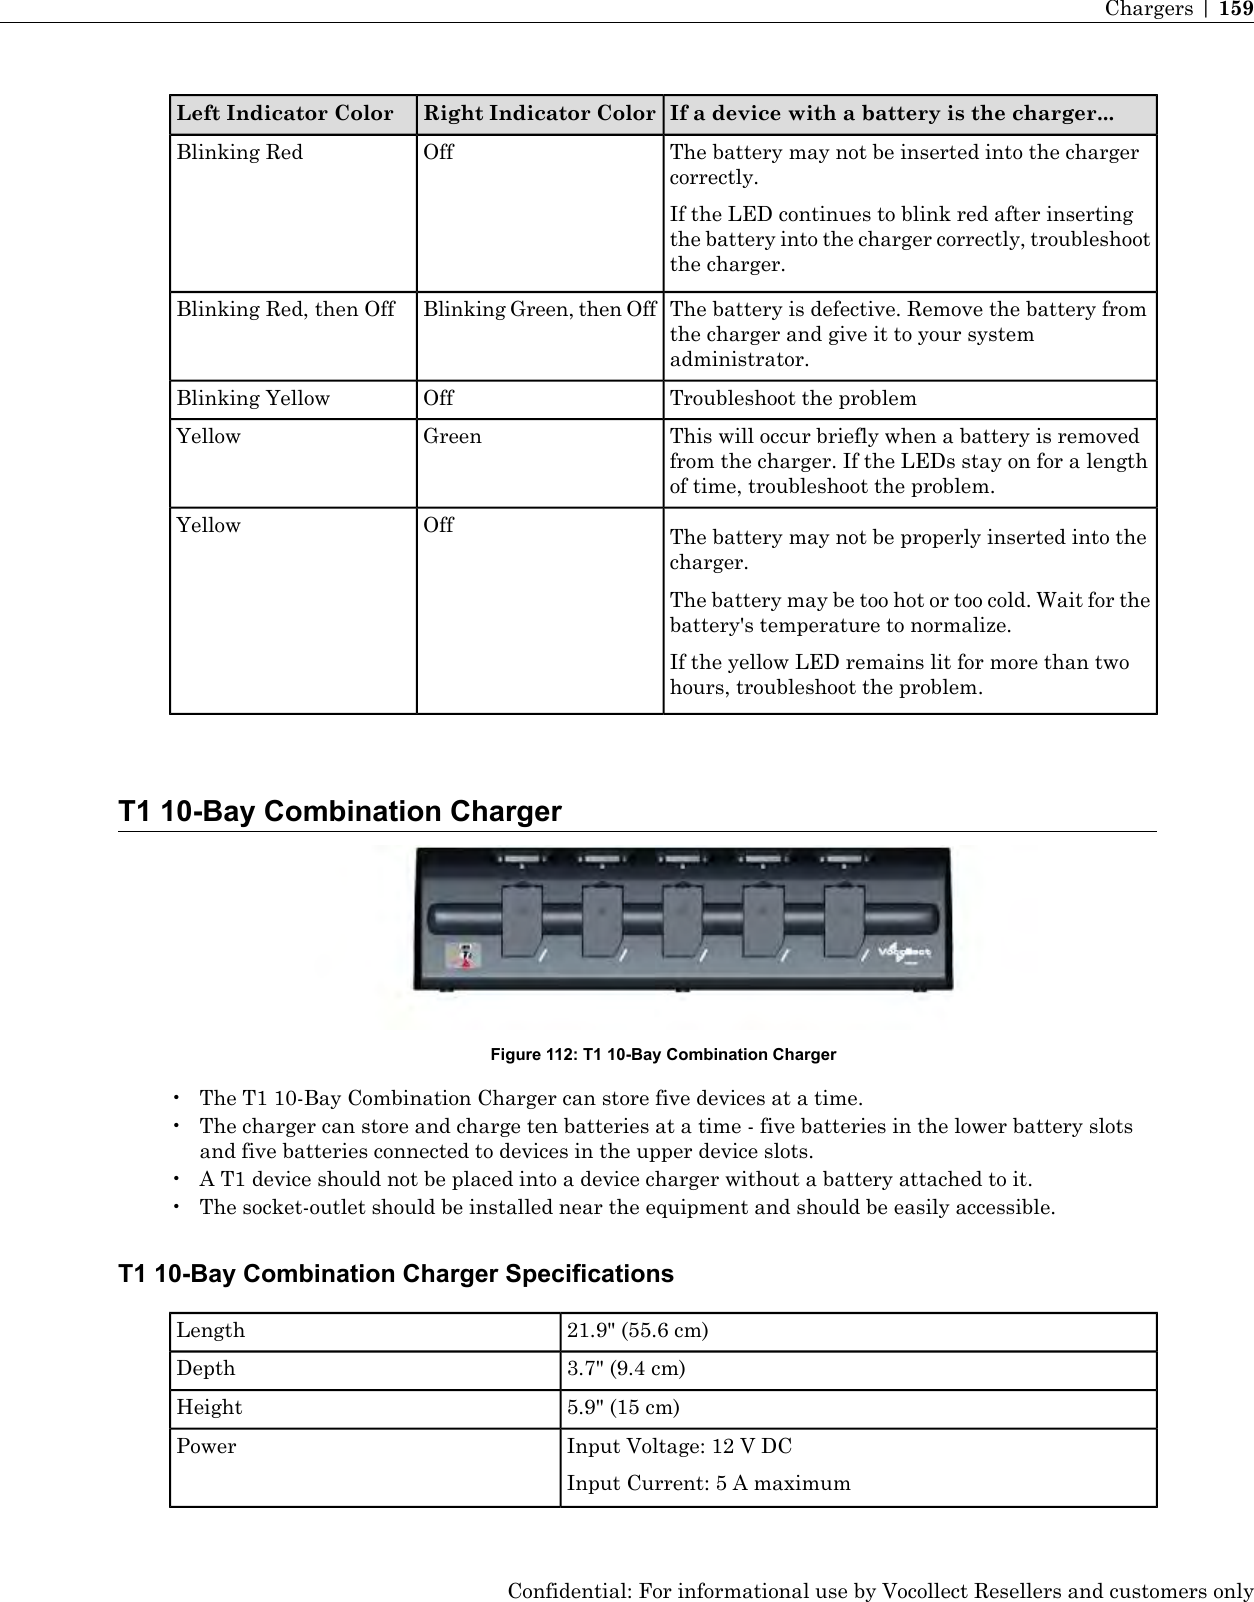
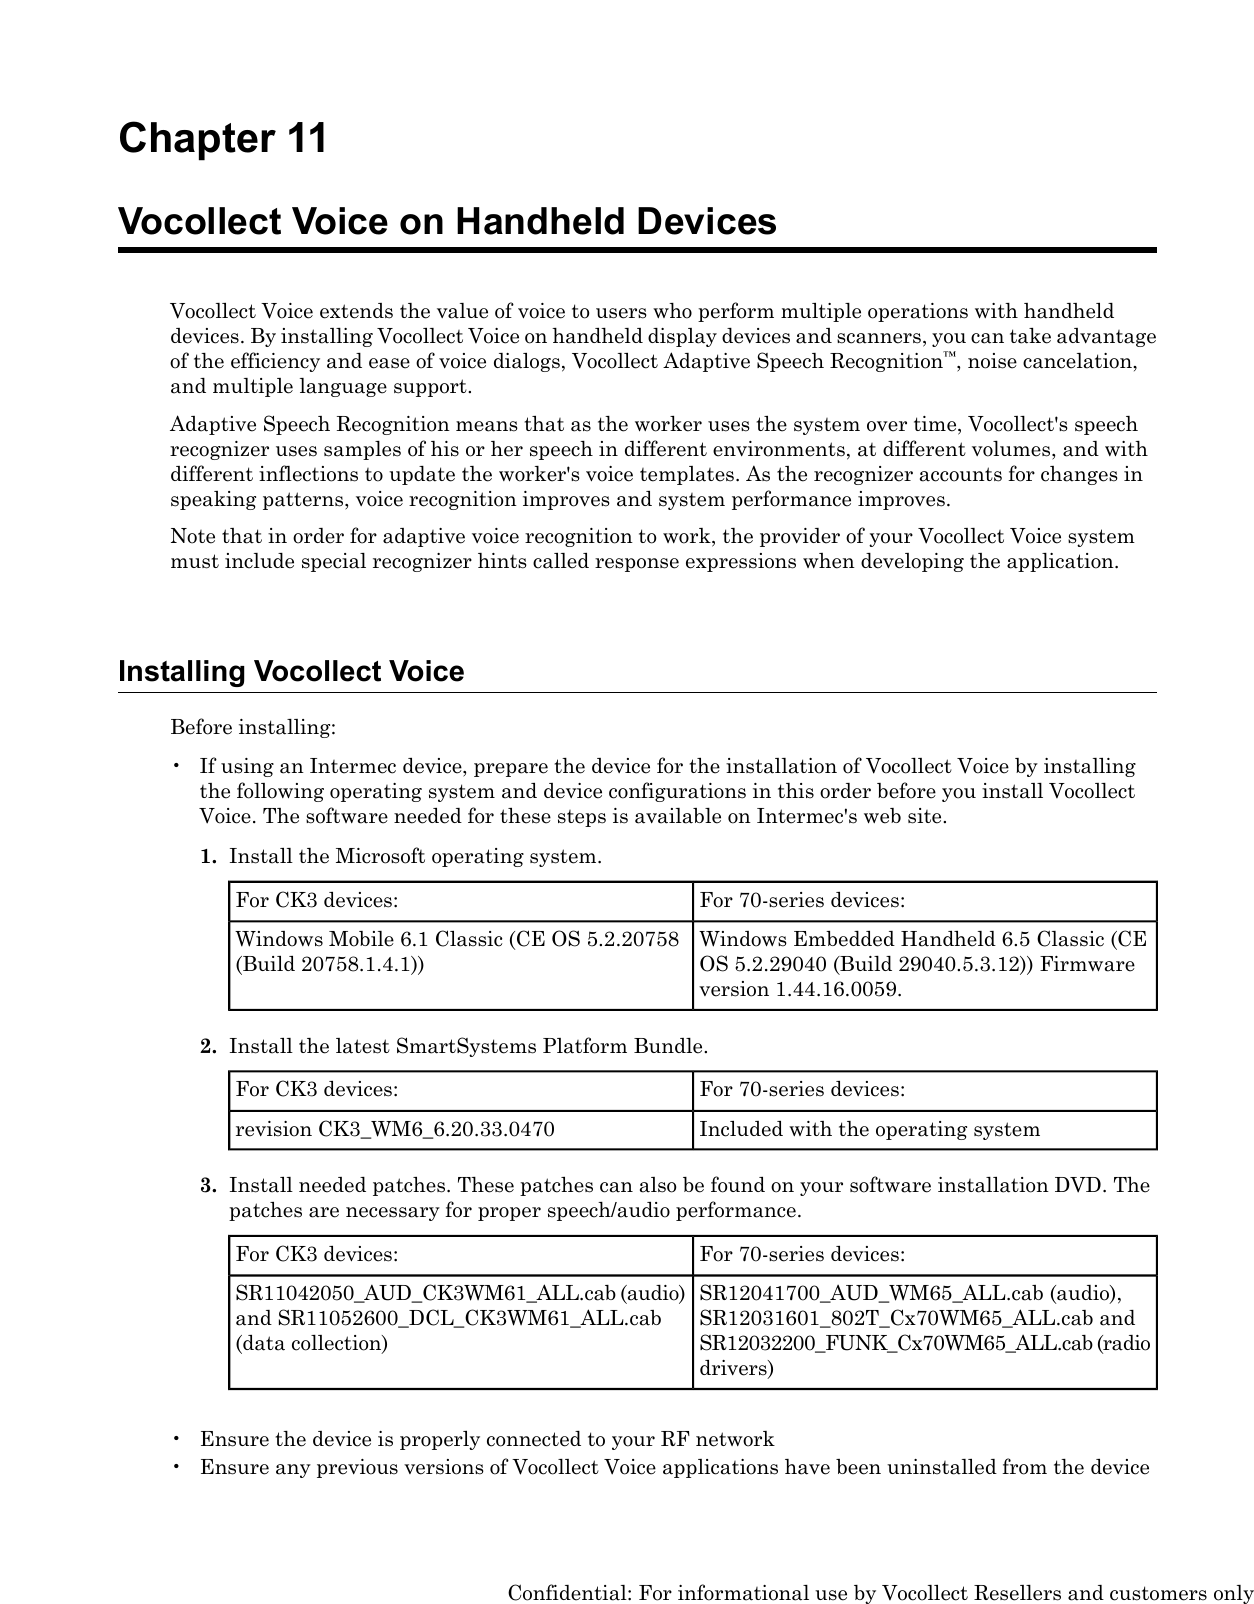
![2. This device must accept any interference received, including interference that may cause undesiredoperation.Cet appareil numérique de la classe B est conforme à la norme NMB-003 du Canada. Le présent appareilest conforme aux CNR d'Industrie Canada applicables aux appareils radio exempts de licence.L'exploitation est autorisée aux deux conditions suivantes:1. L'appareil ne doit pas produire de brouillage.2. l'utilisateur de l'appareil doit accepter tout brouillage radioélectrique subi, même si le brouillage estsusceptible d'en compromettre le fonctionnement.CE Marking & European ComplianceProducts intended for sale within the European Union are marked with the CE Mark, which indicatescompliance to applicable Directives and European Normes (EN) as follows. Amendments to theseDirectives or ENs are included.Device - T5 [MODEL: TT-700-100 and TT-700-100_R]Important Notice: This device is a 2.4 to 2.48 GHz RFdevice intended for office and light industrial use in allEU and EFTA member states with restrictions in Franceand Italy.Device - T2xImportant Notice: This device is a 2.4 to 2.48 GHz RFdevice intended for office and light industrial use in allEU and EFTA member states with restrictions in Franceand Italy.Device - SRXImportant Notice: This device is a 2.4 to 2.48 GHz RFdevice intended for office and light industrial use in allEU and EFTA member states with restrictions in Franceand Italy.Italy Restrictions: If used outside of own premises, general authorization is required.France Restrictions: Outdoor use is limited to 10mW e.i.r.p. within the band 2454-2483.5Device - A500 [PART: TT-800; MODEL: TT-800-1-1]Important Notice: This device is a wireless terminal that operates in the2.4GHz and 5GHz ISM frequency bands and is intended for light industrialuse in all EU and EFTA member states. See restrictions below.Italy Restrictions: If used outside of own premises, general authorization is required.France Restrictions: Outdoor use is limited to 10mW e.i.r.p. within the band 2454-2483.5This device must be used with Access Points that have employed and activated a radar detection featurerequired for European Community operation in the 5 GHz bands. This device will operate under thecontrol of the Access Point in order to avoid operating on a channel occupied by any radar system in thearea. The presence of nearby radar operation may result in temporary interruption in communicationsof this device. The Access Point's radar detection feature will automatically restart operation on a channelfree of radar. You may consult with the local technical support staff responsible for the wireless networkto ensure the Access Point device(s) are properly configured for European Community operation.Confidential: For informational use by Vocollect Resellers and customers onlyCompliance | 251](https://usermanual.wiki/Vocollect/TAP700-01/User-Guide-1841002-Page-252.png)
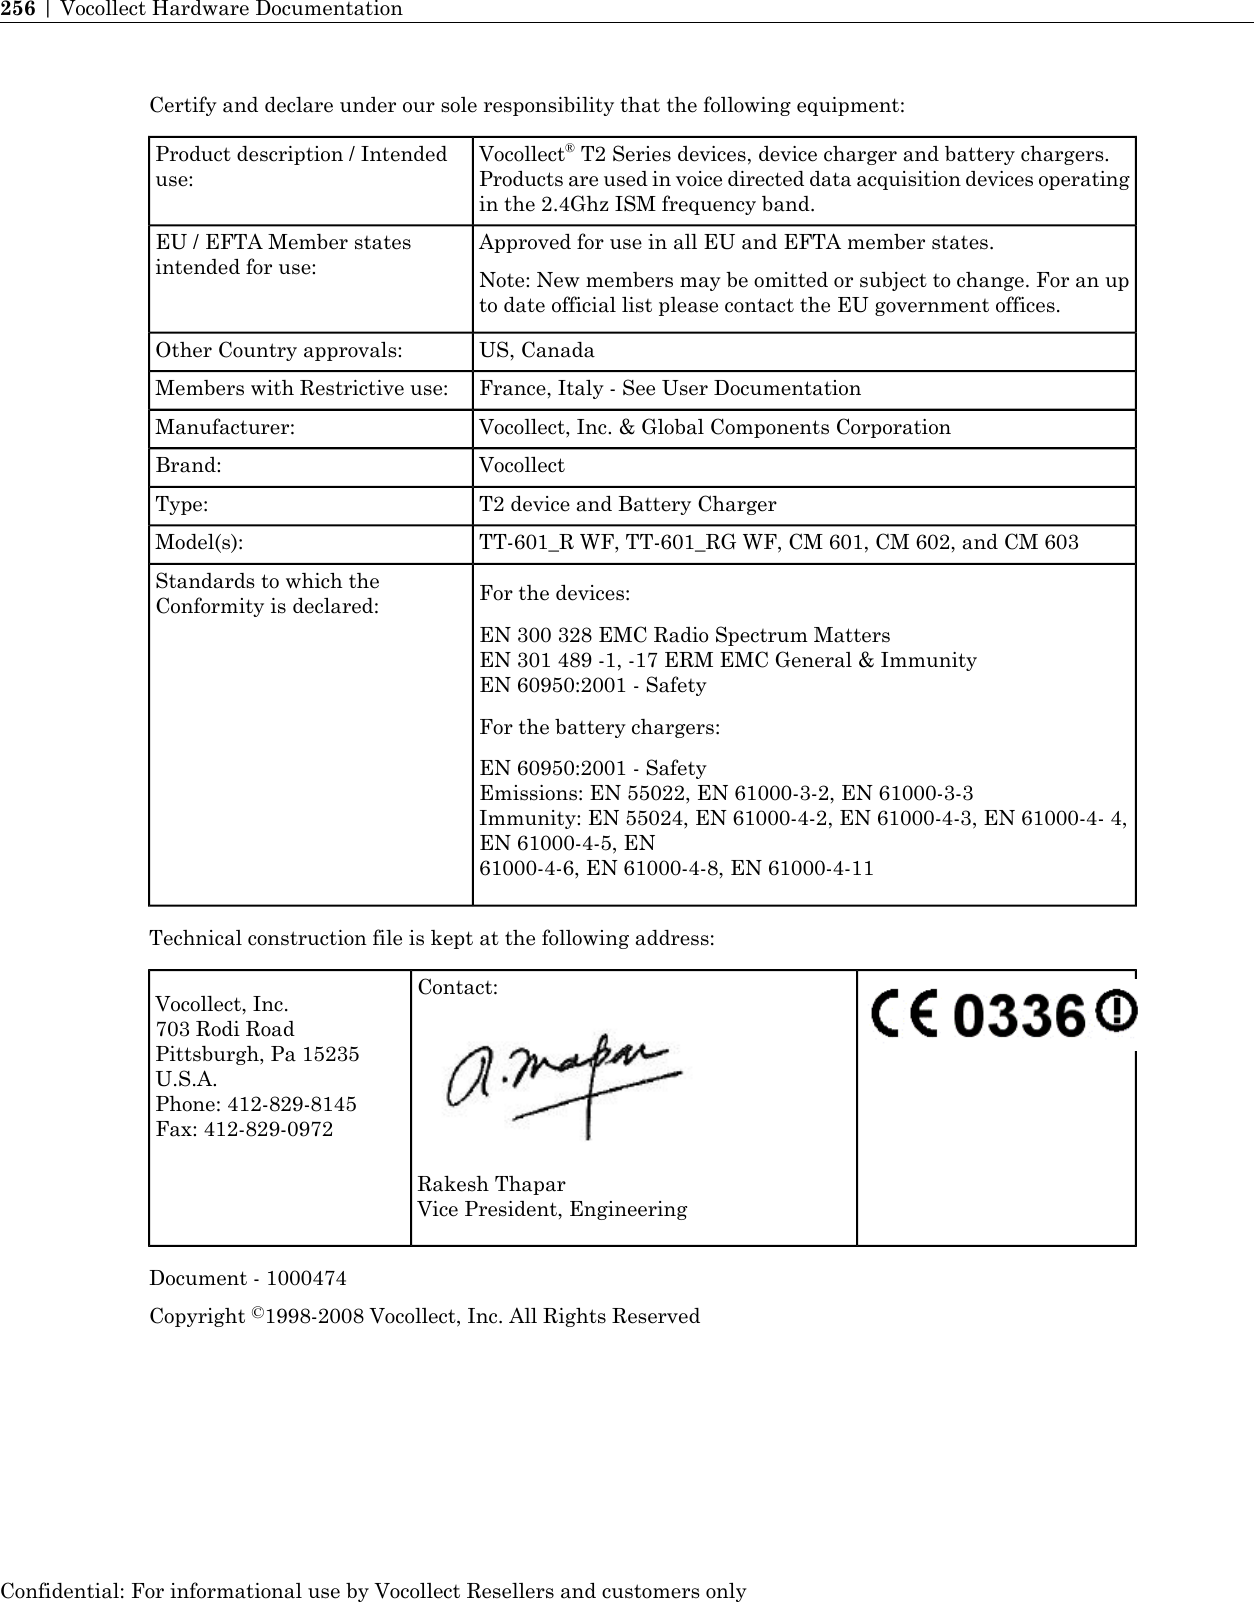
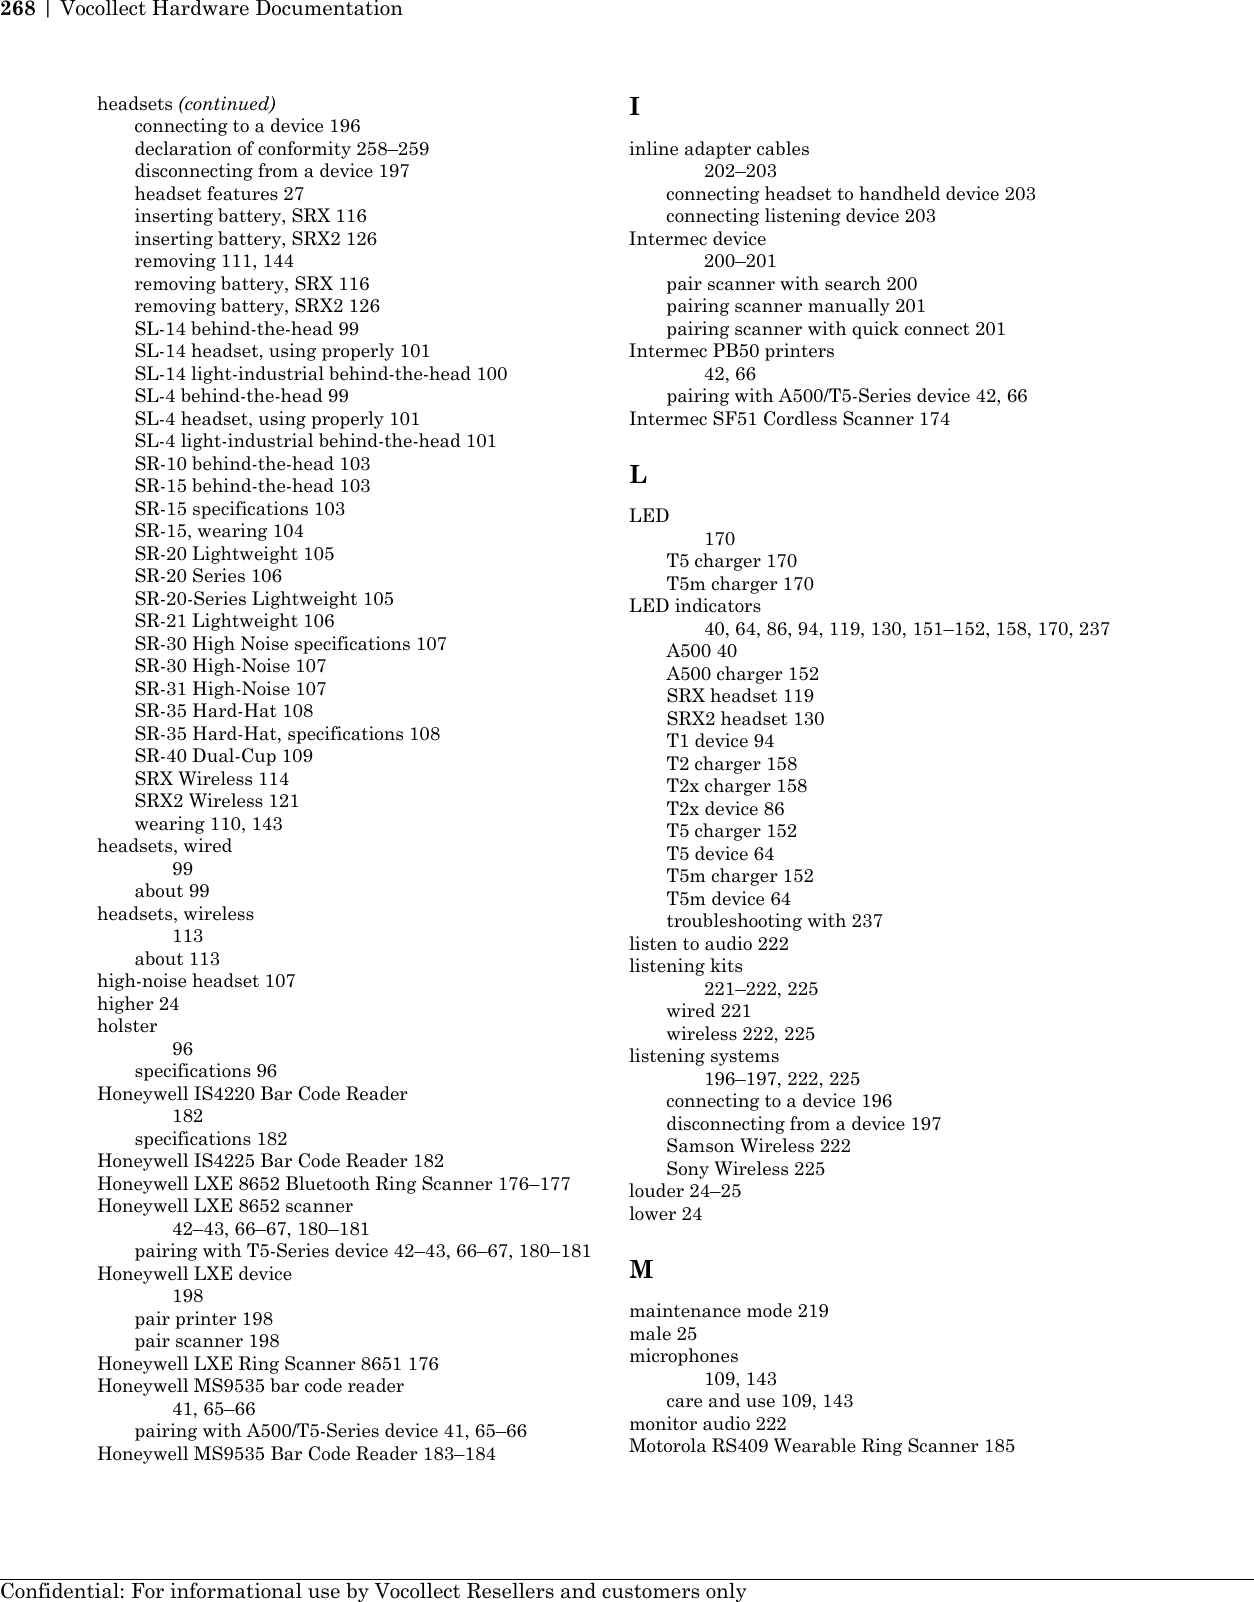
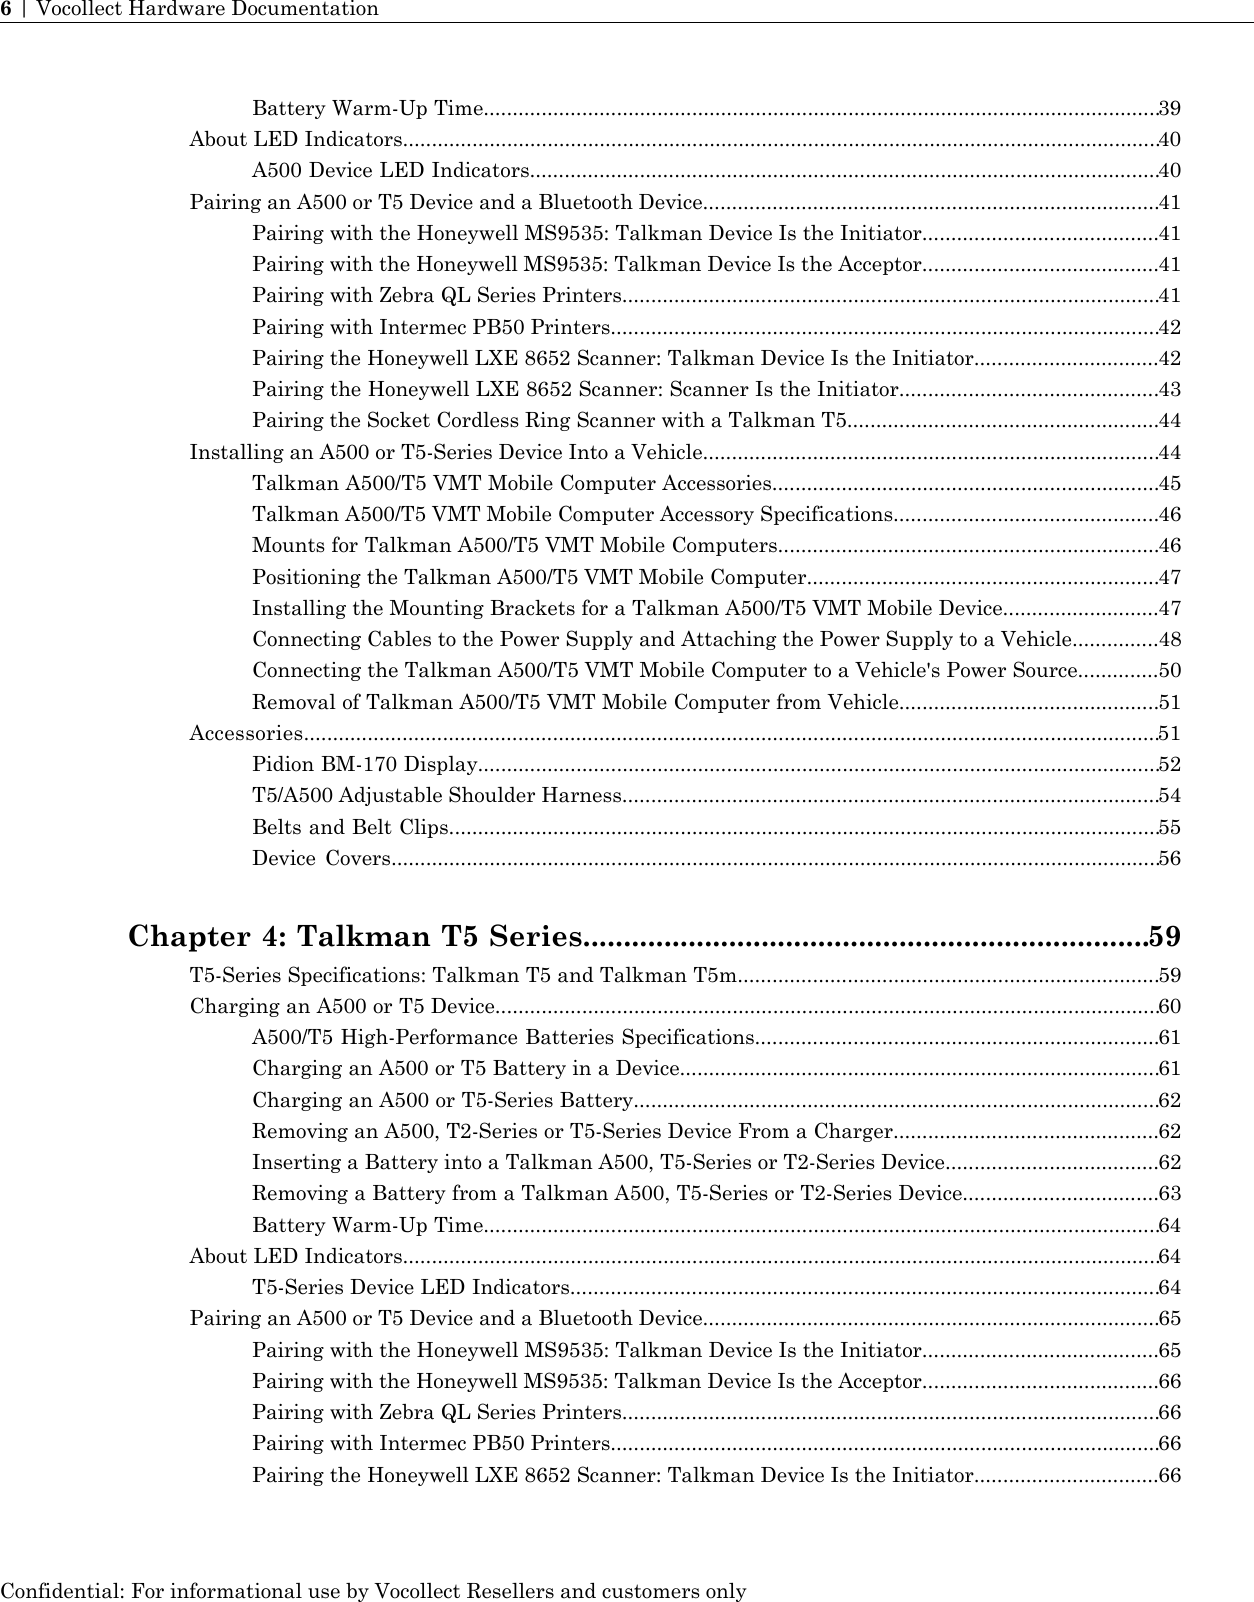
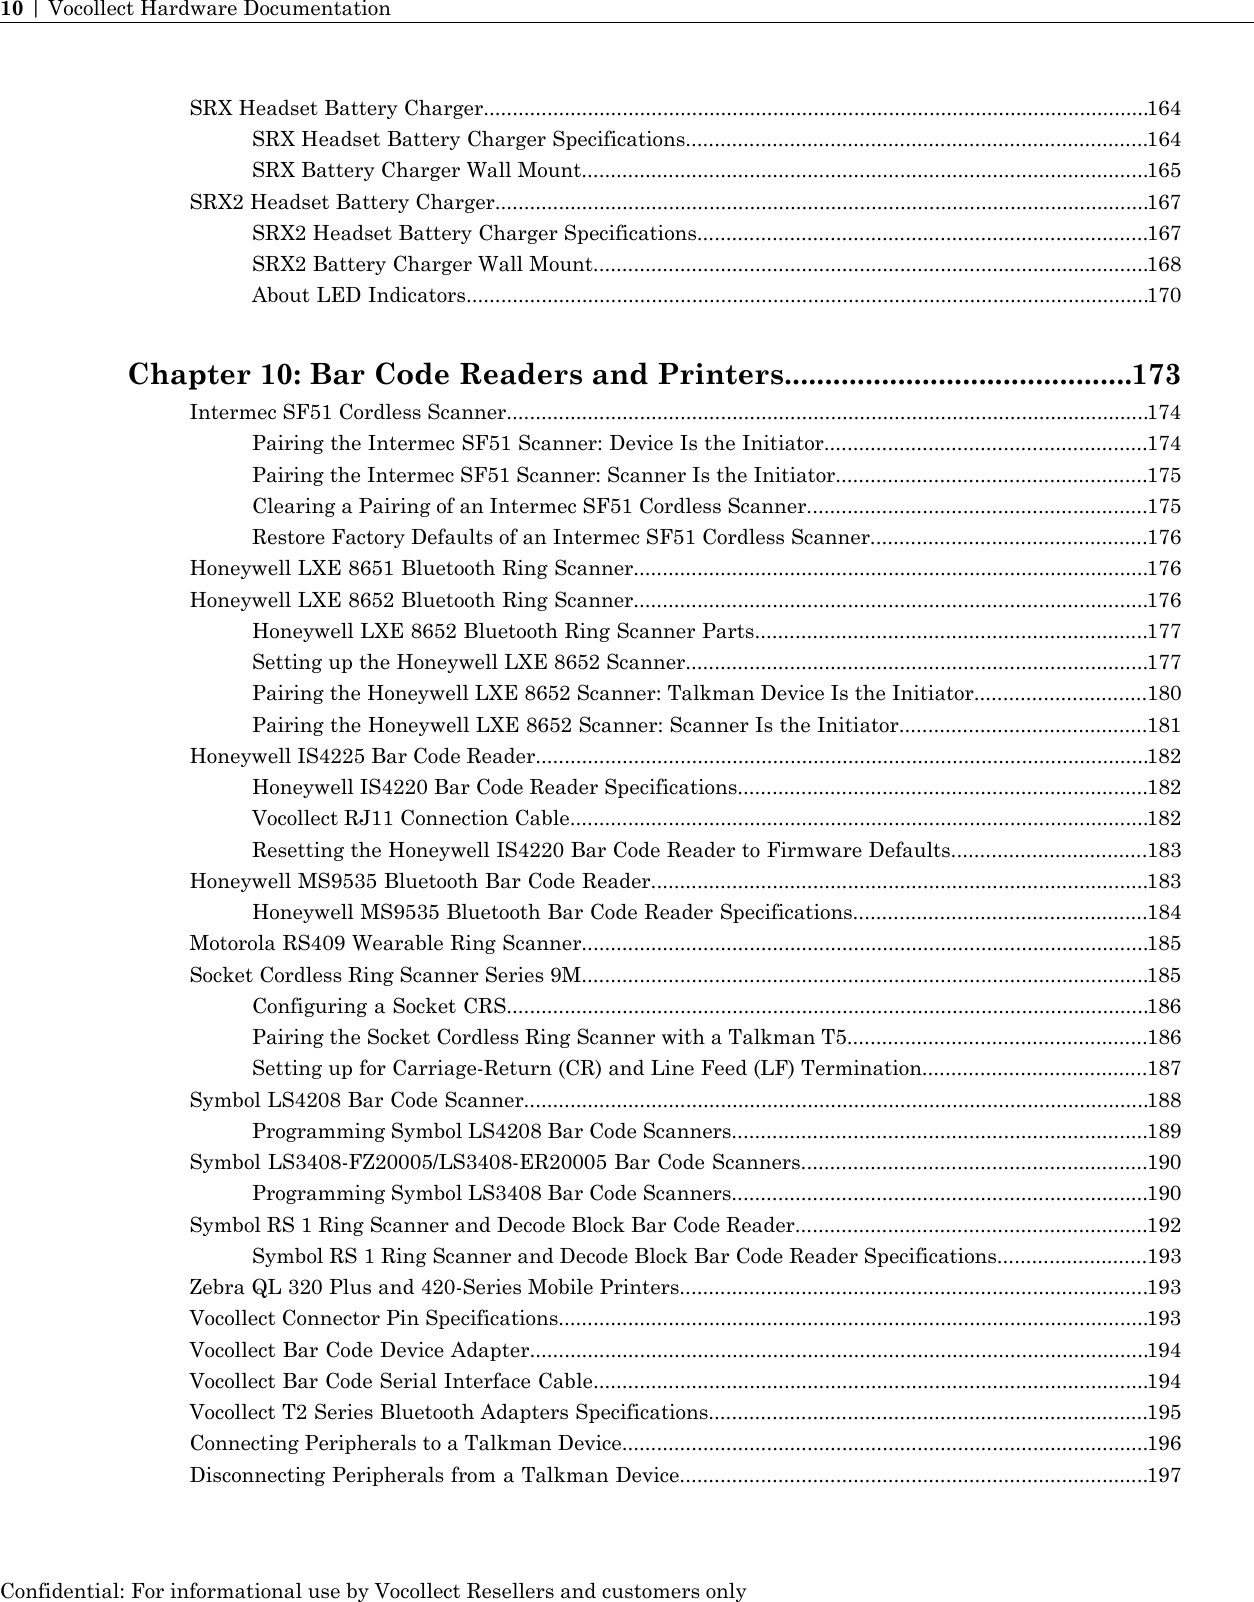
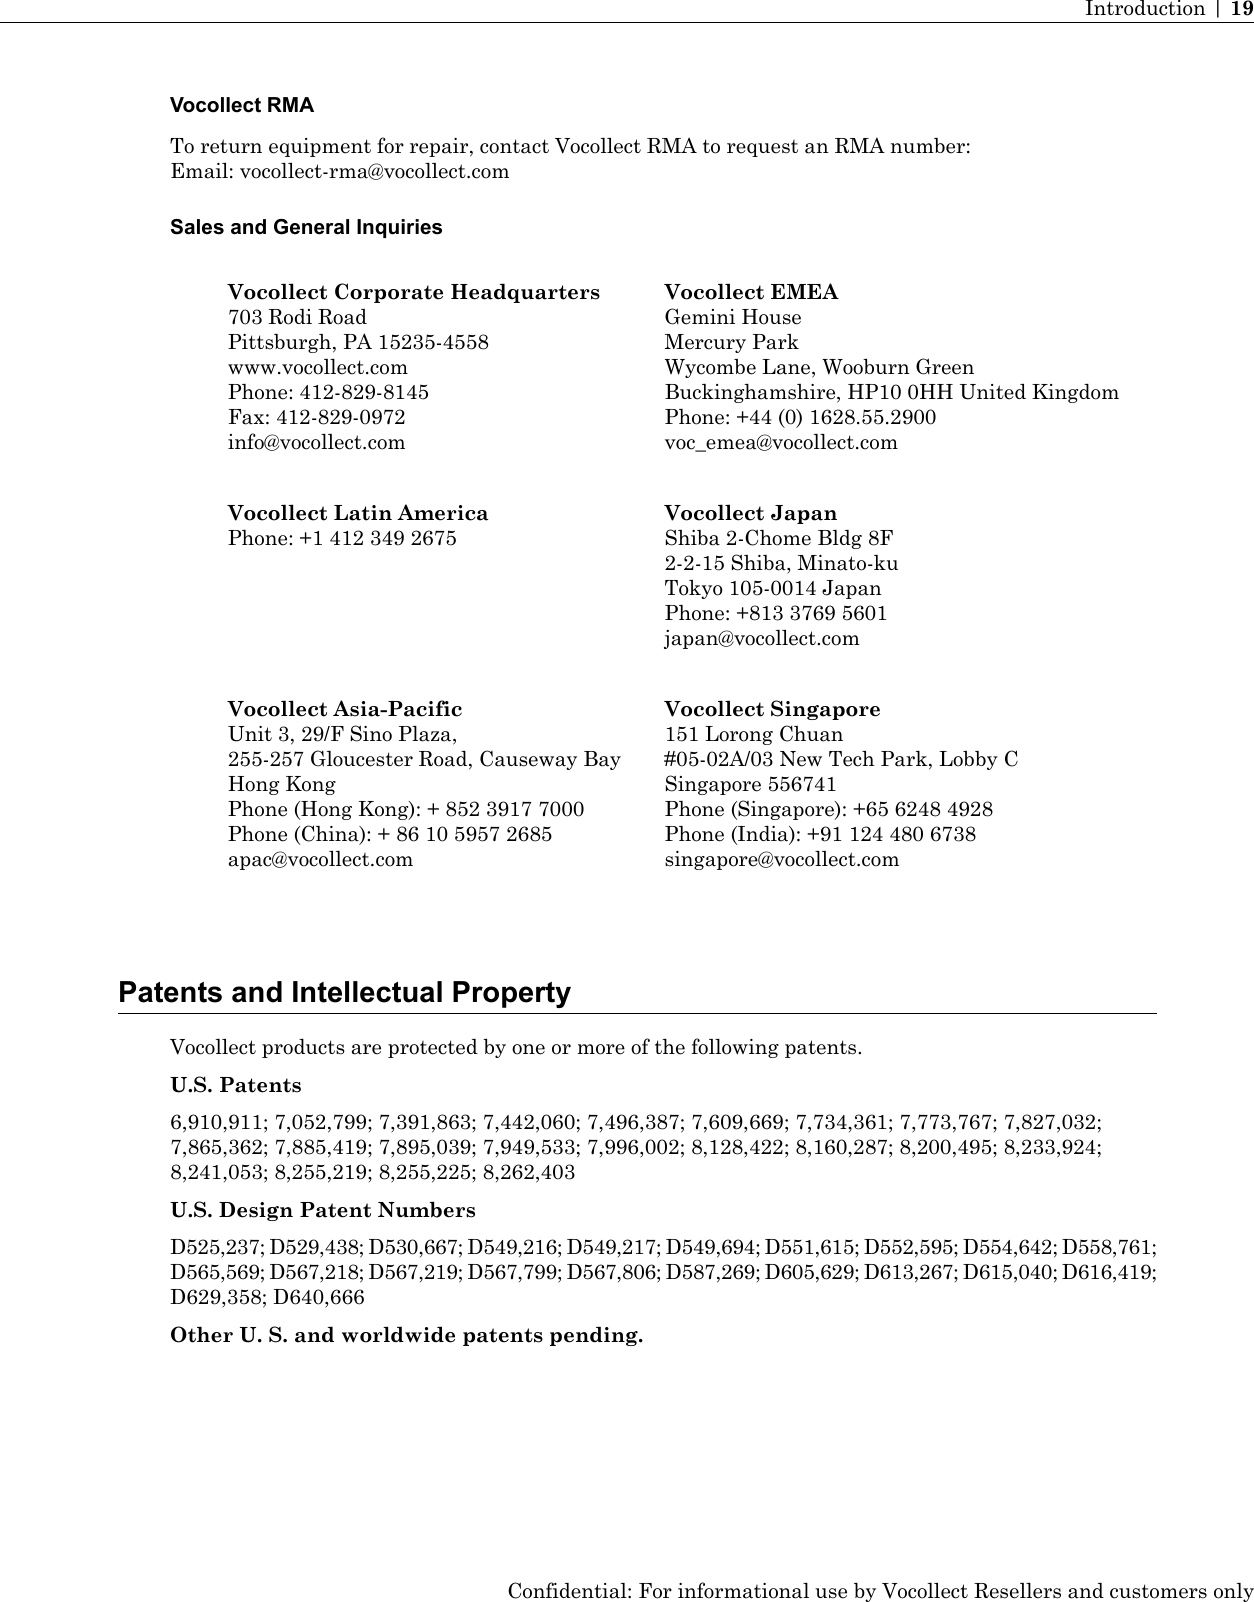
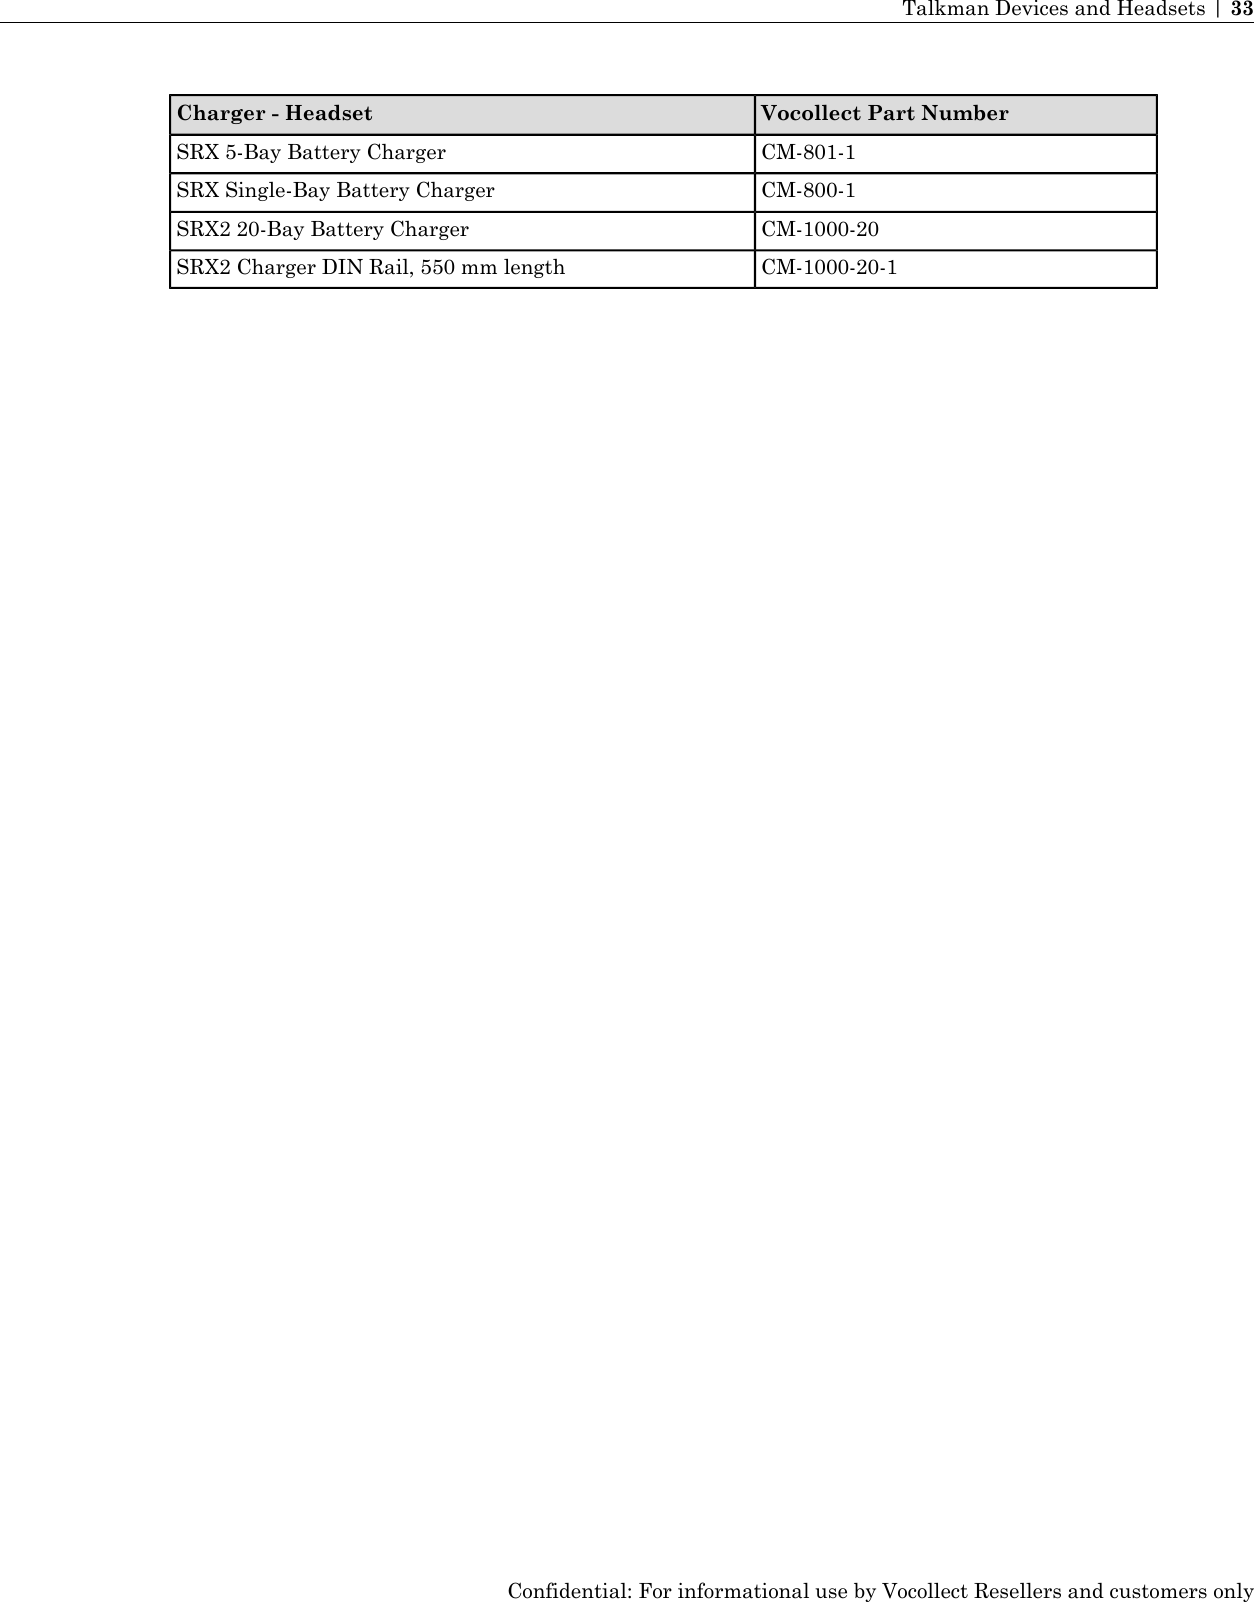
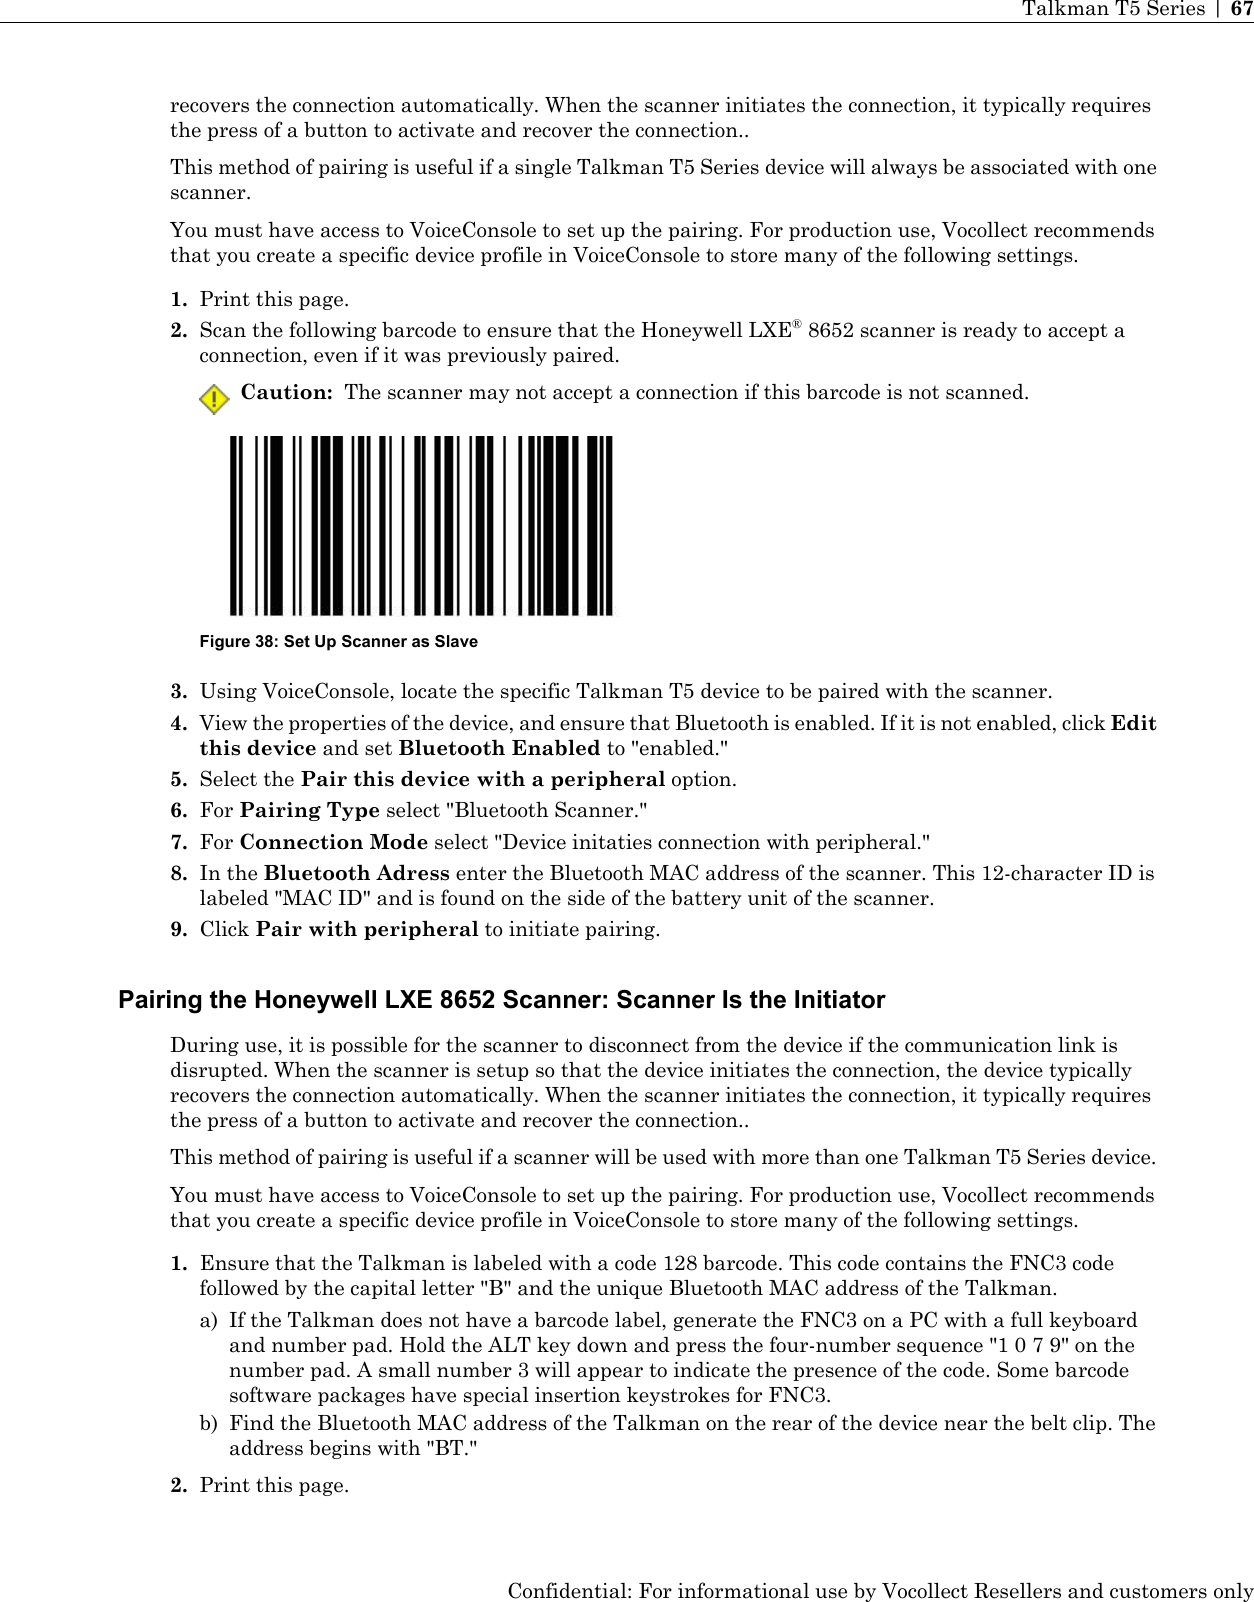
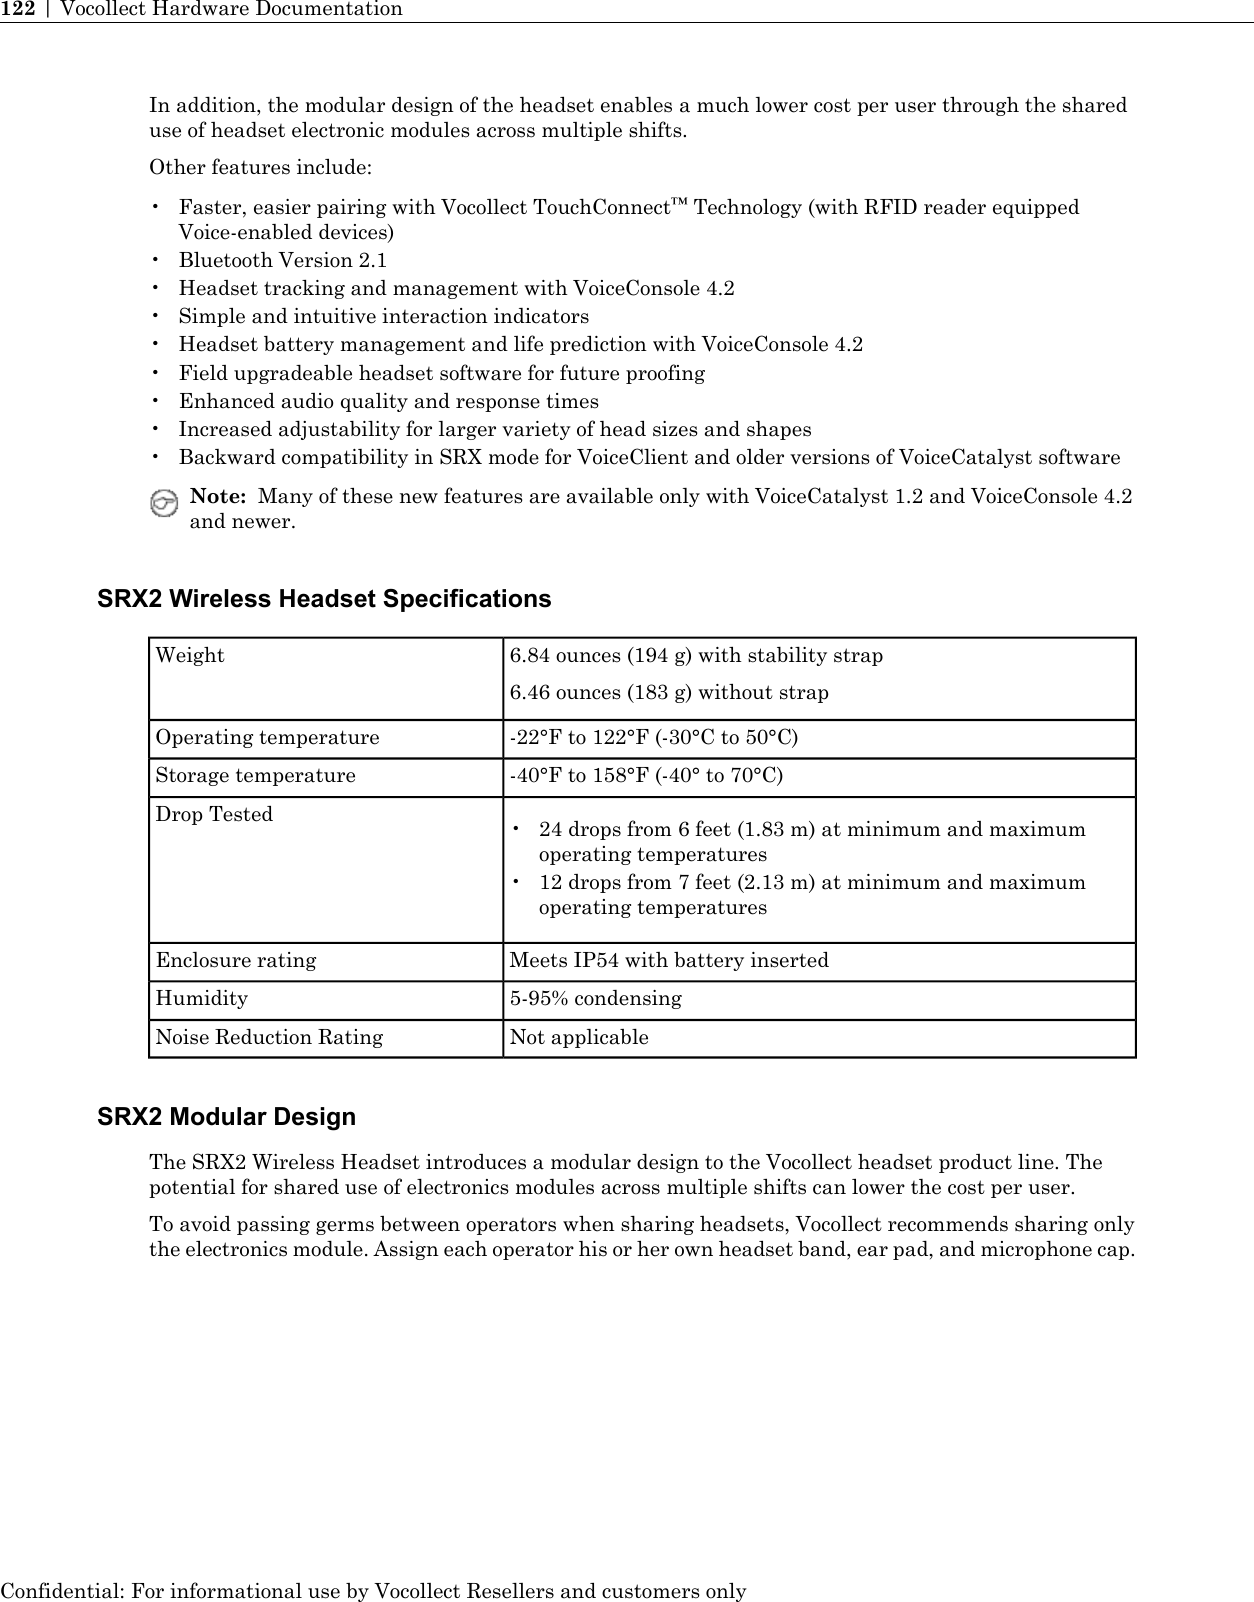
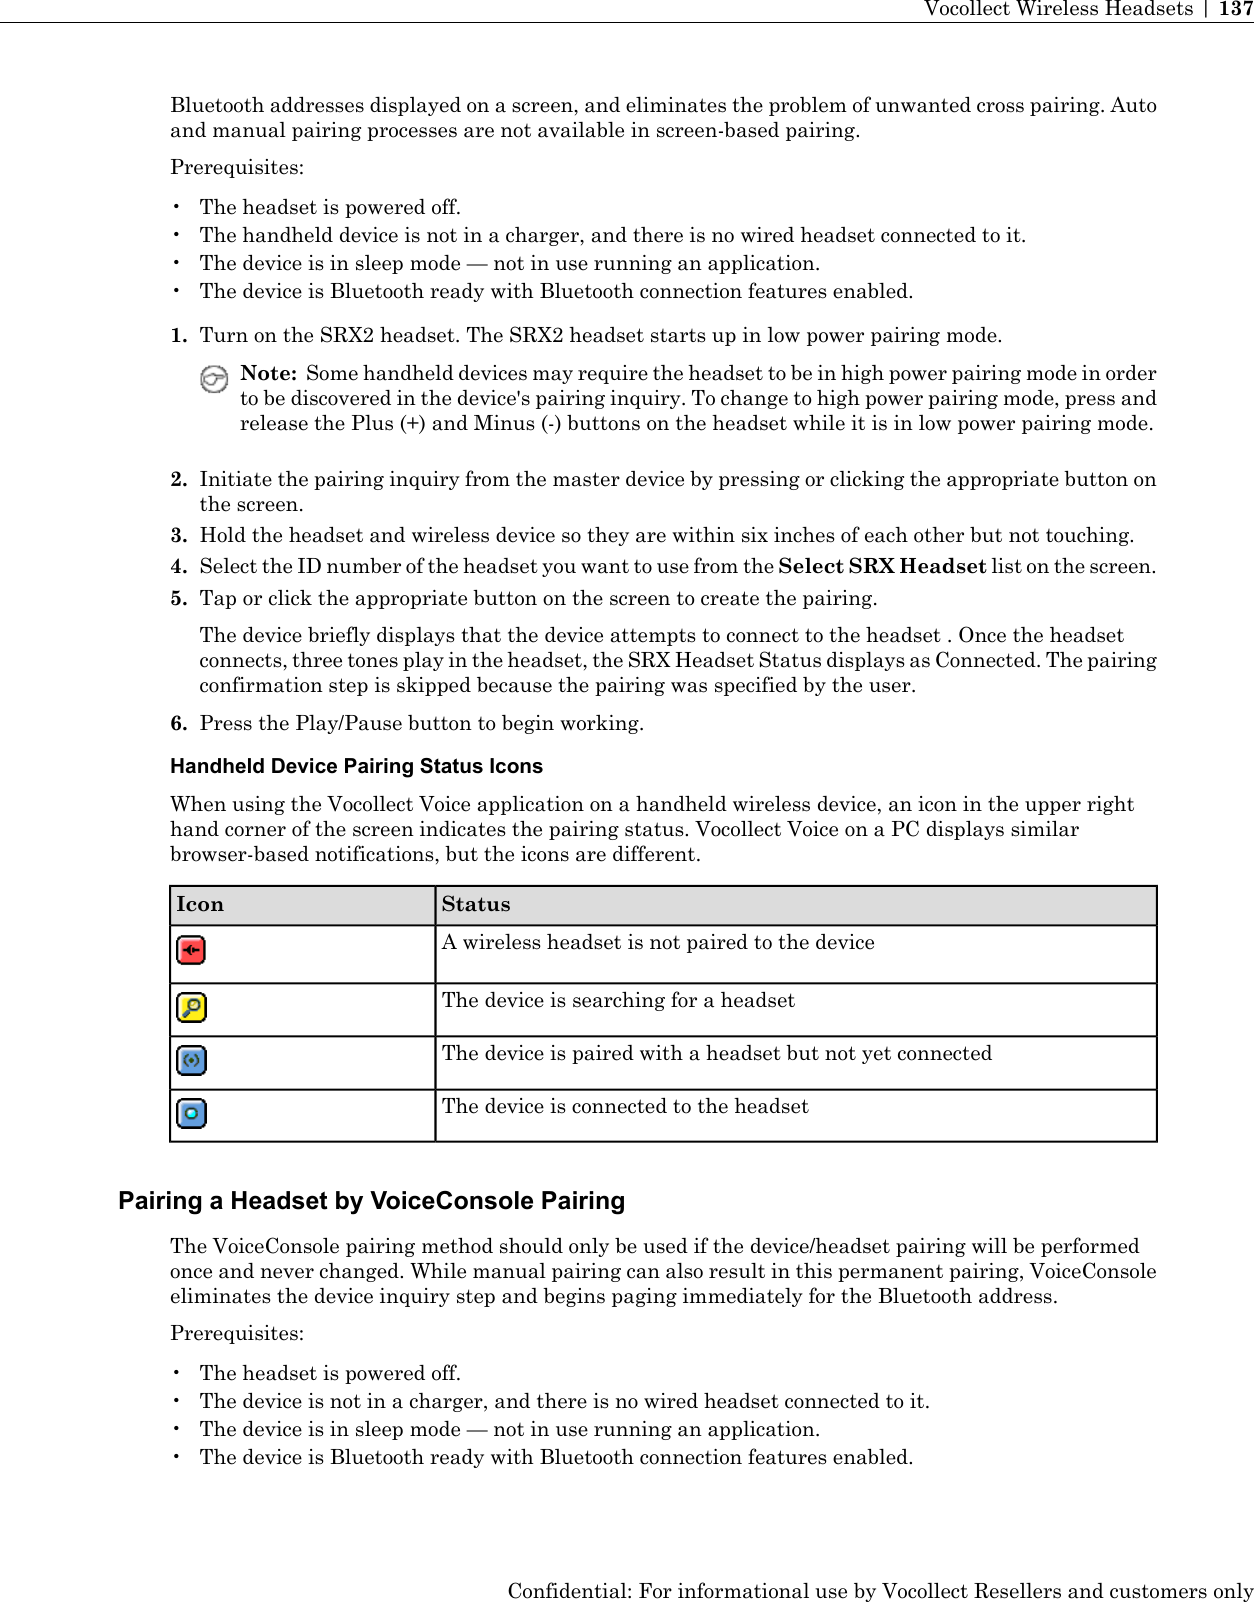
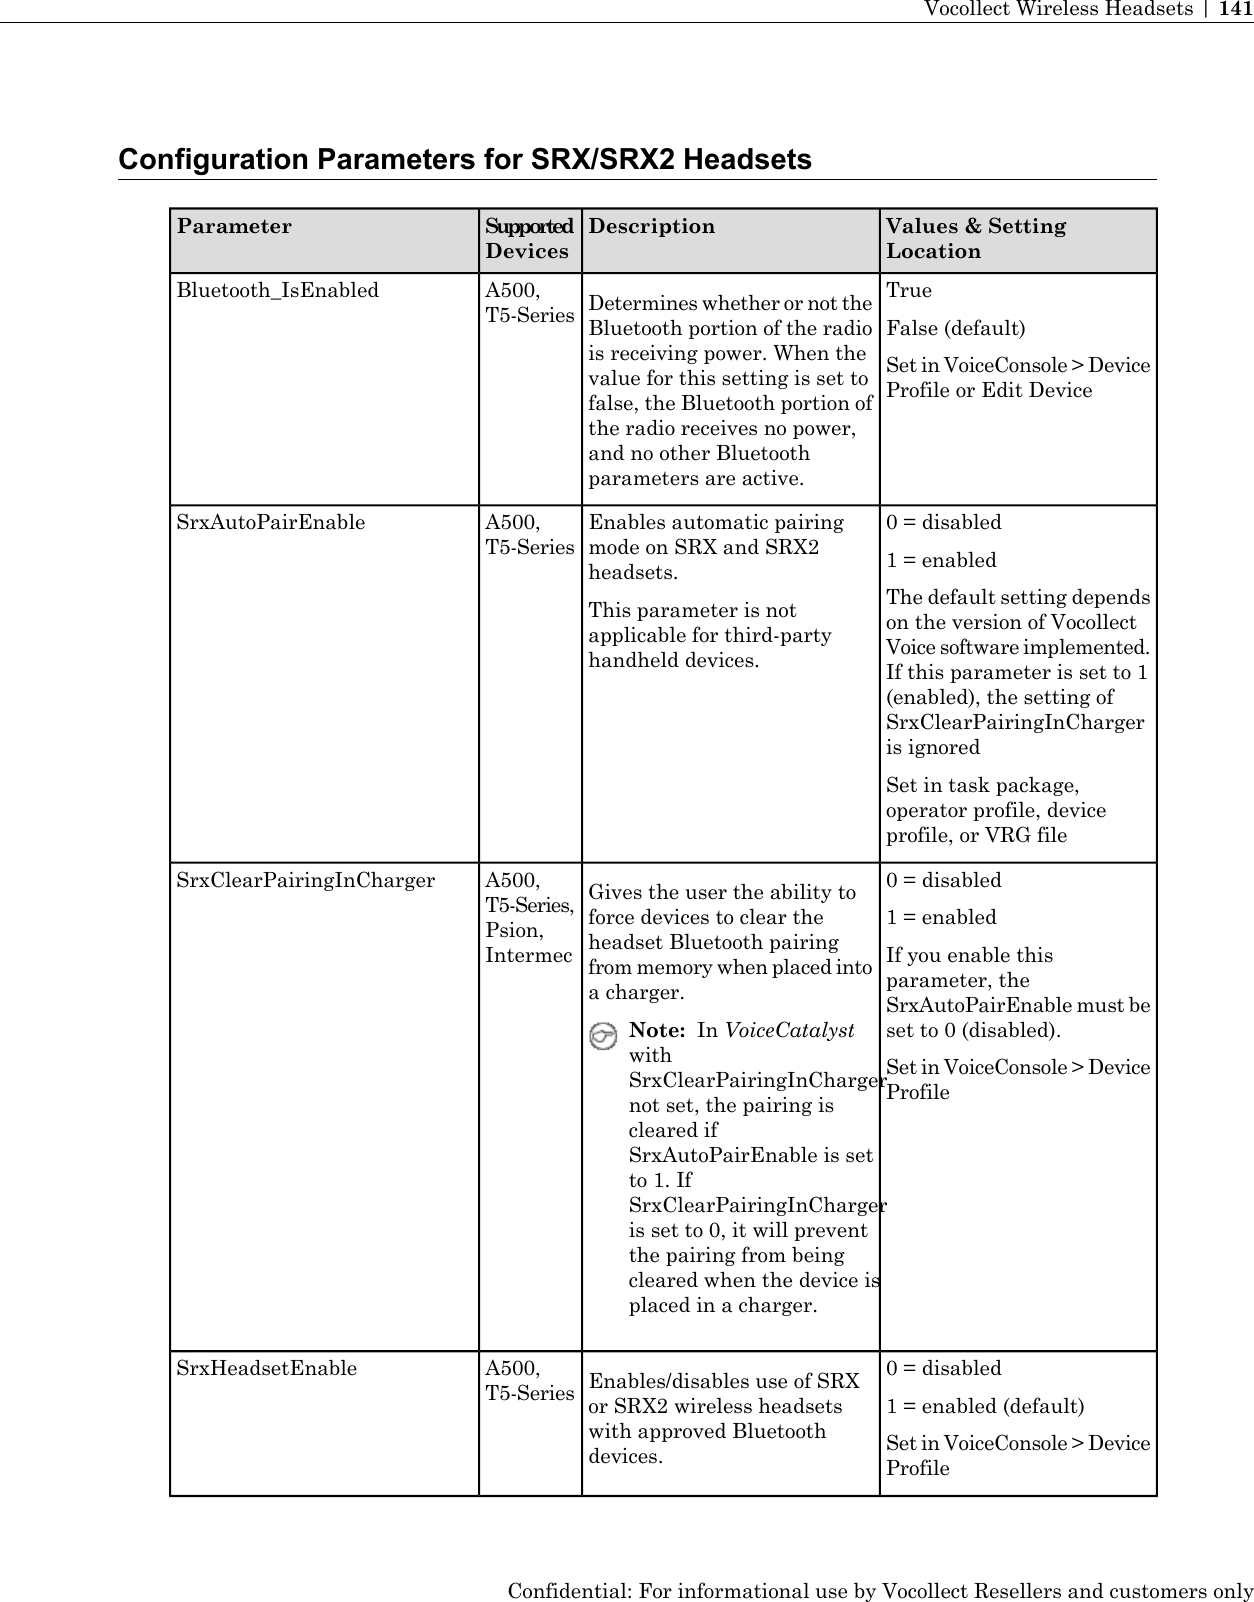
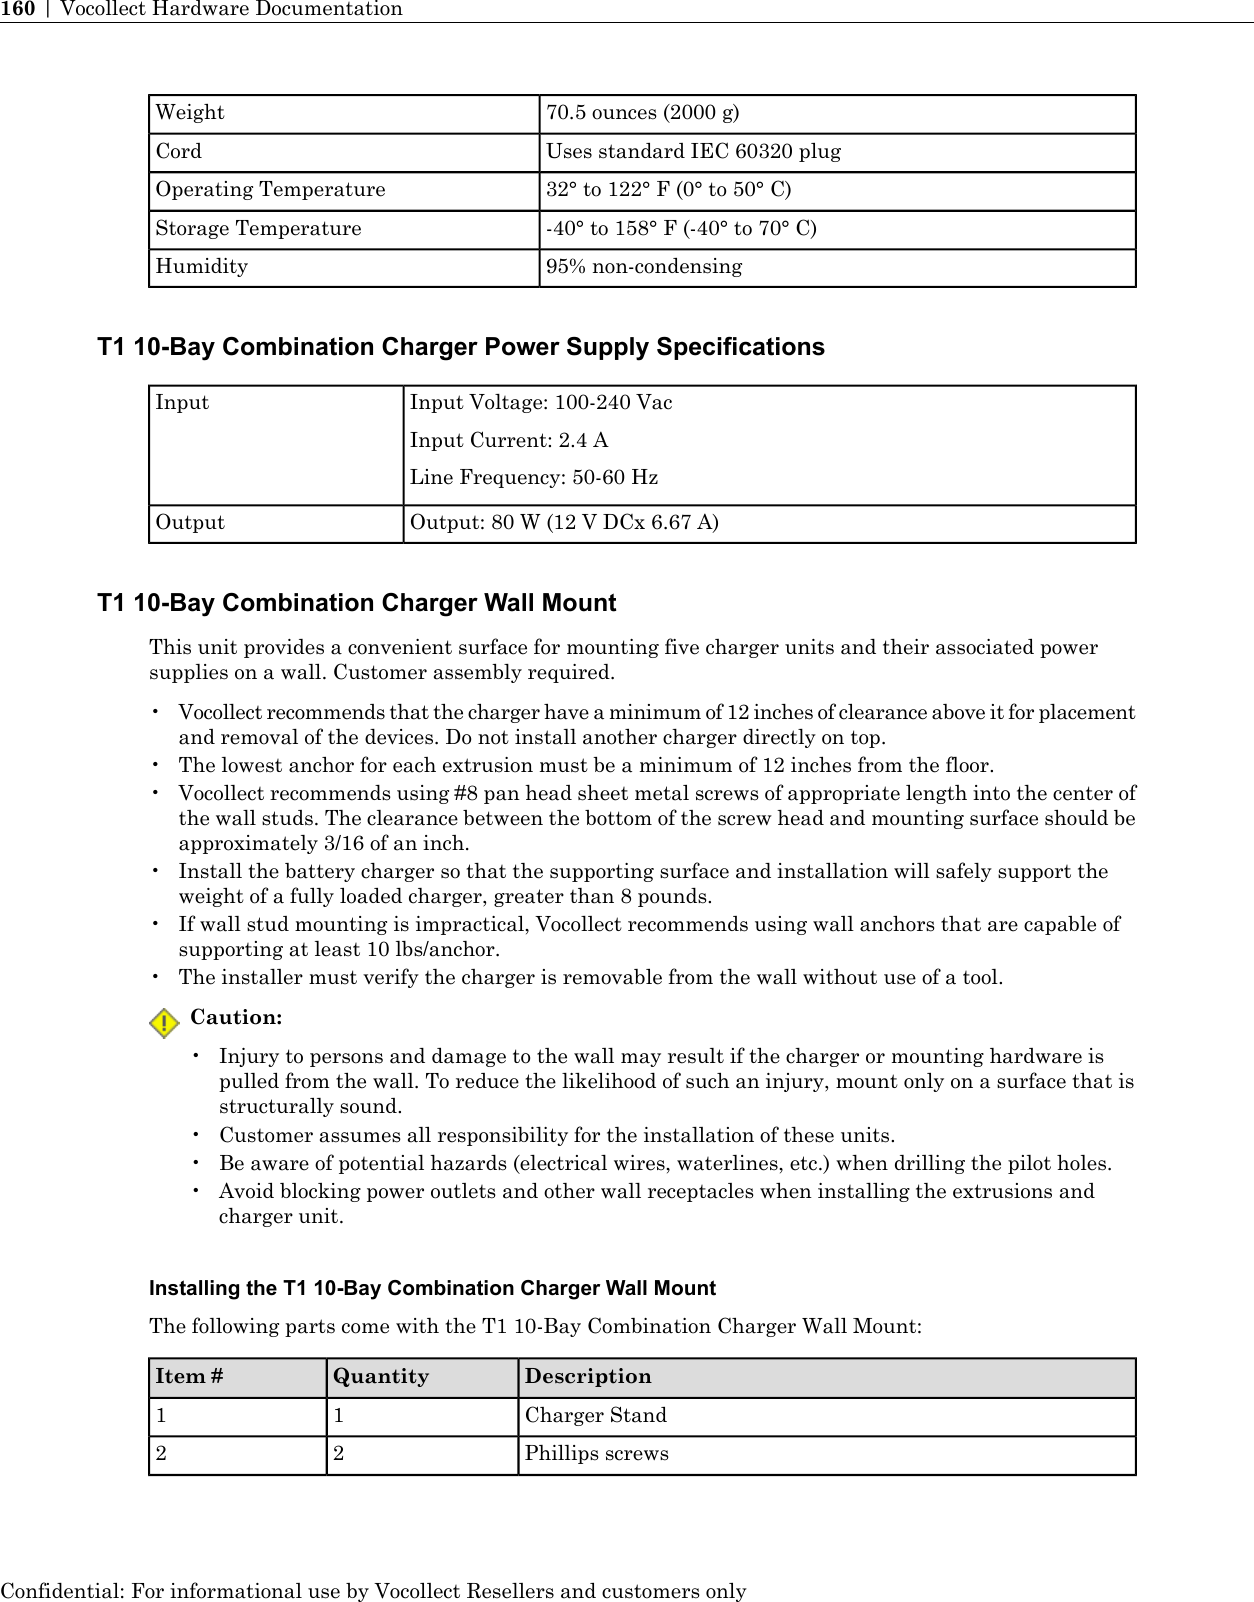
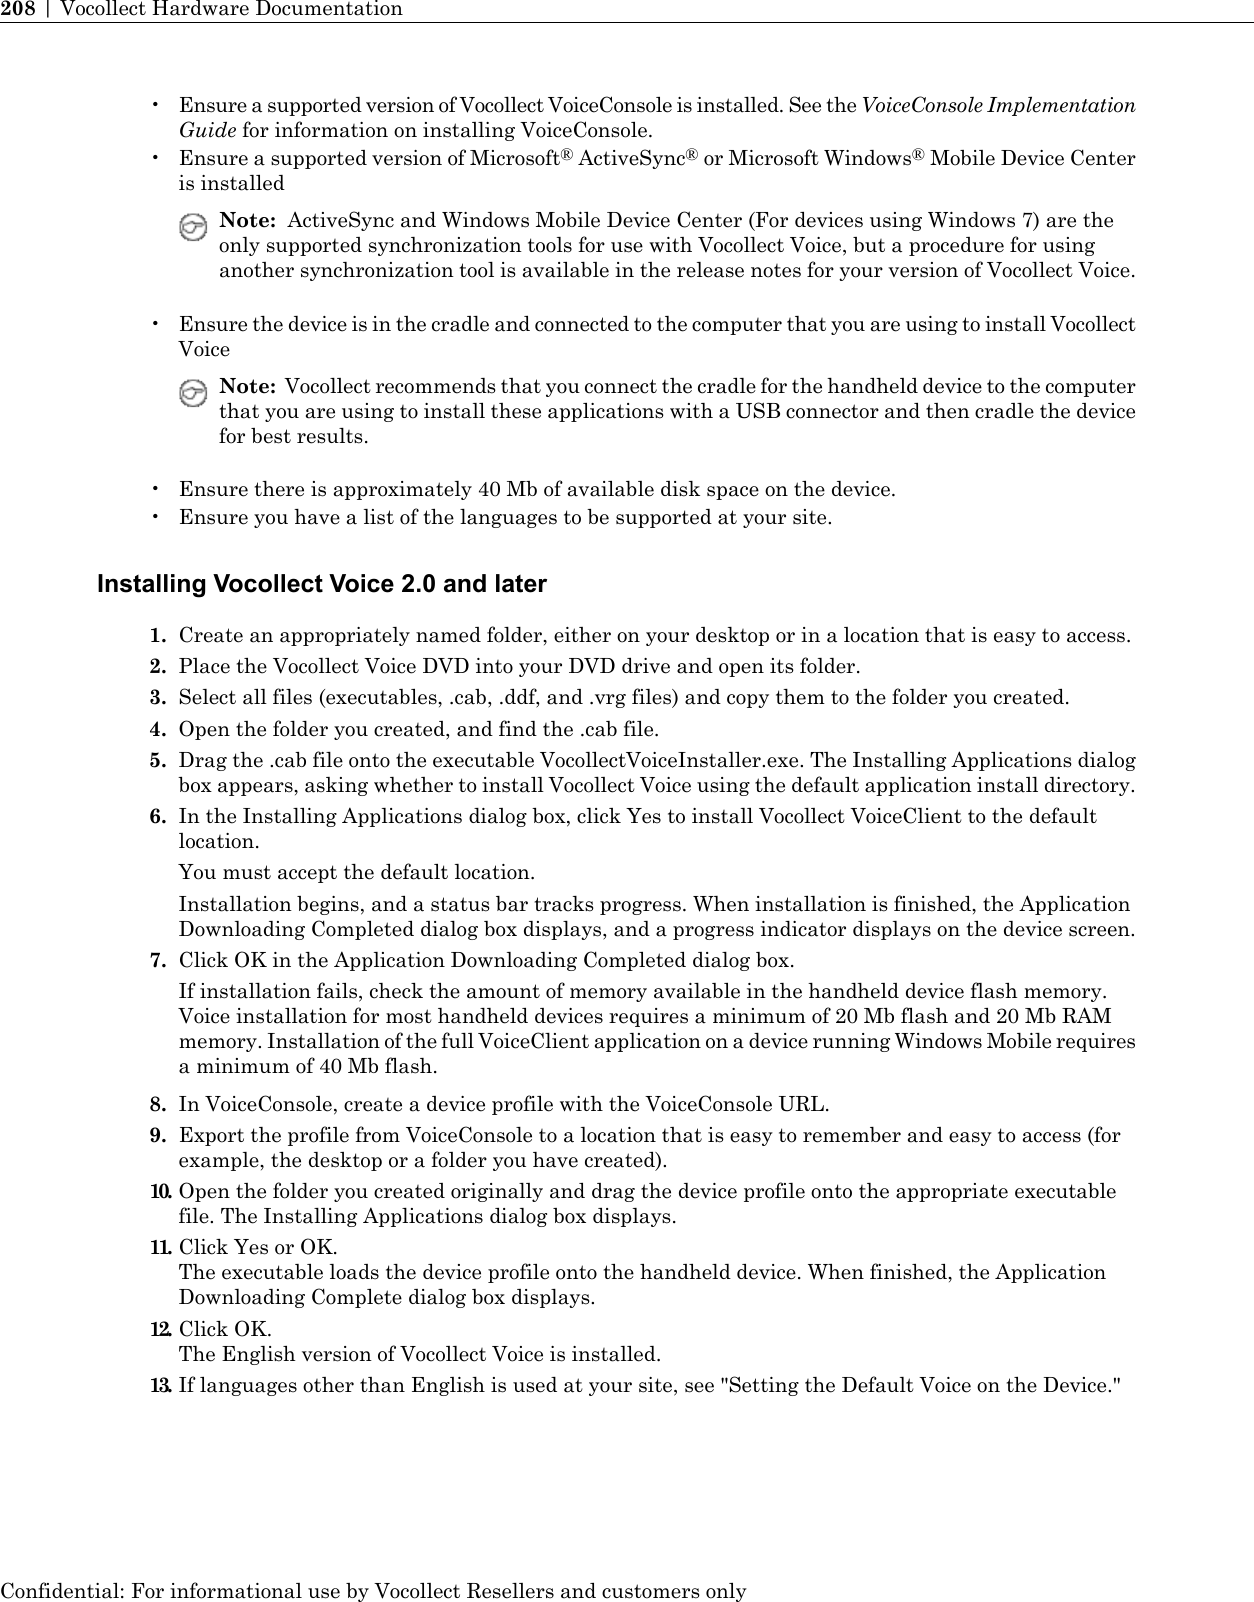
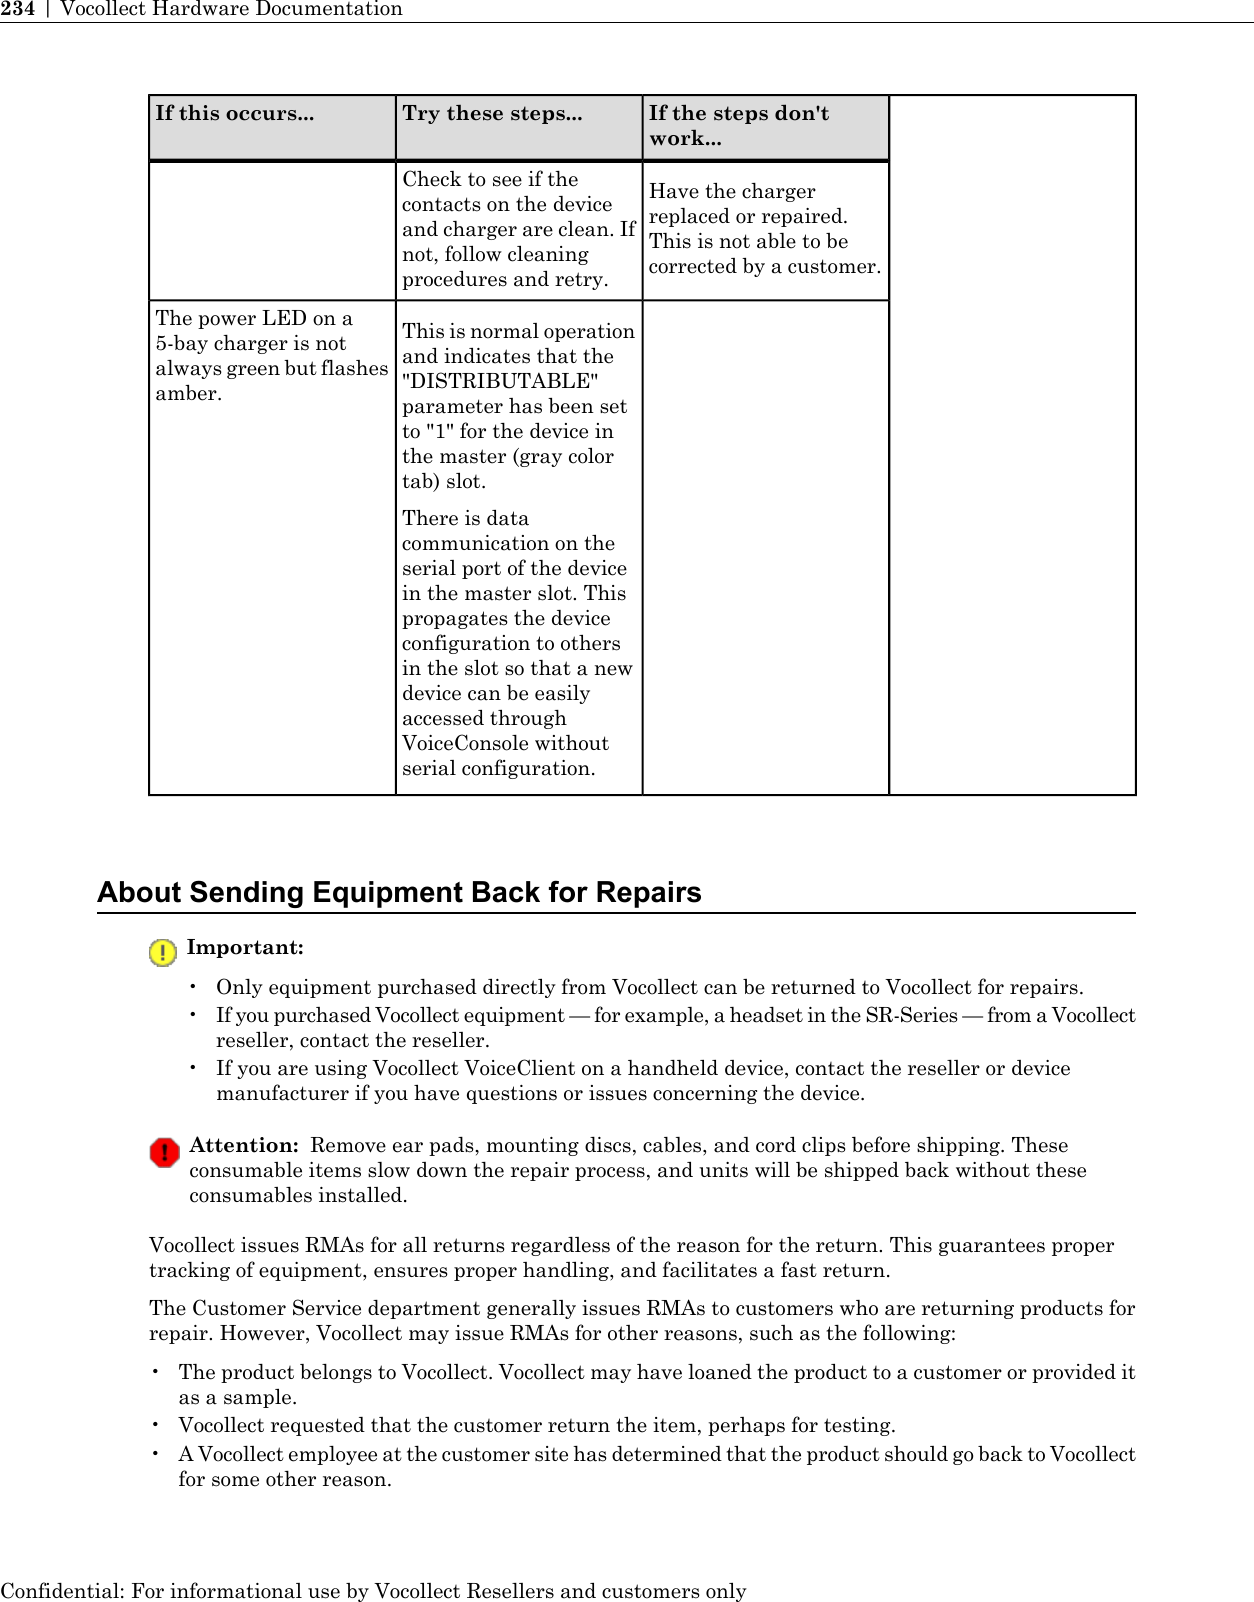
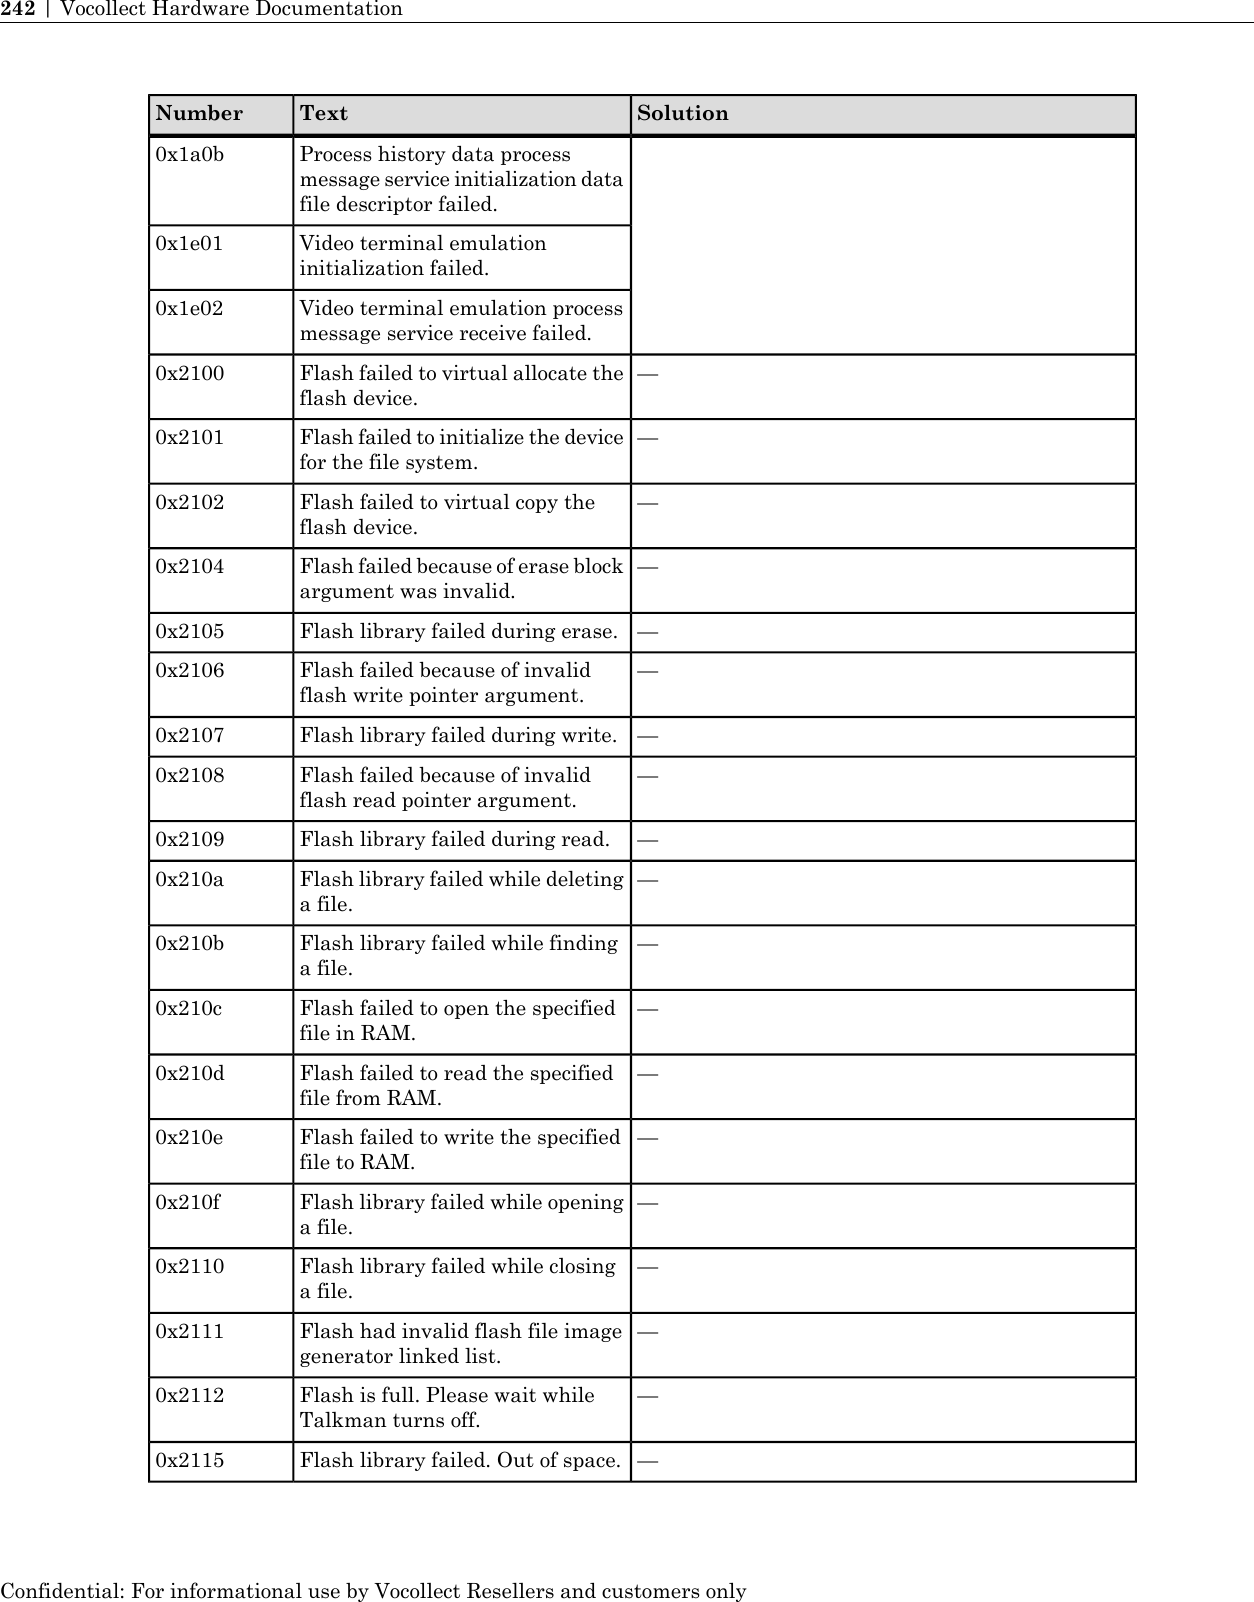
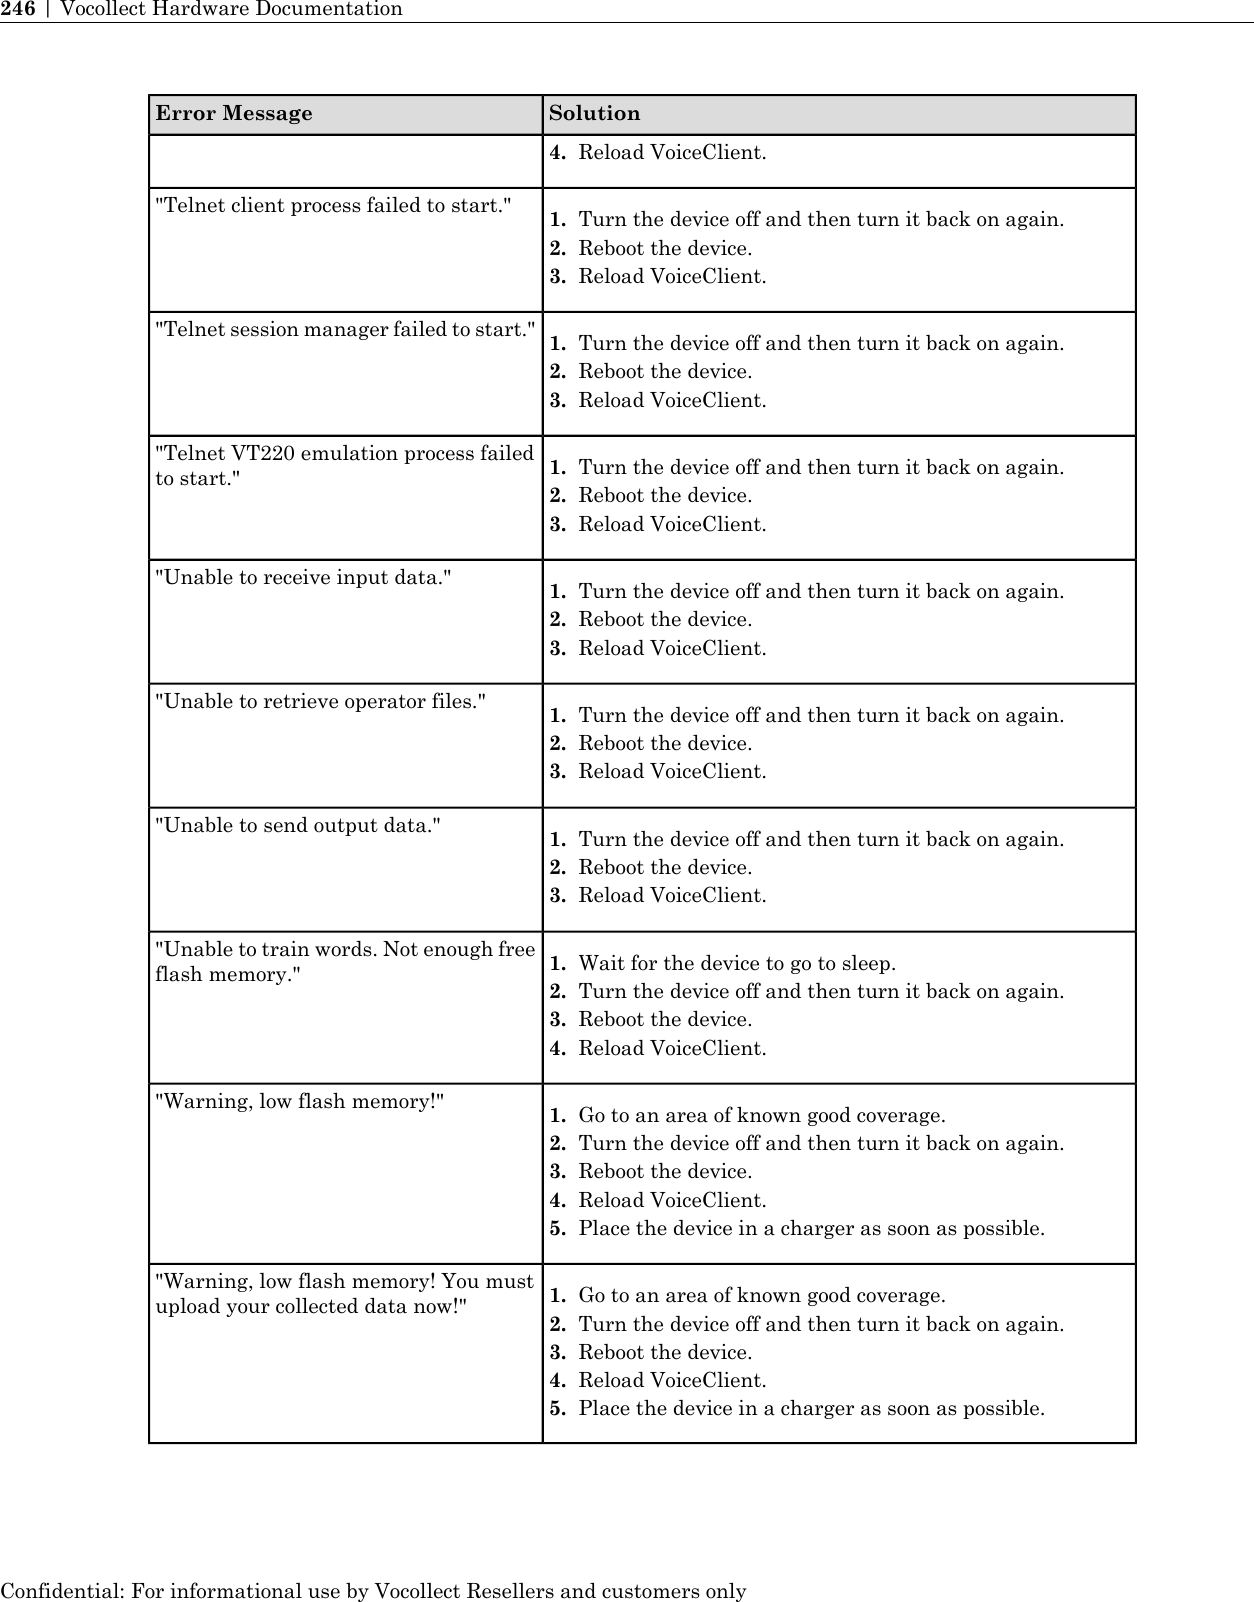
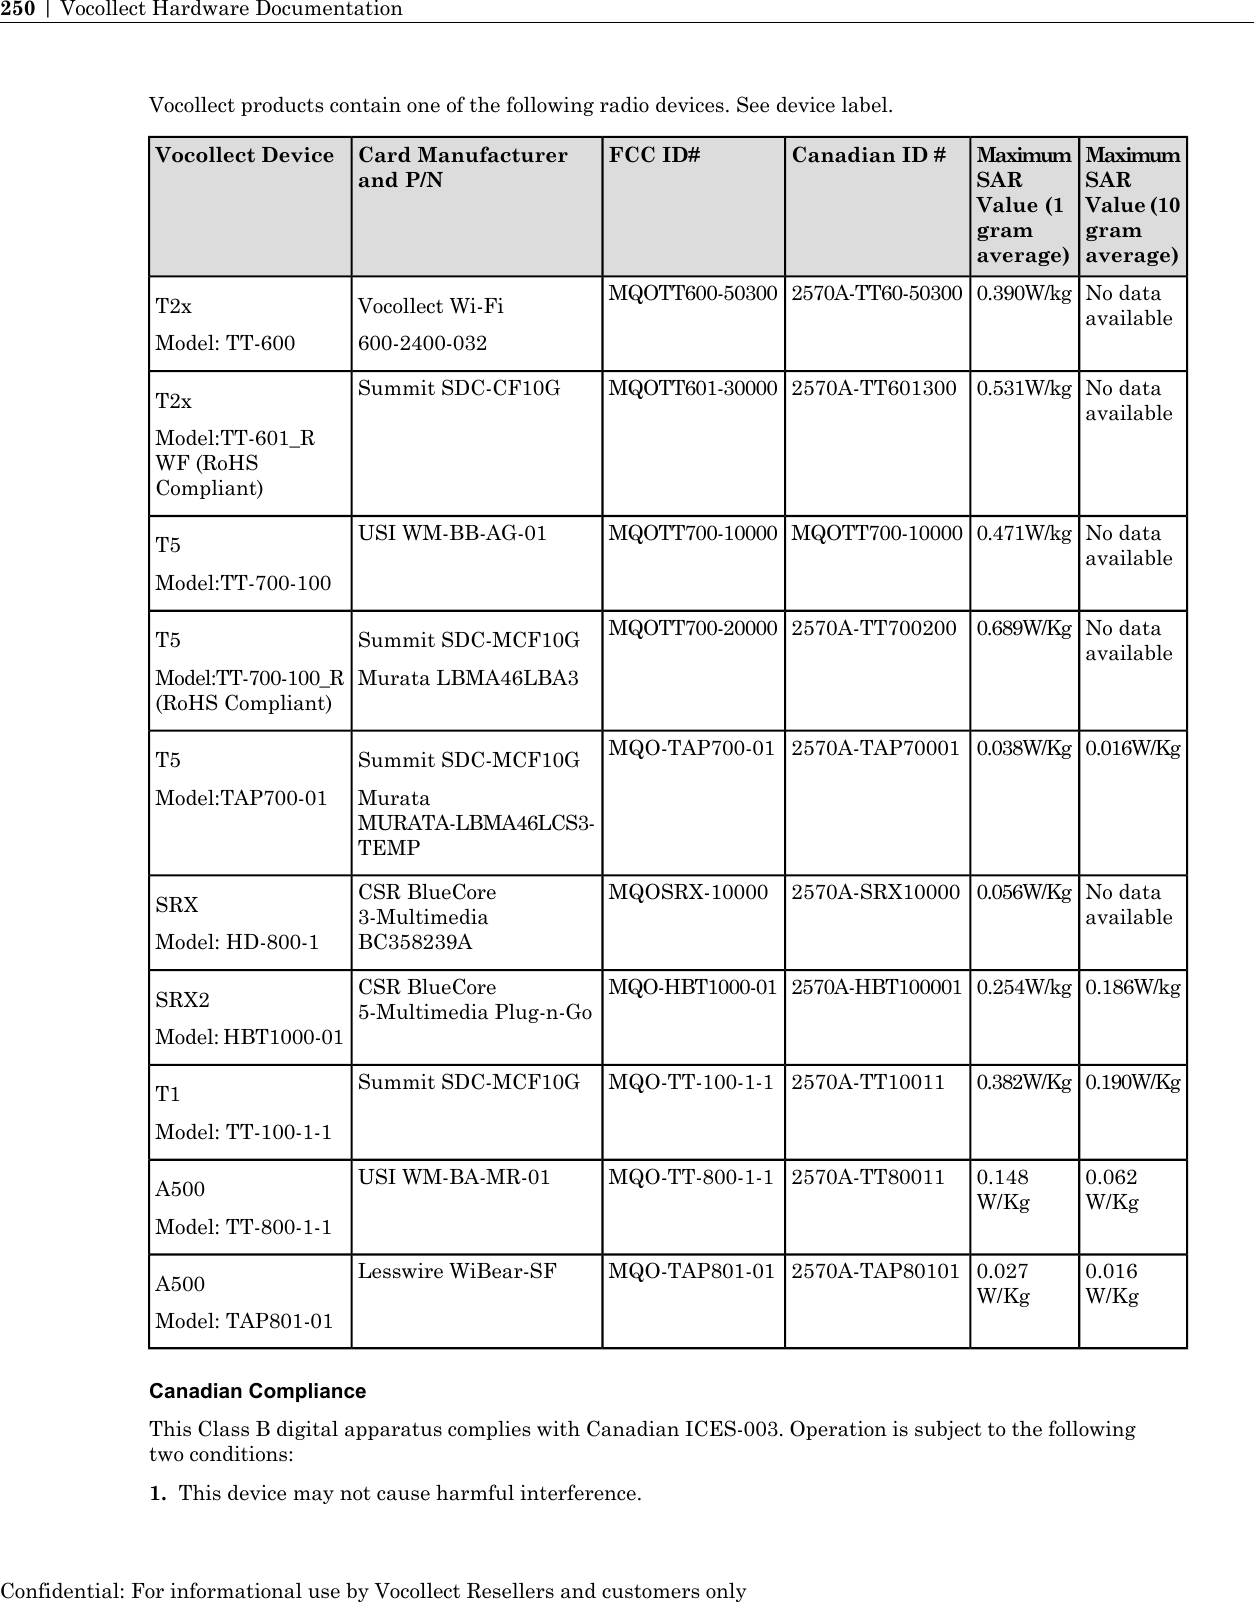
![Device - A500 [PART: TT-801; MODEL: TT-800-1-1 and TAP801-01]Device - T5 [PART: TT-700-100 and TT-700-100-M; MODEL: TAP700-01]Device - T1 [PART: TT-100; MODEL: TT-100-1-1]Device - SRX2 [PART: HD-1000-101; MODEL: HBT1000-01]Regulatory Approvals for Bluetooth®Radio DevicesVocollect devices that contain an integrated Bluetooth®module are designed to comply with the mostcurrent applicable standards on safe levels of RF energy, developed by the Institute of Electrical andElectronics Engineers (IEEE) and the American National Standards Institute CommunicationsCommission (FCC).The Bluetooth word mark and logos are owned by the Bluetooth SIG, Inc. and any use of such marks byVocollect is under license. Other trademarks and trade names are those of their respective owners.Made in the U.S.A.VocollectPittsburgh, PADeclaration of Conformity: RoHSDirective 2002/95/EC of the European Parliament and Council of 27 January 2003Restriction of Hazardous Substances (RoHS)Products Manufactured by Vocollect®All Vocollect manufactured products shipped by Vocollect as of 1 July 2006 to destinations where theDIRECTIVE 2002/95/EC OF THE EUROPEAN PARLIAMENT AND OF THE COUNCIL of 27 JanuaryConfidential: For informational use by Vocollect Resellers and customers only252 | Vocollect Hardware Documentation](https://usermanual.wiki/Vocollect/TAP700-01/User-Guide-1841002-Page-253.png)