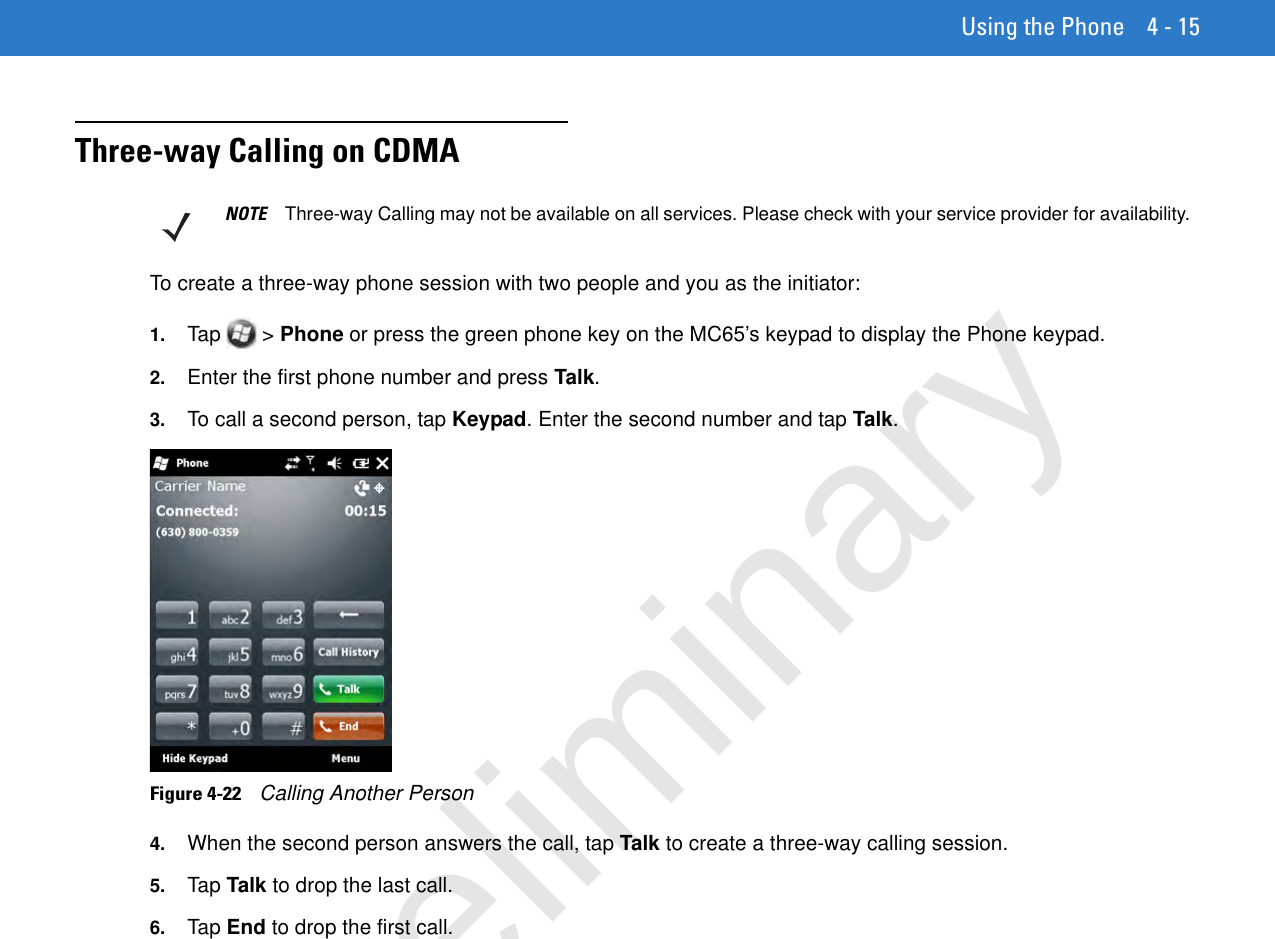
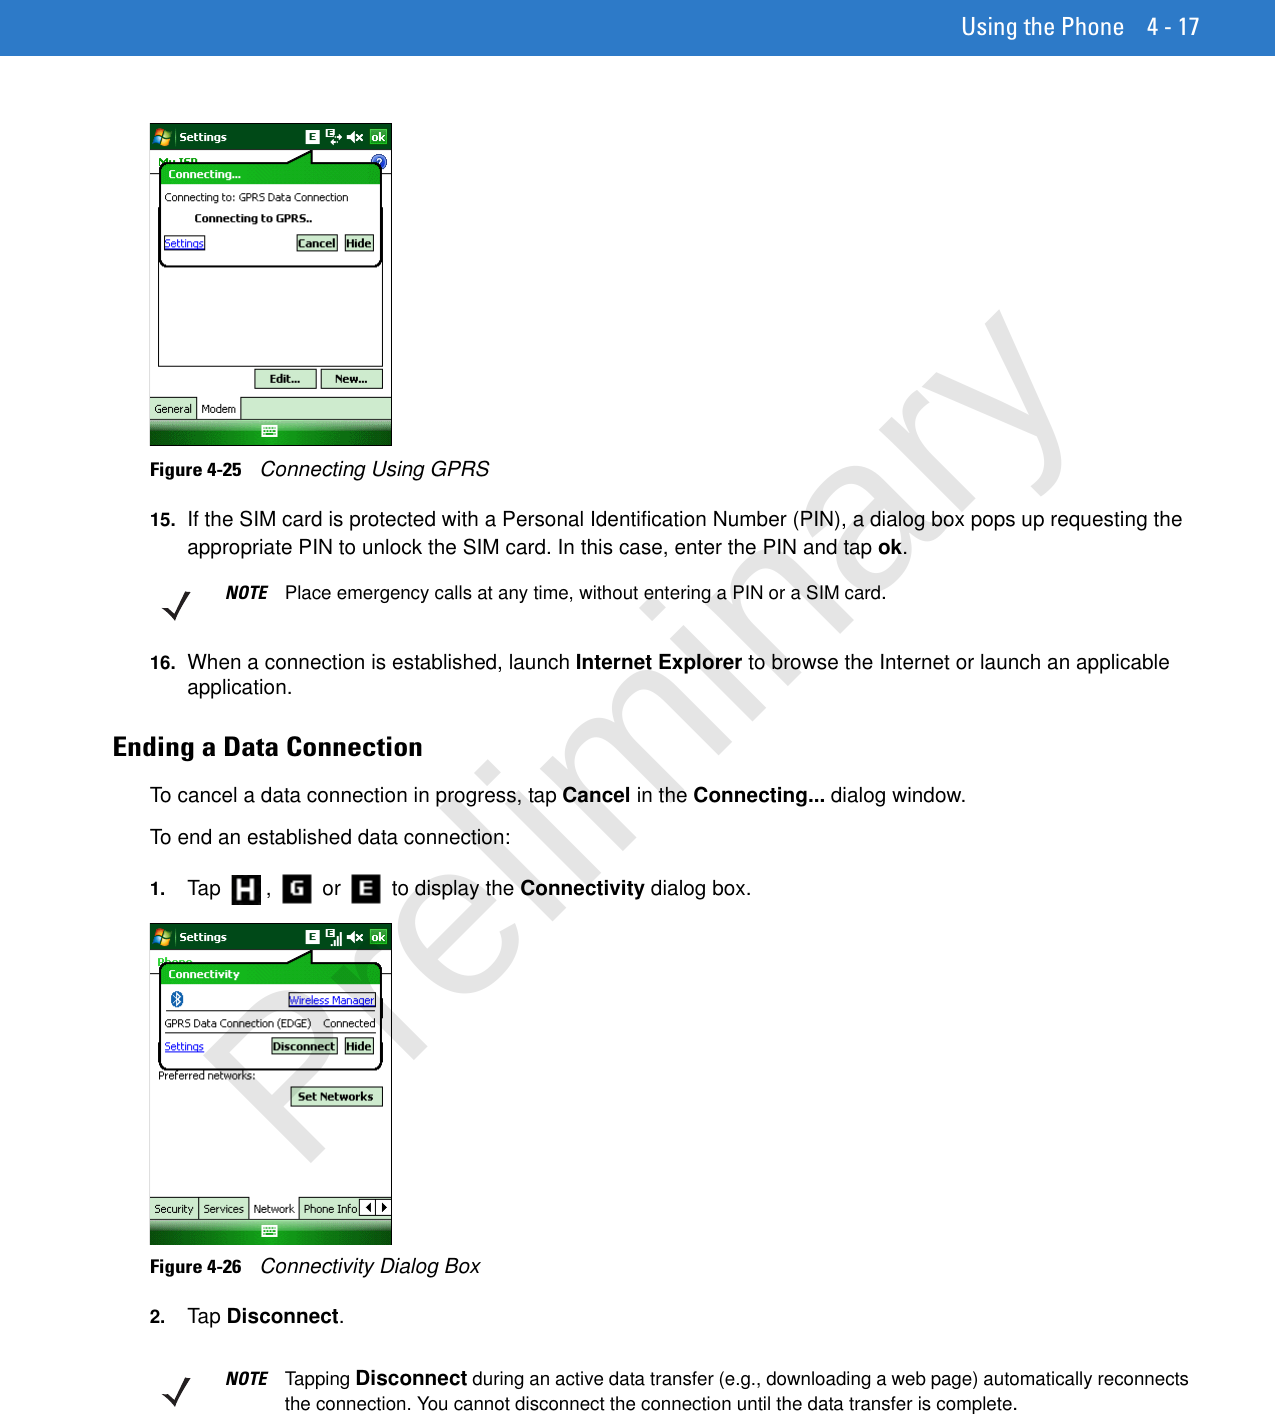
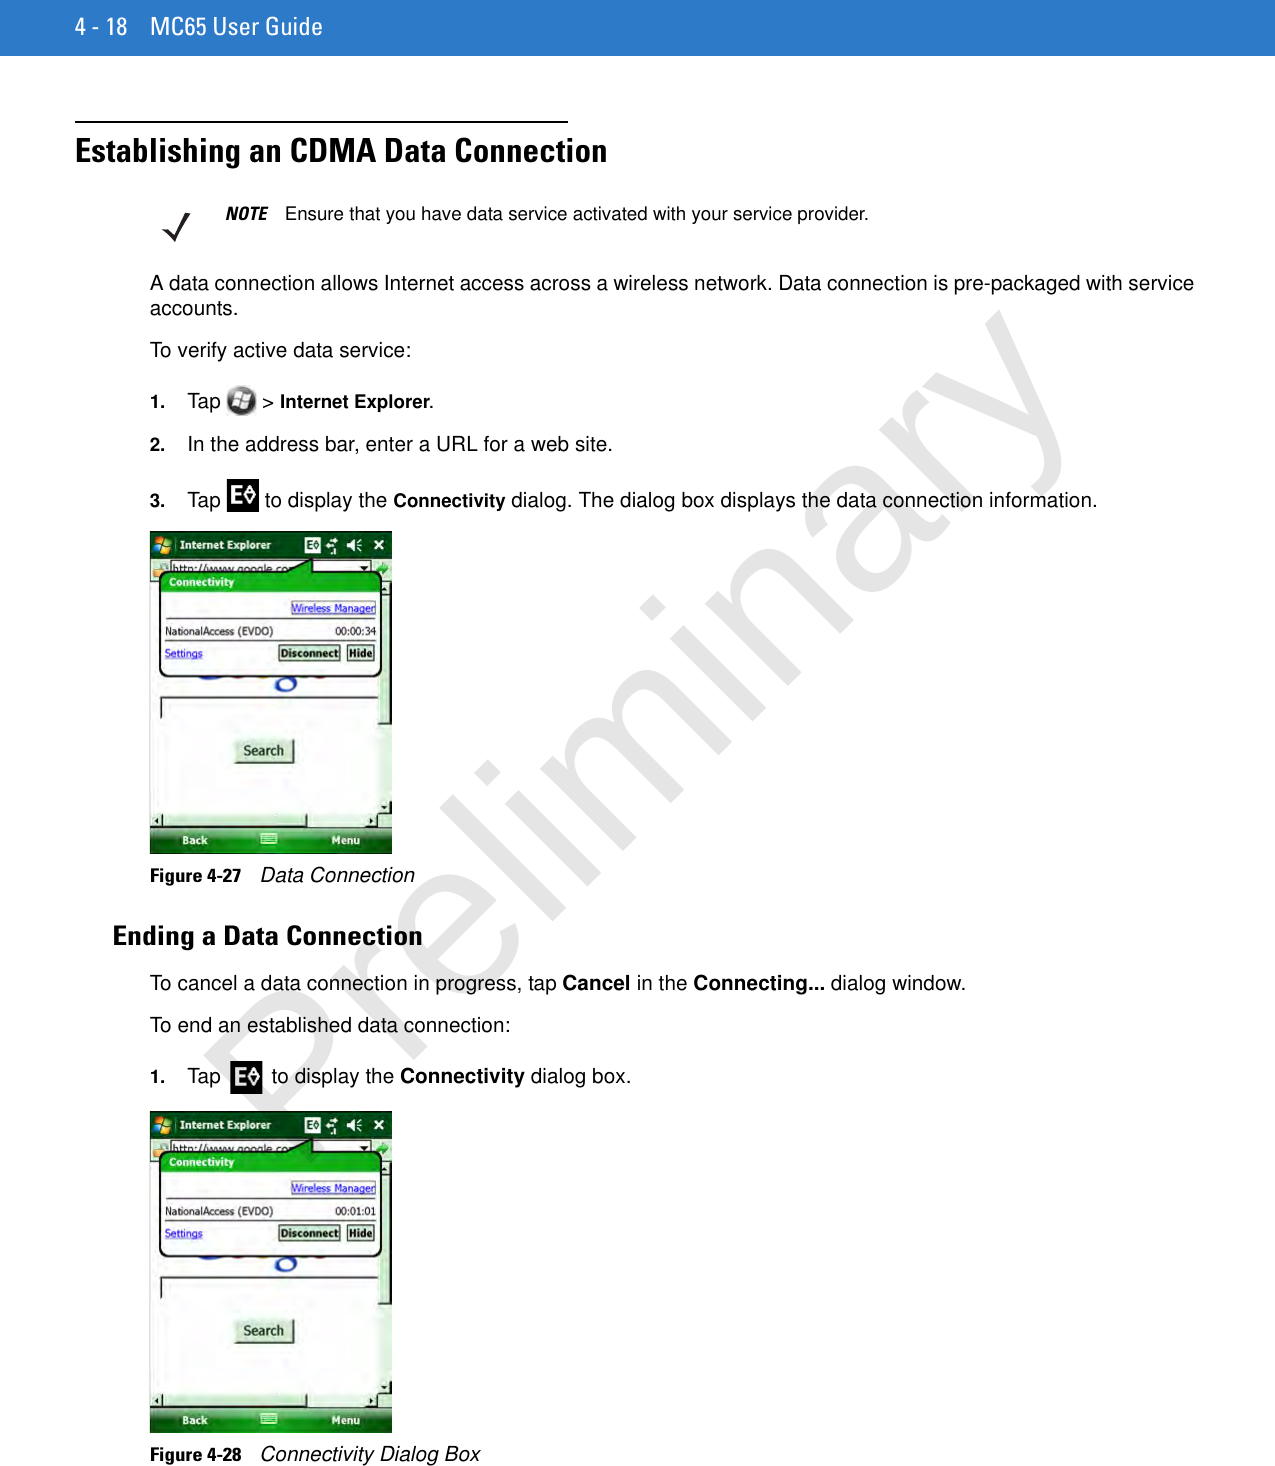
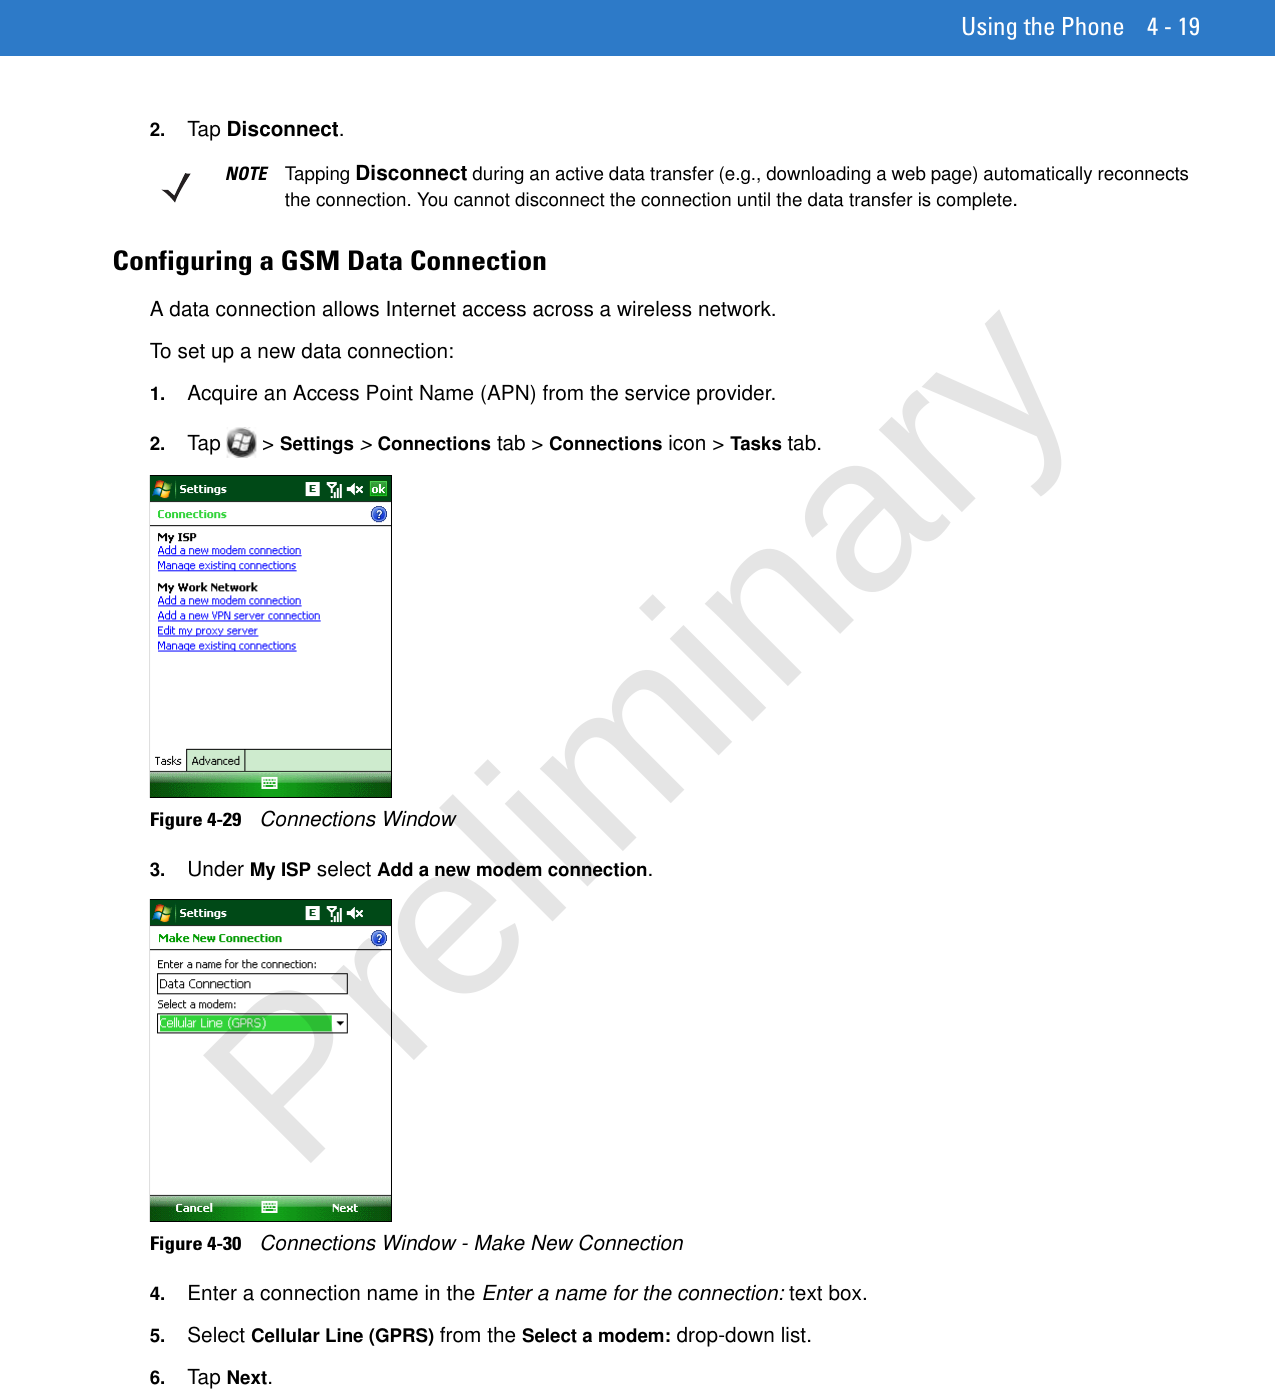
Zebra Technologies MC659B ENTERPRISE DIGITAL ASSISTANT (EDA) User Manual MC55 User Guide P N 72E 108859 02 Rev A
Zebra Technologies Corporation ENTERPRISE DIGITAL ASSISTANT (EDA) MC55 User Guide P N 72E 108859 02 Rev A
Contents
- 1. Users Manual 1
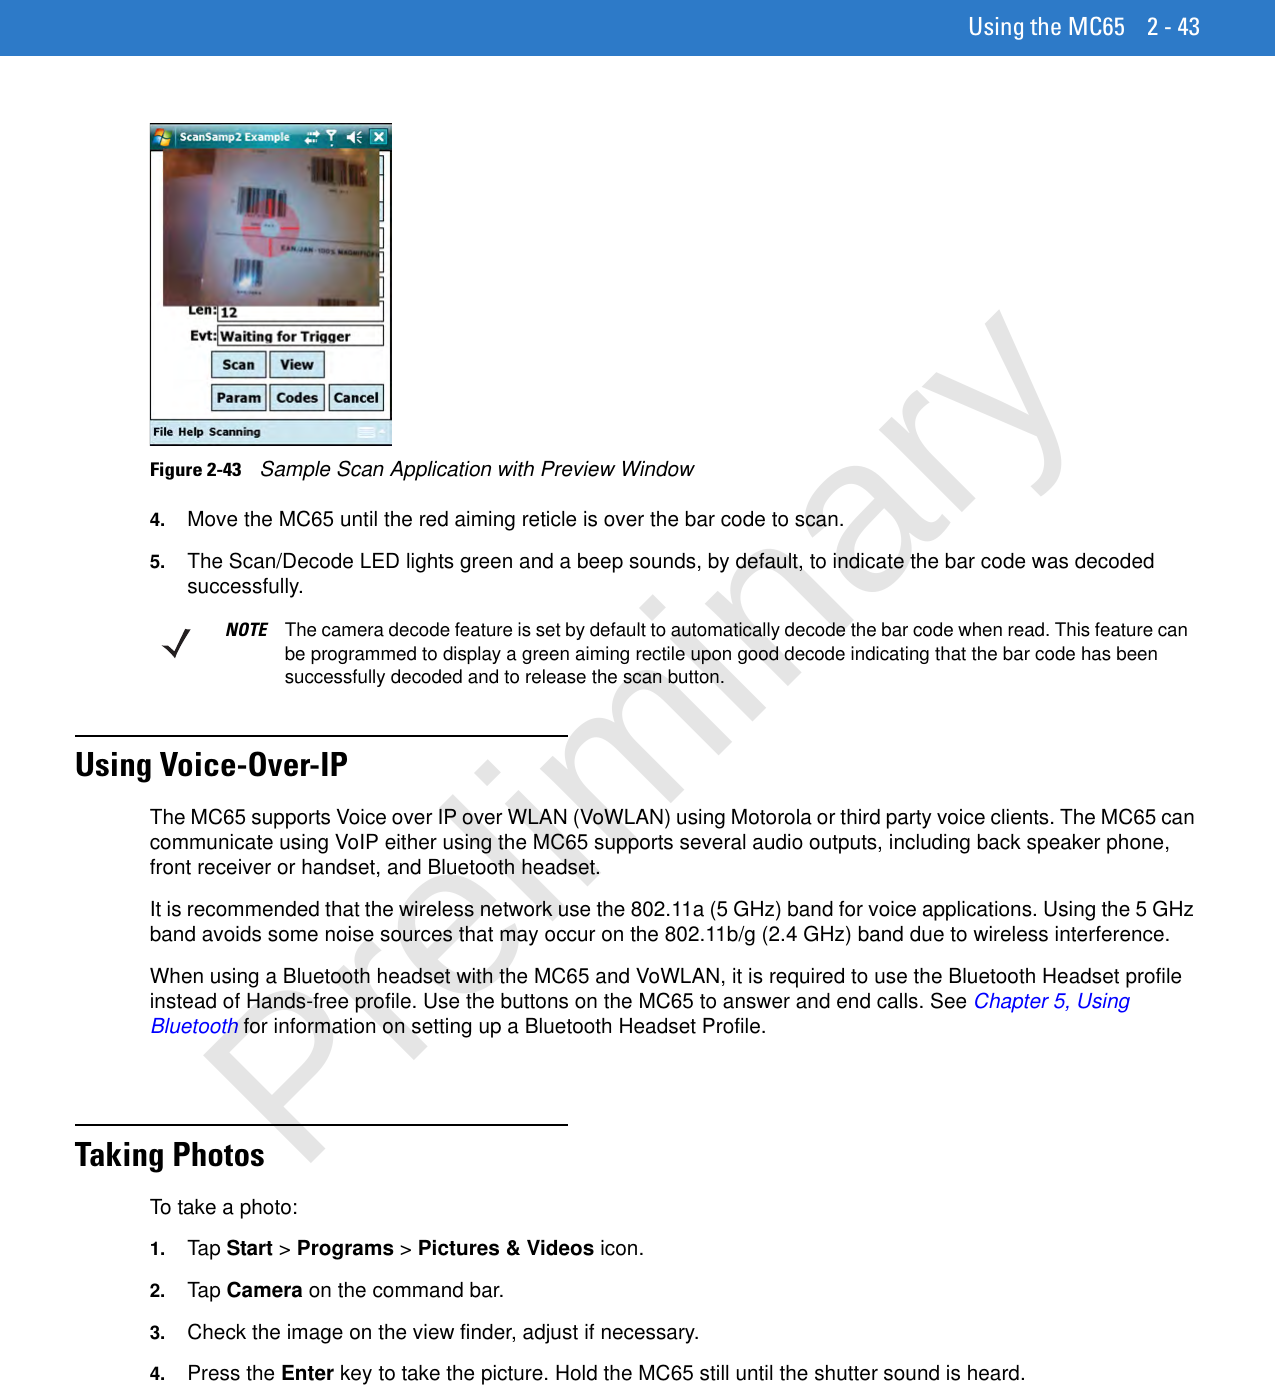
- 2. Users Manual 2
- 3. Users Manual 3
- 4. Users Manual 4
Users Manual 2

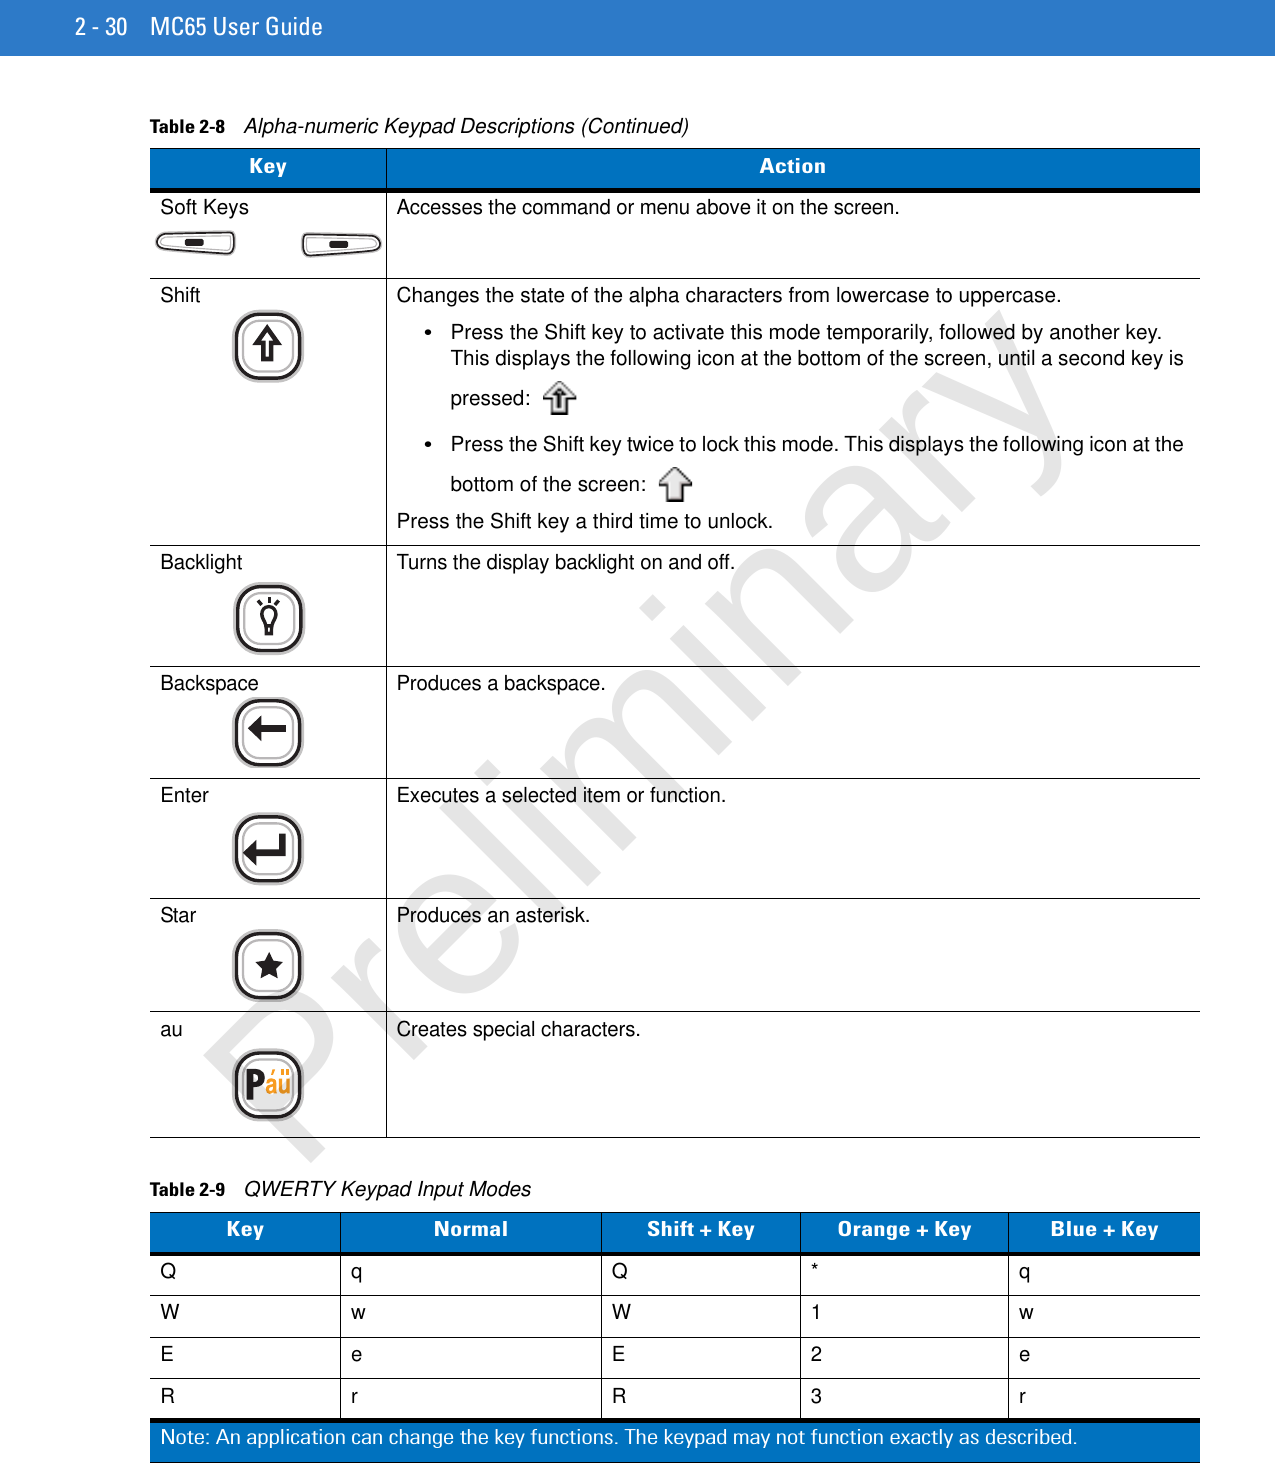
![Using the MC65 2 - 35Figure 2-36 MC65 PIM KeypadTable 2-12 MC65 PIM Keypad DescriptionsKey DescriptionTalk (Green Phone)This key is user programmable.To use a key as an application key (APP key) on the keyboard, create and install a new keyboard remap table. However, to remap the green phone key as APP keys through the registry, create an XML provisioning file that includes the following entry:<characteristic type=”HKLM\Hardware\DeviceMap\KYBD”><parm name=”GreenKeyOverride” value=”xx” datatype=”integer” /> [where xx is the new APP key code]Provision the file to the MC65 to send an APP key code, instead of the original key code, upon pressing the green phone key. Refer to the MC65 Integrator Guide for information on creating XML provisioning files.End (Red Phone)This key is user programmable.To use a key as an application key (APP key) on the keyboard, create and install a new keyboard remap table. However, to remap the green phone key as APP keys through the registry, create an XML provisioning file that includes the following entry:<characteristic type=”HKLM\Hardware\DeviceMap\KYBD”><parm name=”RedKeyOverride” value=”yy” datatype=”integer” /> [where yy is the new APP key code]Provision the file to the MC65 to send an APP key code, instead of the original key code, upon pressing the red phone key. Refer to the MC65 Integrator Guide for information on creating XML provisioning files.Scan (yellow)Activates the scanner/imager in a scan enabled application. Preliminary](https://usermanual.wiki/Zebra-Technologies/MC659B.Users-Manual-2/User-Guide-1280112-Page-11.png)


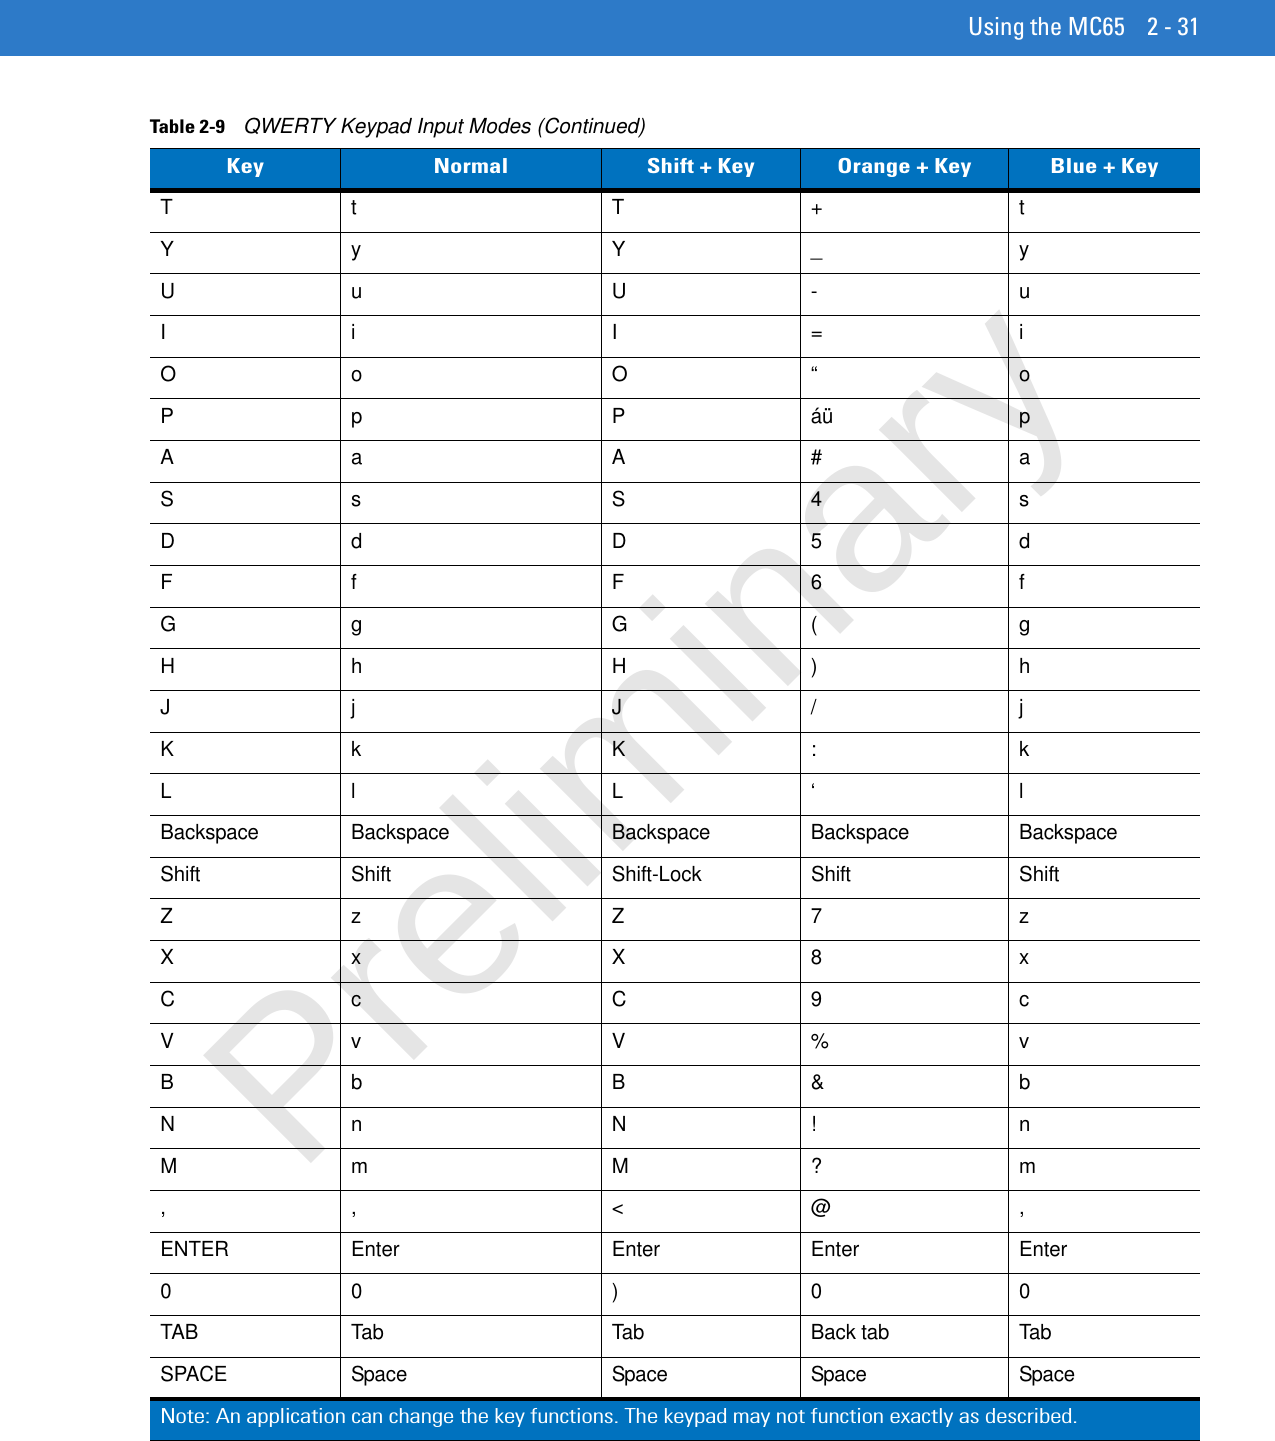
![4 - 2 MC65 User GuideSmart DialingSmart Dialing makes it easy to dial a phone number. When you start entering numbers or characters, Smart Dialing automatically searches and sorts the contact entries on the SIM card, in Contacts, and the phone numbers in Call History (including incoming, outgoing, and missed calls). You can then select the desired number or contact from the filtered list to dial.Open the Phone screen, then tap the keys on the Phone keypad that correspond to the phone number or contact to call. The contact panel lists contacts that match the sequence that you entered.Smart Dialing starts looking for numbers or contacts that match the sequence entered.To find a phone number:•Enter the first one or two digits to find a phone number in Call History.•Enter the first three digits or more to find a phone number from the saved Contacts and SIM card.To find a contact name:•Enter the first letter of a contact’s first name or last name. Smart Dialing searches for the letter starting from the first character of a contact name as well as from the character that appears after a space, dash, or underscore in a contact name. For example, if you tap number “2” which is associated with [a, b, c] on the Phone keypad, contact names such as the following will be considered matches: “Smith, Bernard”, “Adams, John”, “Carlson, Eileen”, “Dillon, Albert”, “Childs, Larry”, “Cooper, Robert” and “Parks, Celine”.•If the matching list is long narrow down the search further by entering another letter. Using the same example above, tap “3” which is associated with (d, e, f), the matching list is narrowed down to the following names: “Smith, Bernard”, “Adams, John”, and “Parks, Celine”.Figure 4-1 Finding a ContactTo make a call or send a text message using Smart Dialing:1. Begin entering the first few numbers or characters.2. In the Smart Dialing panel, use the up and down arrows on the keypad to navigate to the desired contact or phone number.3. When the correct contact is selected, press TALK to make a voice call.4. To send a text message to the selected contact, tap Menu > Send Text Message.5. To call a different phone number associated with the selected contact, tap the contact name and select the phone number to call.Preliminary](https://usermanual.wiki/Zebra-Technologies/MC659B.Users-Manual-2/User-Guide-1280112-Page-24.png)