iDROID A5 Mobile phone User Manual User Manual
iDROID Inc. Mobile phone User Manual
UserManual.wiki
>
iDROID
>
A5 User Manual
Users Manual
Navigation menu
Upload a User Manual
Namespaces
Wiki Guide
HTML
PDF
Info
Views
User Manual
Discussion / Help
Navigation
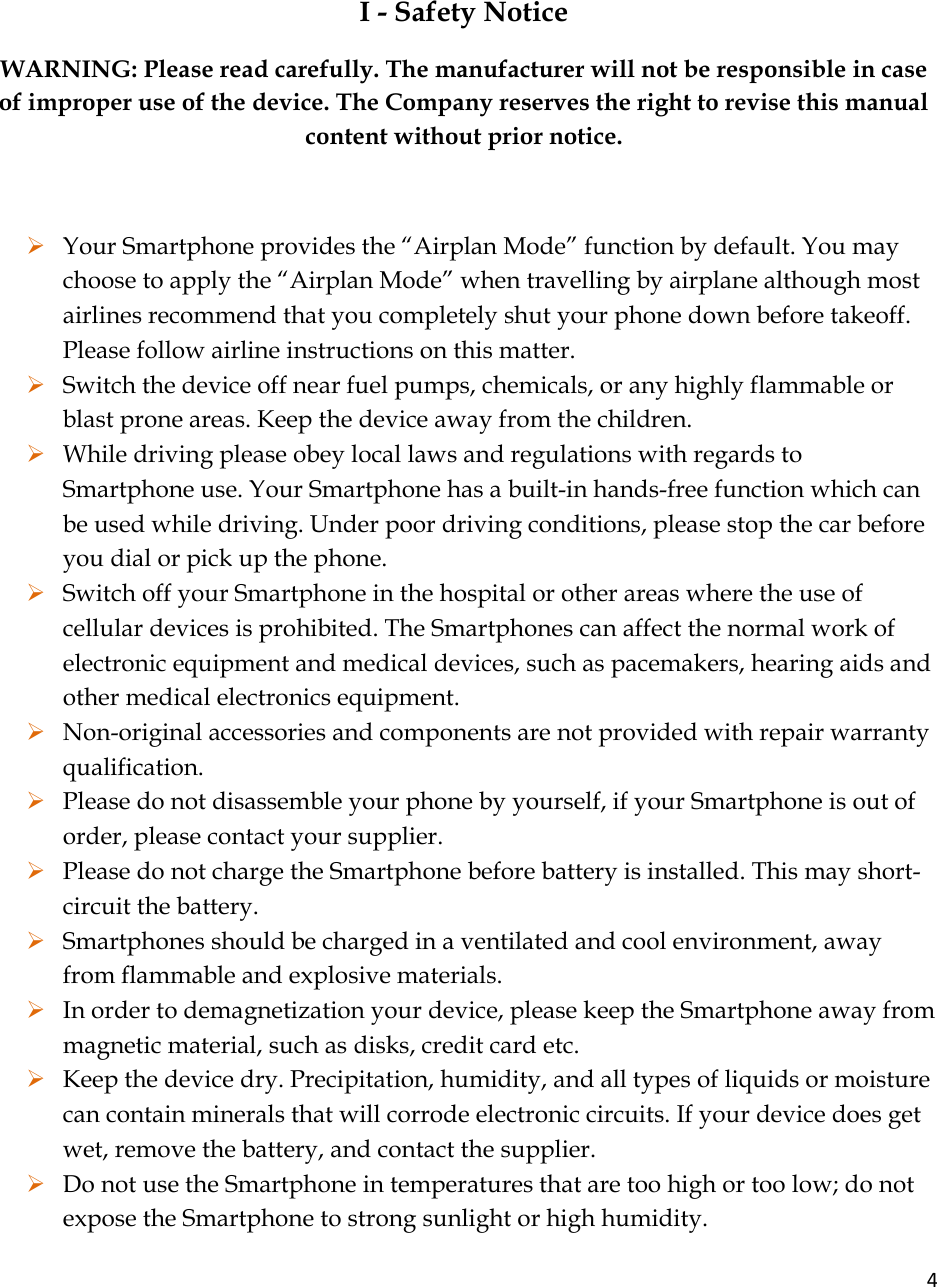


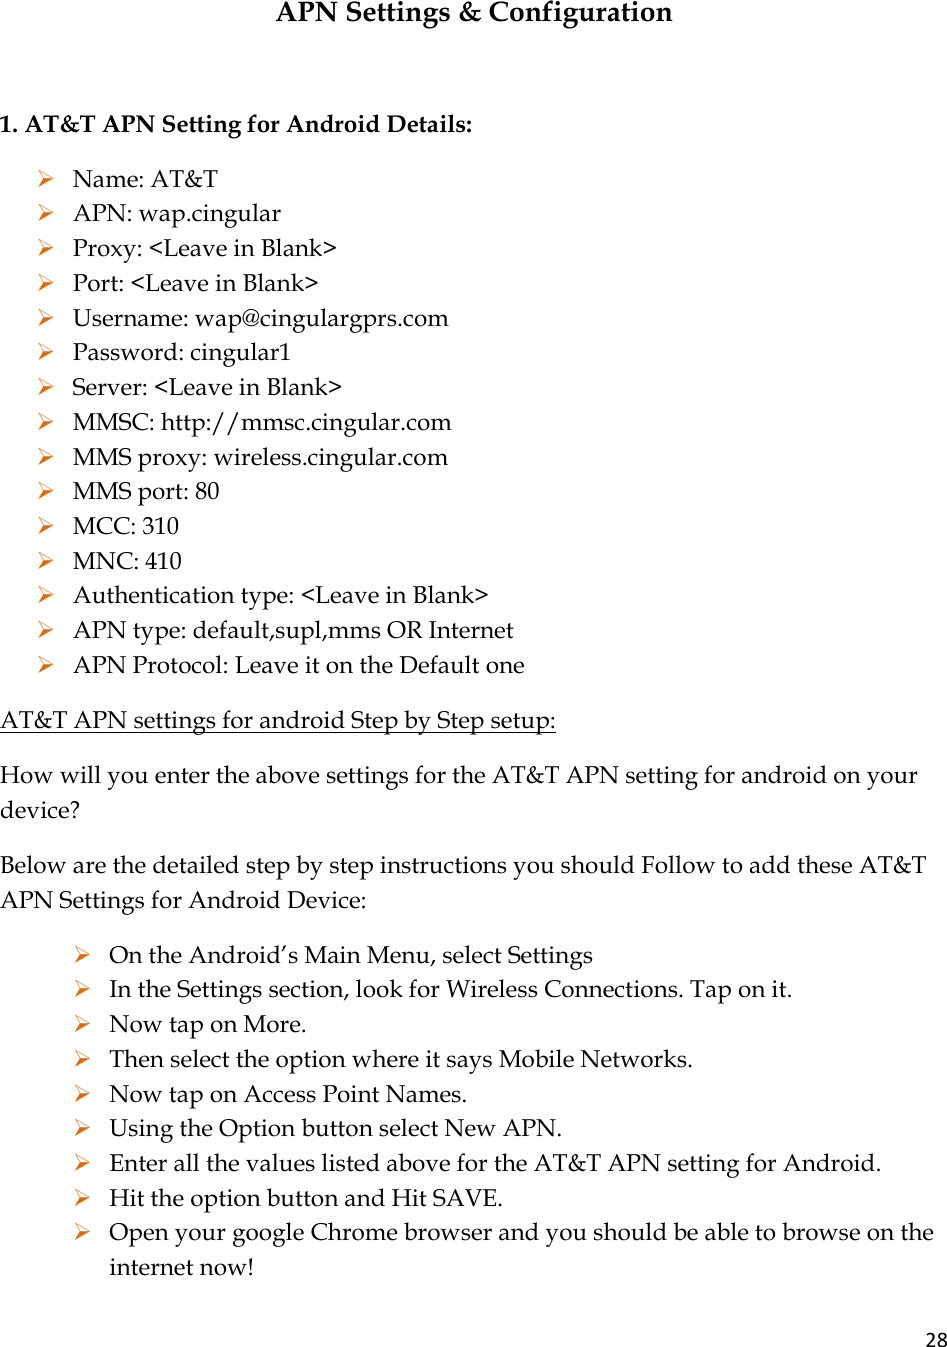
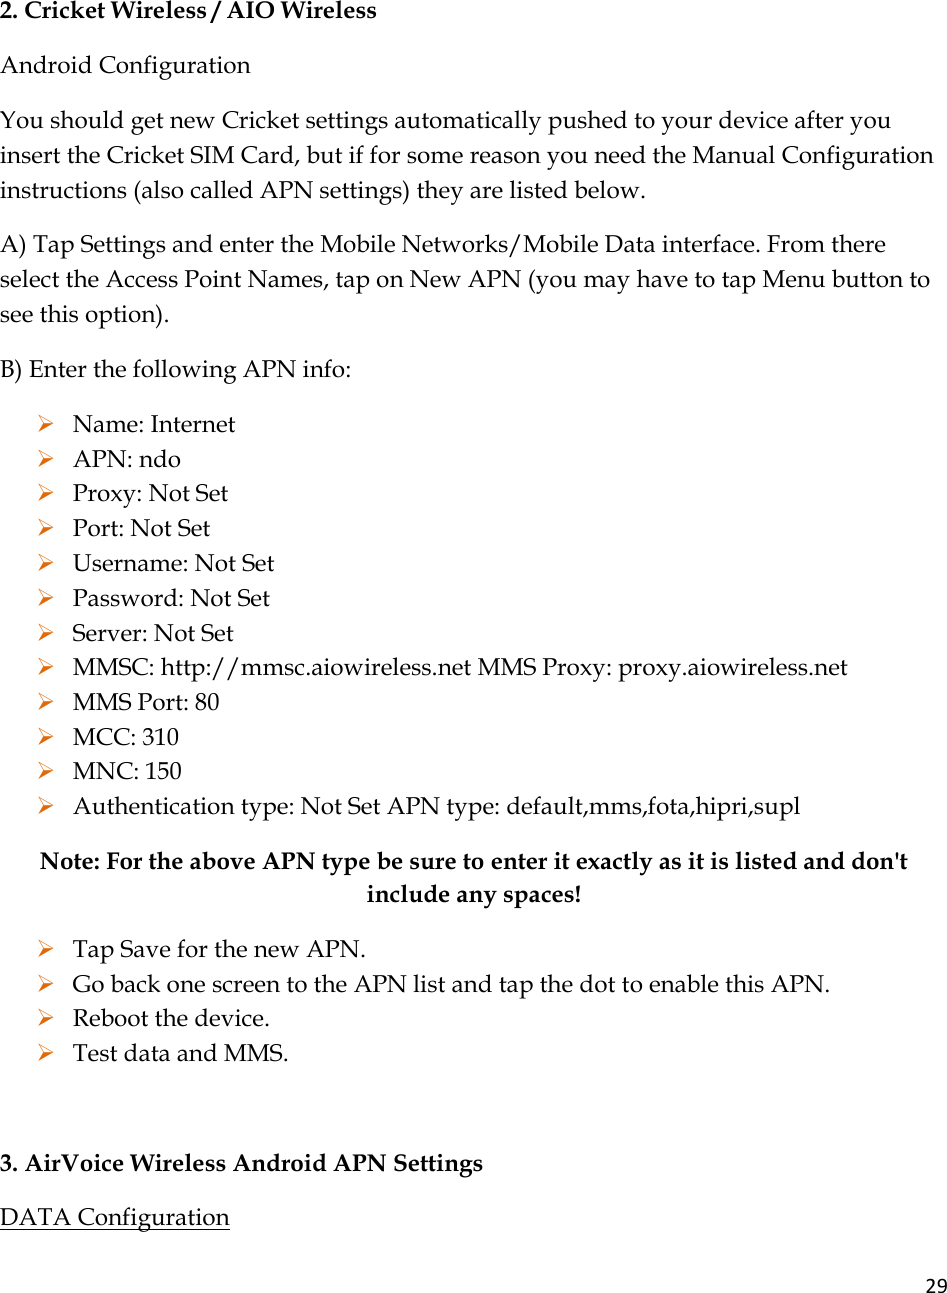

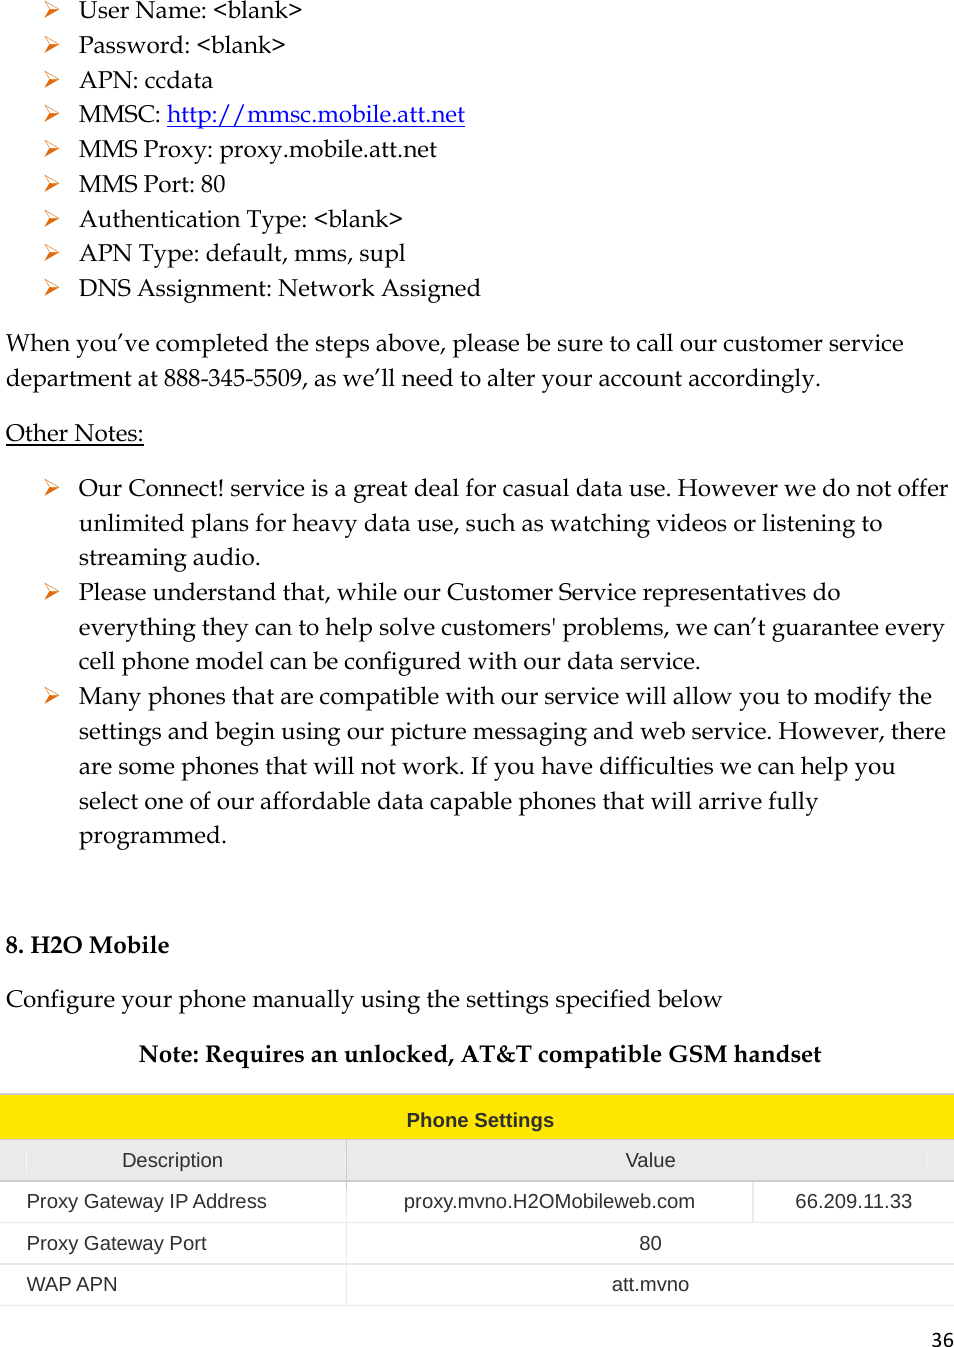

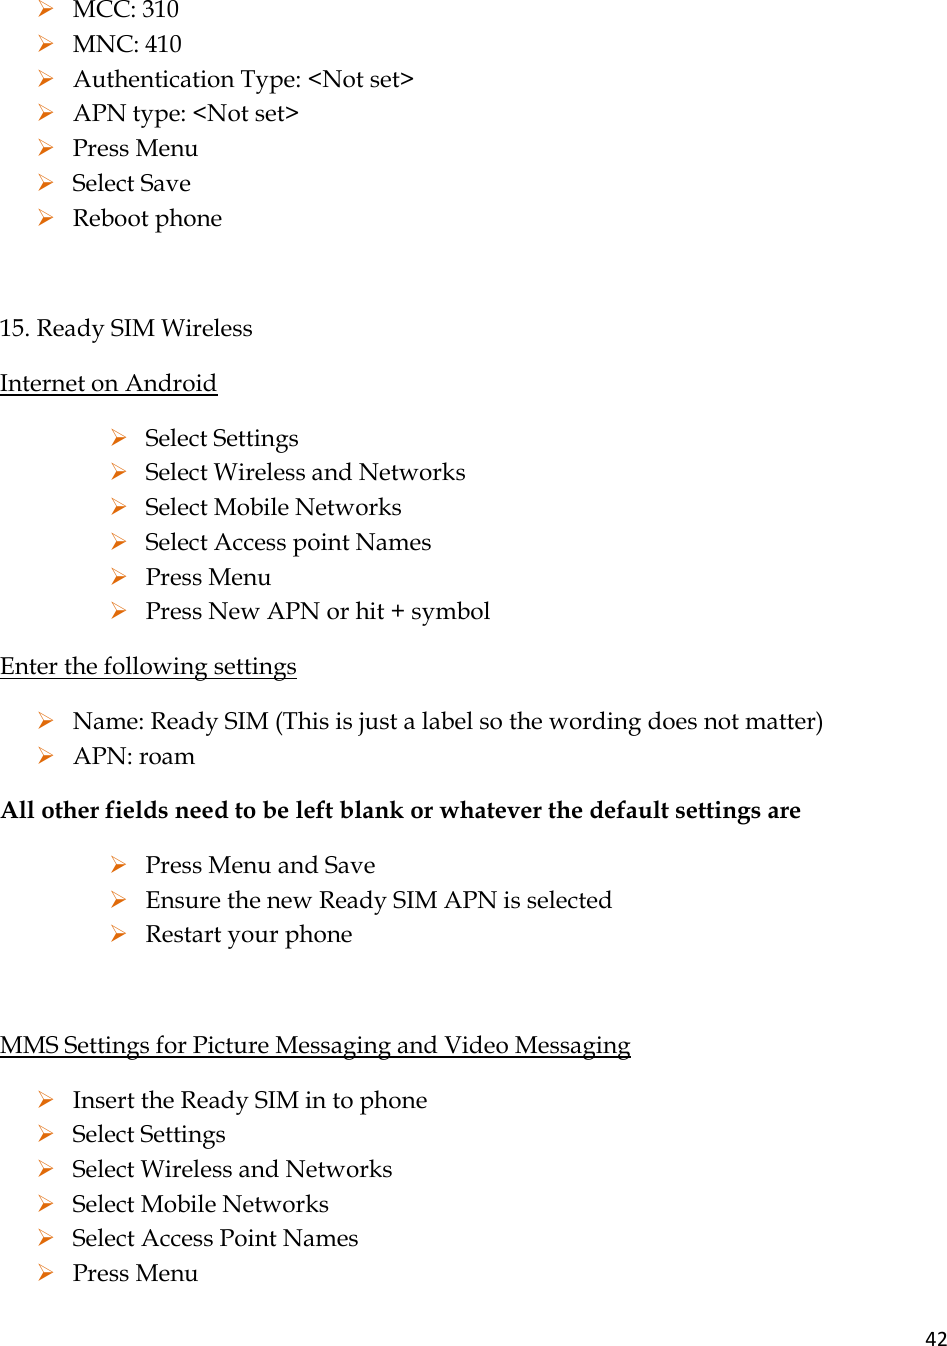
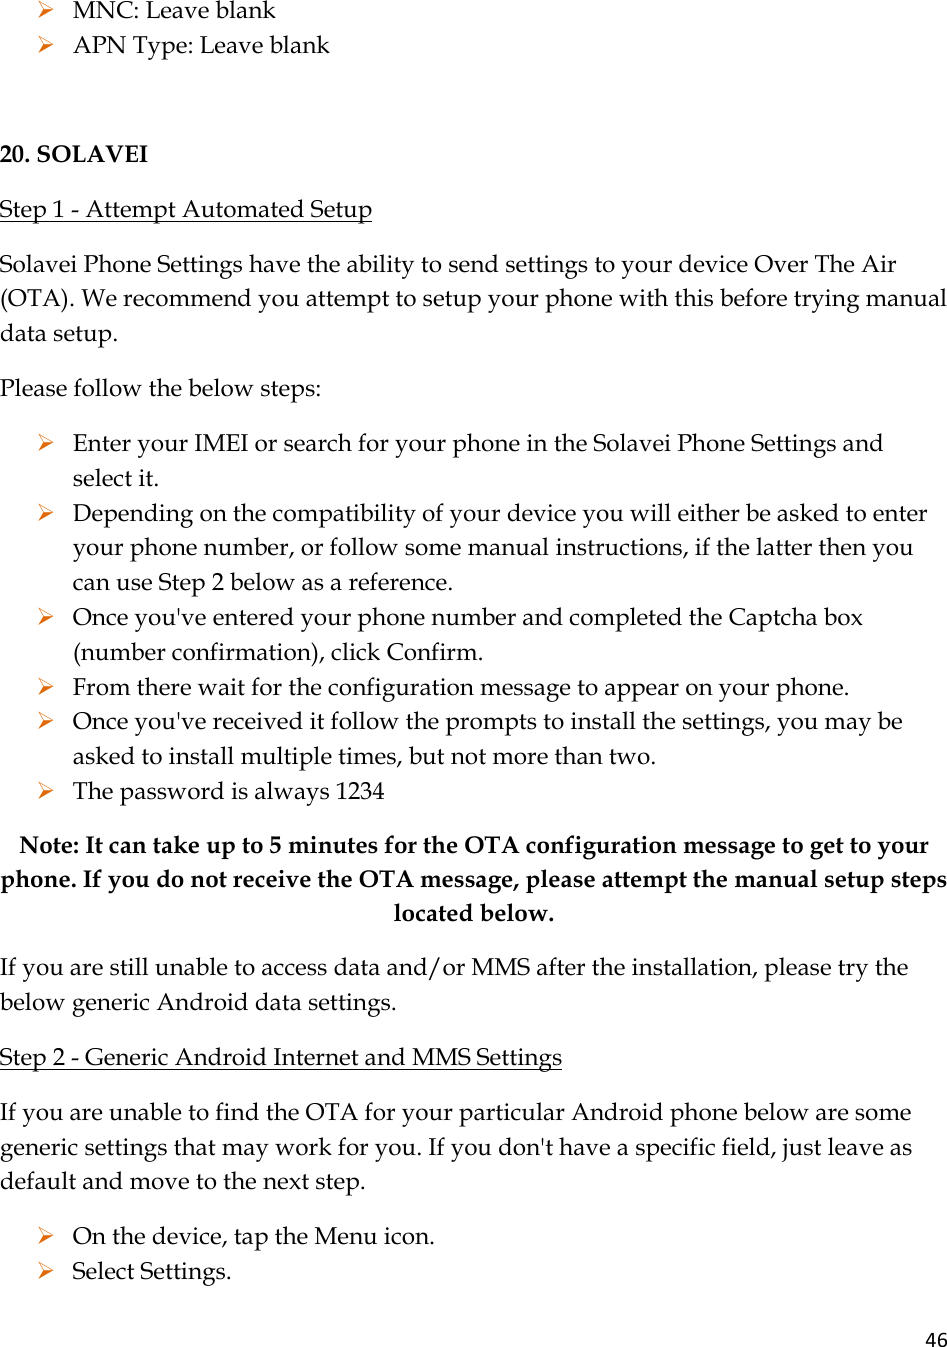
![40 12. NET10 Follow the following steps: Settings>Network>Acces Point Names> Click on Menu and Select ‘Add new APN’ Enter these settings: ¾ Name: NET10 ¾ Apn: tfdata ¾ Port: 80 ¾ Mmsc: http://mms-tf.net ¾ Mms Proxy: mms3.tracfone.com ¾ Mms Port: 80 If you see a field in your phone that was not listed here, leave it EMPTY or with the Defaults. CLICK SAVE AT END. Restart Your Phone! 13. PTEL Before getting started, make sure your WiFi is turned OFF, and the phone is not in Airplane Mode. ¾ Go to 'Settings' on your phone ¾ Go to 'Wireless & Networks' ¾ Go to 'Mobile Network' ¾ Go to 'Access Point Name' ¾ Press 'Menu' and select 'New APN' ¾ Enter the following settings (case sensitive): ¾ Name: PTEL Mobile ¾ APN: wholesale ¾ Proxy: [leave blank] ¾ Port: [leave blank] ¾ Username: [leave blank] ¾ Server: [leave blank] ¾ MMSC: http://wholesale.mmsmvno.com/mms/wapenc](https://usermanual.wiki/iDROID/A5/User-Guide-2435766-Page-40.png)
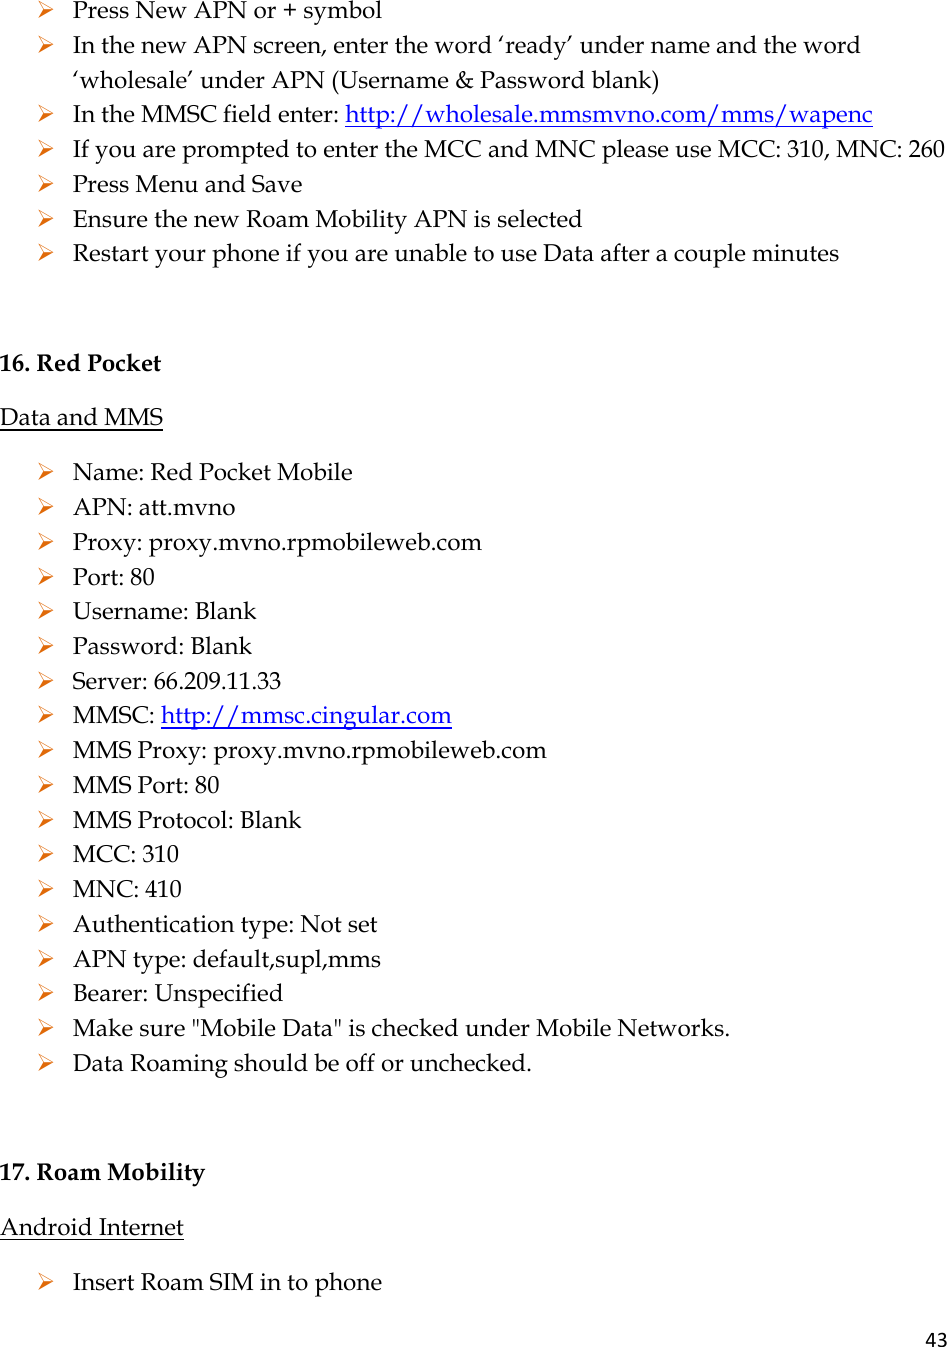
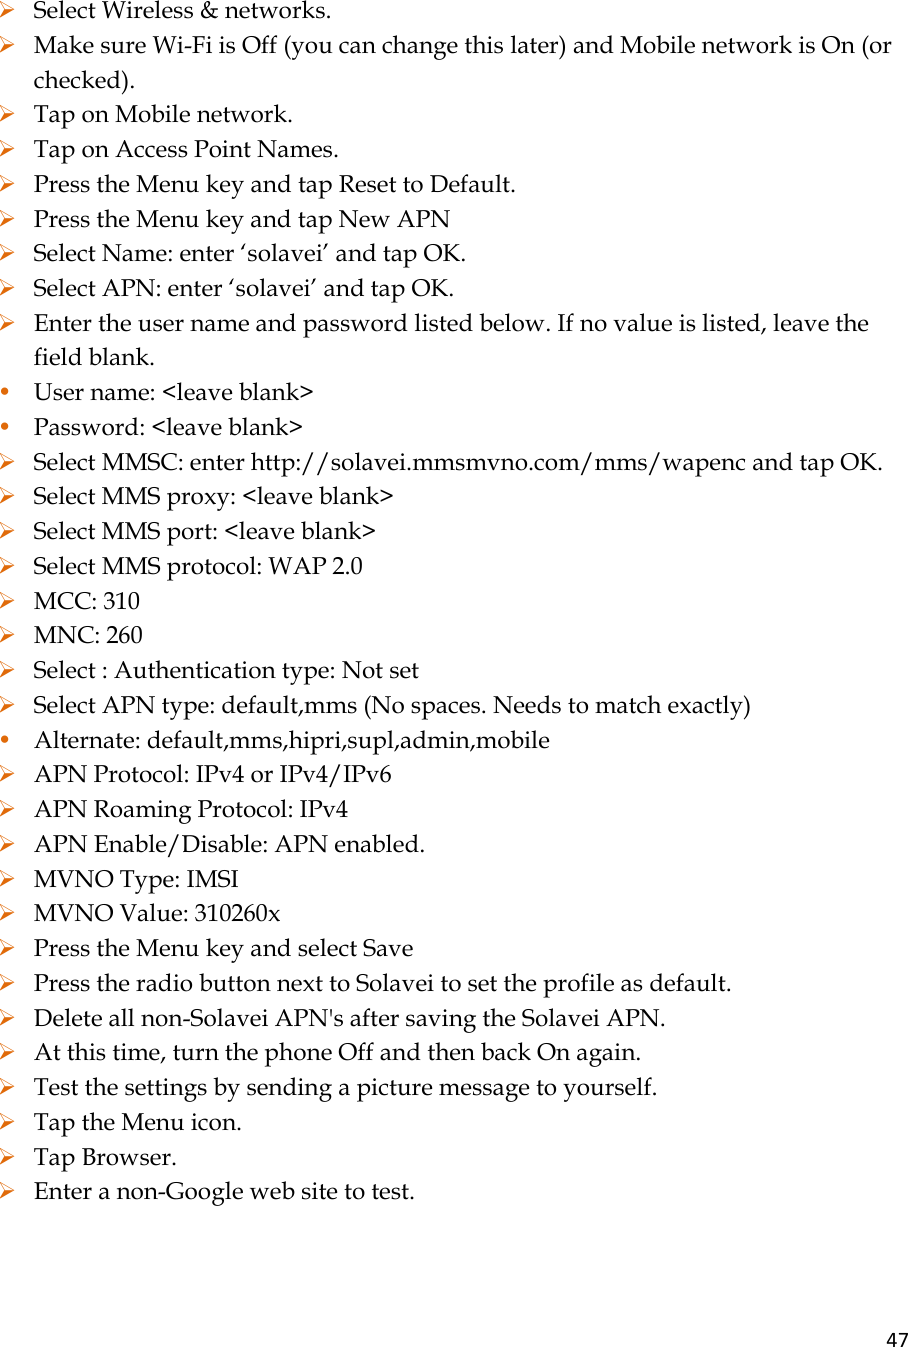
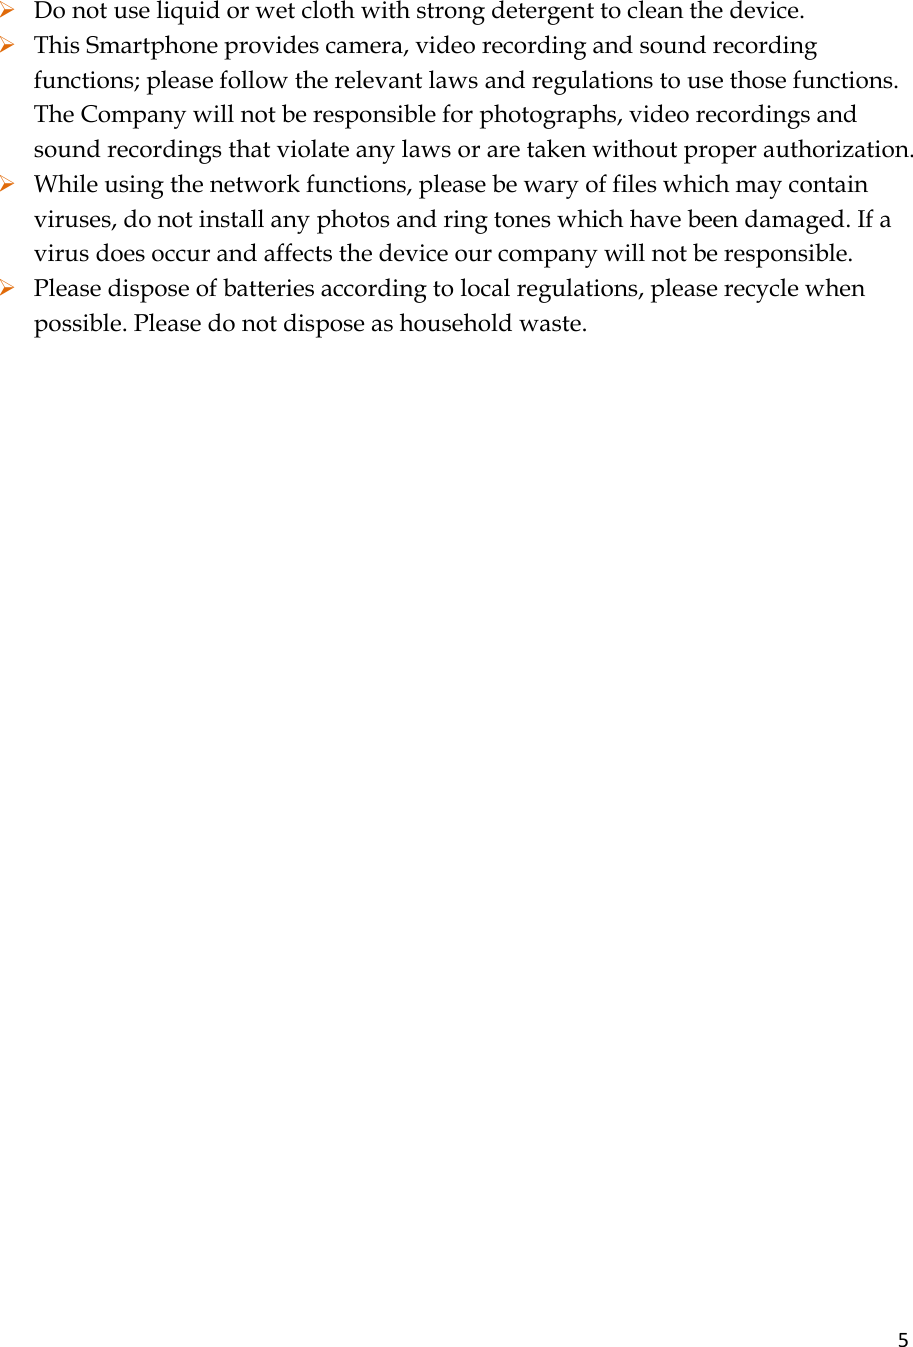
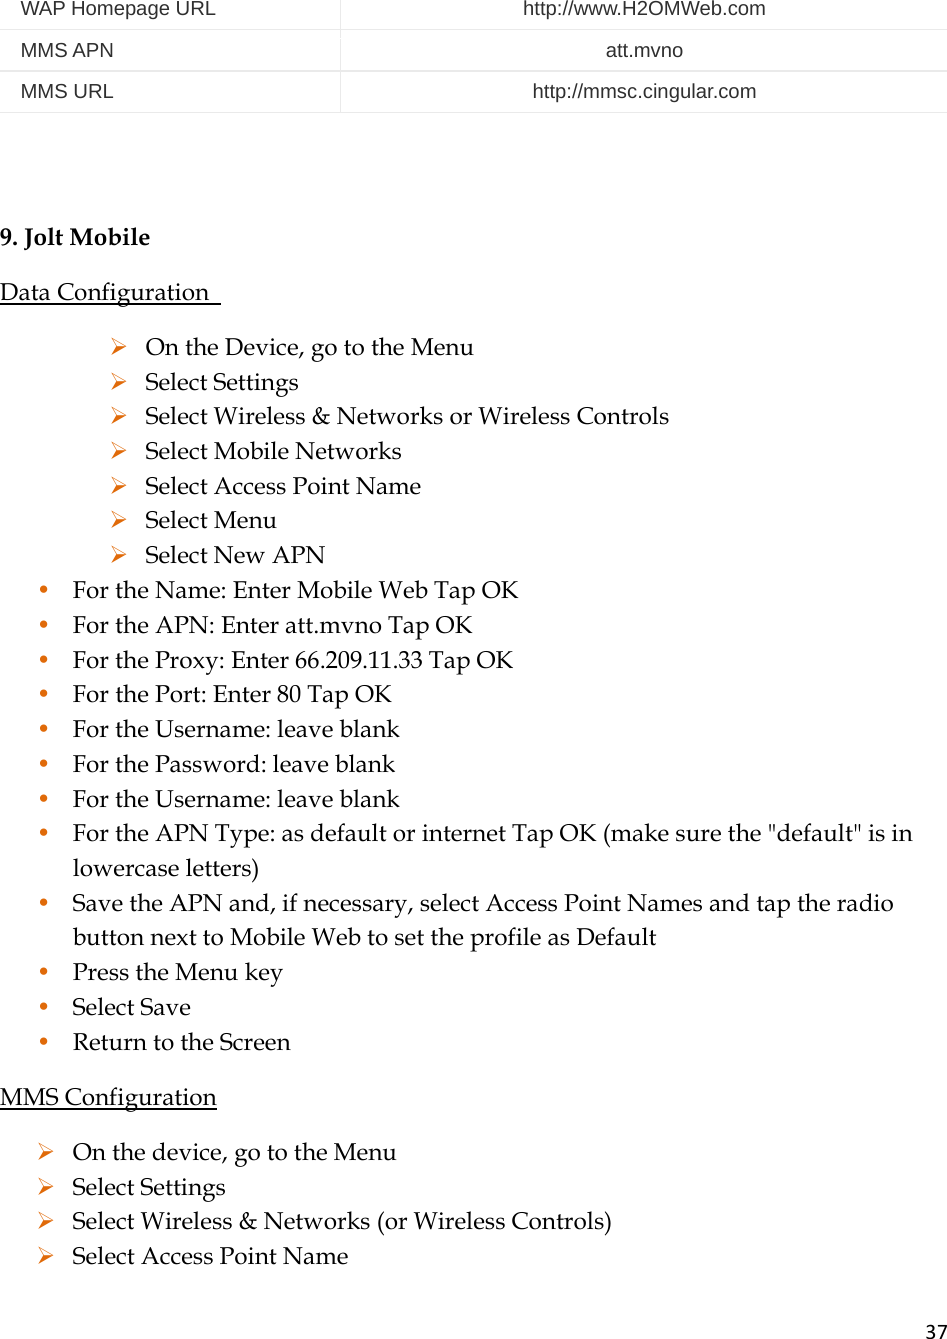
![41¾ MMS Proxy: [leave blank] ¾ MMS Port: [leave blank] ¾ Authentication Type: [leave blank] ¾ APN Type: blank or internet and MMS ¾ Press menu and select 'Save' ¾ Make sure you select the 'PTEL Mobile' profile you just created Next, you will need to remove the other APN's that are listed on your phone. To do that, just select each APN, press the menu button and then select 'Delete APN'. Delete all of the APN's until PTEL Mobile is the only one left. Some Android™ phone models may not allow you to delete all of the APN's, or delete the default APN. So you may want to visit the Google Play Store and download an APN manager app. There are plenty of great free ones available. 14. Pure Talk ¾ Press Menu ¾ Select Settings ¾ Select Wireless & Networks ¾ Select Mobile Networks ¾ Check Data enabled ¾ Select Access Point Names ¾ Press Menu ¾ Select New APN Enter the following information: ¾ Name: Pure TalkUSA ¾ APN: att.mvno ¾ Proxy: proxy.mvno.telrite.com ¾ Port: 80 ¾ Username: <Not set> ¾ Password: <Not set> ¾ Server: <Not set> ¾ MMSC: http://mmsc.cingular.com ¾ MMS Proxy: proxy.mvno.telrite.com ¾ MMS Port: 80](https://usermanual.wiki/iDROID/A5/User-Guide-2435766-Page-41.png)